
Super Bill Download & Generate Instructions
Generate and Download a Super Bill After Completing a SOAP Note
Once you’ve completed a SOAP note for any date of service, you can easily create, review, and download a Super Bill. Super Bills are essential for providing patients with documentation of services for insurance or self-pay appointments. Here’s how to access and generate Super Bills from your billing dashboard.
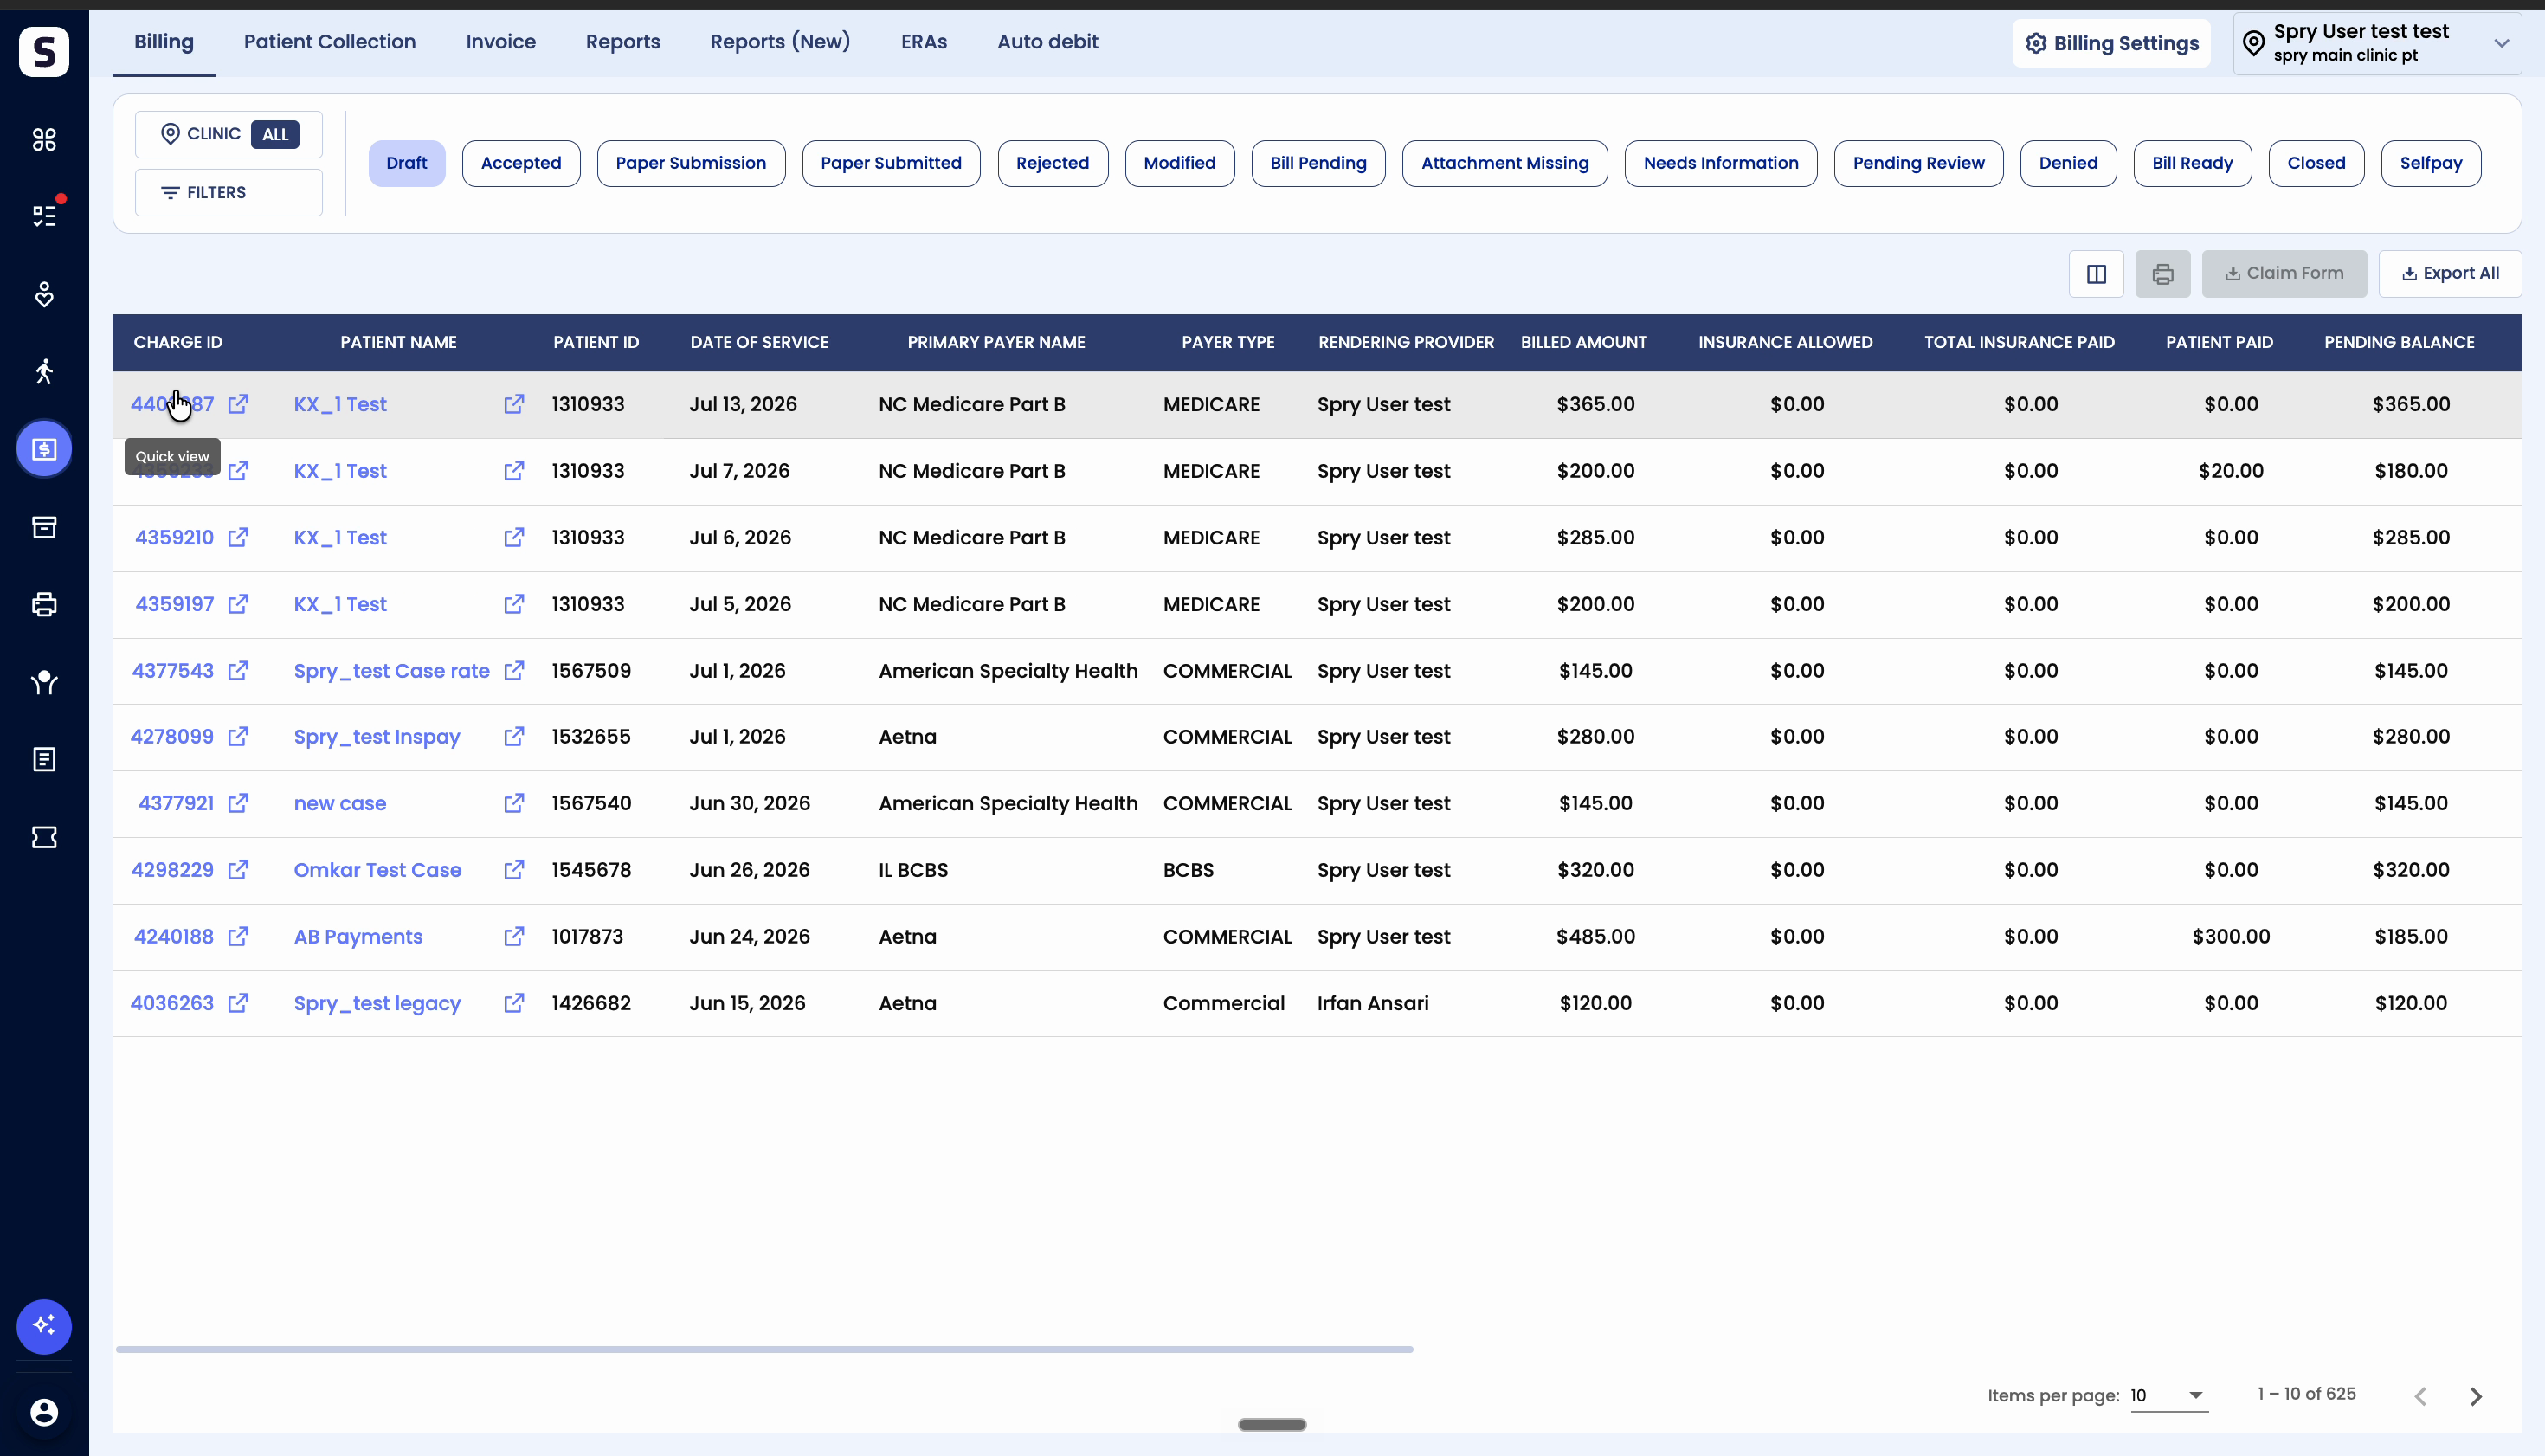
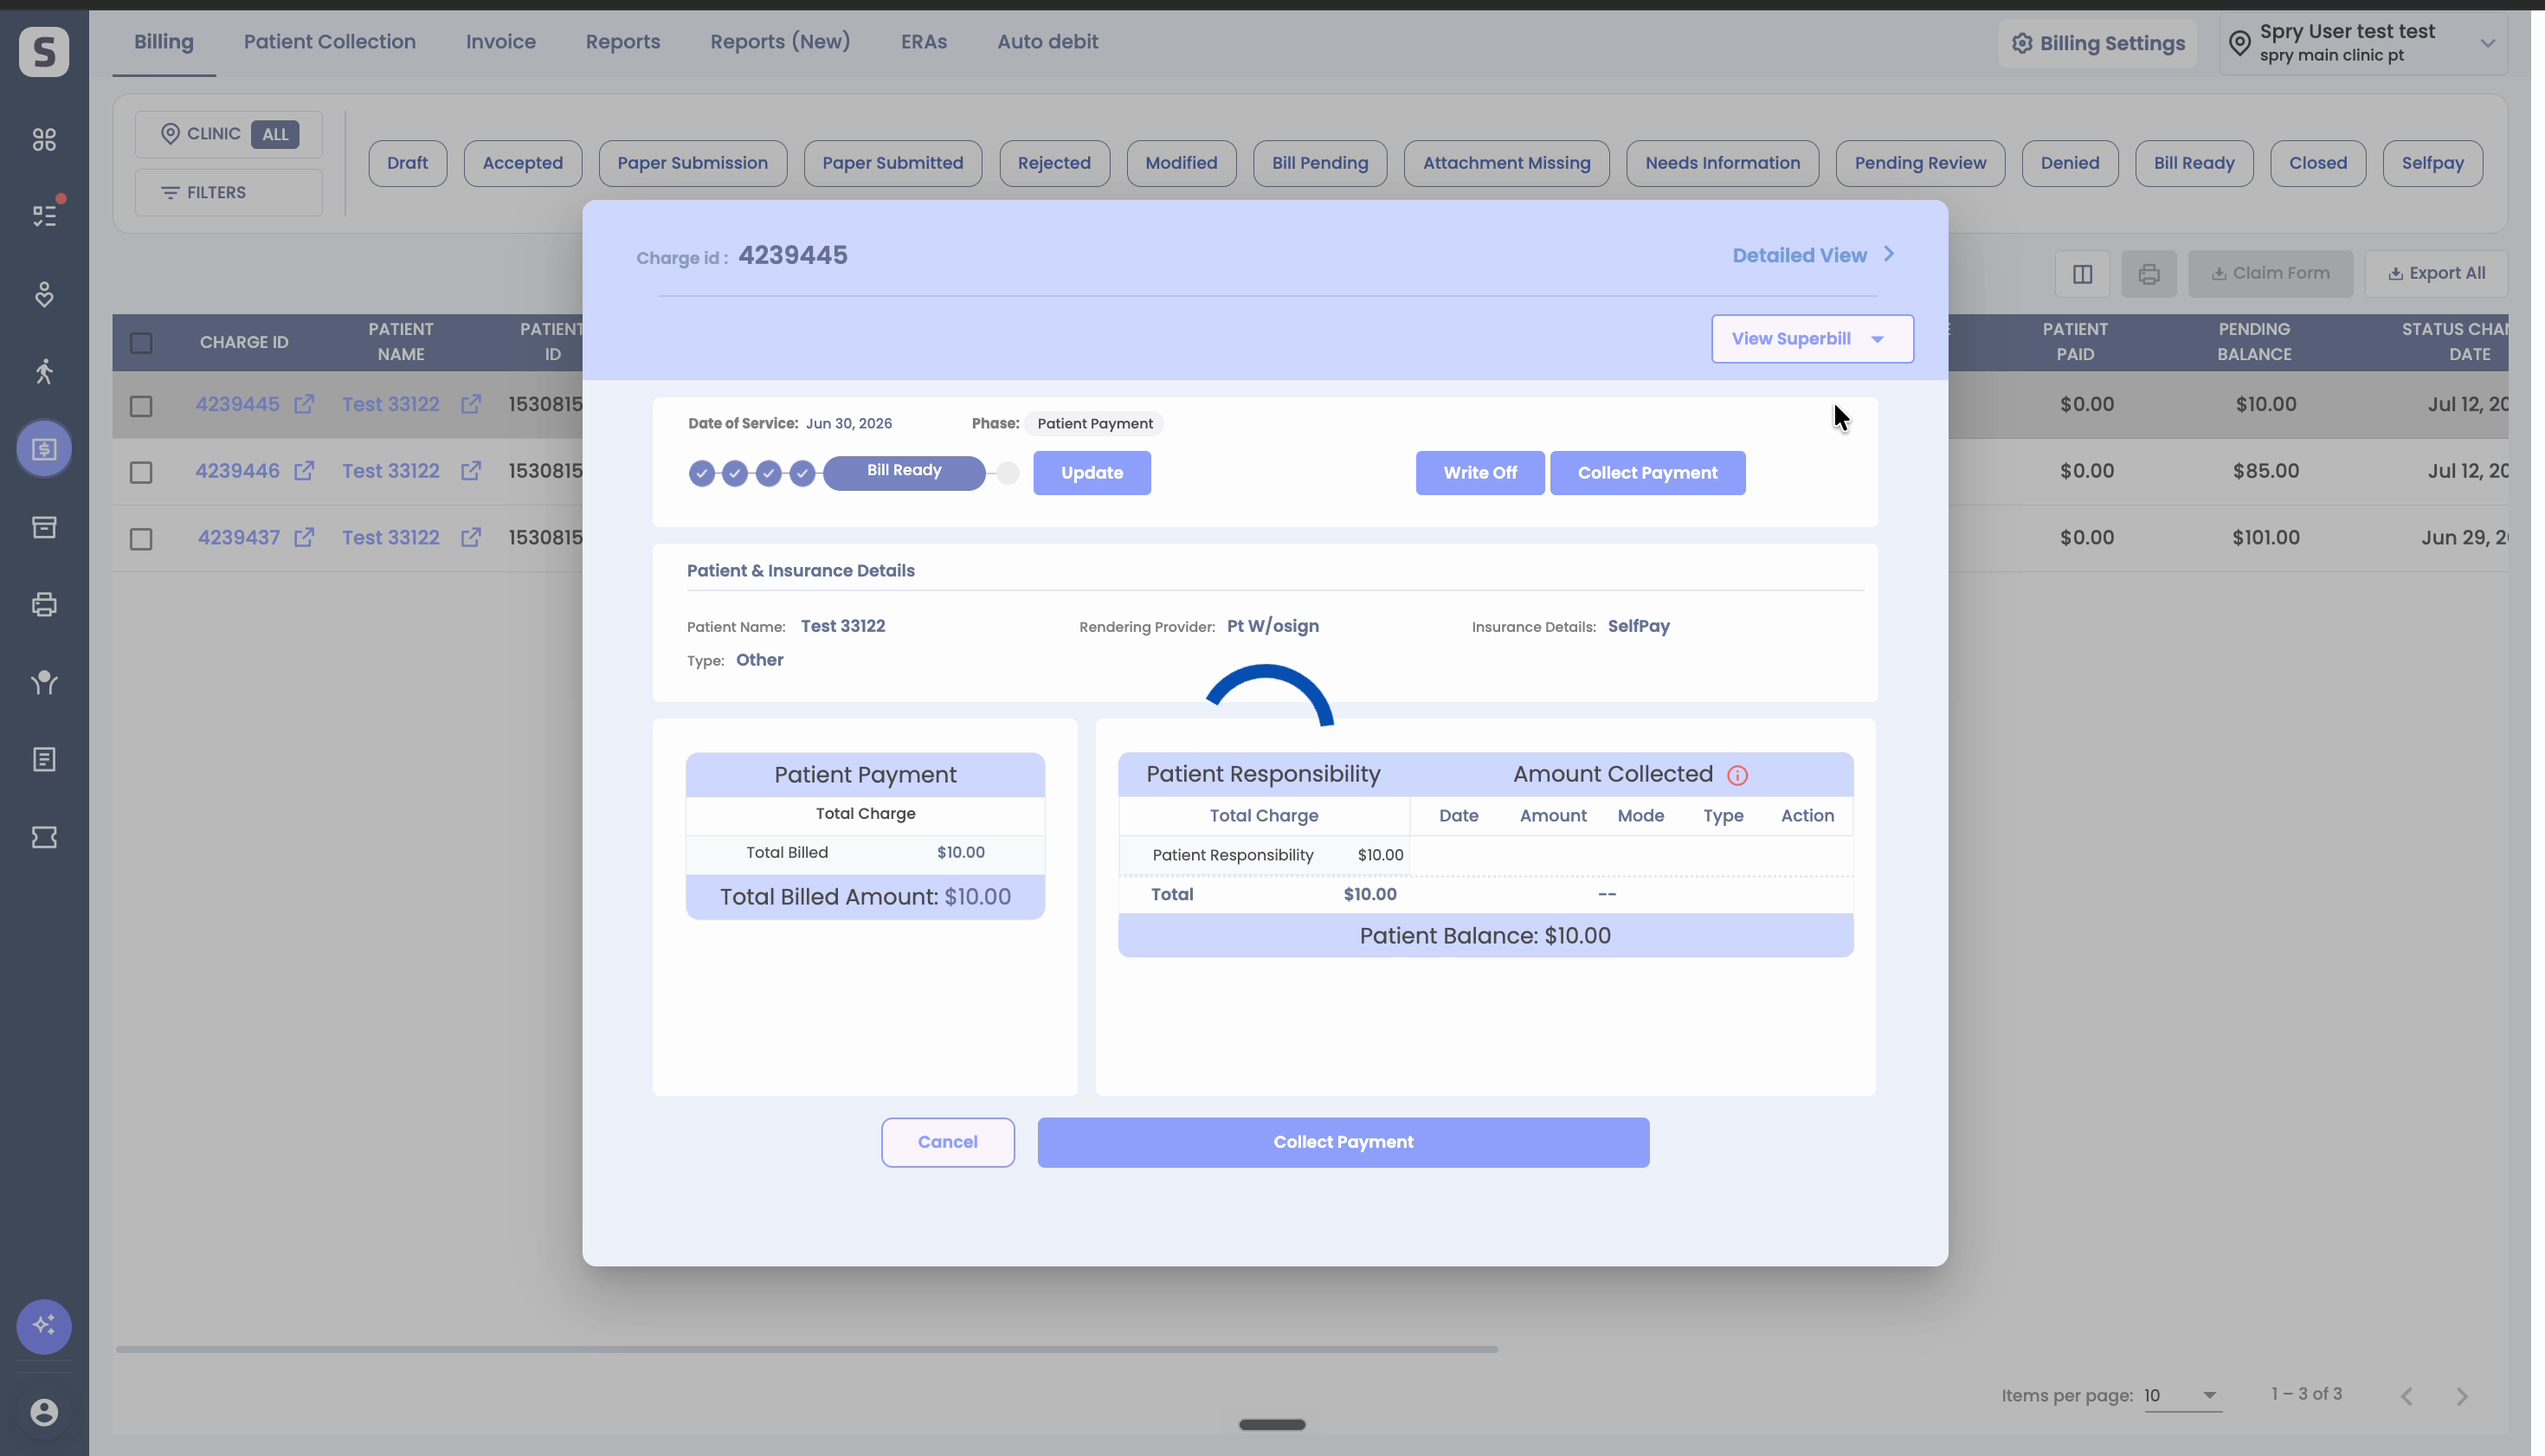
Step 1: From your Billing dashboard, locate the transaction and click the Charge ID linked to it.
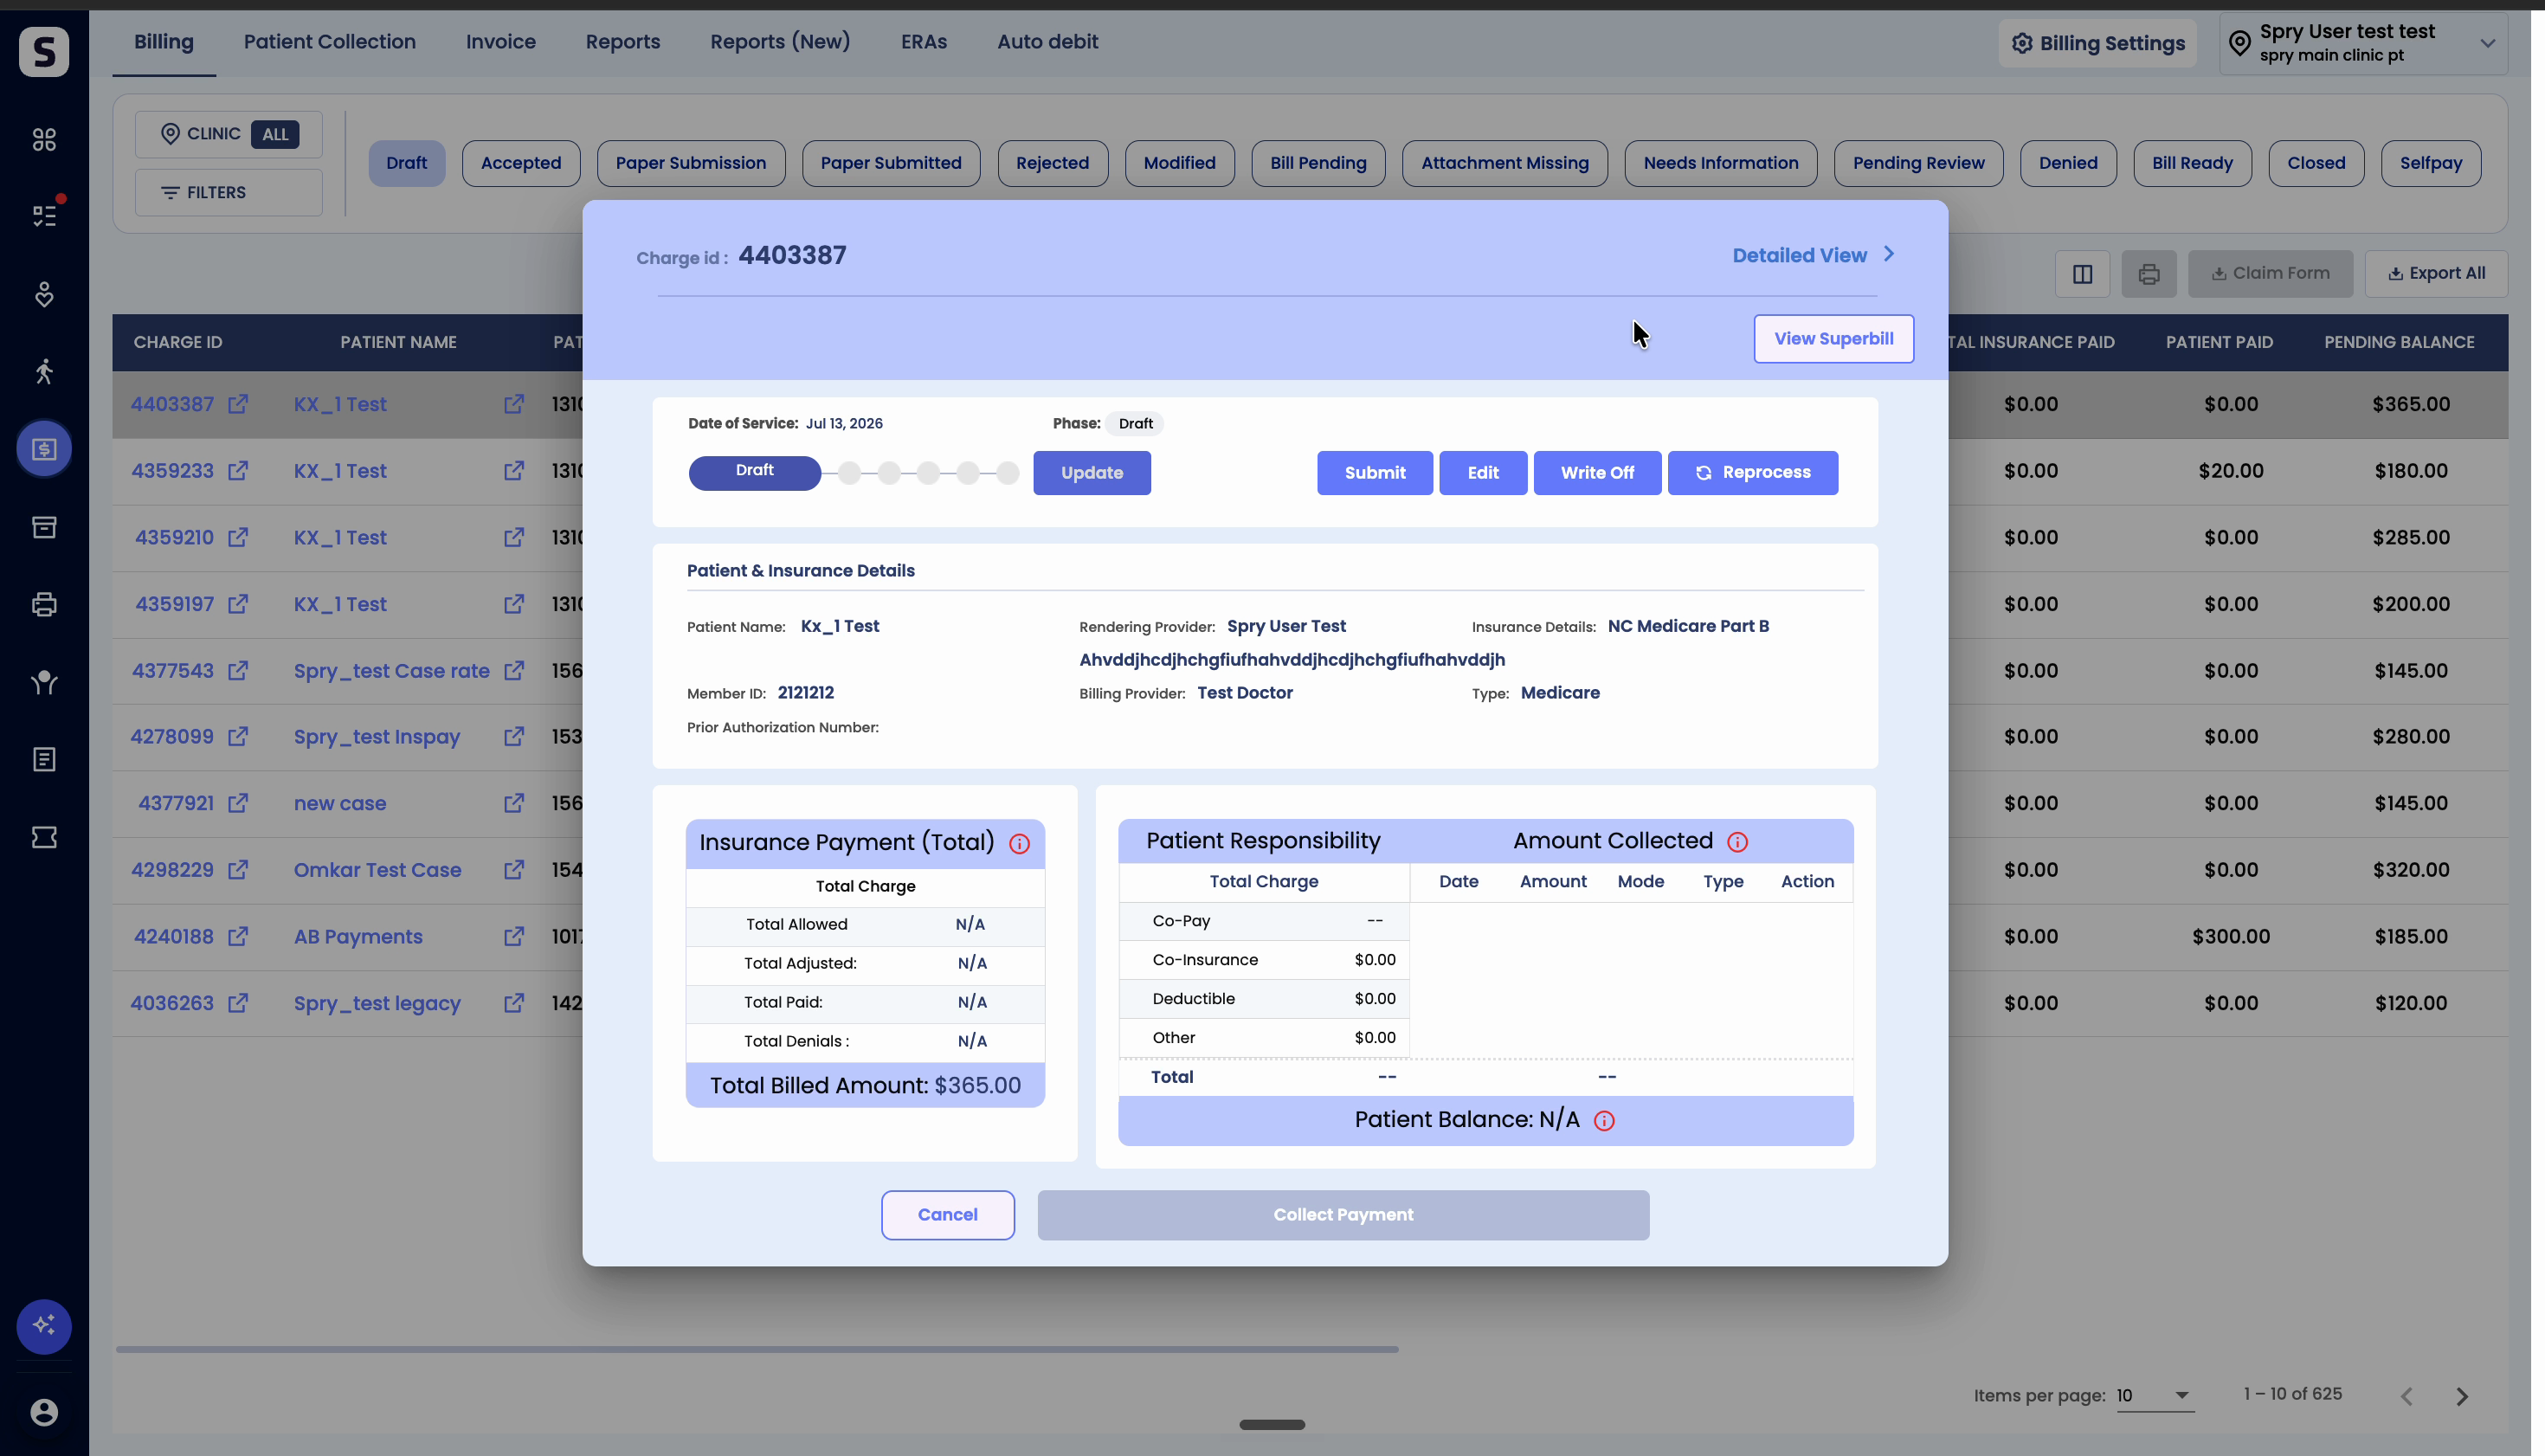
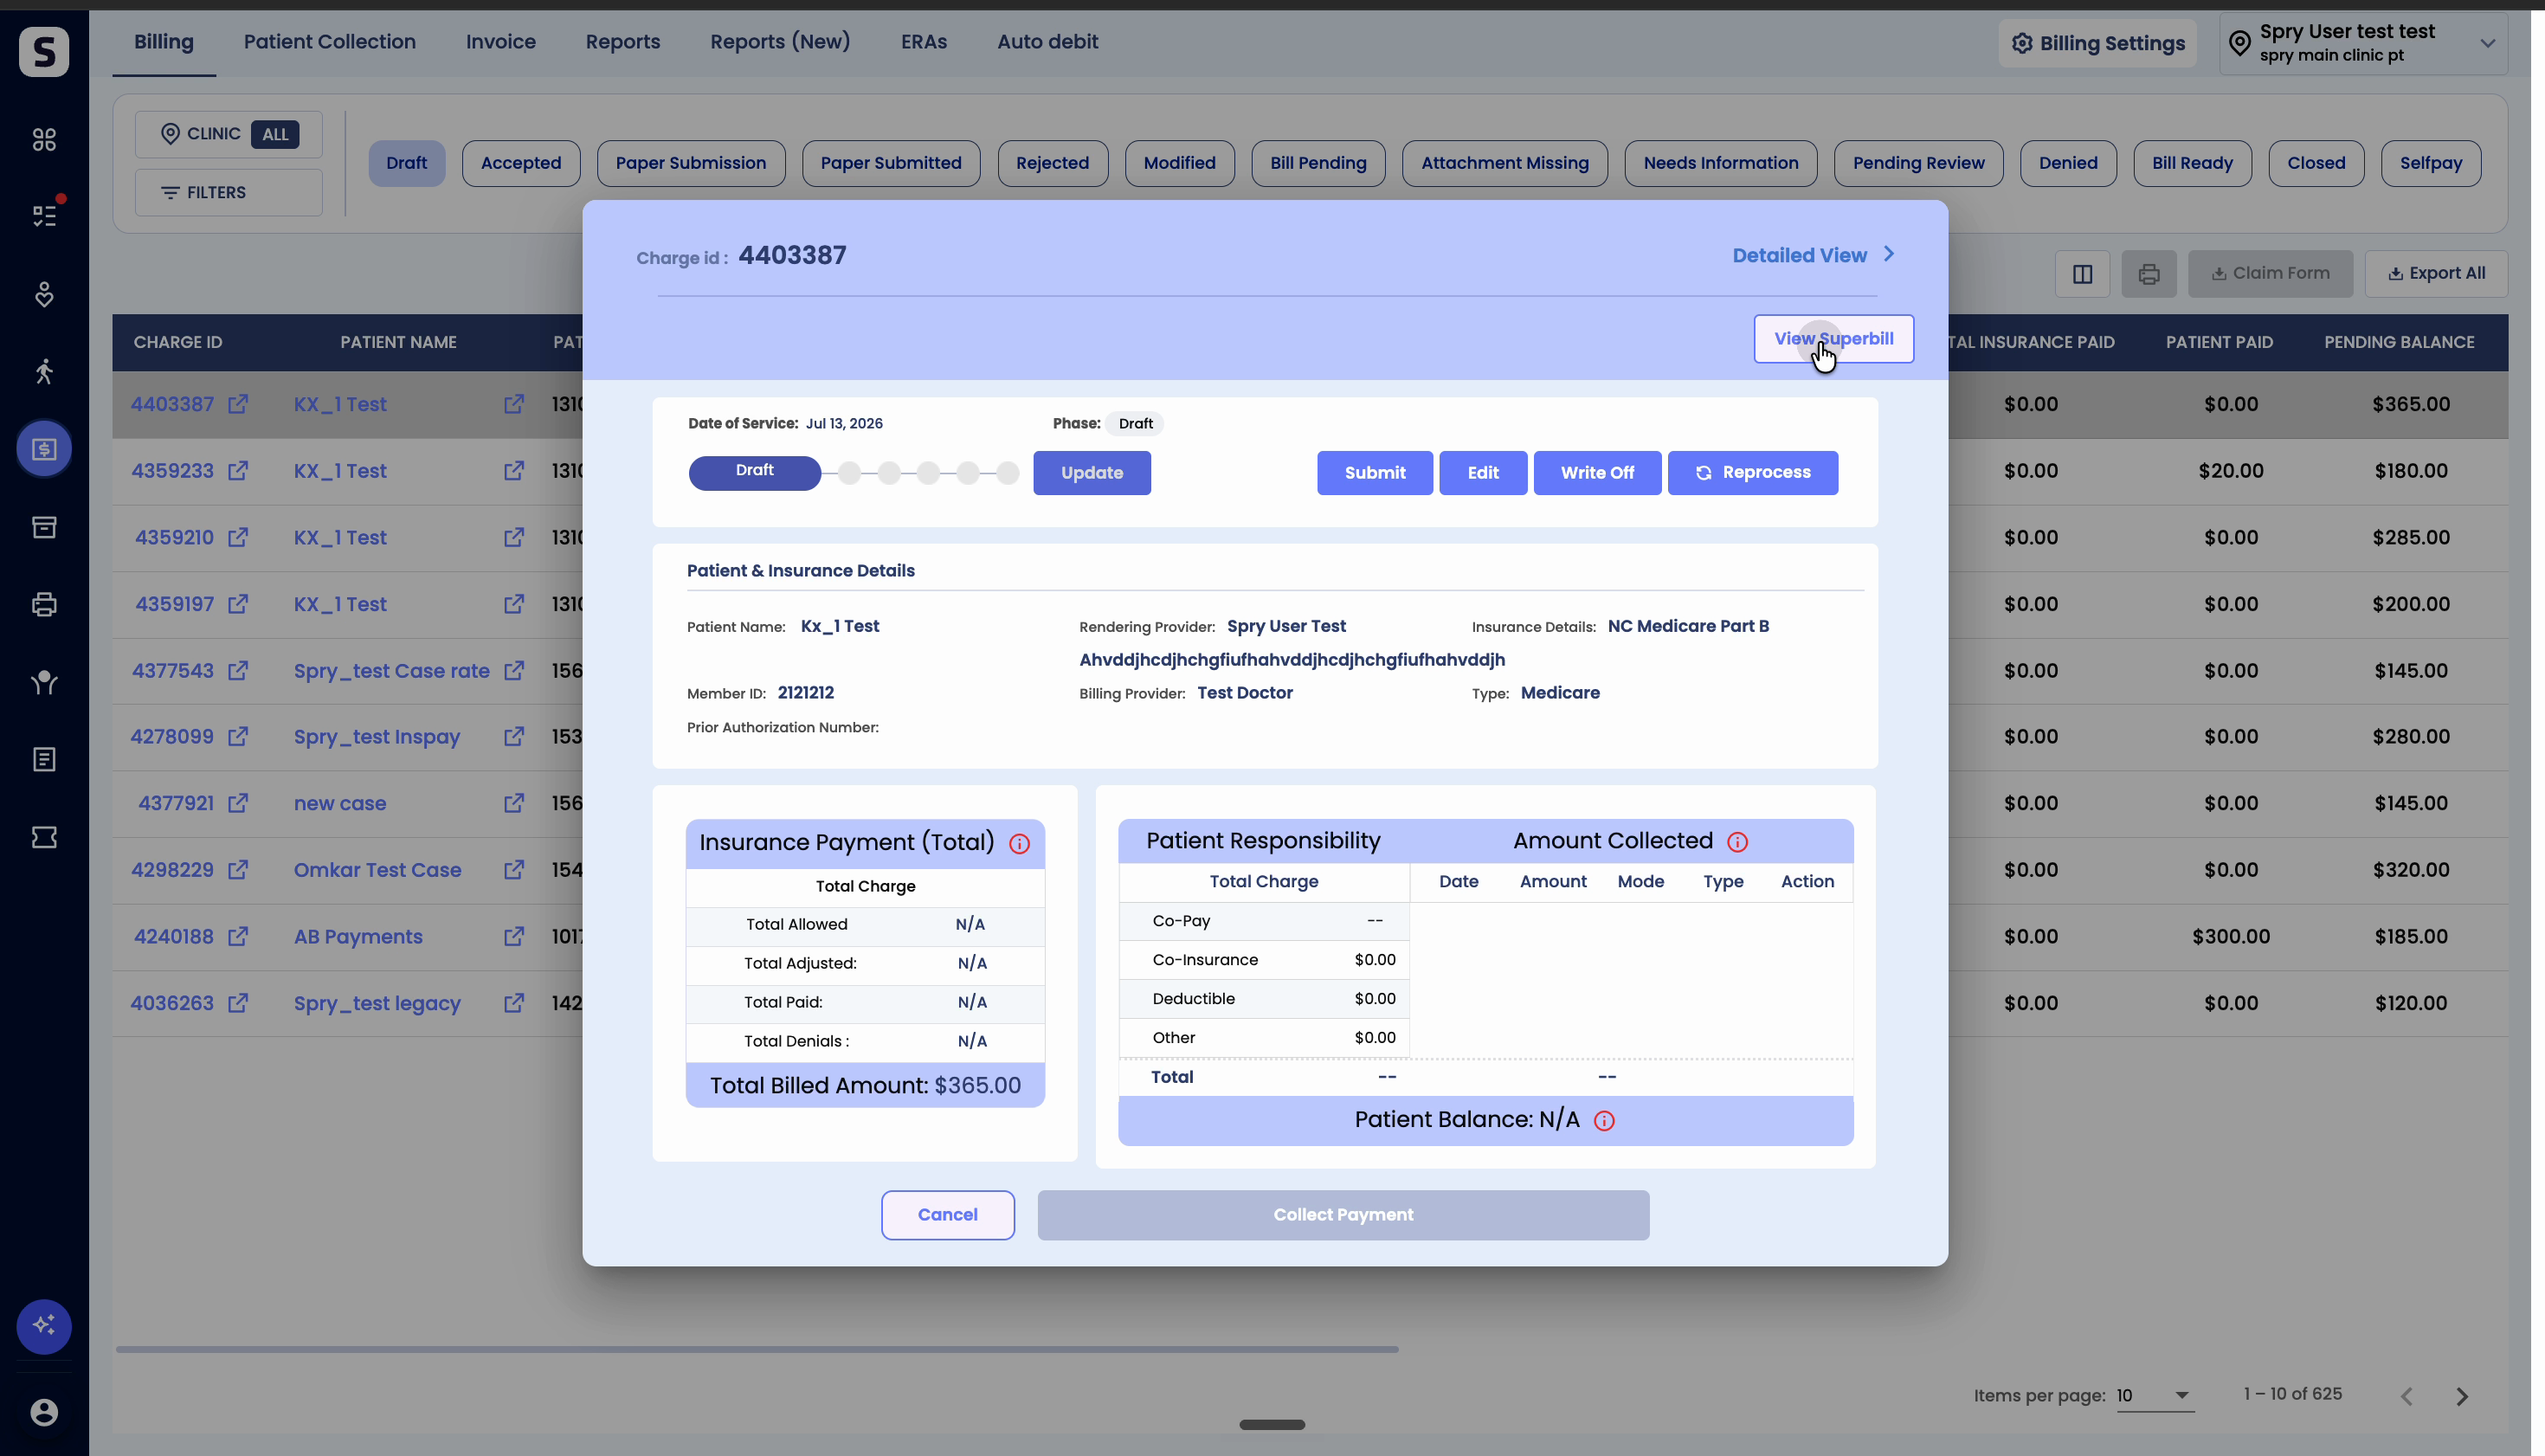
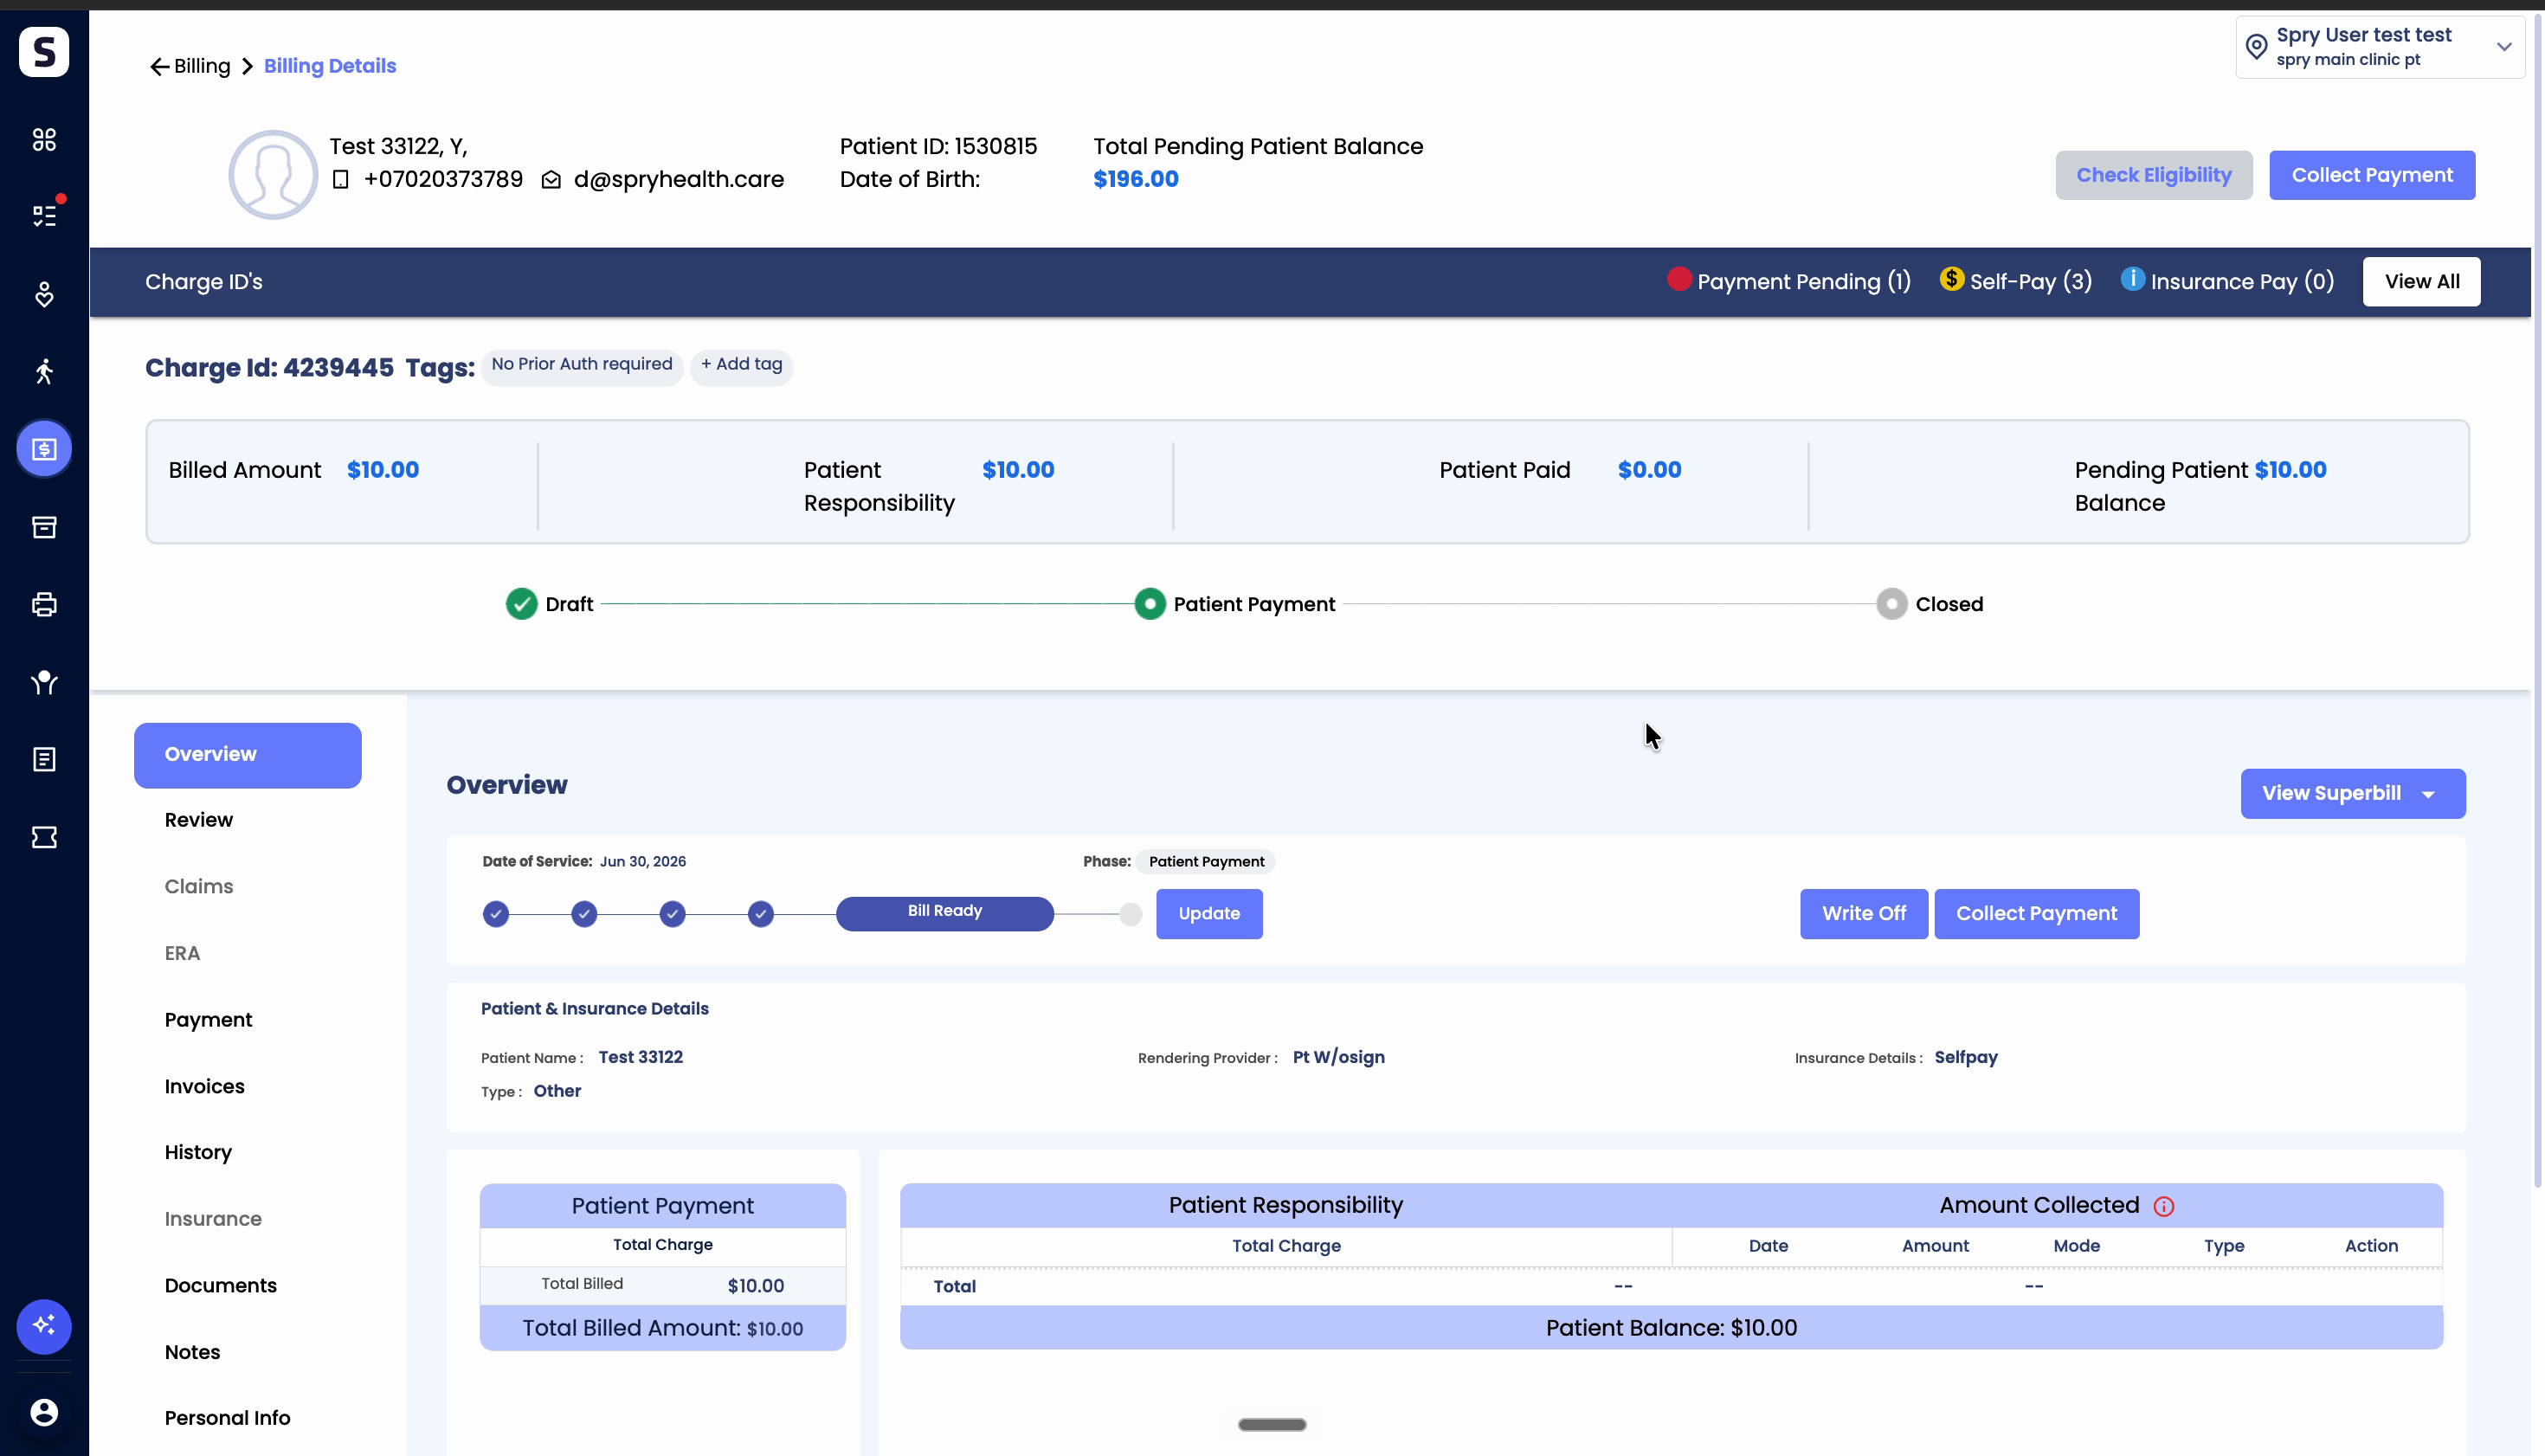
Step 2: On the Charge ID screen, find and click View Super Bill.
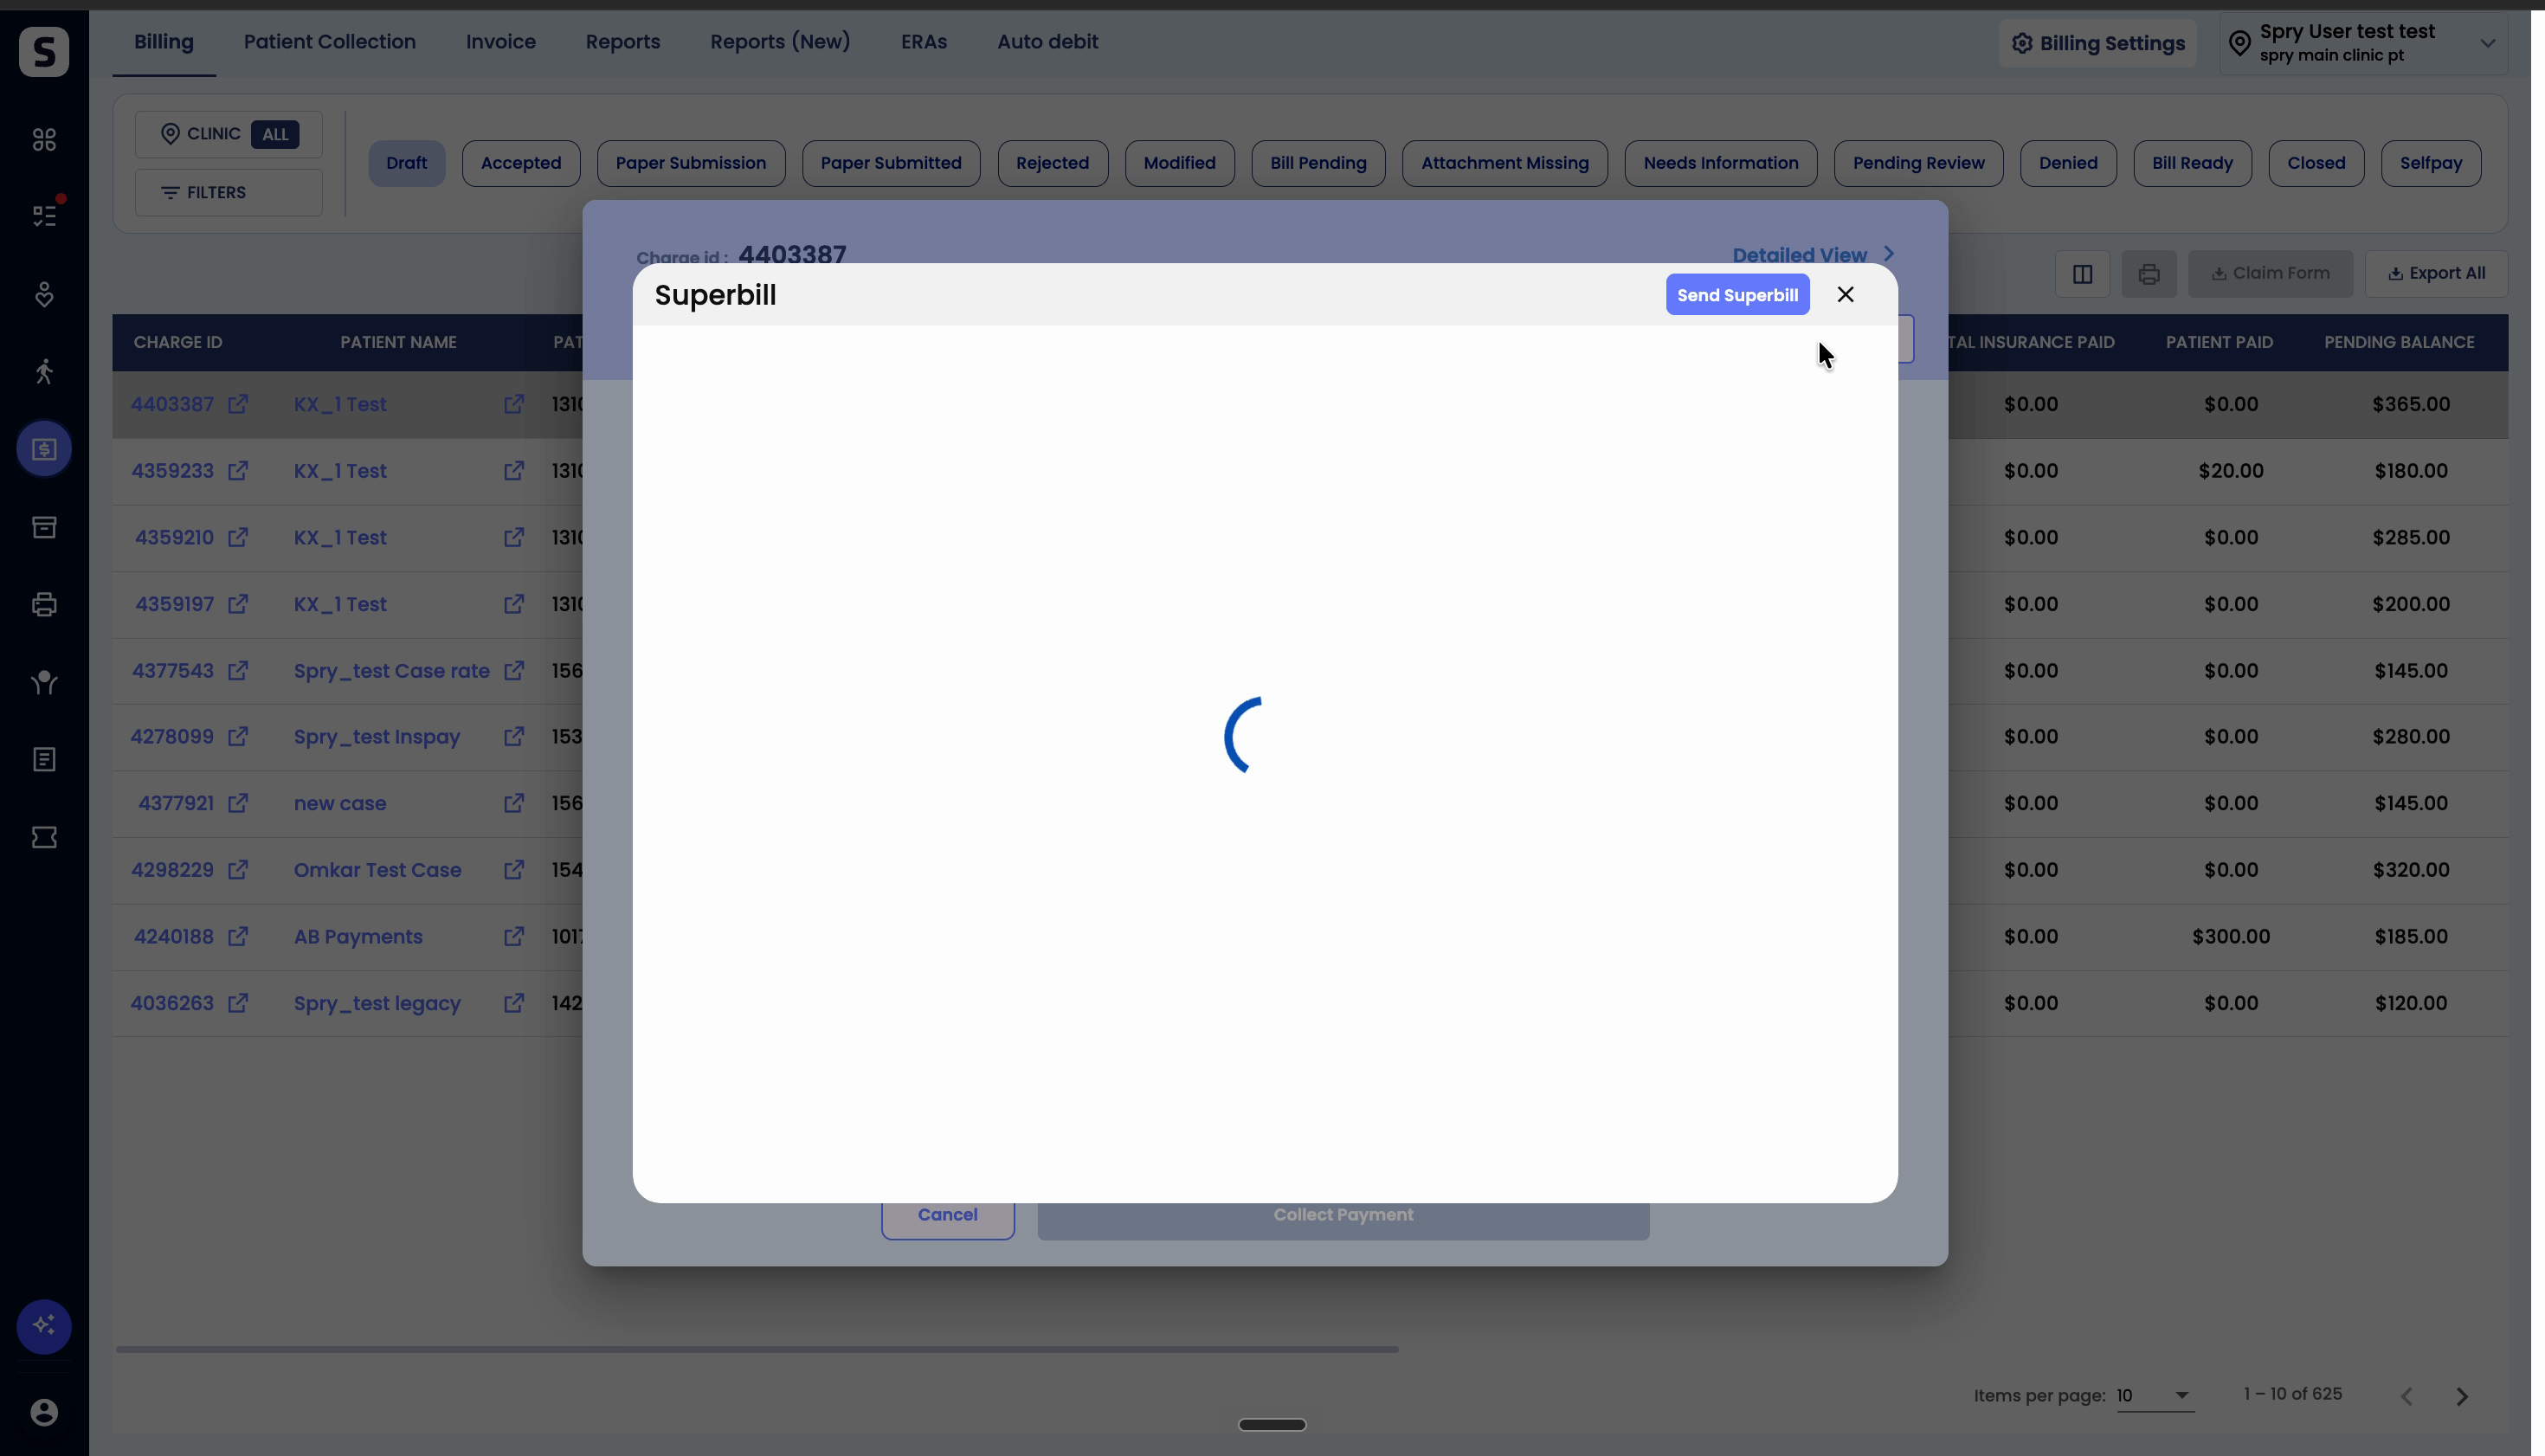
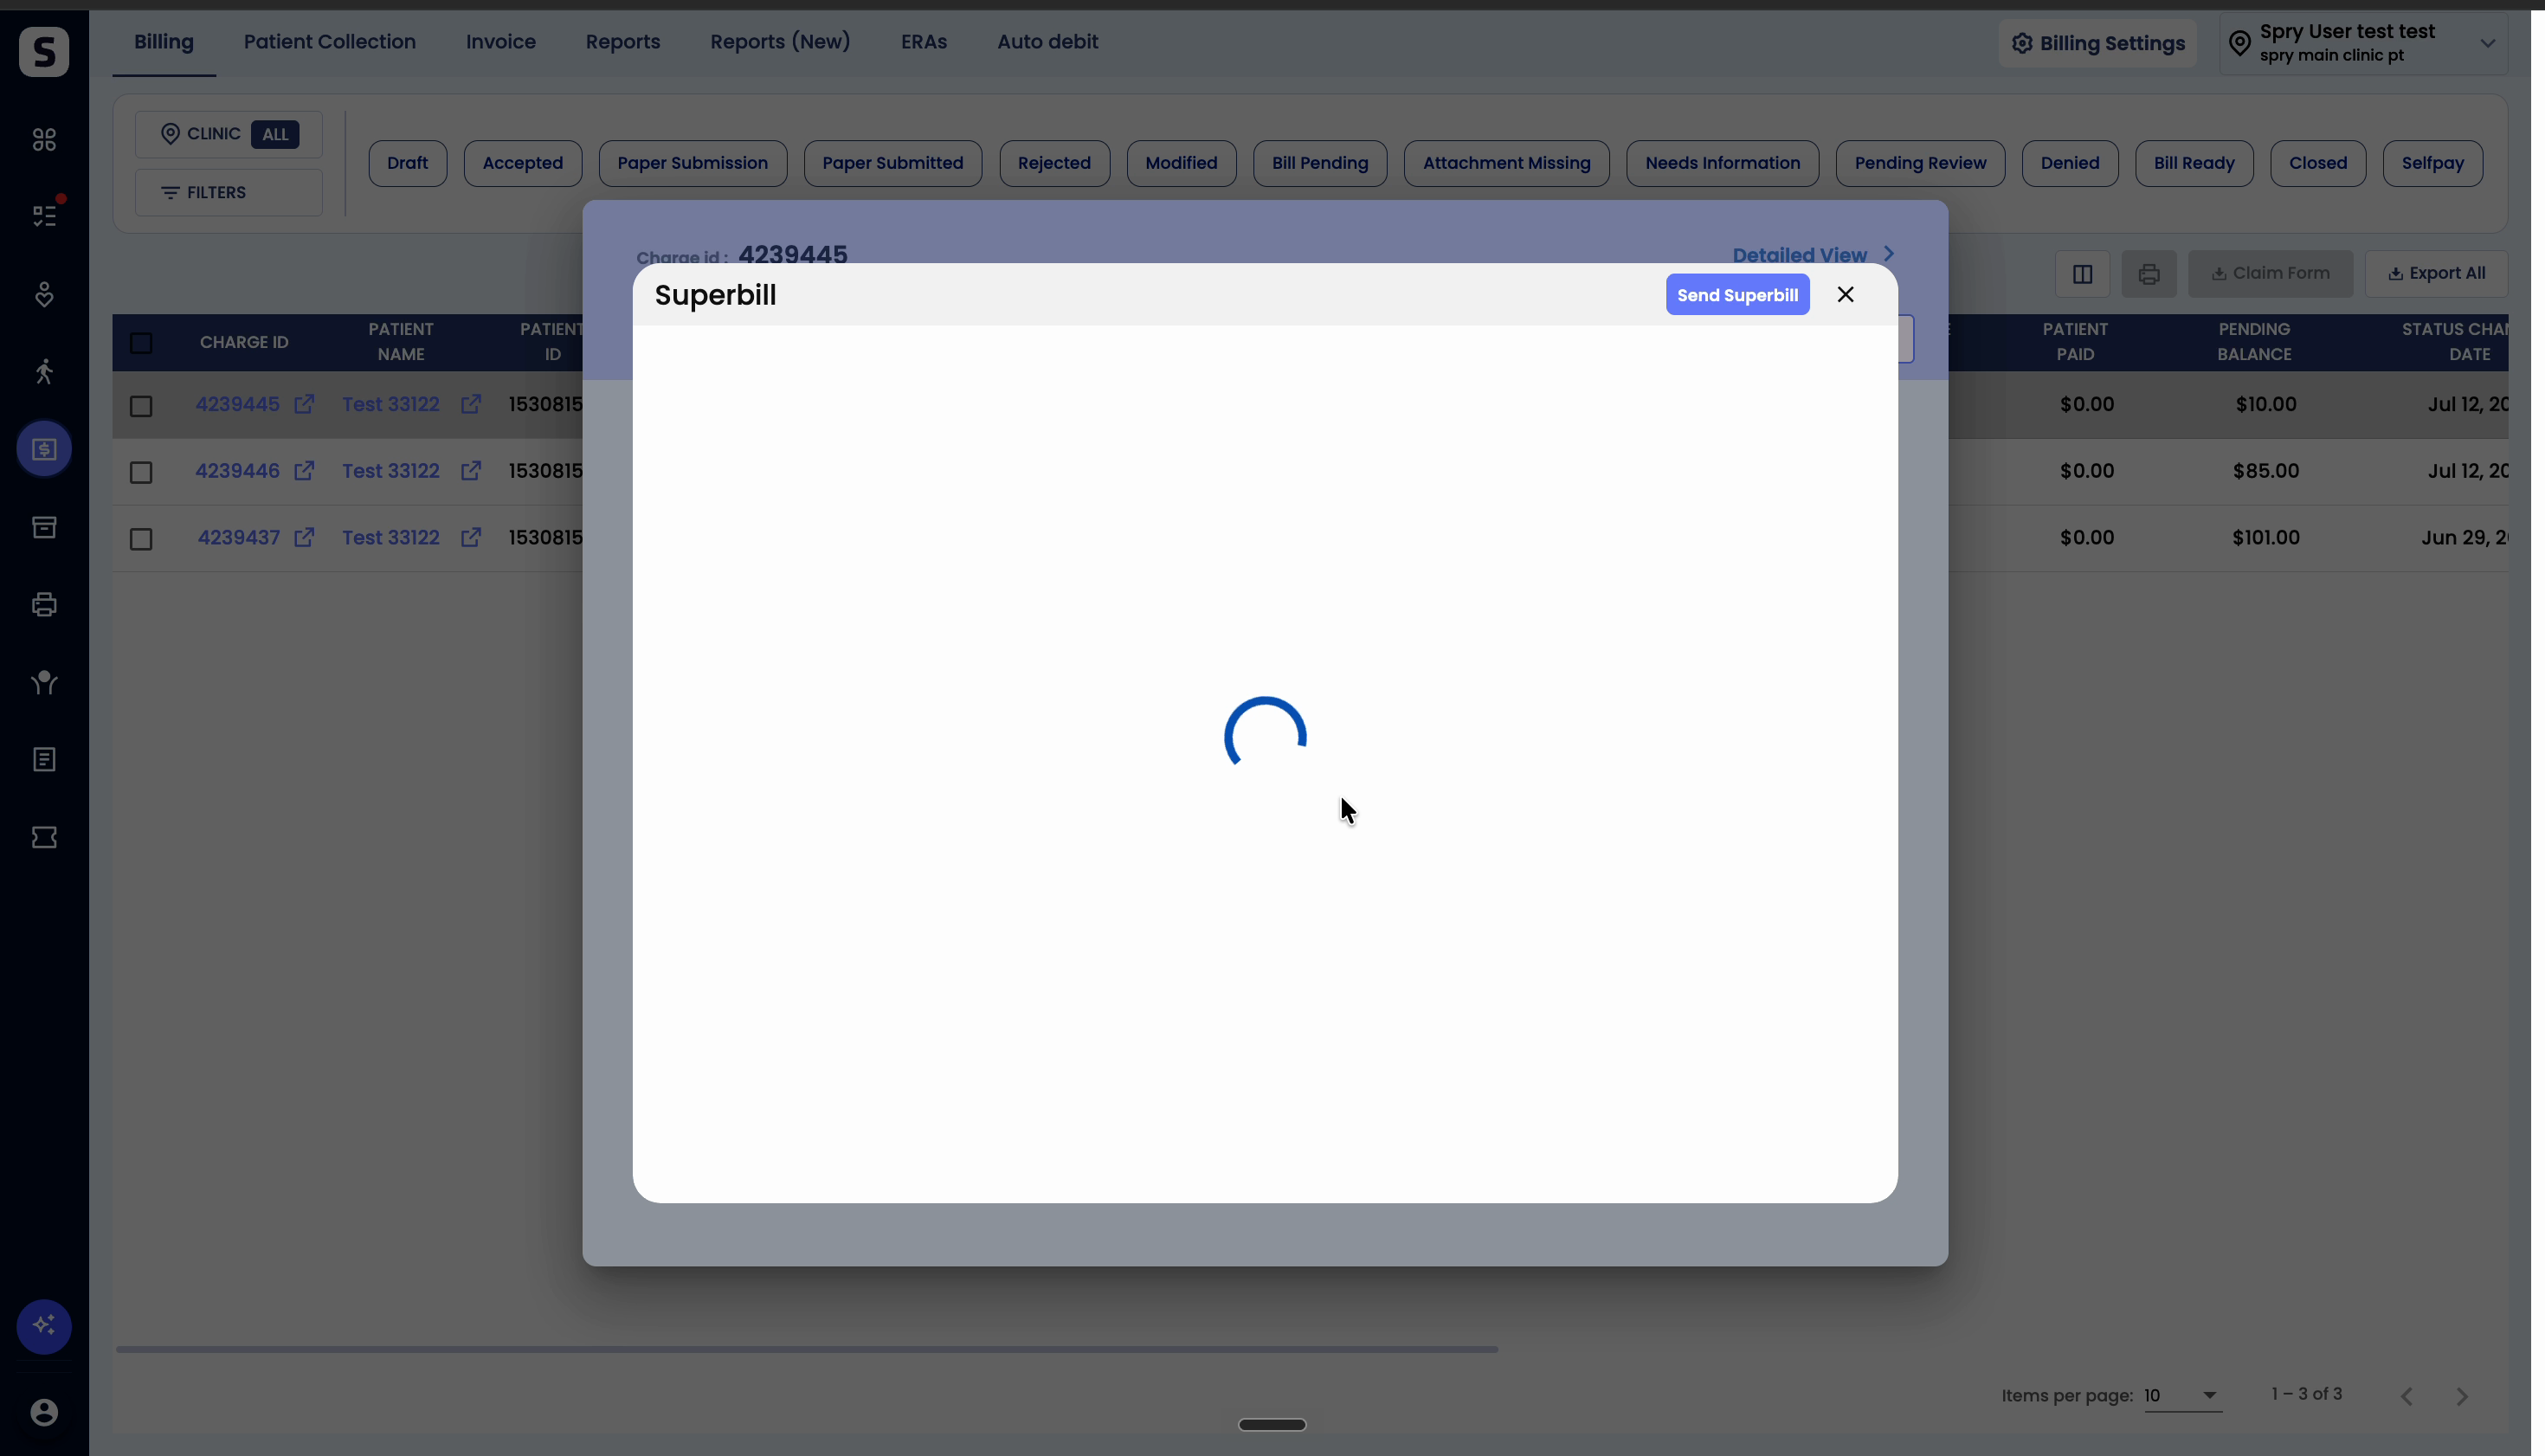
Step 3: The Super Bill will open as a PDF. Review the document directly on your screen.
Step 4: To keep a copy, click the Download button.
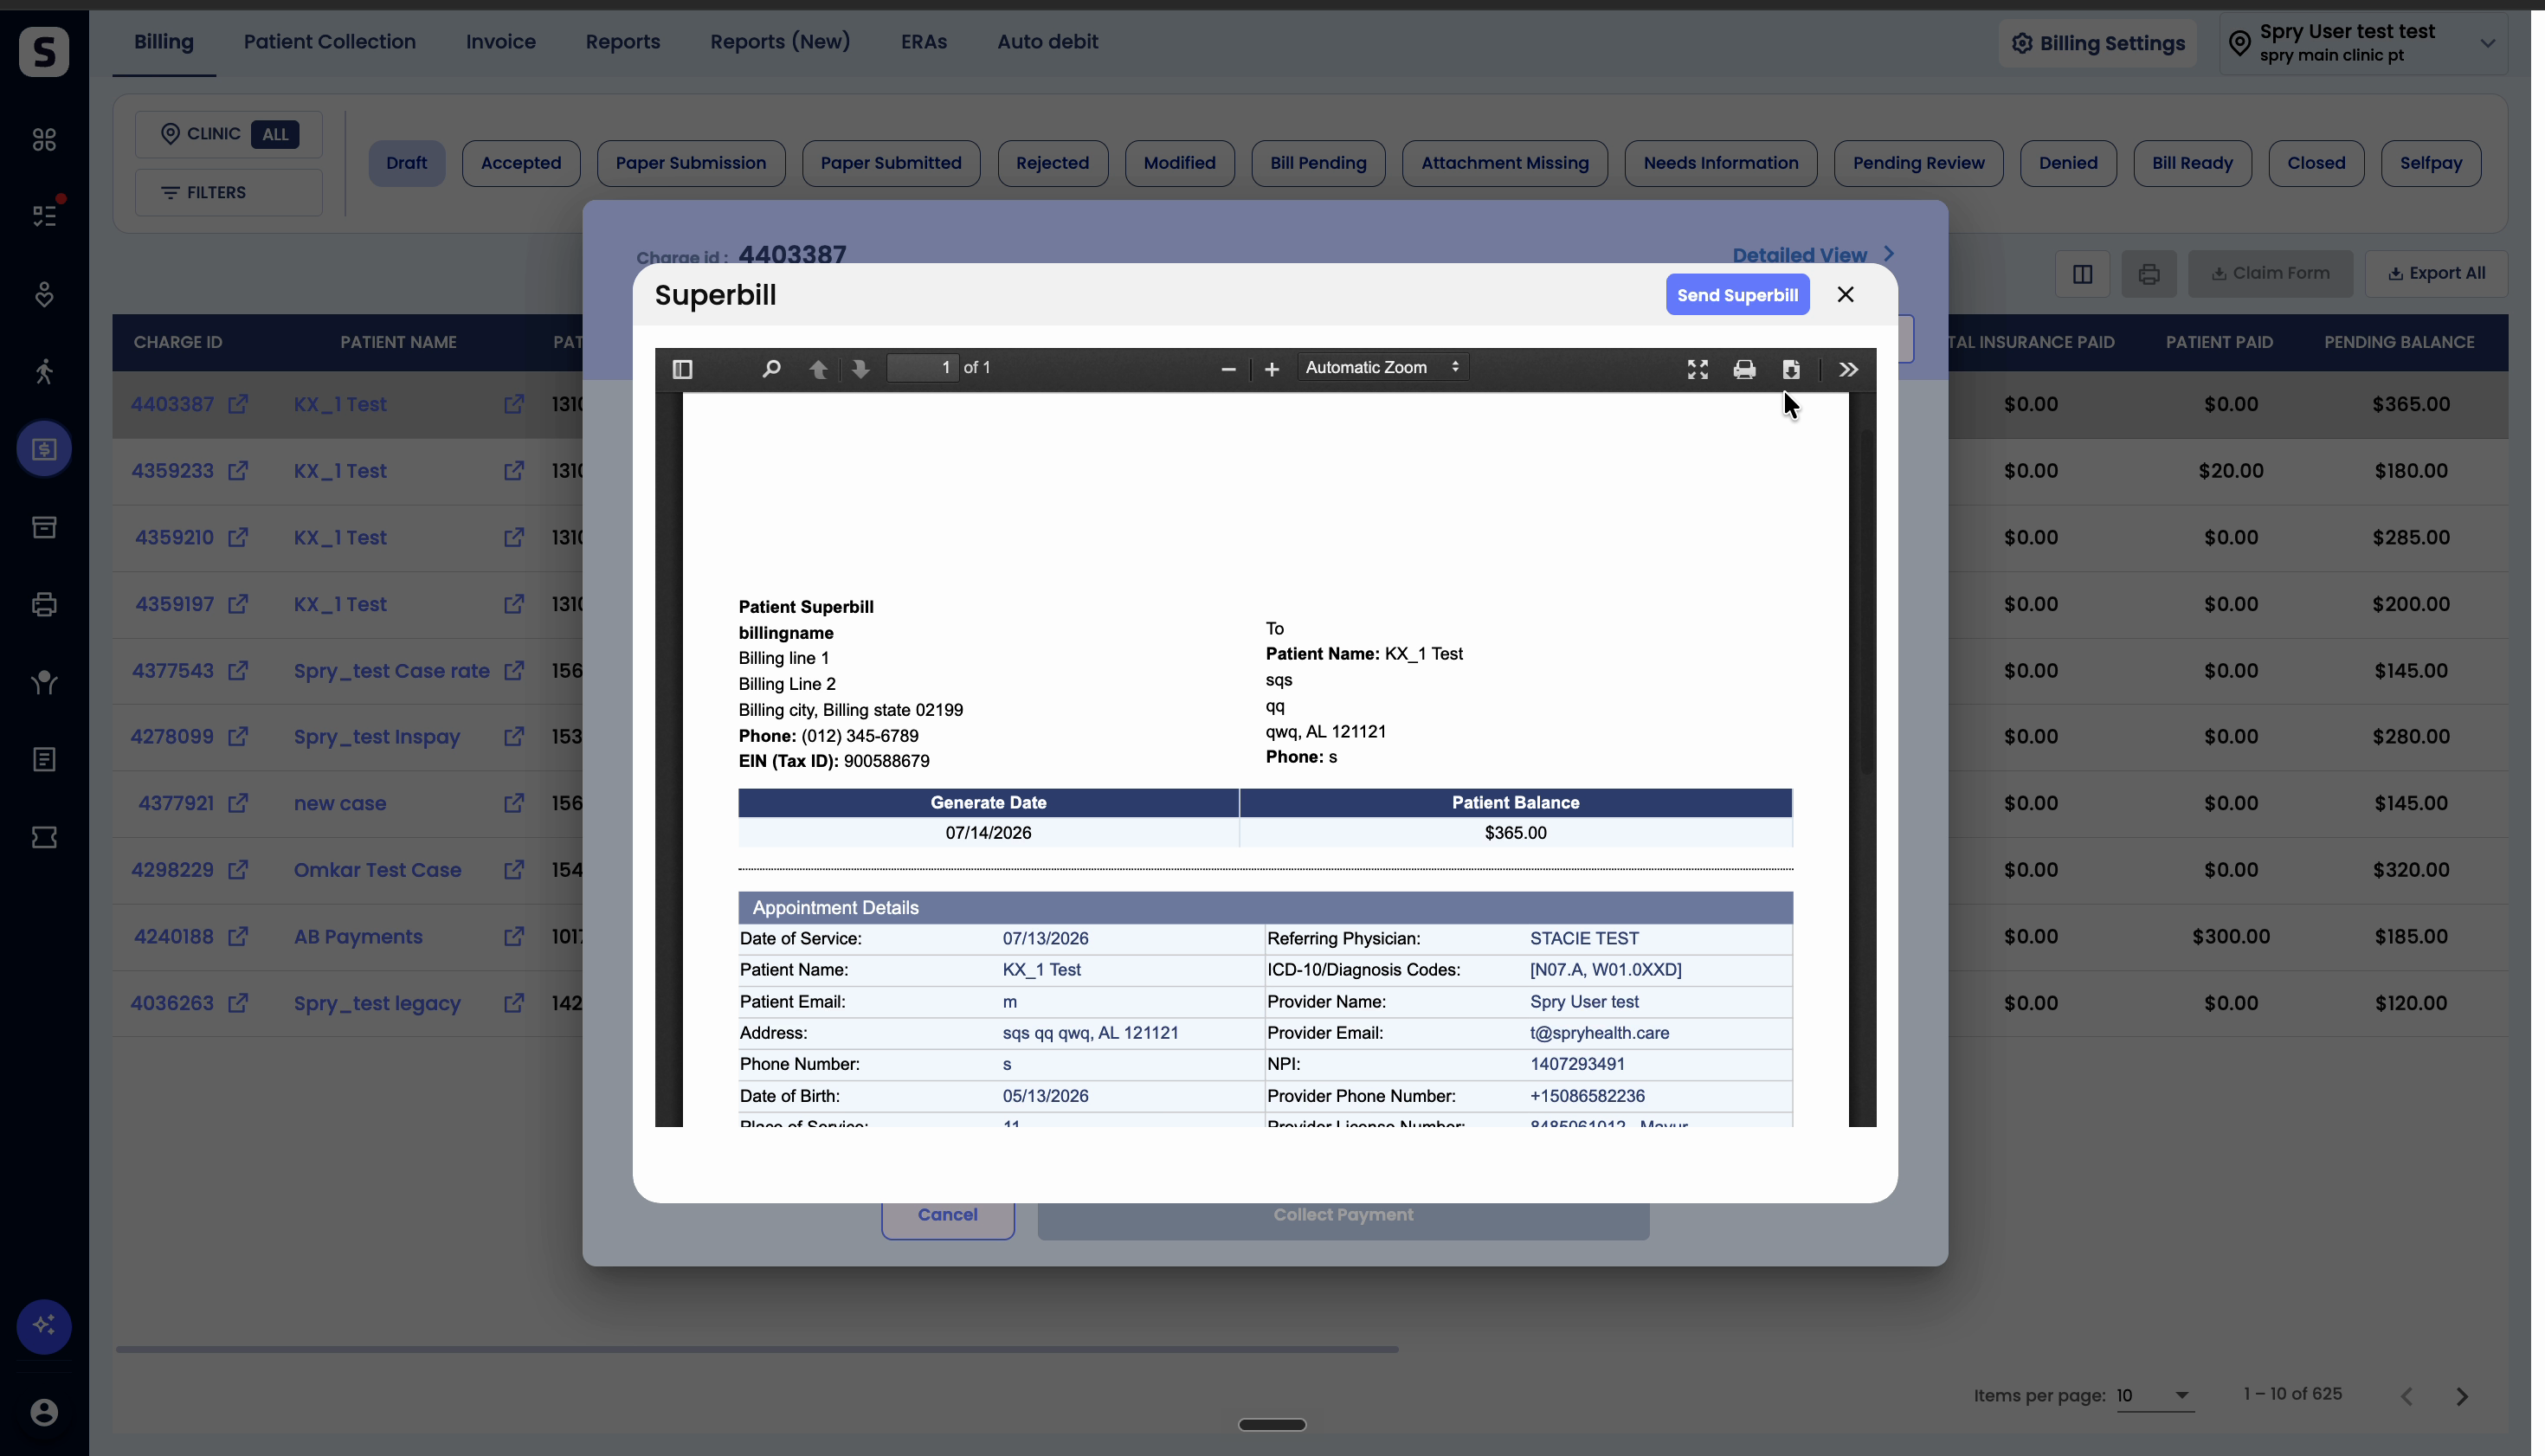
Step 5: Print the Super Bill if you need a paper copy or want to send it to the patient.
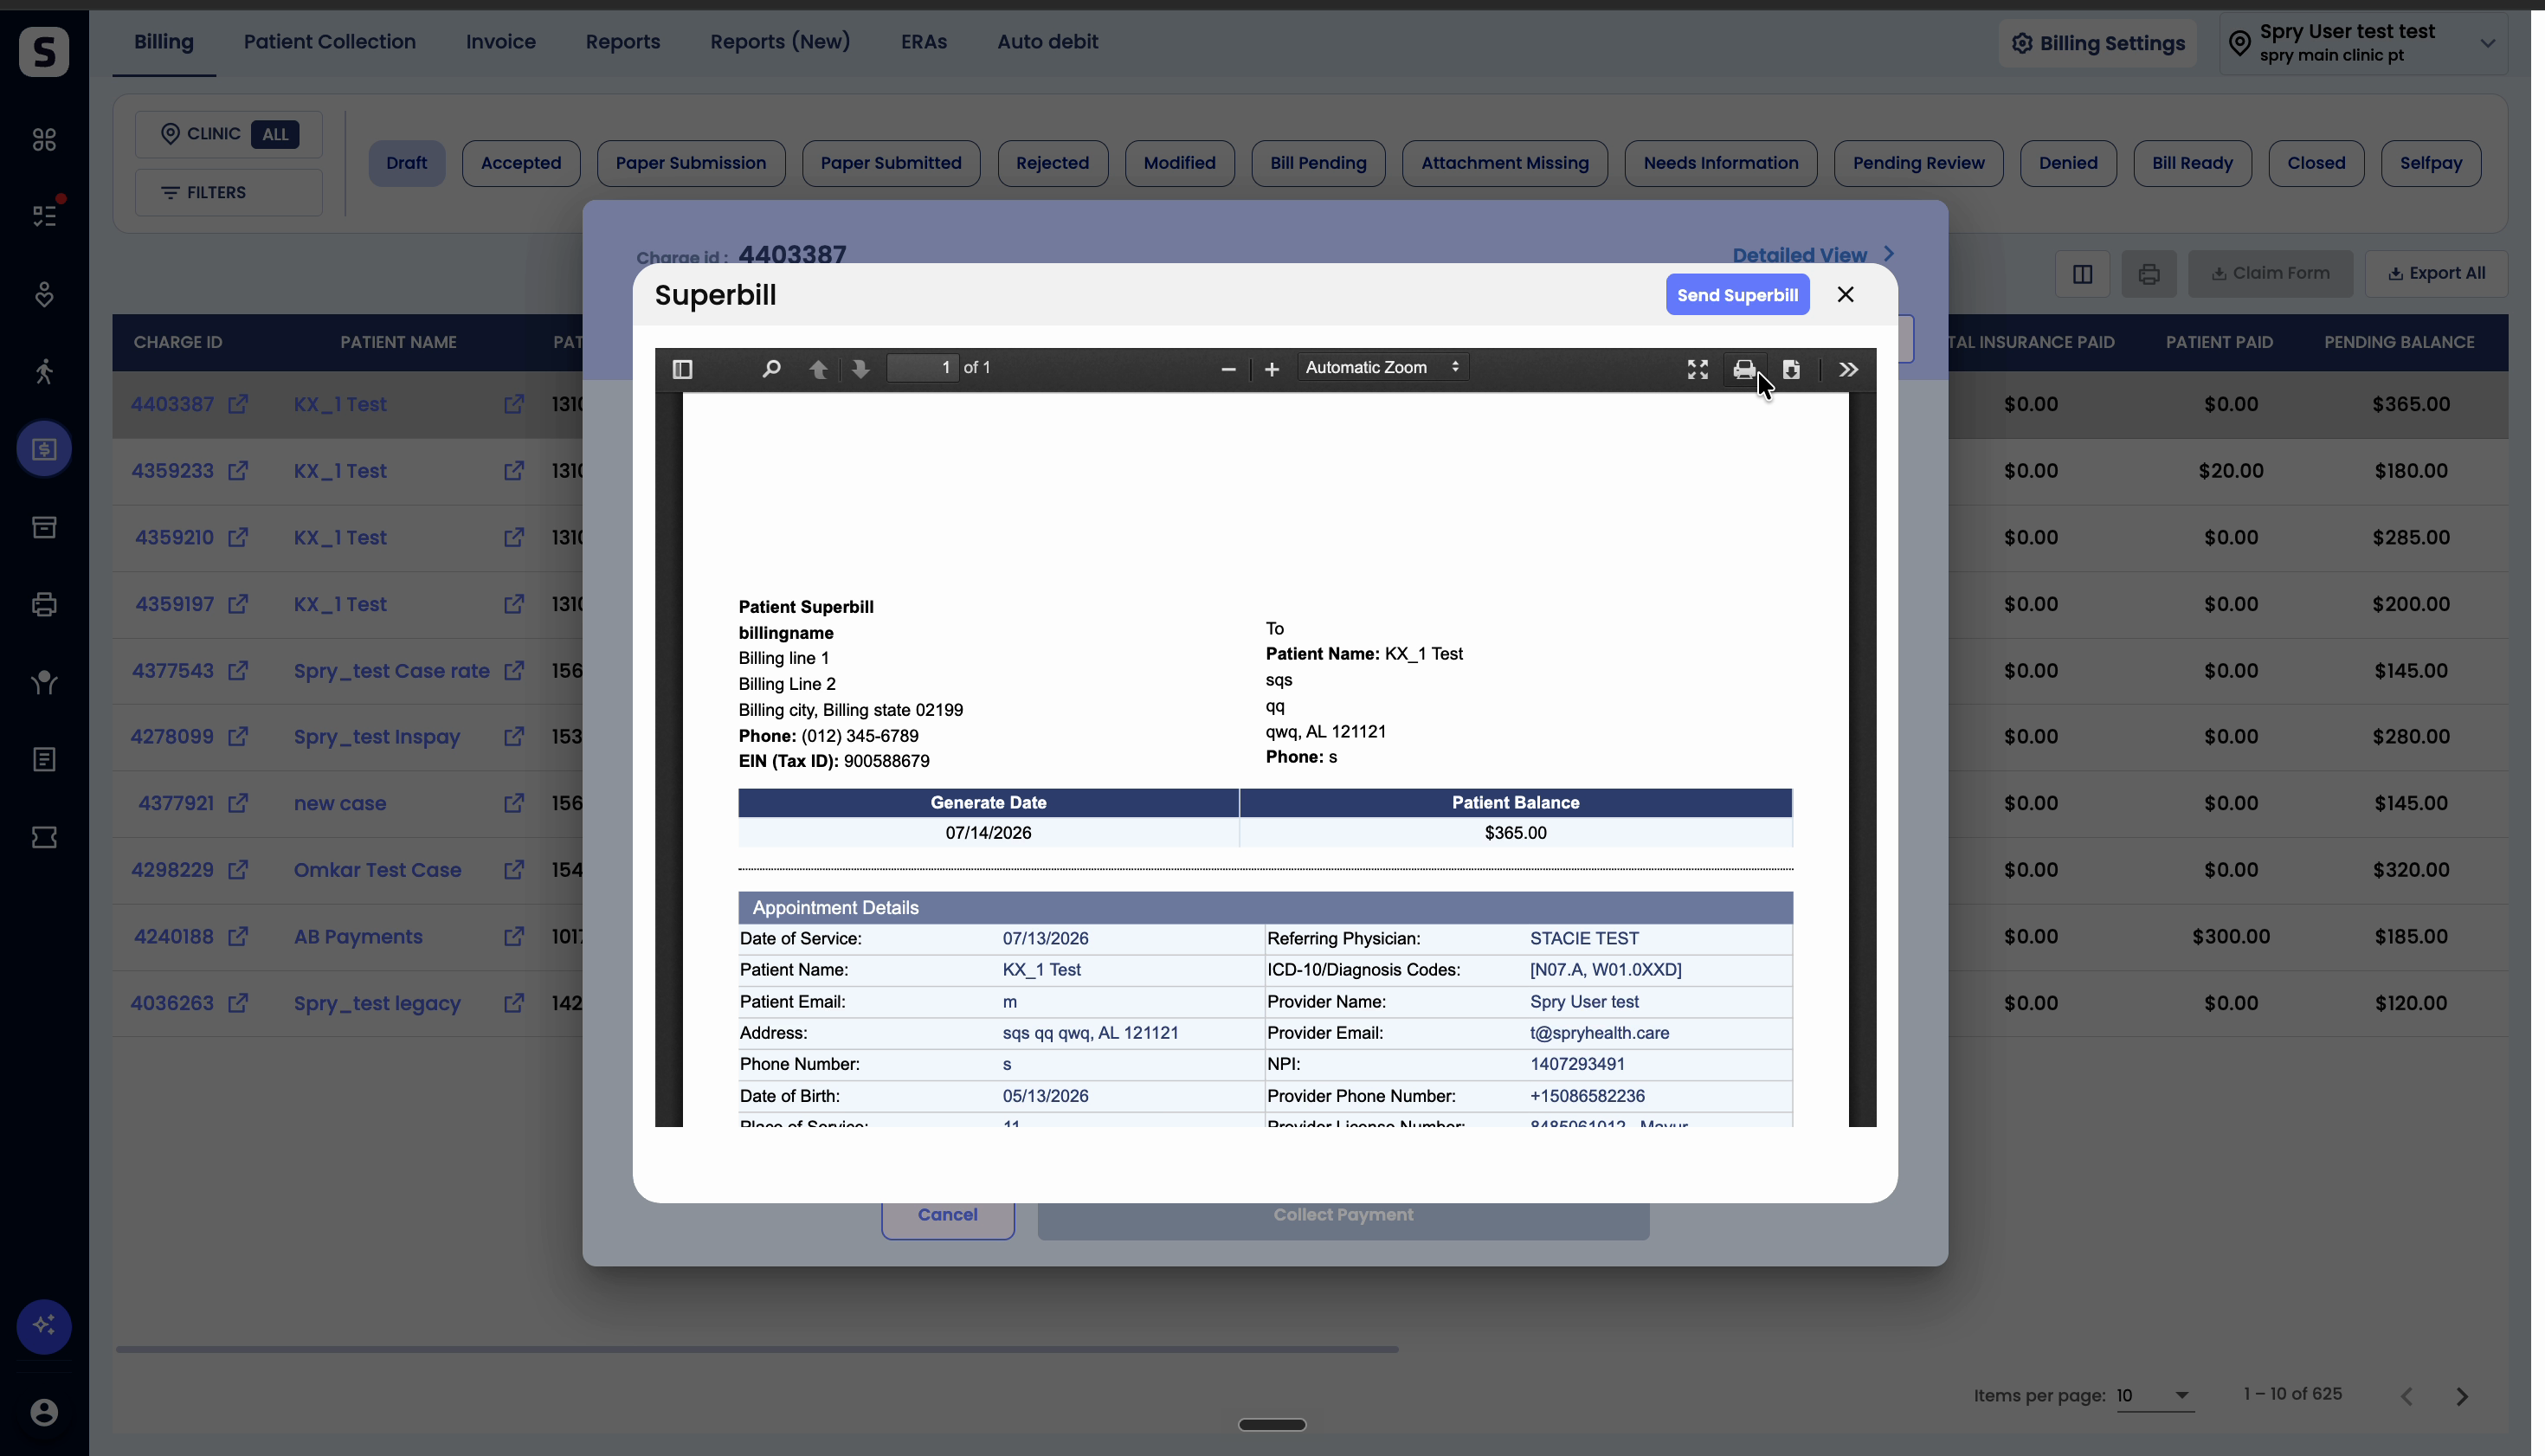
Step 6: For insurance pay appointments, this process lets you view, preview, download, and print the Super Bill.
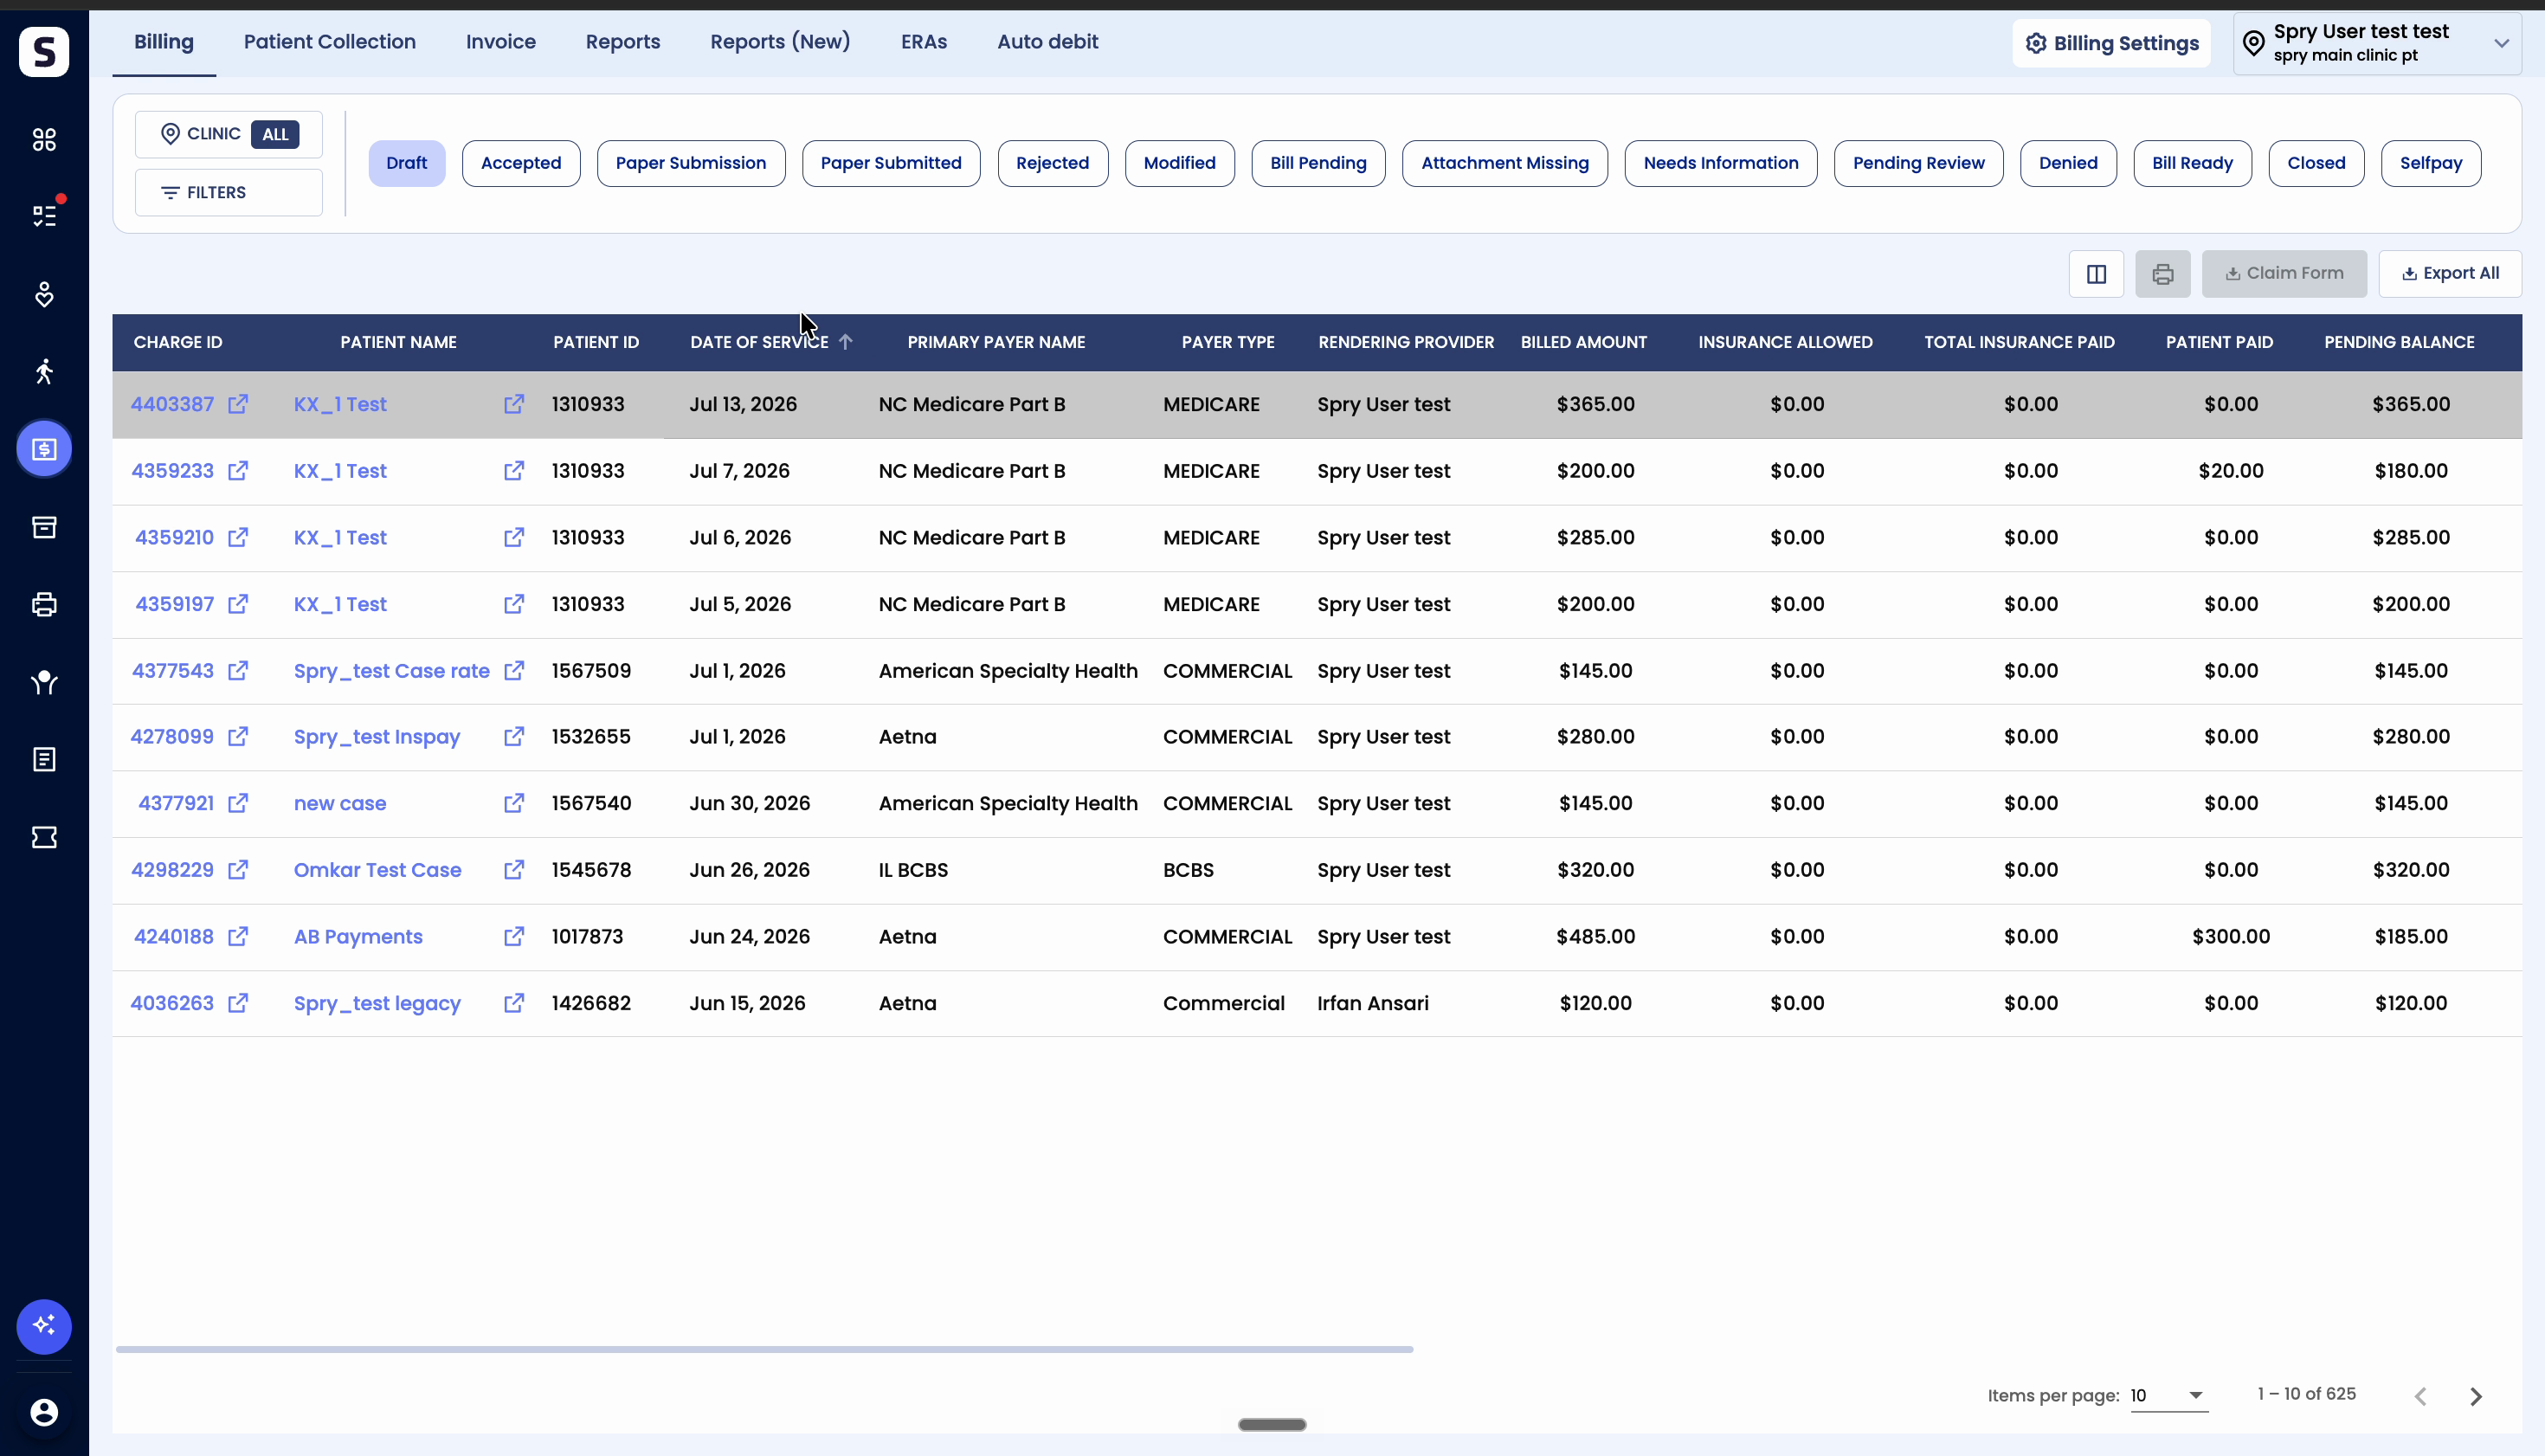
For self-pay appointments, follow these same steps to generate a Super Bill. You’ll have options to bill by fixed rate or fee schedule.
Step 7: Choose between Fixed Rate or Fee Schedule when generating the Super Bill.
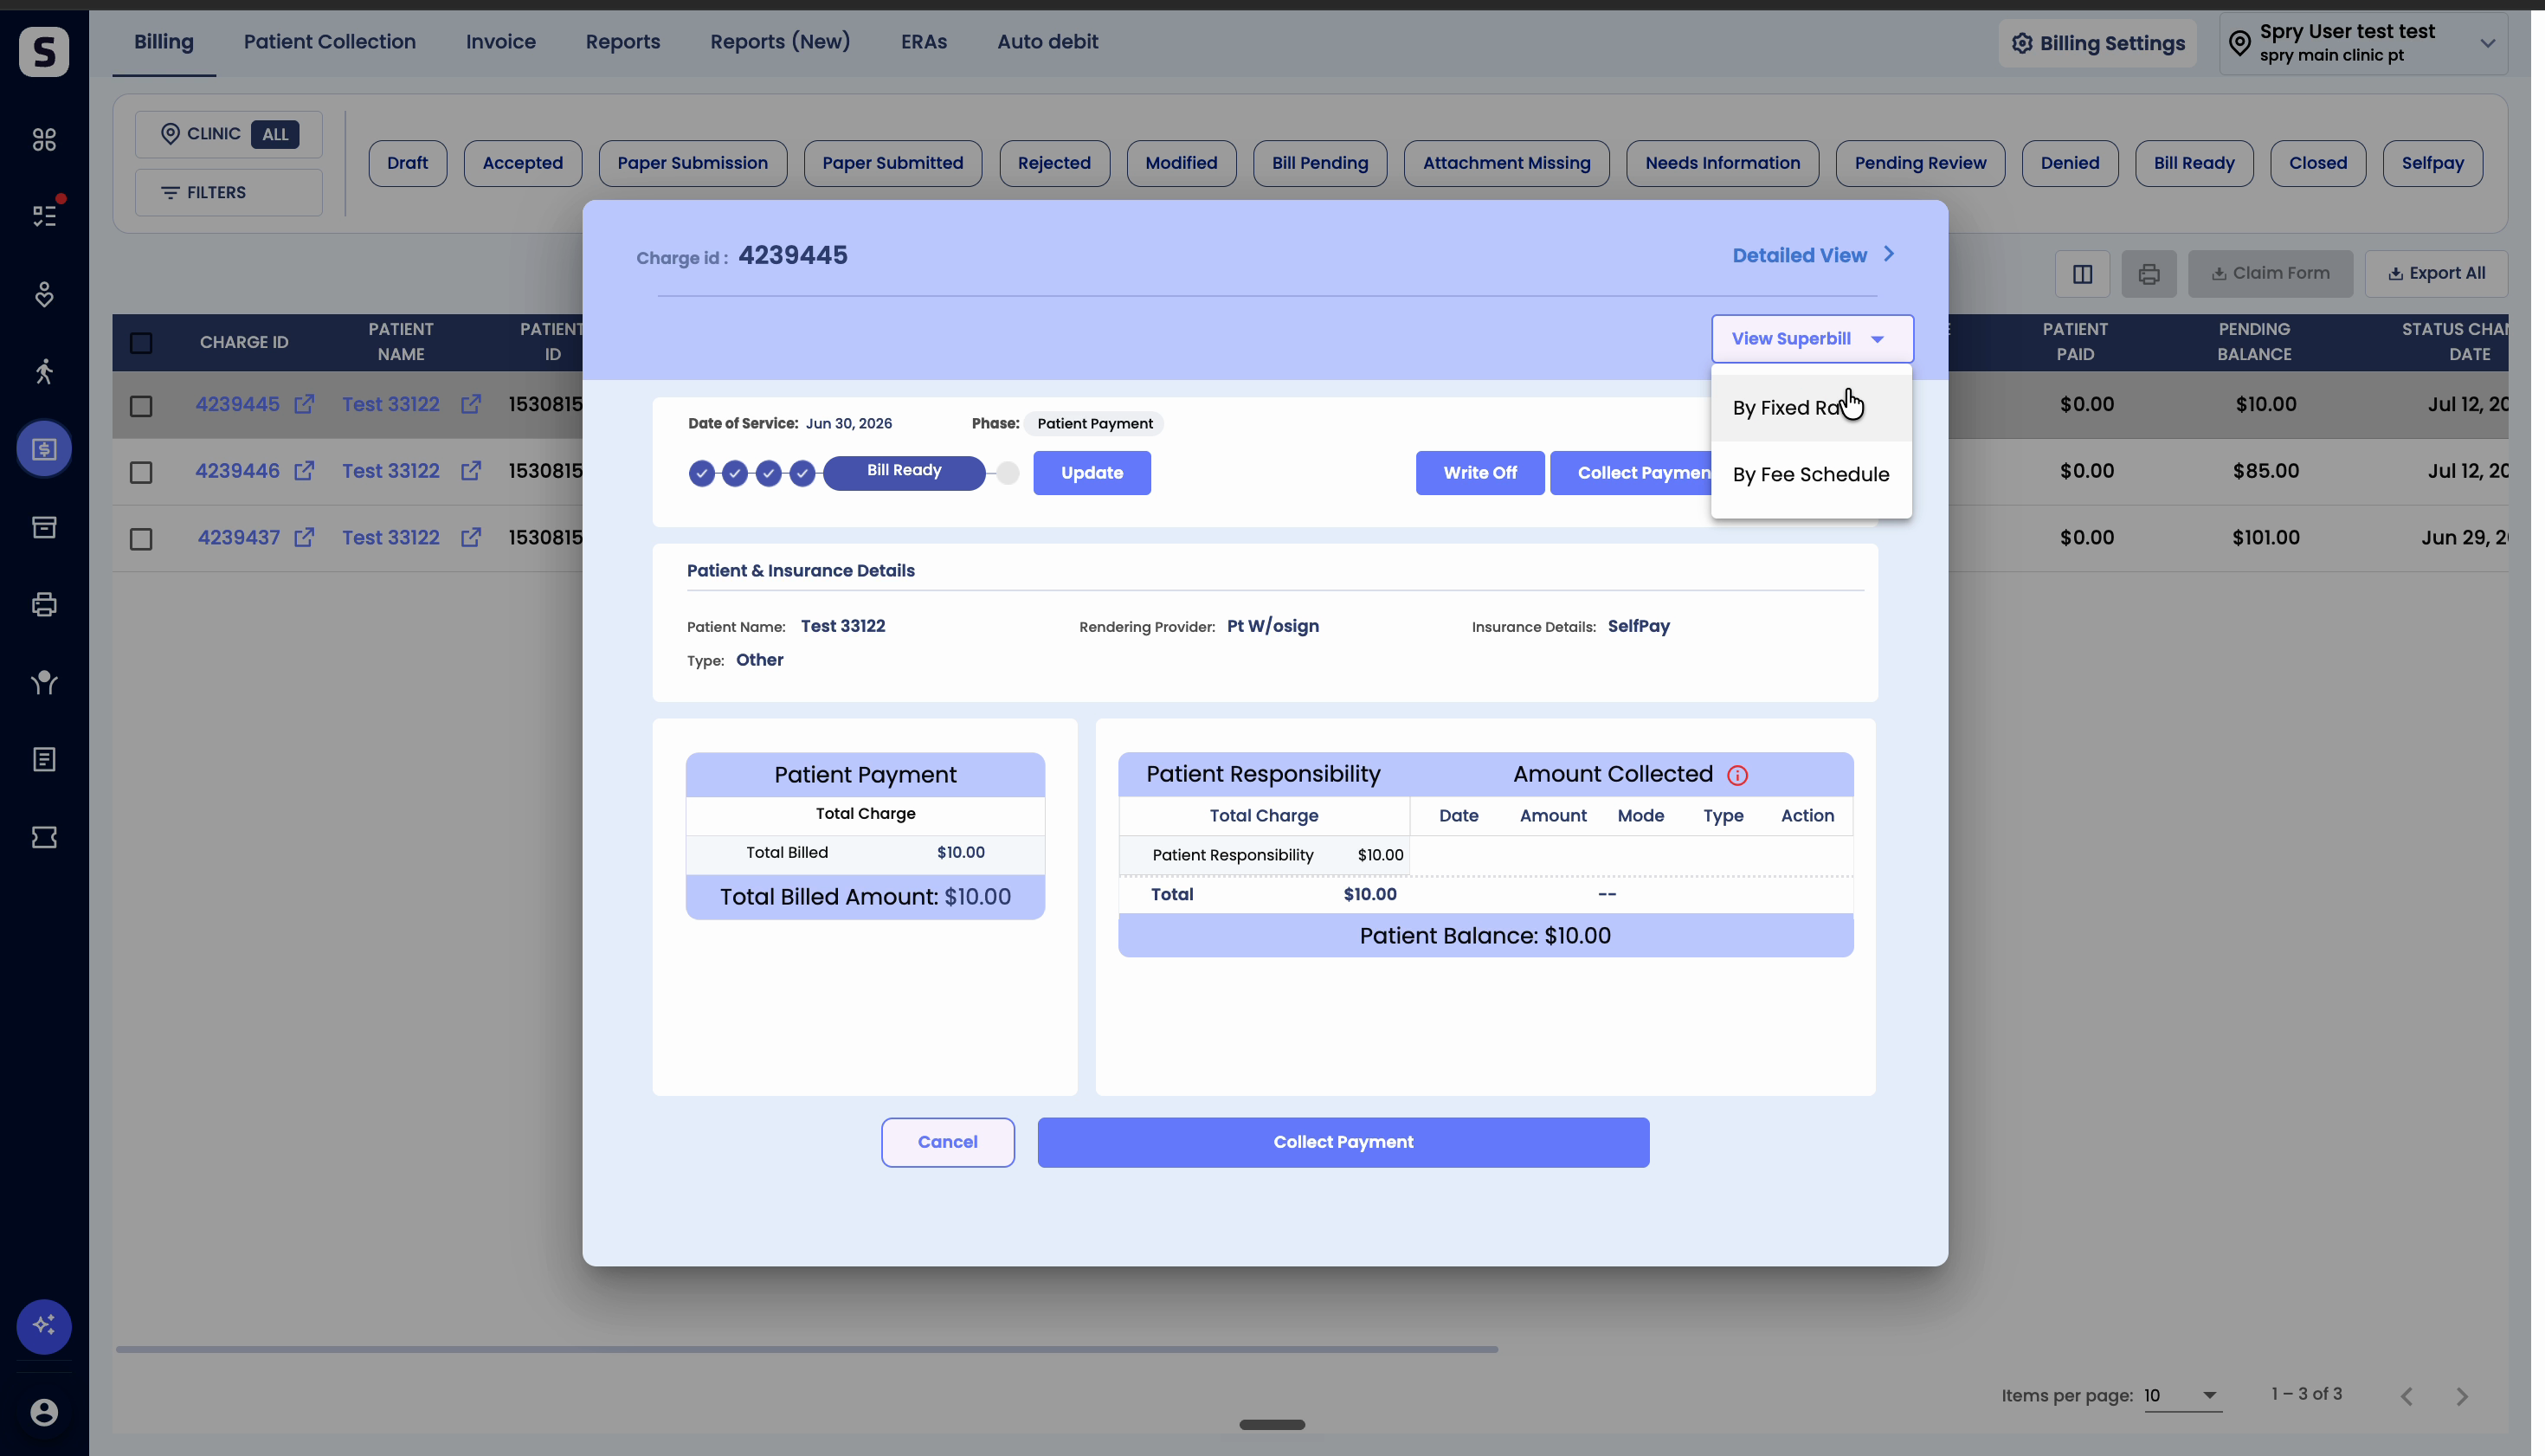
Step 8: If you select Fixed Rate, the Super Bill is created using the rate set for that self-pay appointment.
Step 9: The Super Bill will reflect the specific rate and patient details for the appointment.
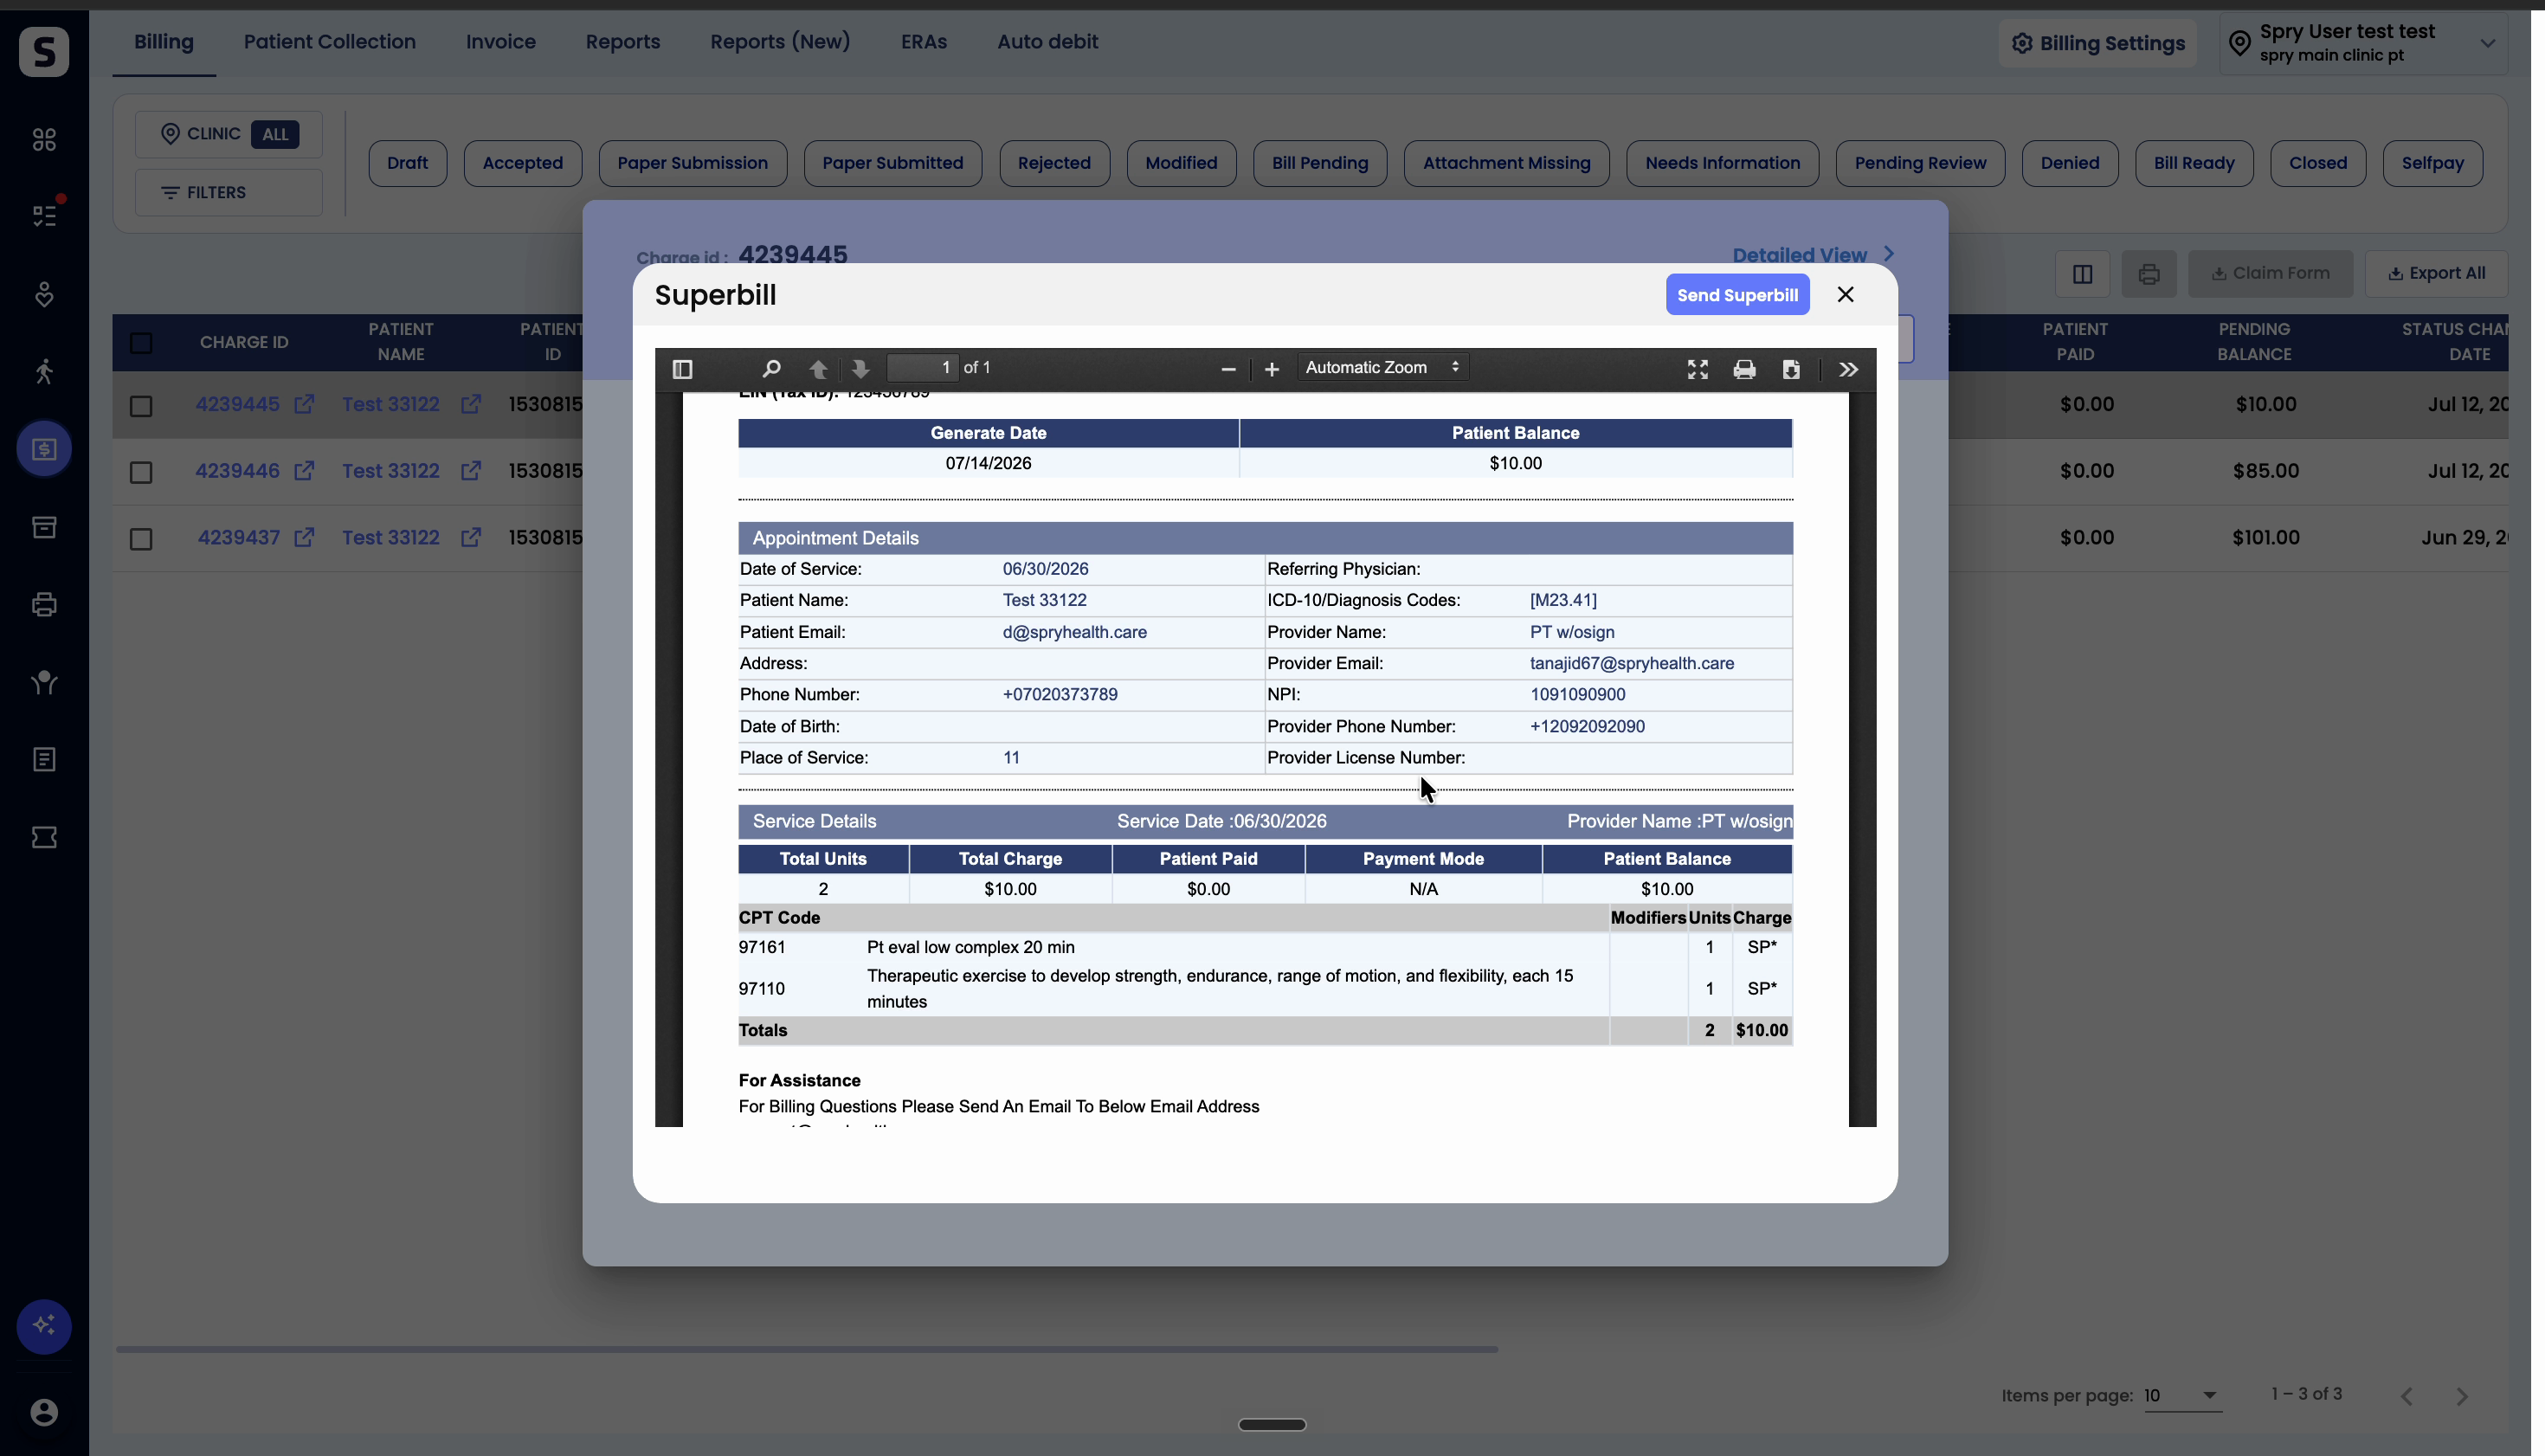
Step 10: If you choose Fee Schedule, the Super Bill uses the fee schedule and appropriate CPT codes for that appointment type.
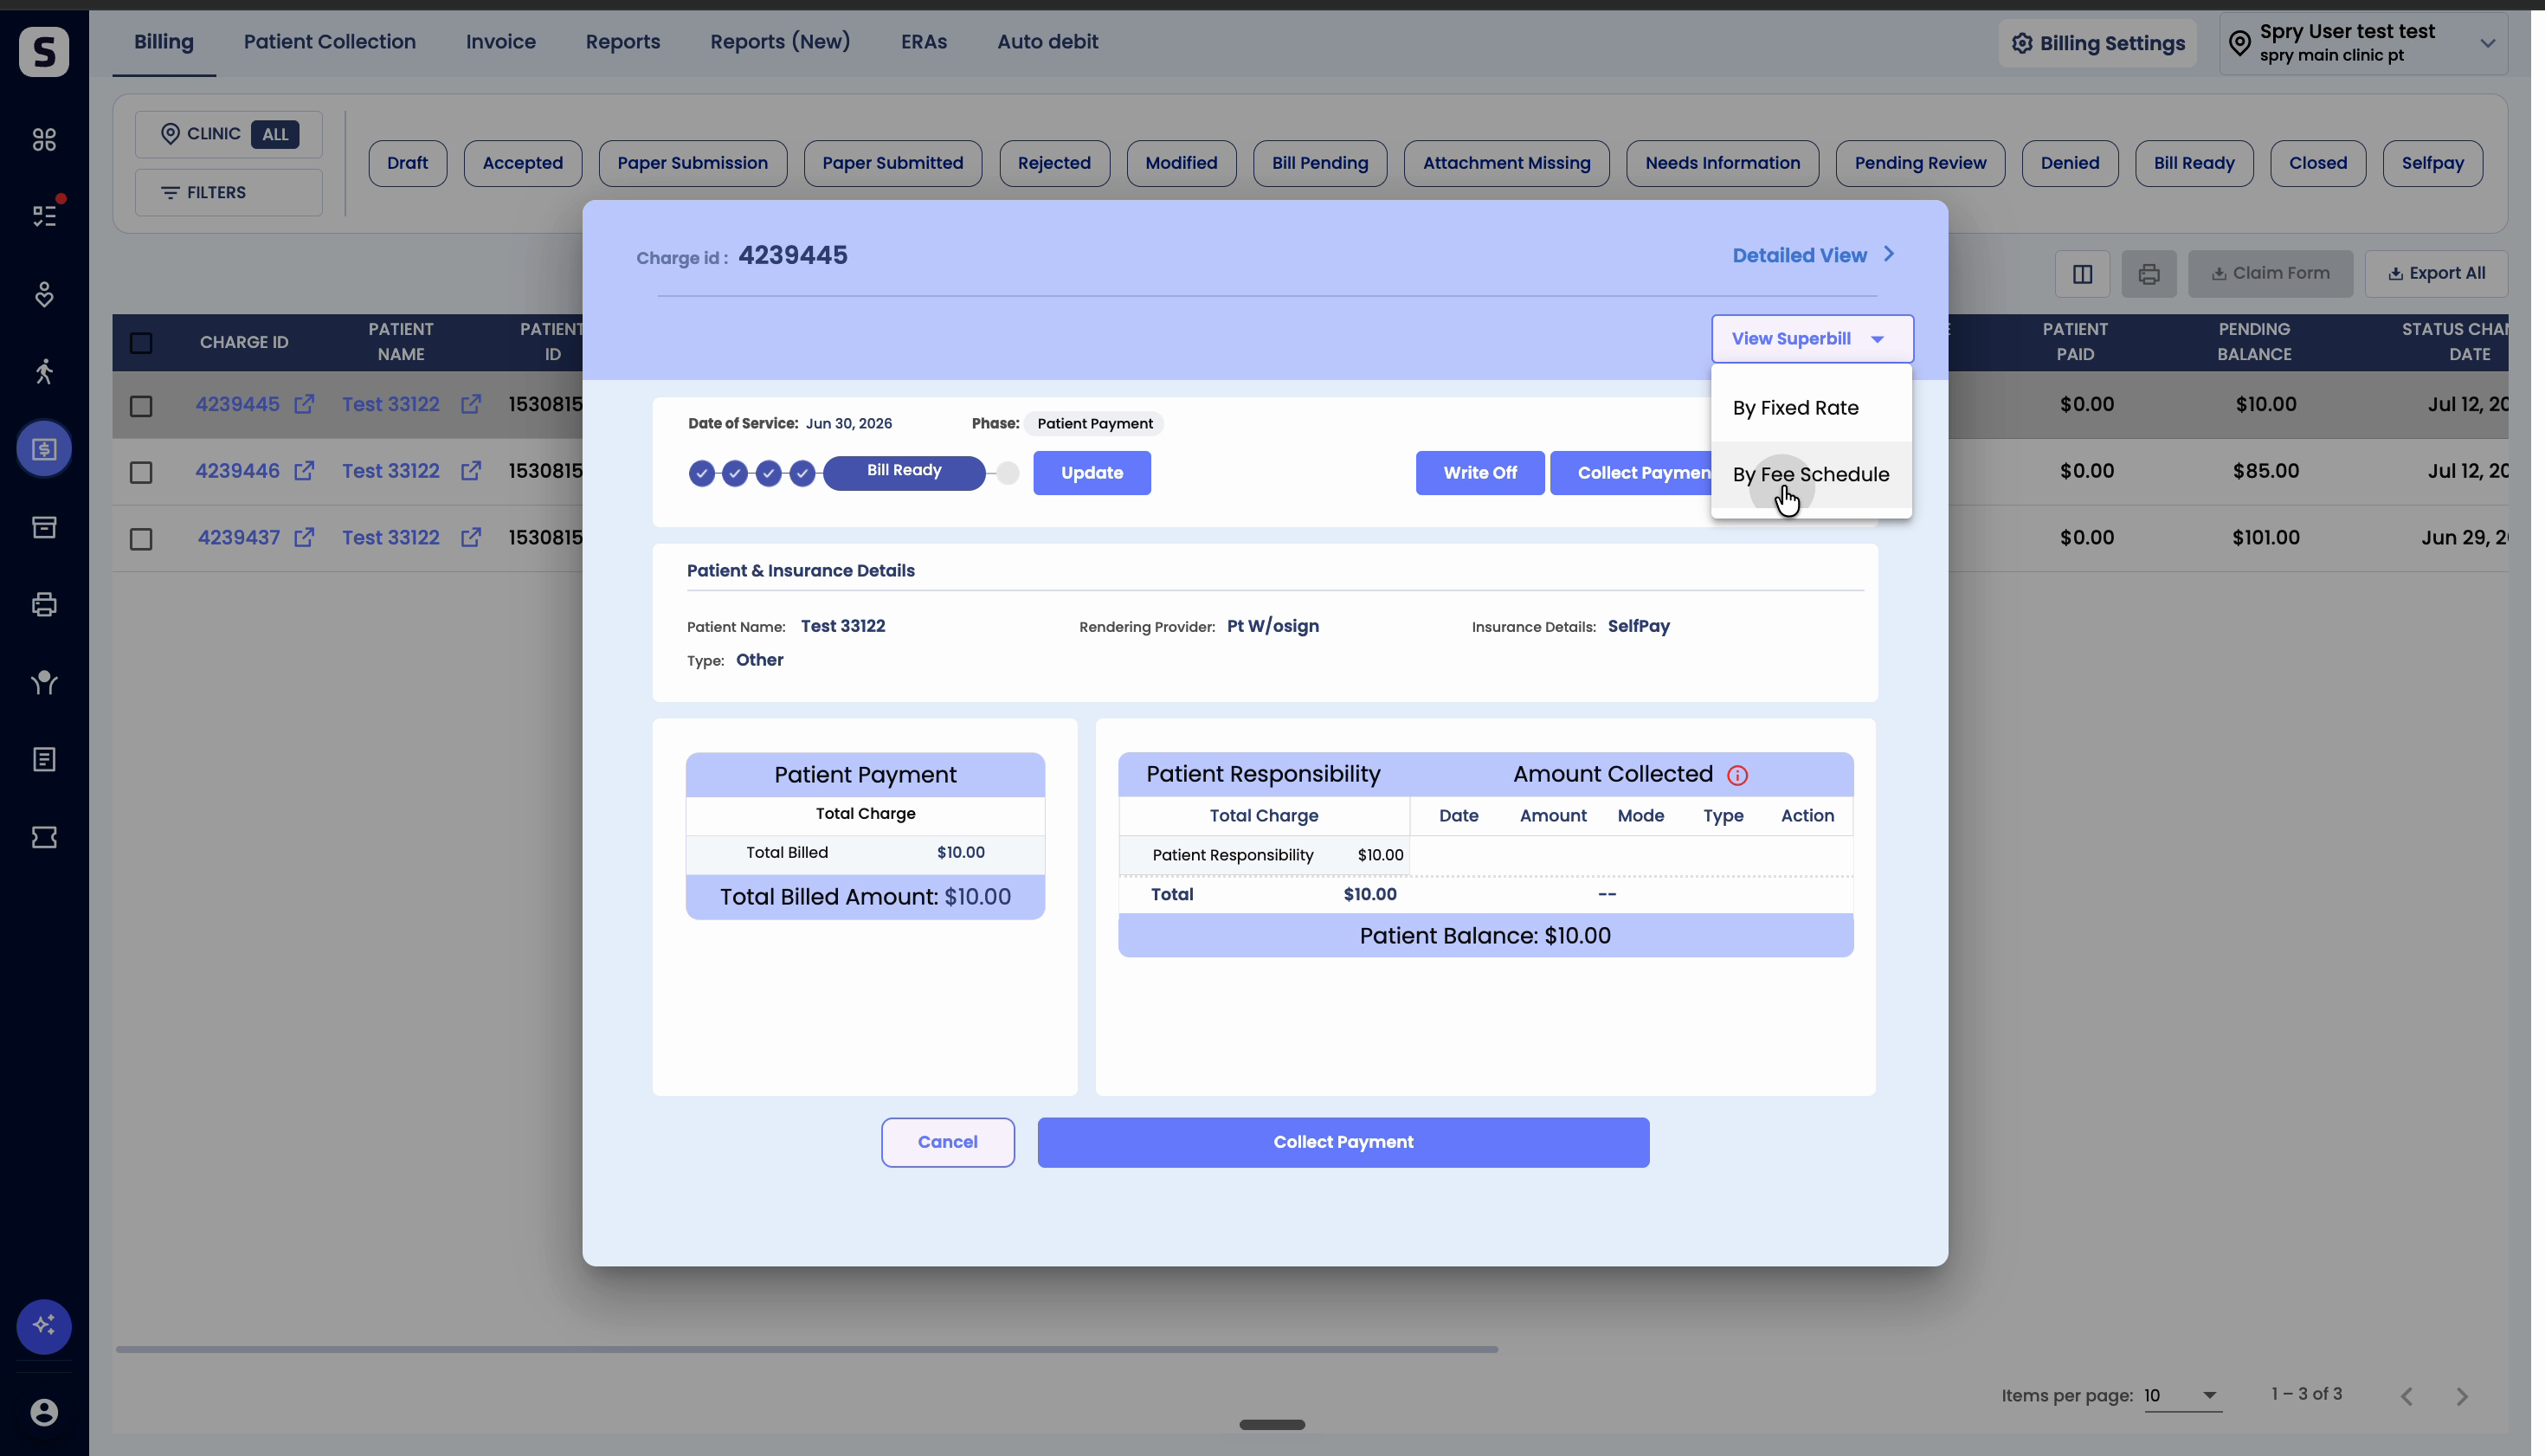
Step 11: You can also generate the Super Bill directly from the overview screen of the Charge ID.
Your Super Bill is now ready for download, printing, or sharing. This ensures patients have the required documentation for insurance or personal records, no matter how the appointment was billed.