Bulk Invoice Overview
Explore the new feature, Invoices. This guide will walk through the process of setting up, scheduling, and managing invoices.
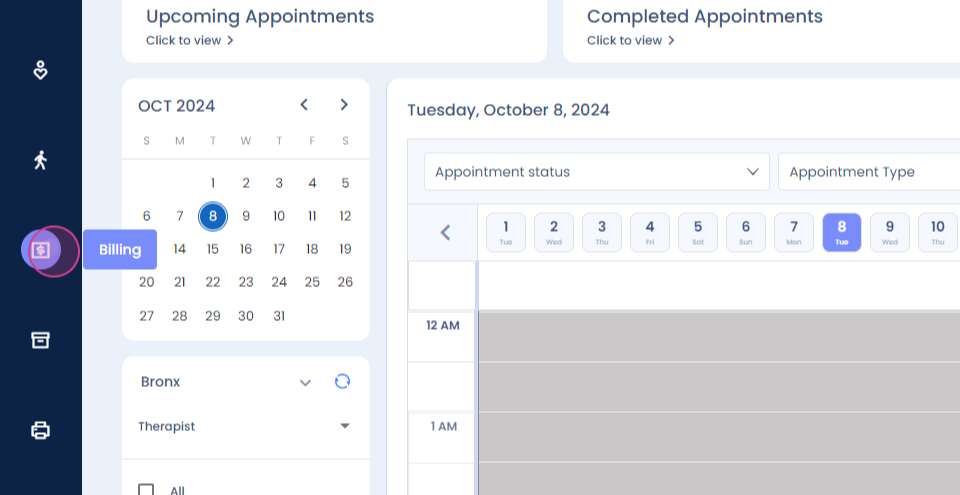
Step 1: Navigate to the Invoices feature by clicking on Billing.
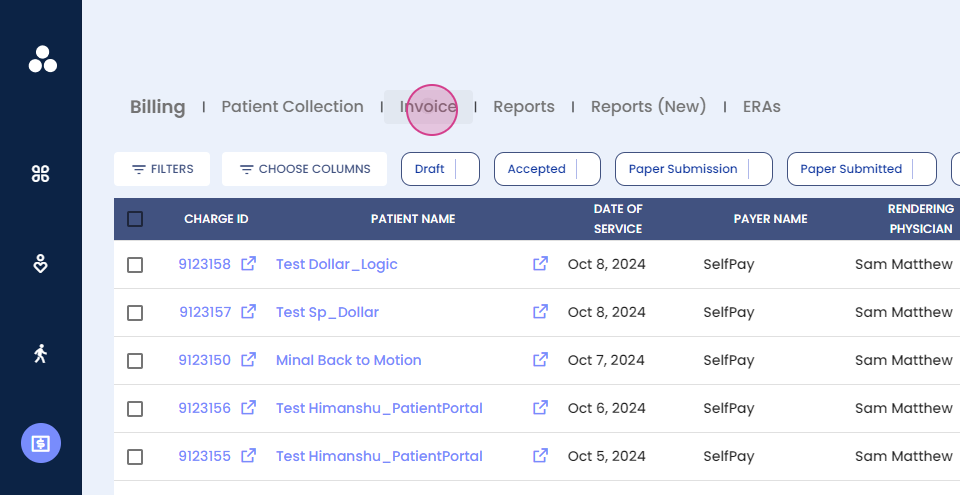
Step 2: Click on Invoice.
Step 3: Configure the invoices by clicking on Billing Setting.
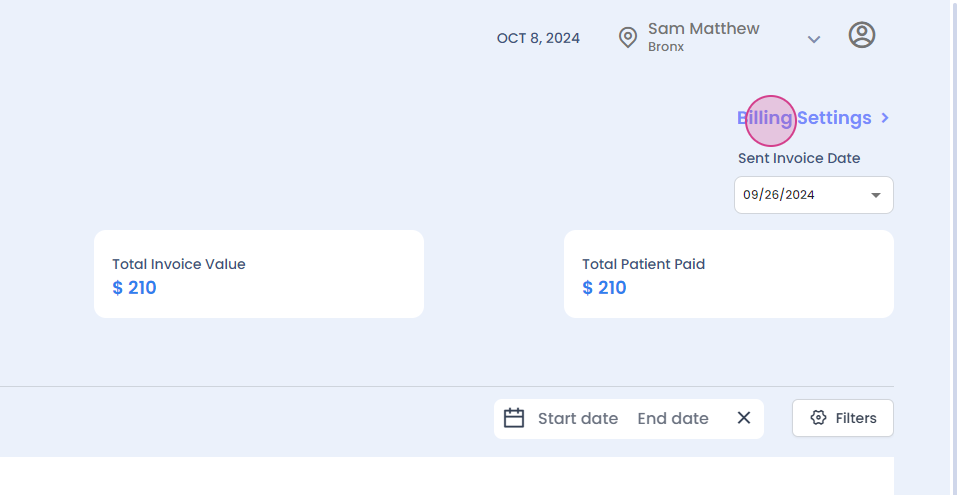
Here, there are multiple options to explore.
Step 4: View the Generated Date dropdown to see the dates when invoices were generated.

Step 5: Select a date to view the number of invoices generated, the total invoice value, and the total amount paid by patients.

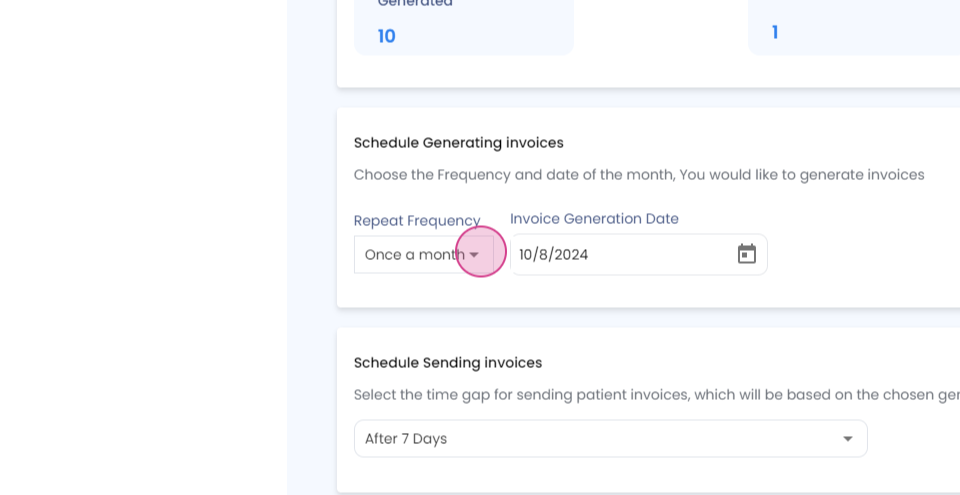
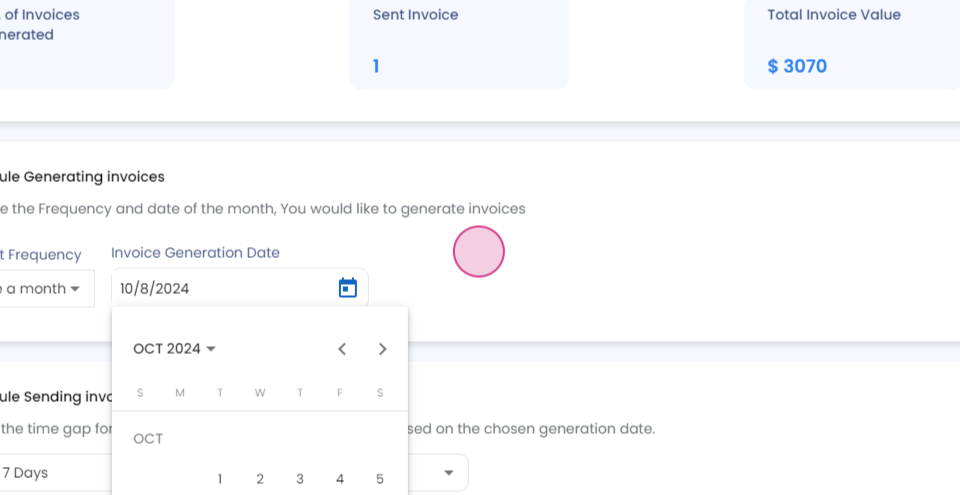
Step 1: Choose a frequency for invoice generation from the available options: once a month, every month, every fifteen days, or weekly.
Step 2: Select a date to send the invoices.

Step 3: Click on Save.

Step 4: Choose a day to schedule sending invoices from the dropdown, up to ten days in advance.
Step 5: After selecting a day, the system will alert you when the invoices will be sent.

Step 1: Enter an admin email for communication and alerts.

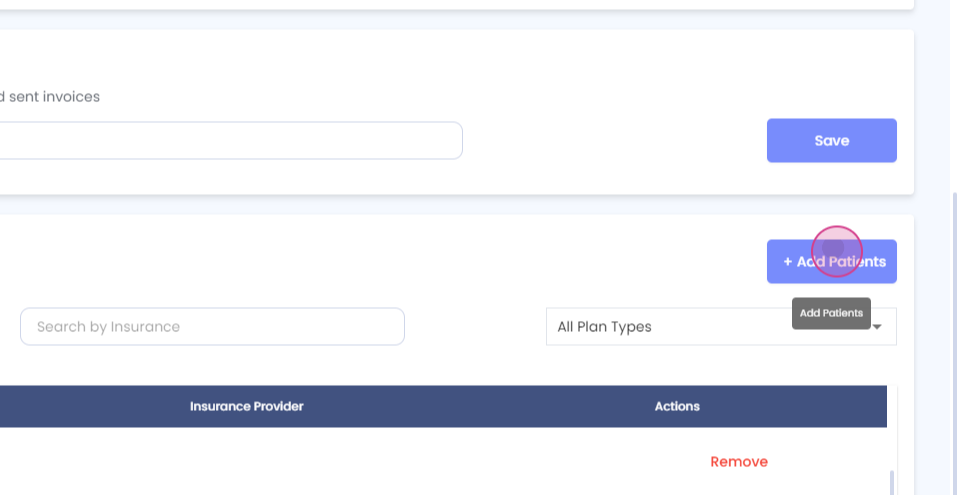
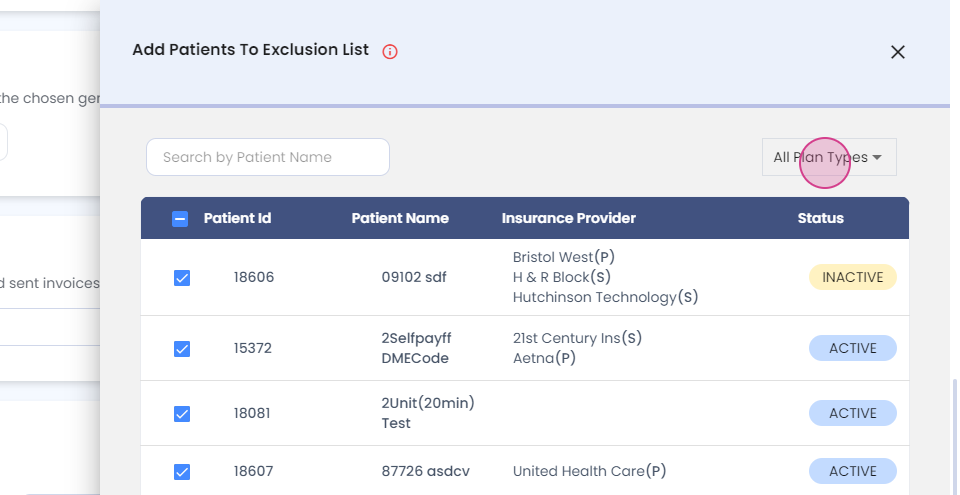
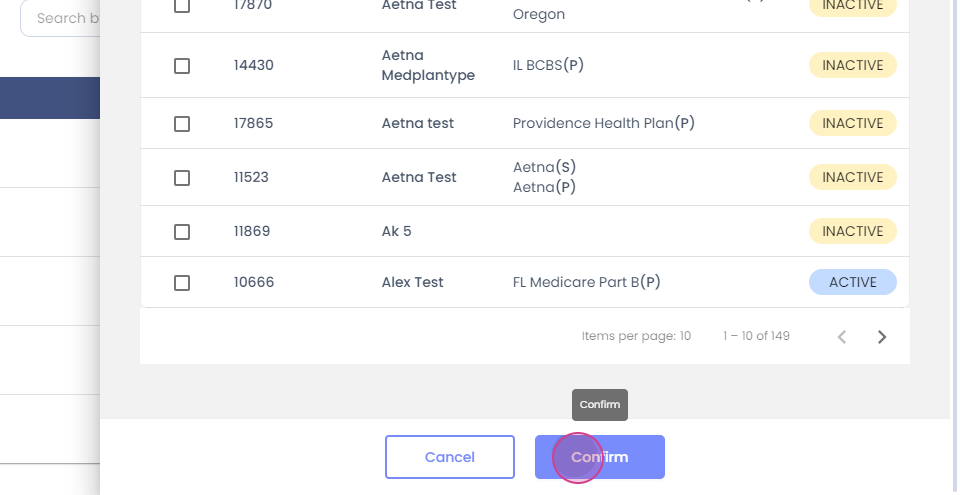
Step 2: Use the Patient Exclusion List to exclude any patients from receiving invoices. Add a patient by searching their name or insurance.

Step 3: Filter patients using plan types and select those to exclude from invoice generation.
Step 4: If a patient is added mistakenly, remove them from the list.
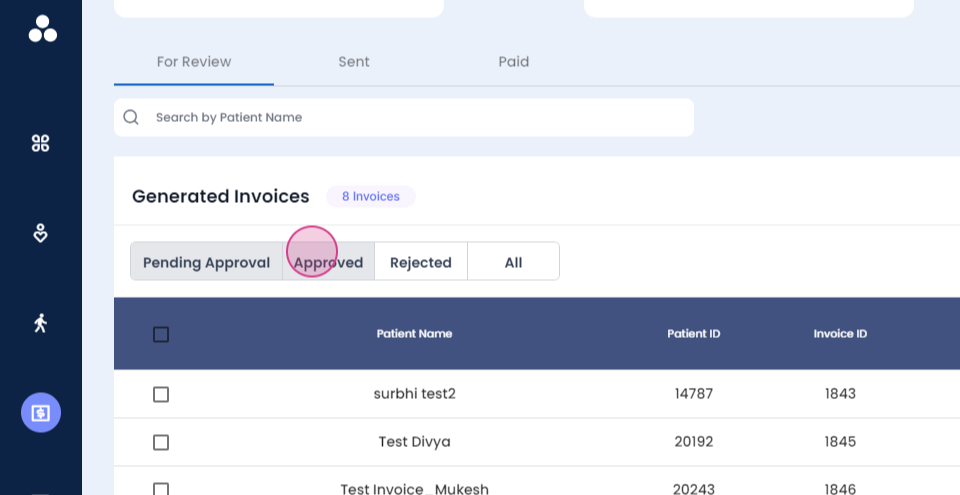
Step 5: View all generated invoices on the main screen.

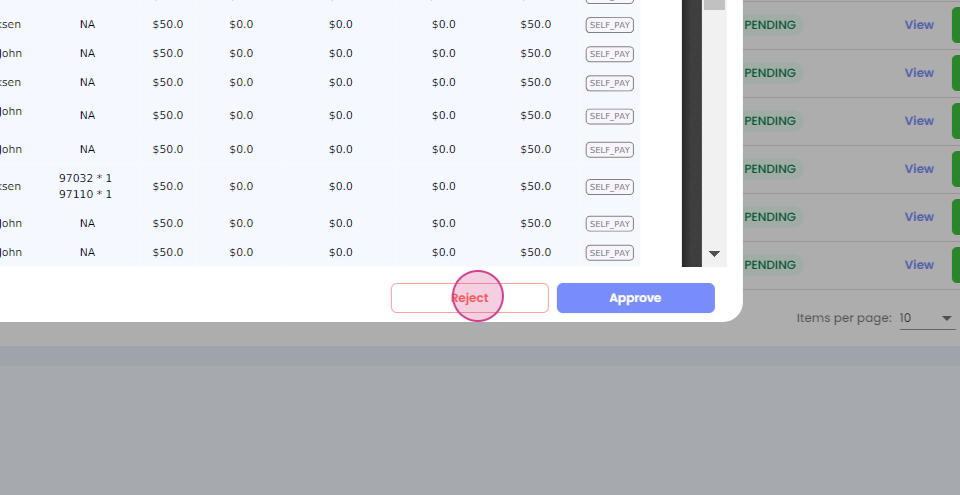
Step 6: Review pending invoices in the Pending Approval section. Once approved, invoices will move to the Approved section and will be sent on the scheduled date.
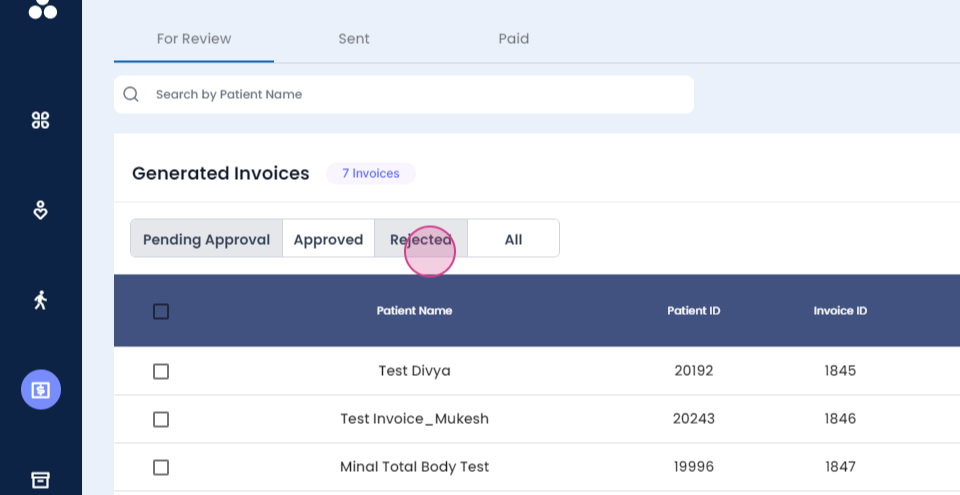
Step 7: If an invoice is incorrect, reject it by clicking on the Reject button. The invoice will move to the Rejected section, where it can be corrected and approved.

Step 8: View all invoices, including their status, in the All Invoices section.
Step 9: Once an invoice has been sent to a patient, find it in the Sent section. Search for an invoice by patient name and view details such as the invoice ID, patient ID, total amount, and payment status.

Step 10: Resend or view the invoice.

Step 1: Use filters to search for data using the invoice ID.
Step 2: Filter data using the start and end date, which will be the send date.
Step 3: View the Paid Invoices section to find all invoices that have been paid, along with the amount, paid date, generated date, and other information.

Step 4: Search for a patient by name and use filters to refine the patients and invoice list.

This concludes the guide on using the Invoices feature. Thank you.