How to Create A Package and Assign
In this article, you'll learn how to create and assign a package to a patient.
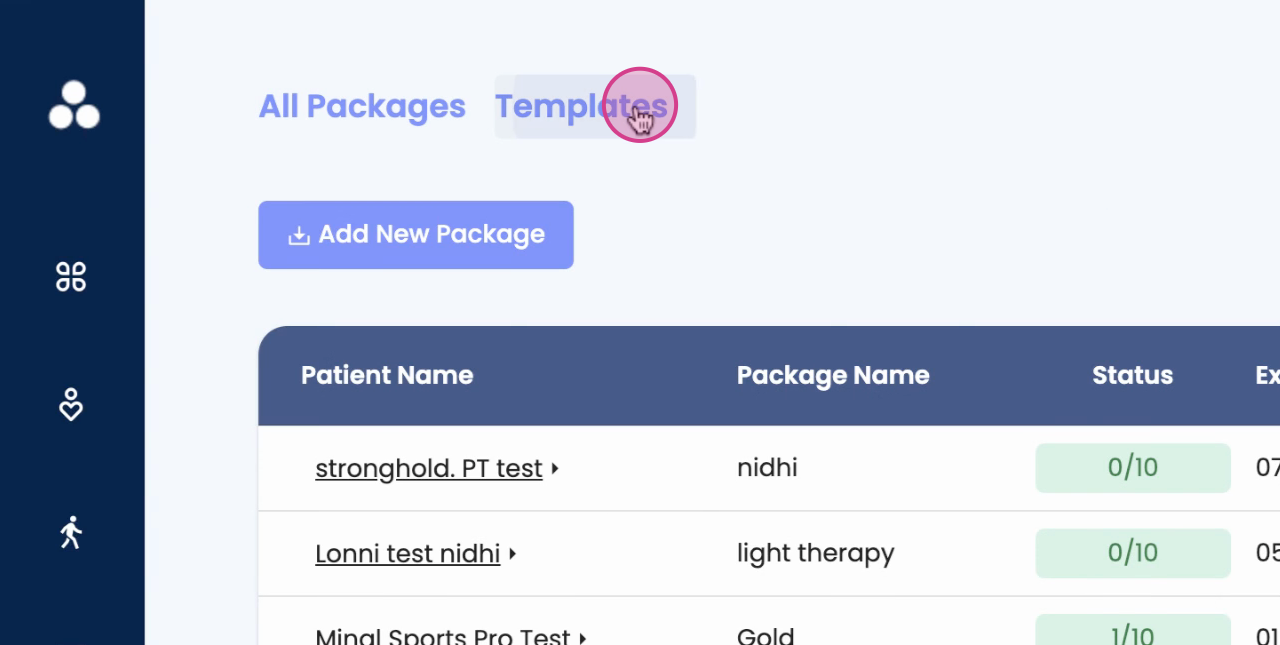
Step 1: Navigate to the Packages tab and select Templates.
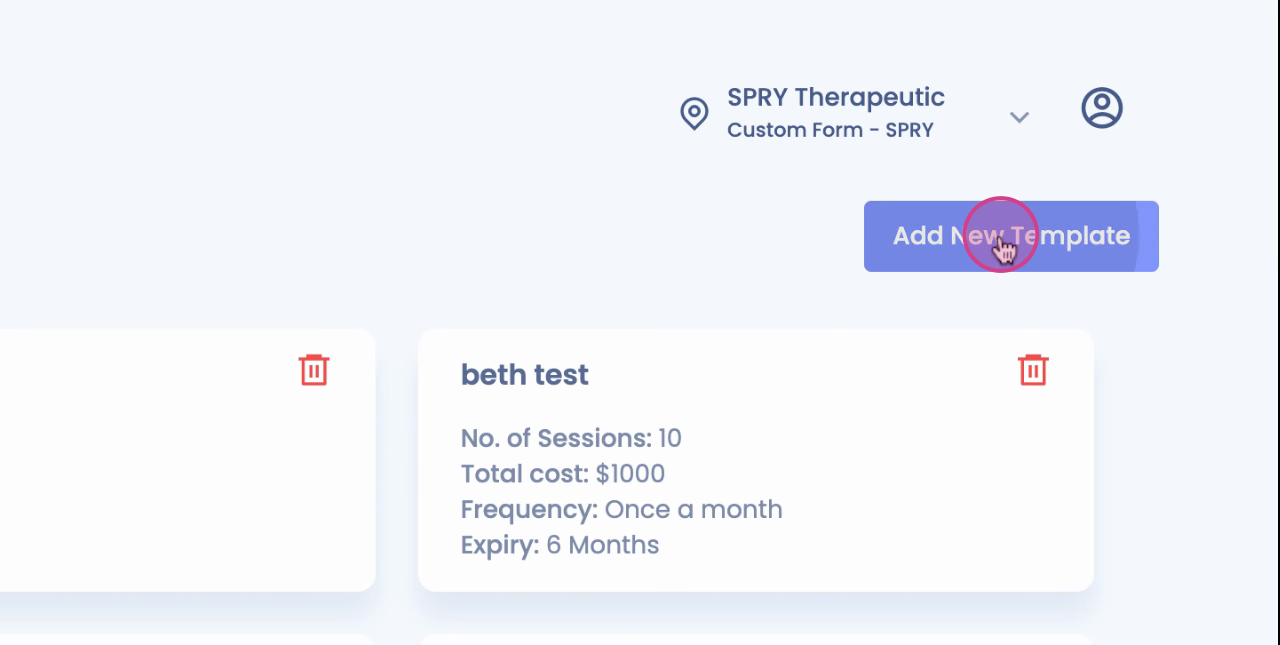
Step 2: Click on Add New Template.
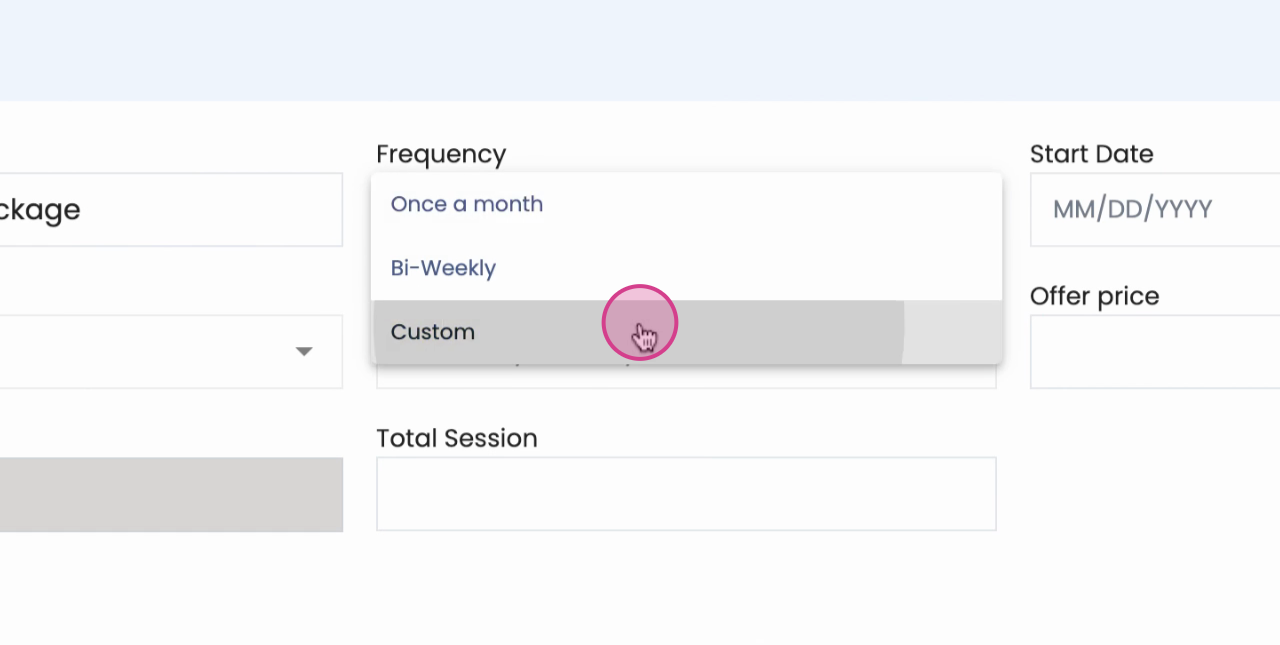
Step 3: Choose the Frequency.
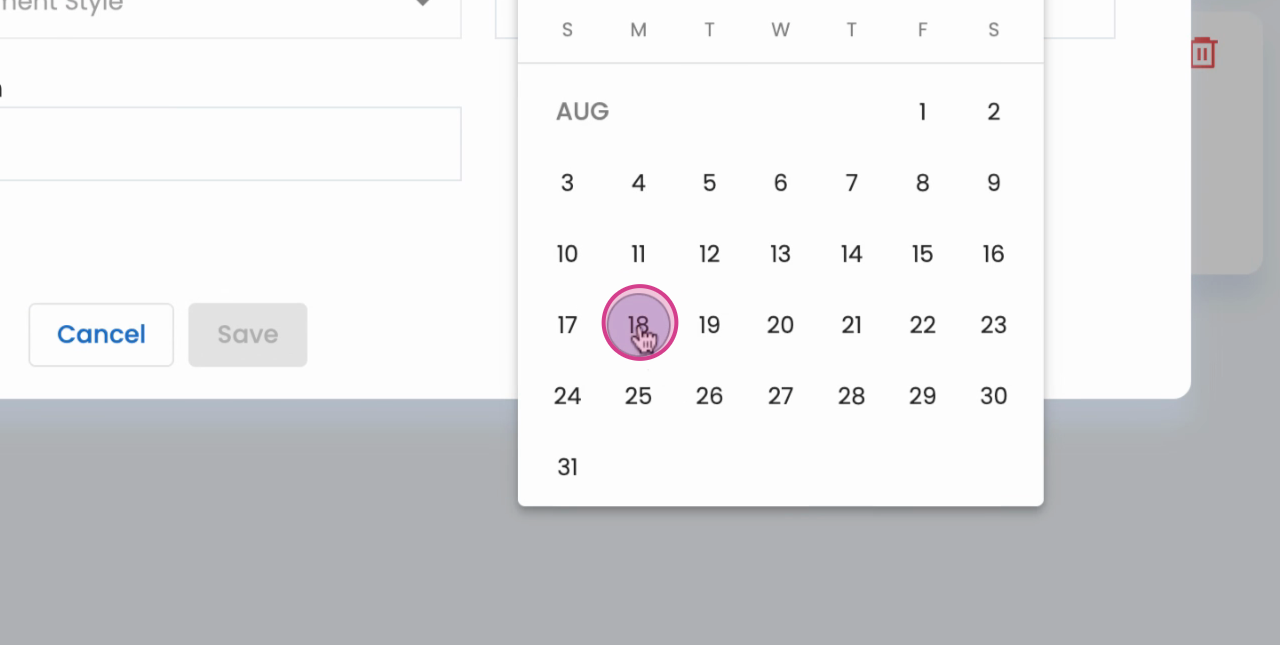
Step 4: If applicable, set the Start Date.
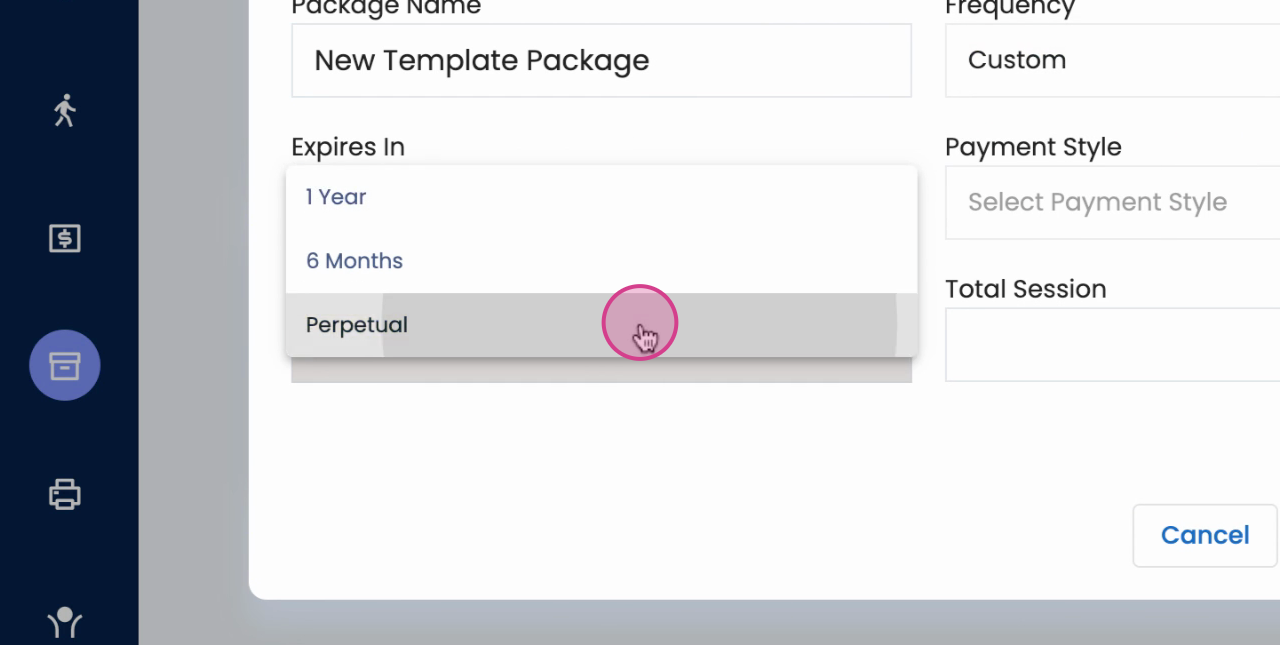
Step 5: If applicable, set the Expiration Date.
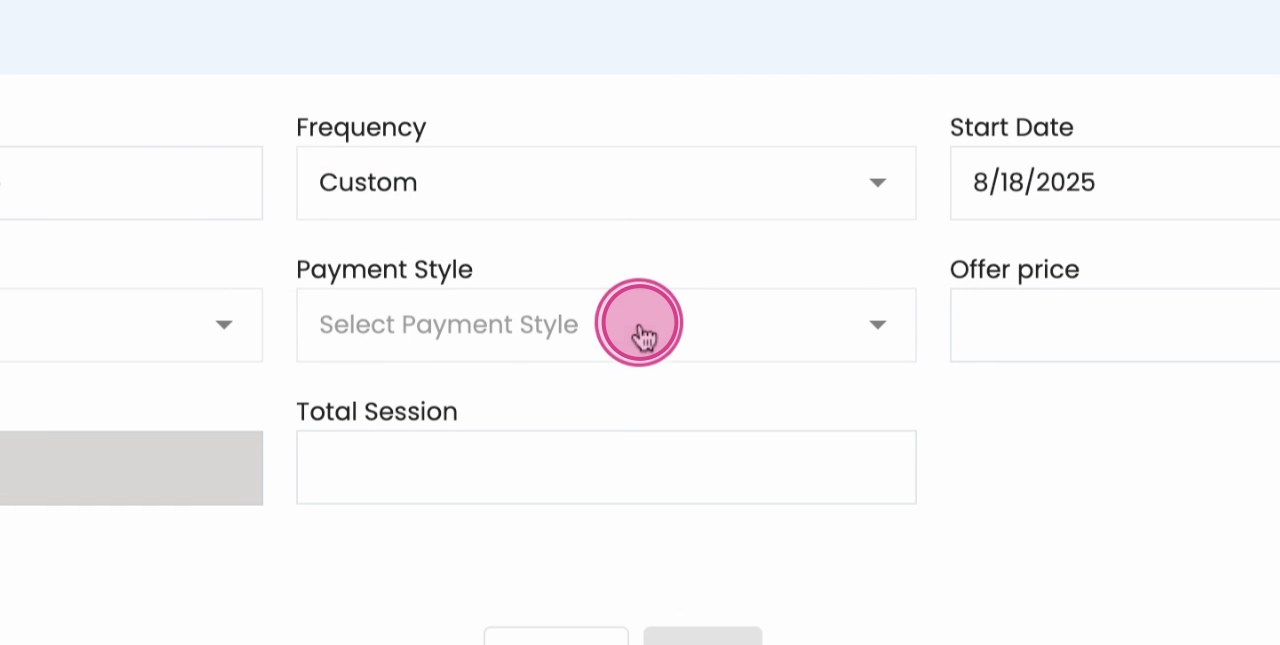
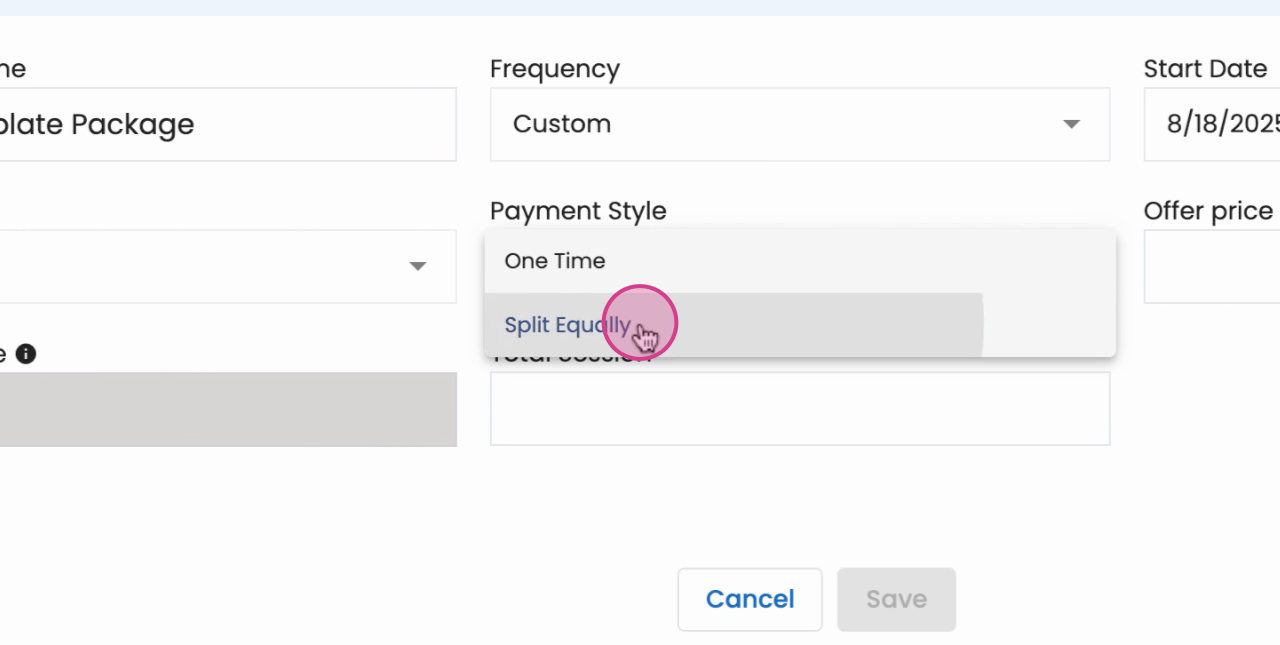
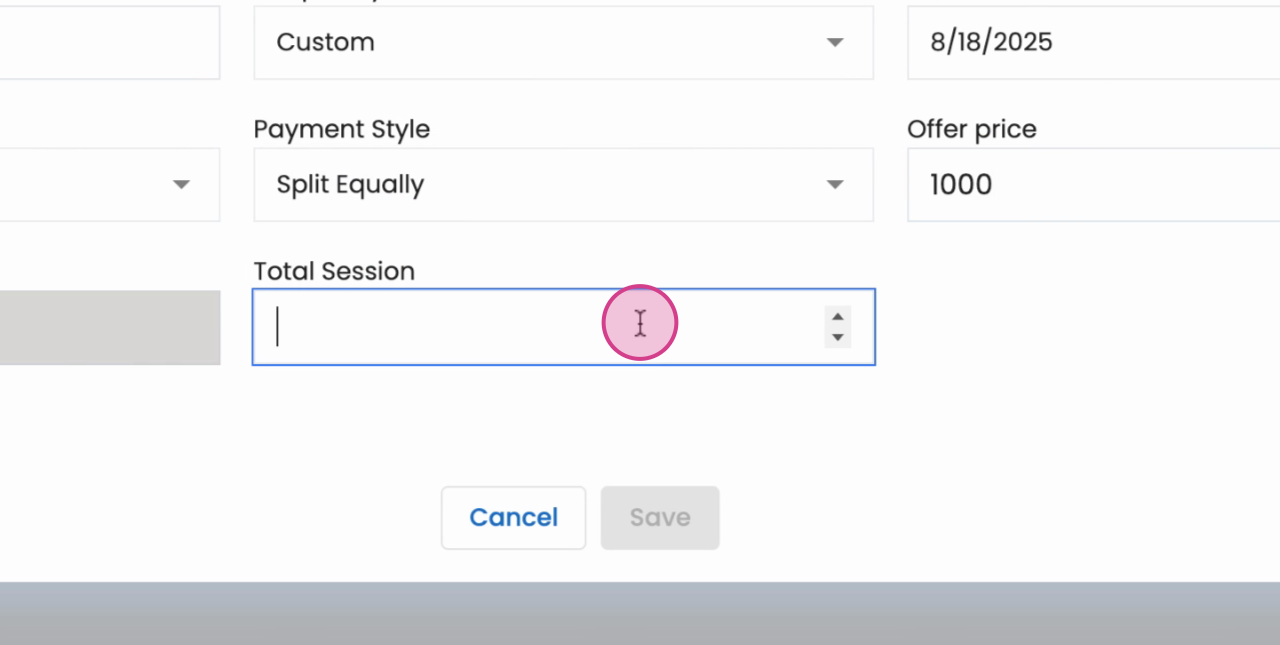
Step 6: Choose a payment style.
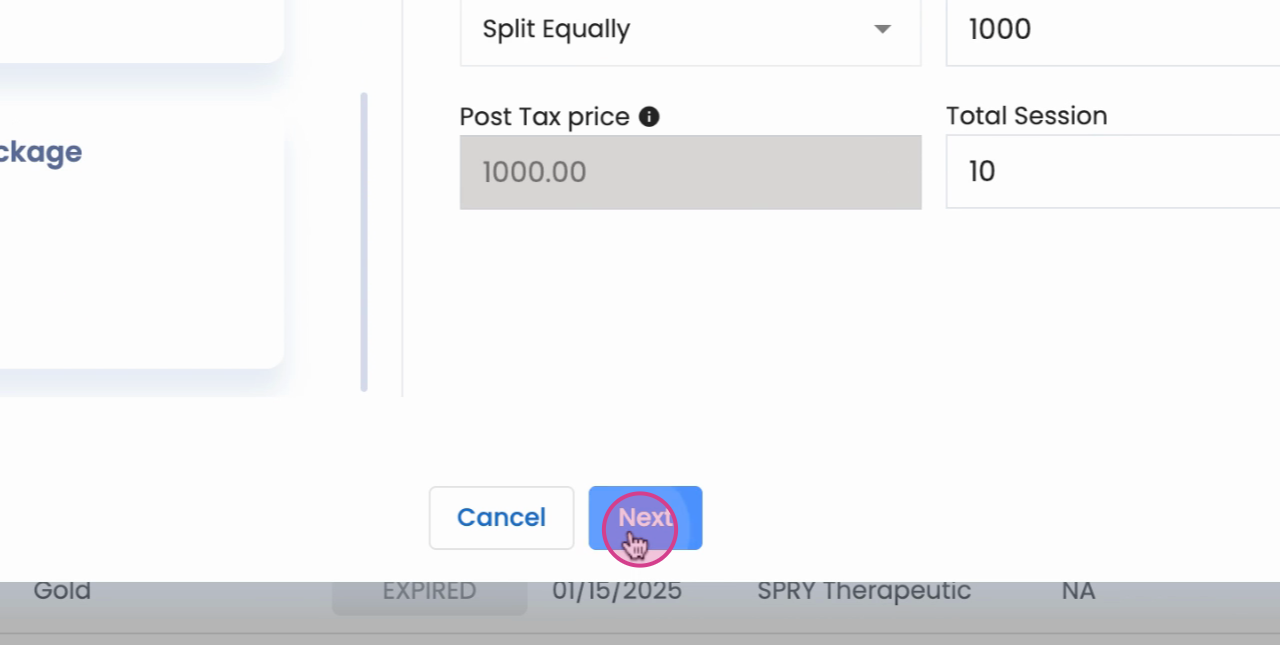
Step 7: Enter the offer price of the package and the total number of sessions.
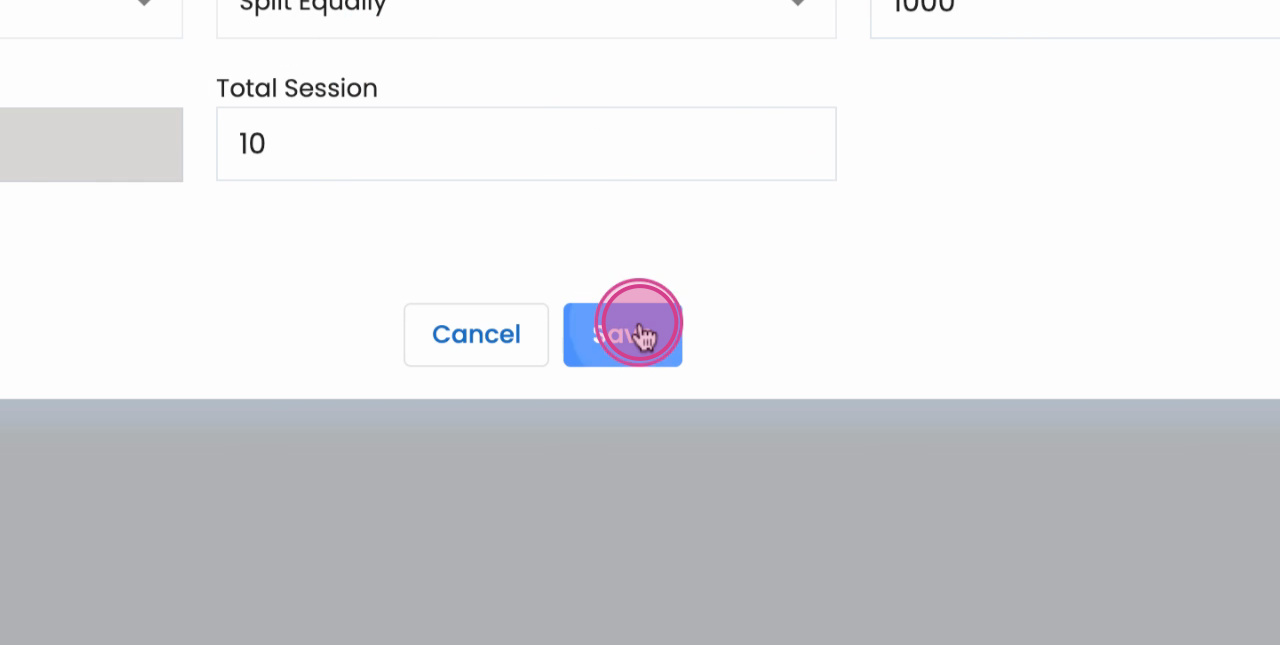
Once you've created the template, it'll be saved for future use.
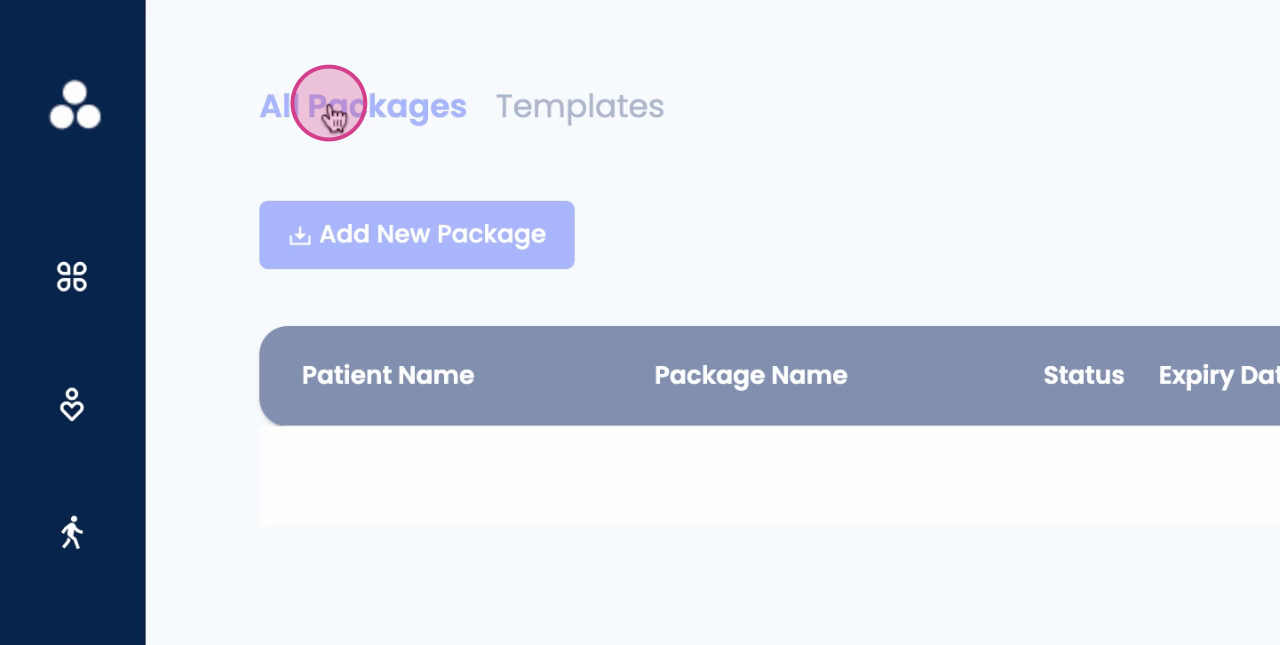
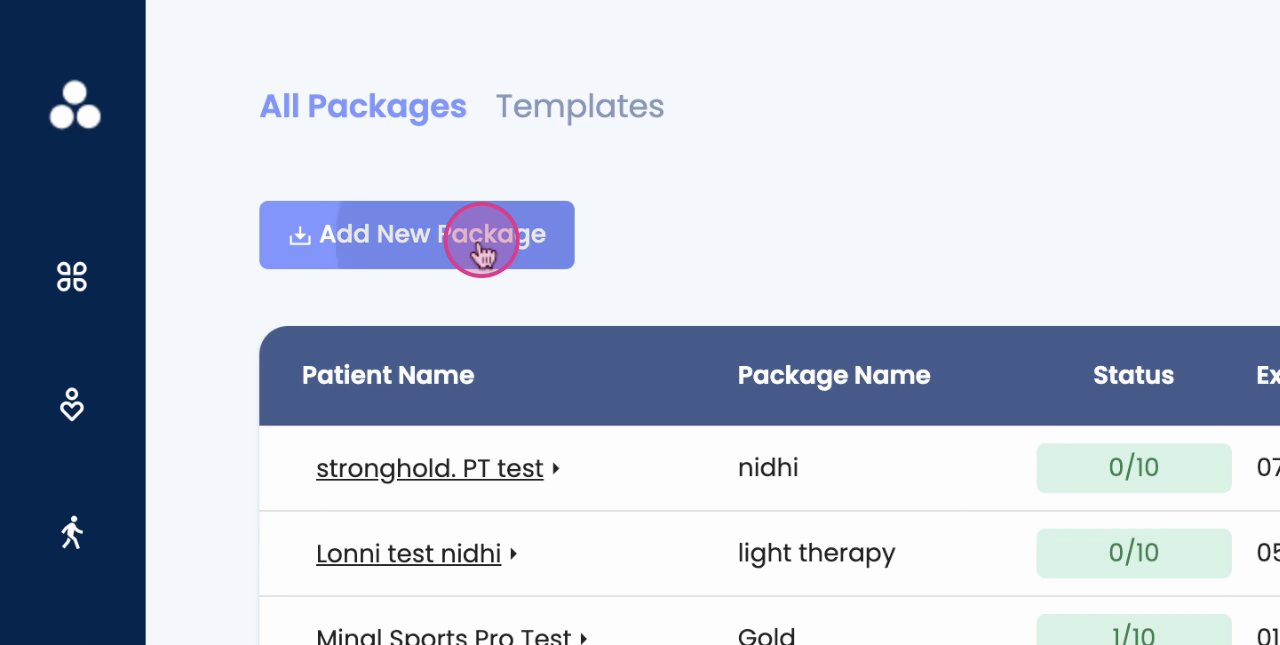
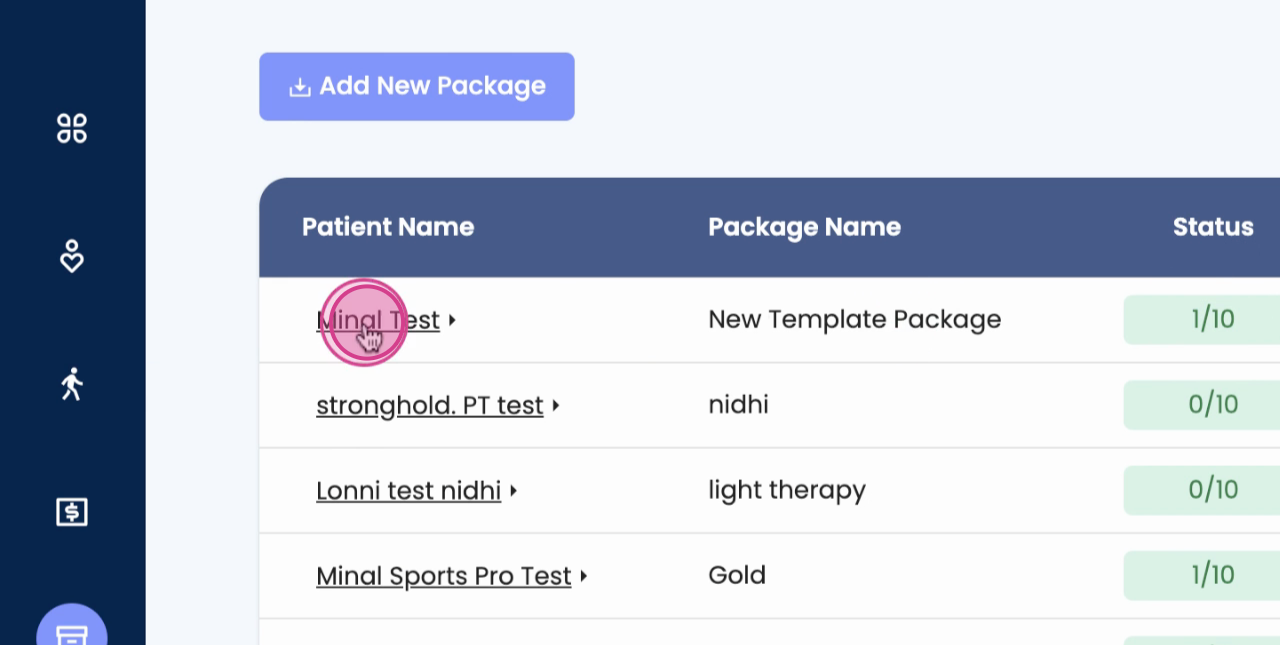
Step 8: Go to the All Packages tab. To assign a package to your patient, click on Add New Package.
Step 9: Select the appropriate Template.
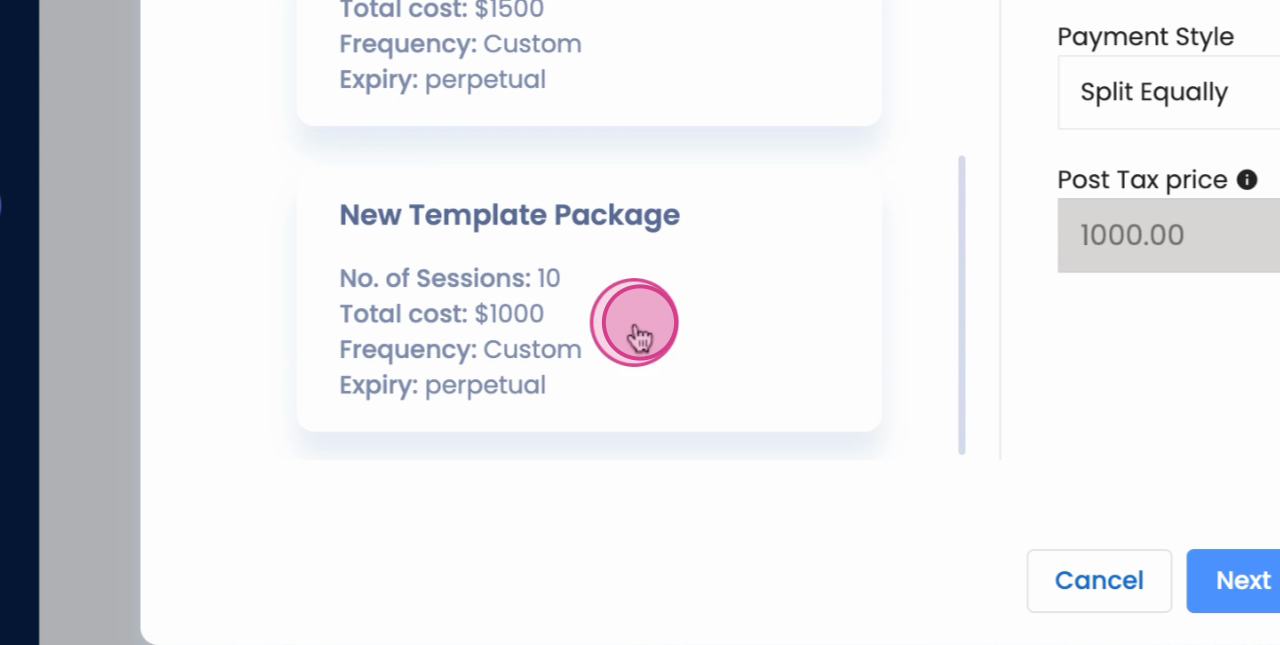
Step 10: Click Next.
Step 11: Assign the package to the patient.
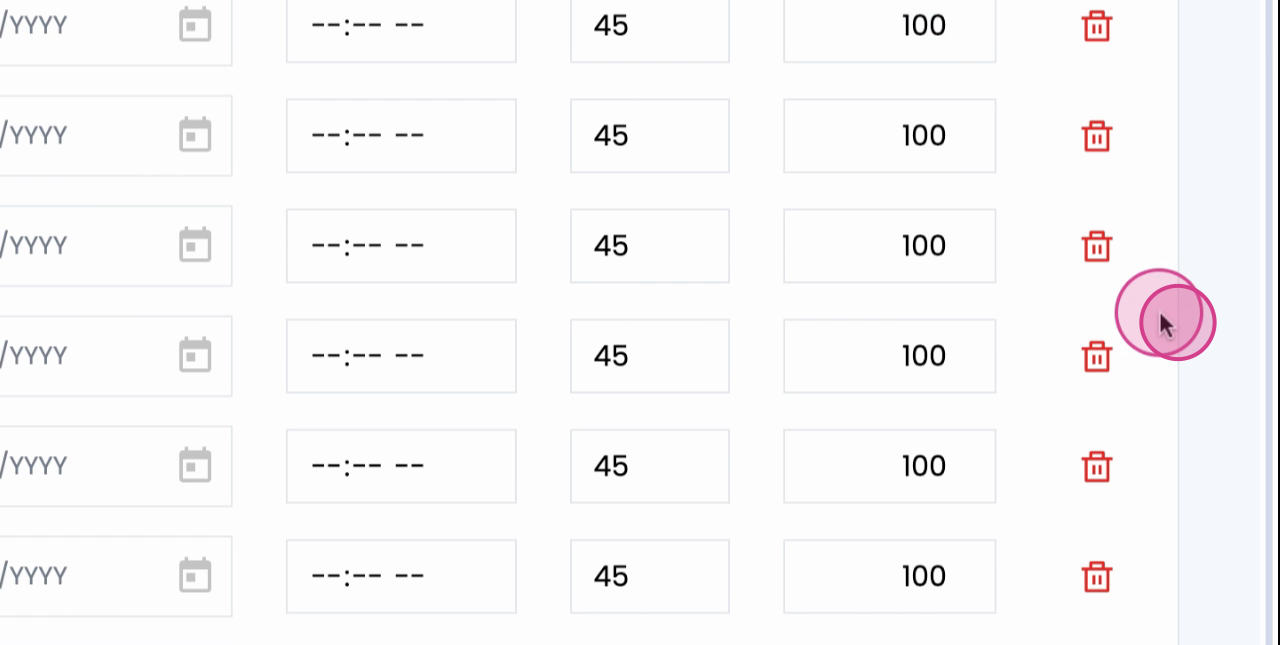
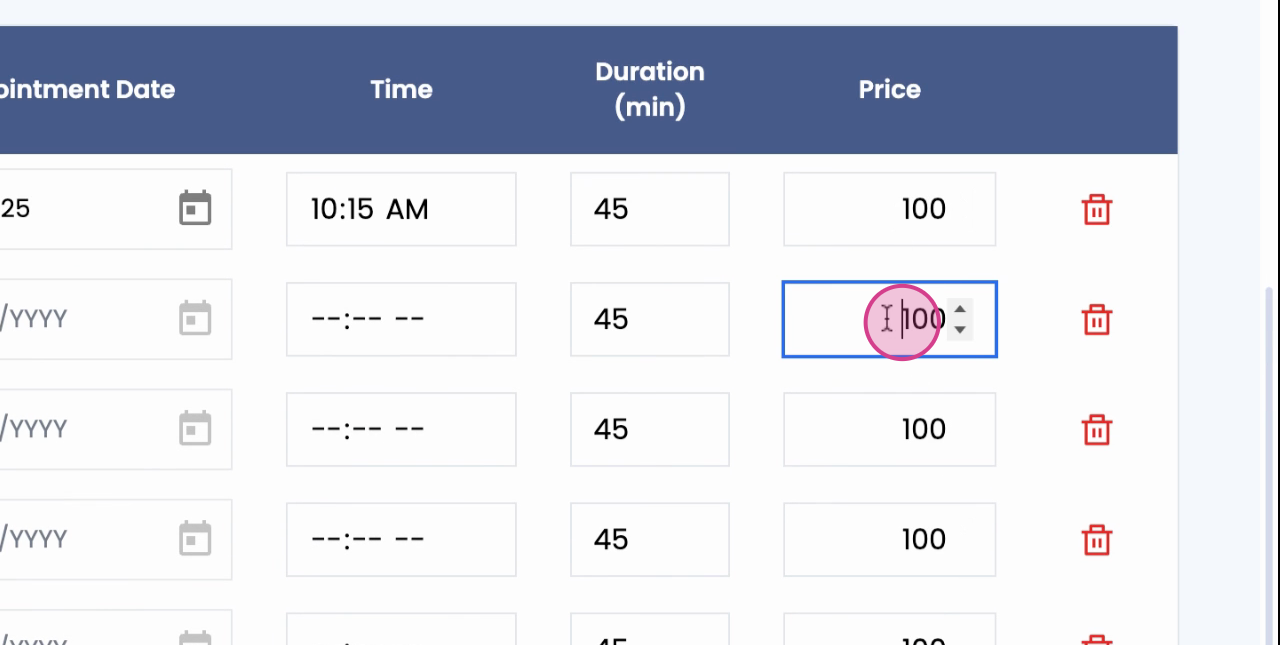
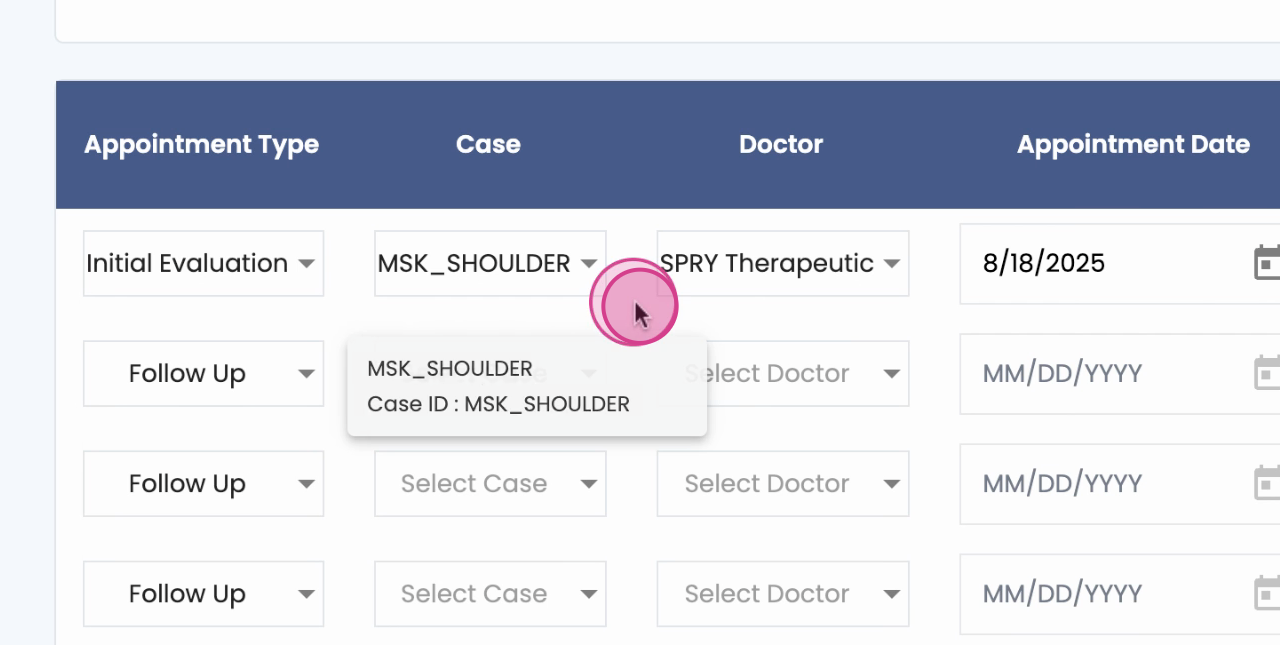
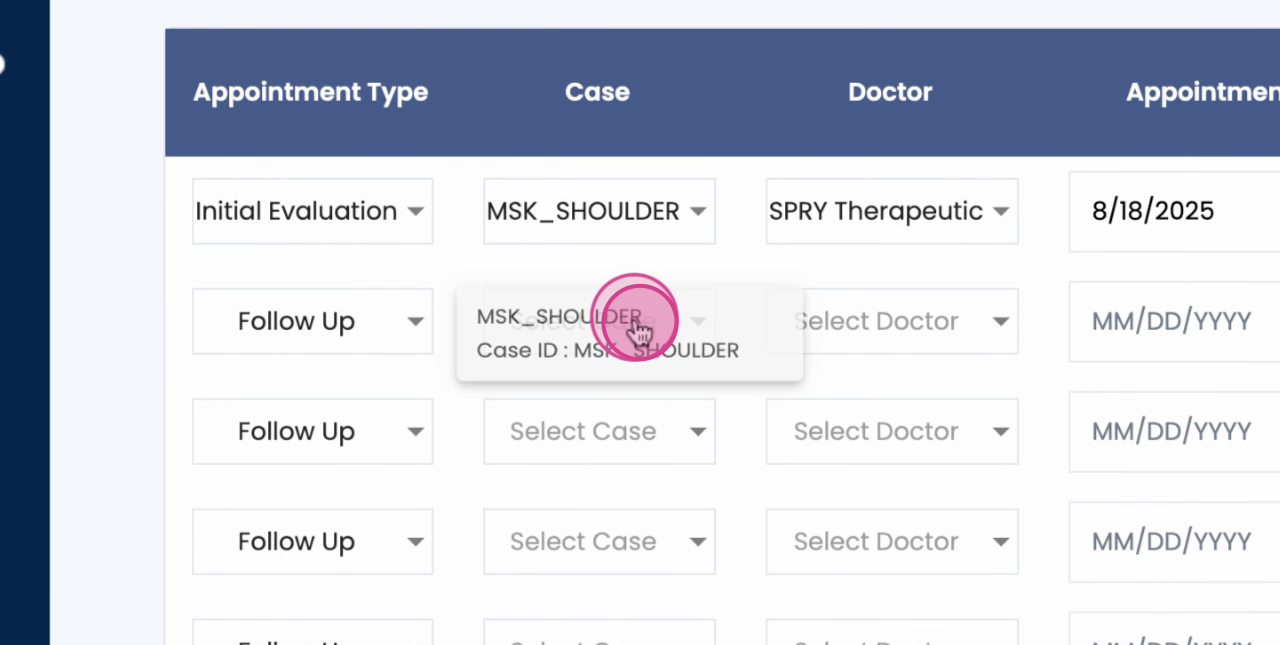
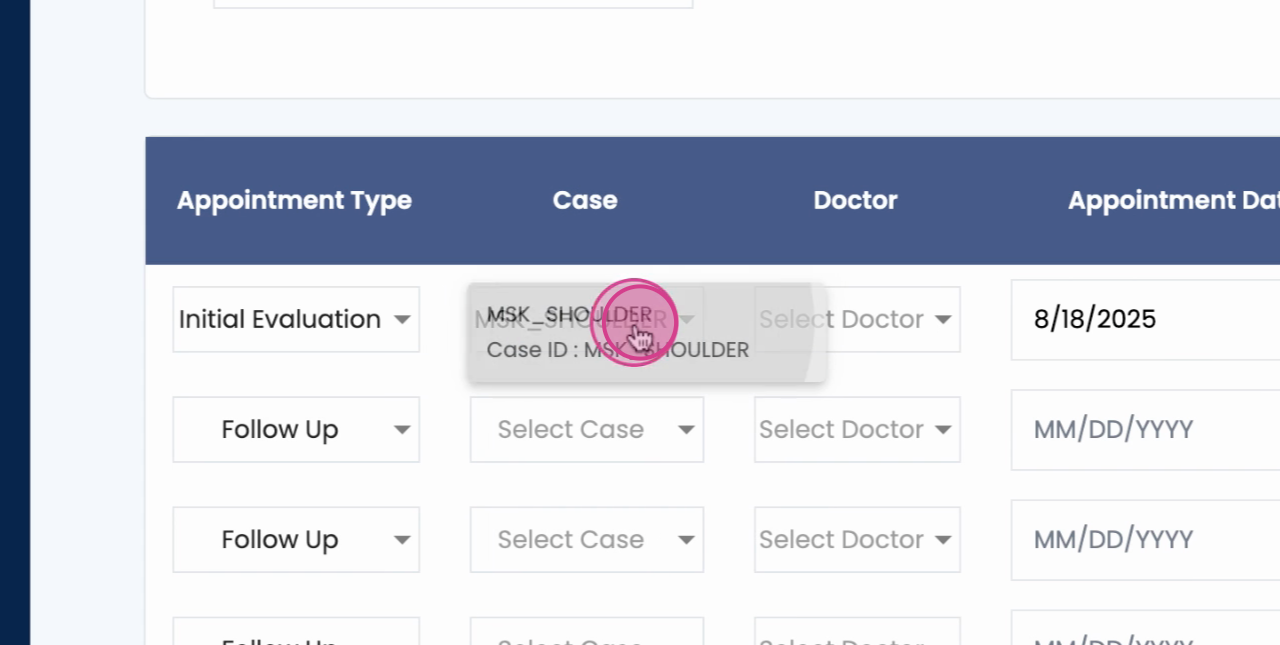
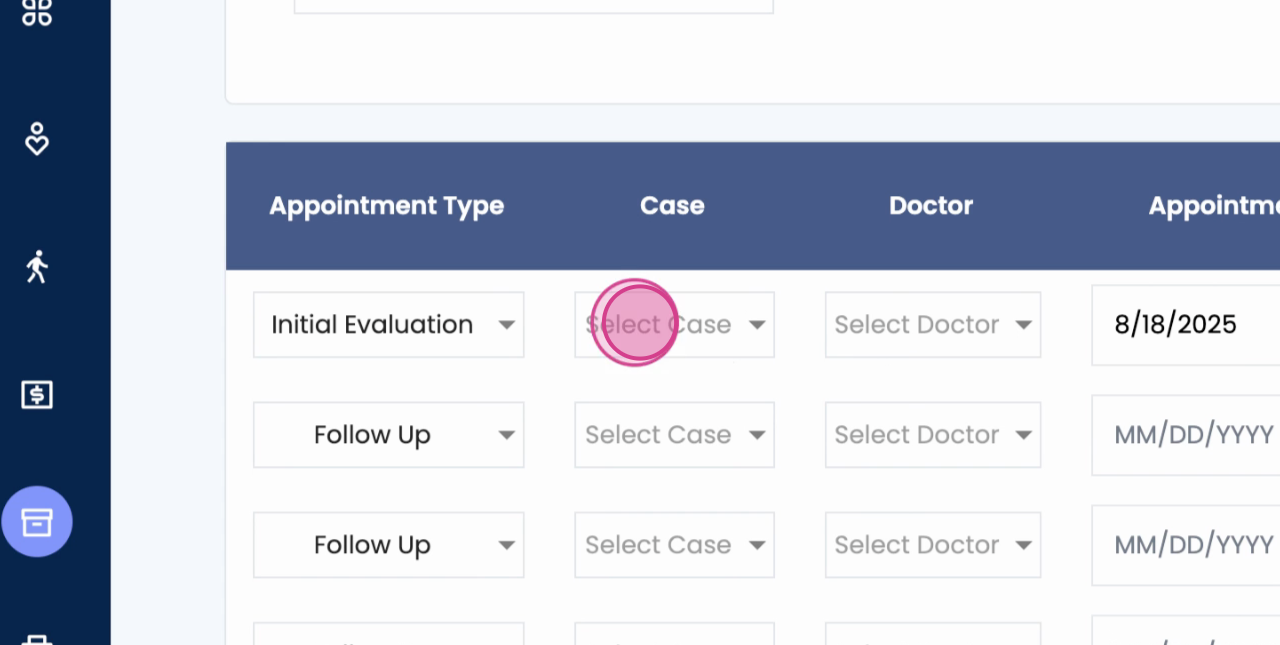
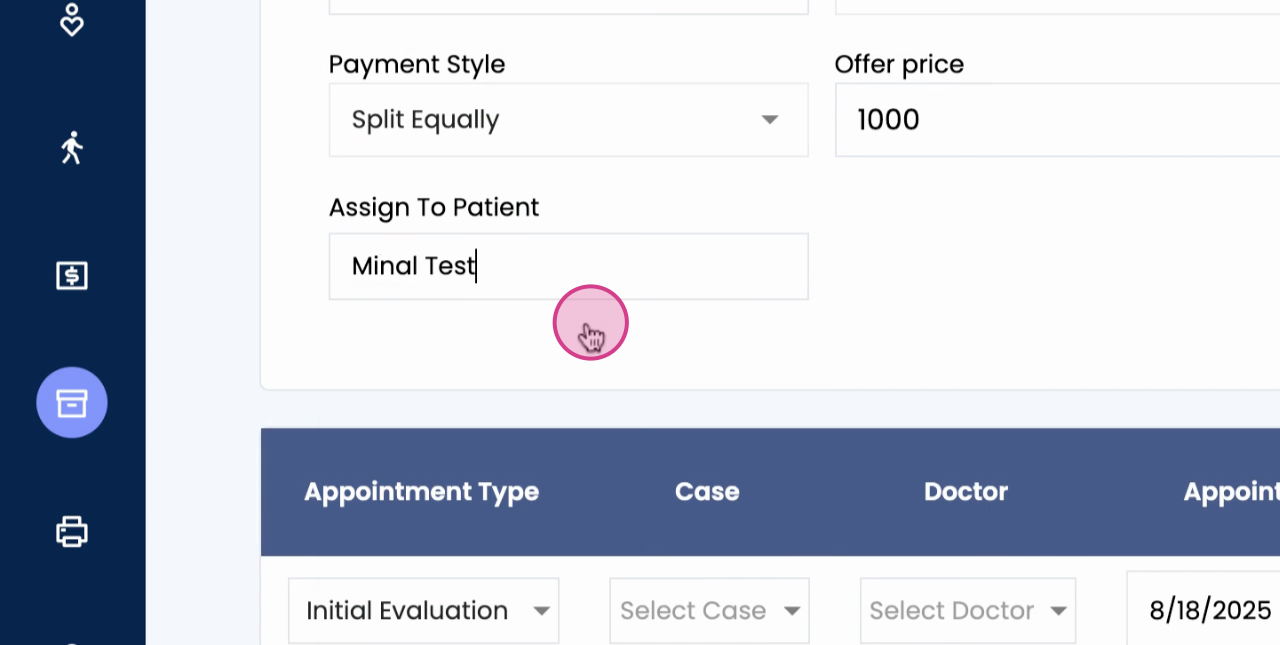
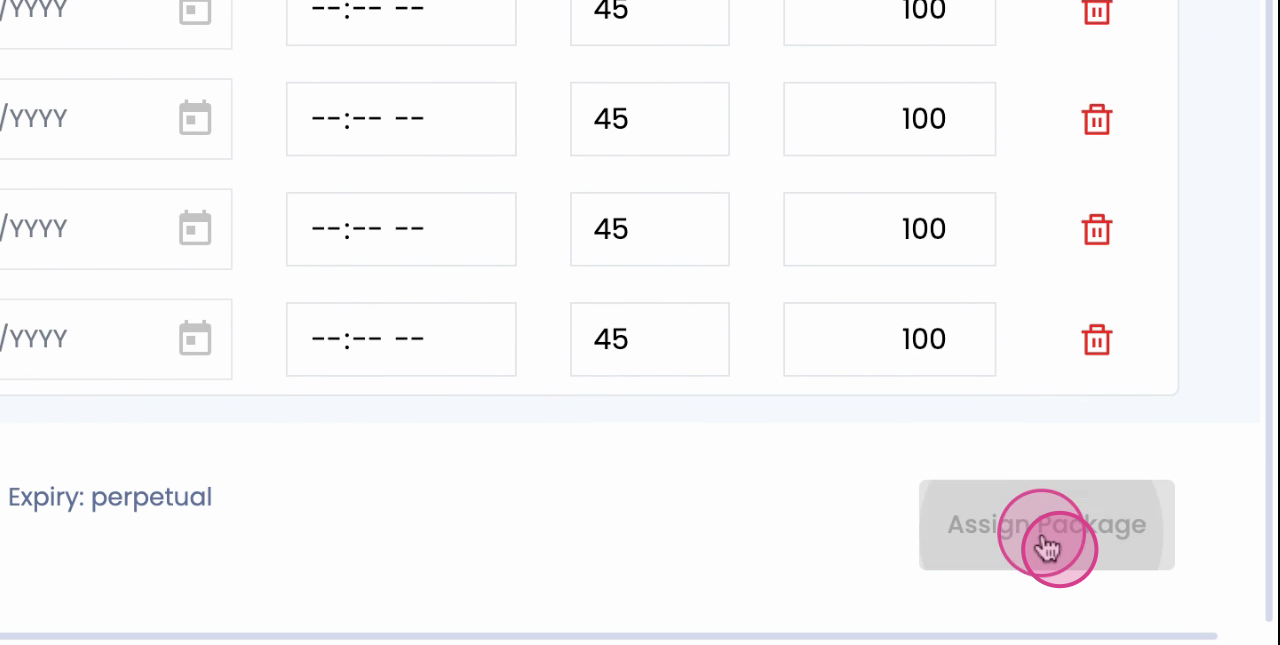
You don't have to schedule all appointments at this stage. It's up to you.The package price is split equally, but you can make edits if needed.
Step 12: Click Assign Package. The package is now assigned to the patient and will be tracked accordingly.

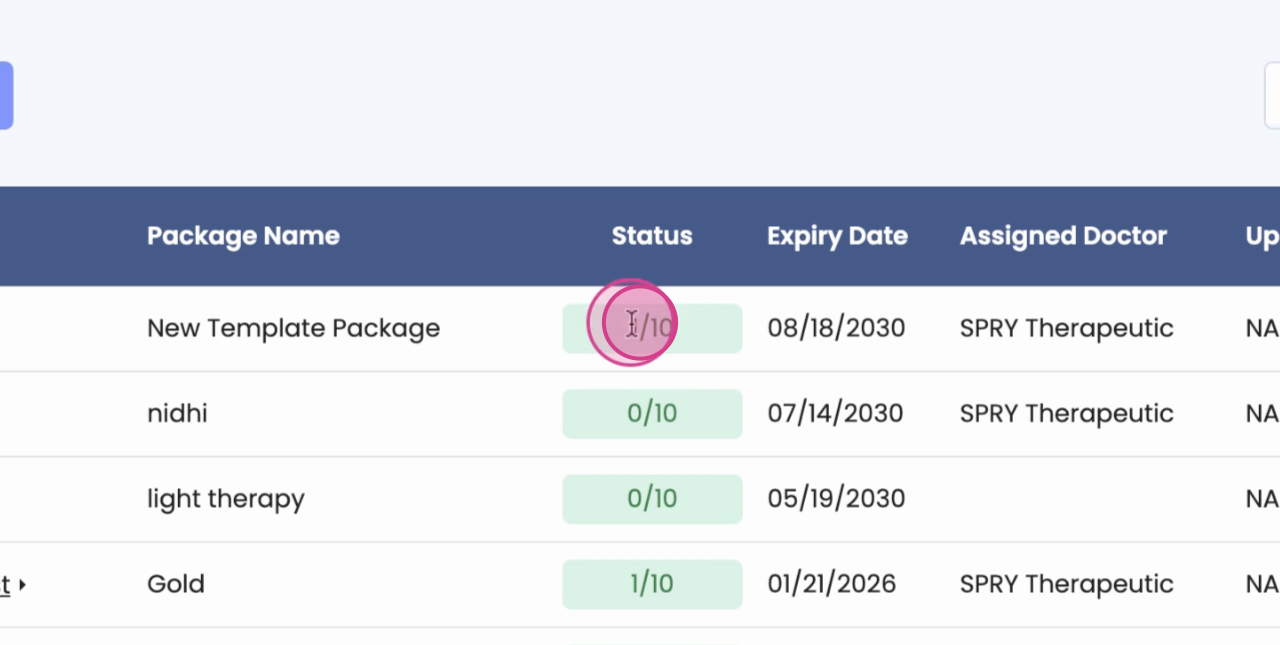
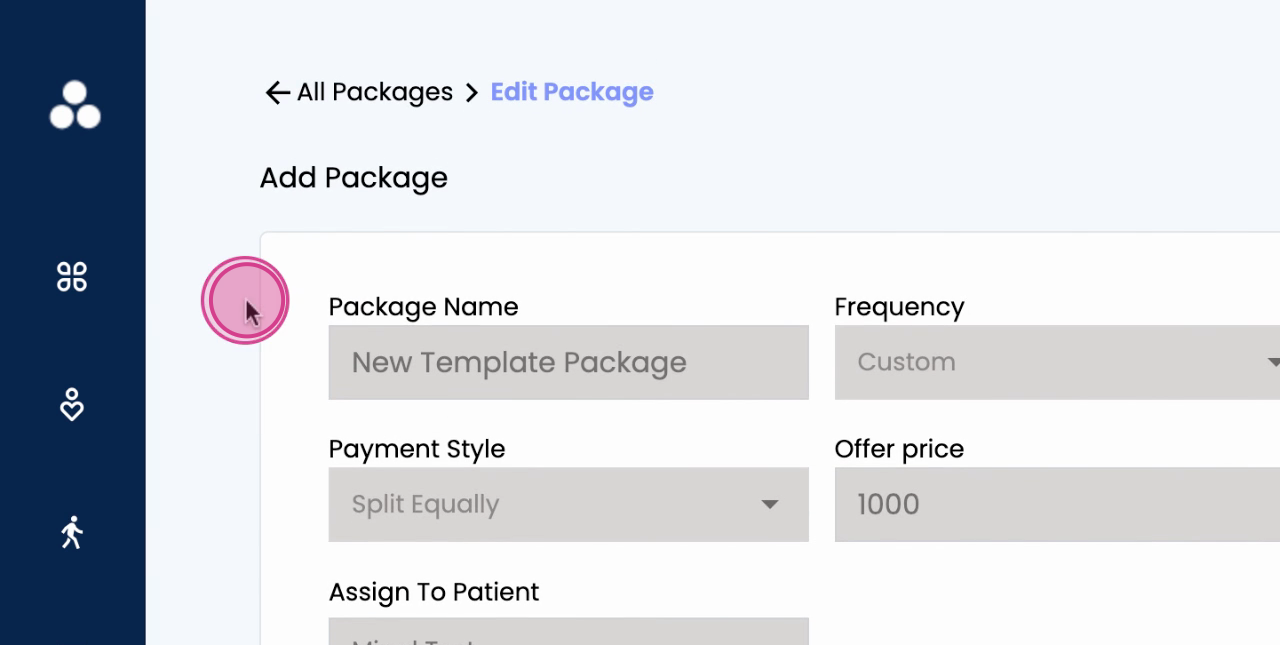
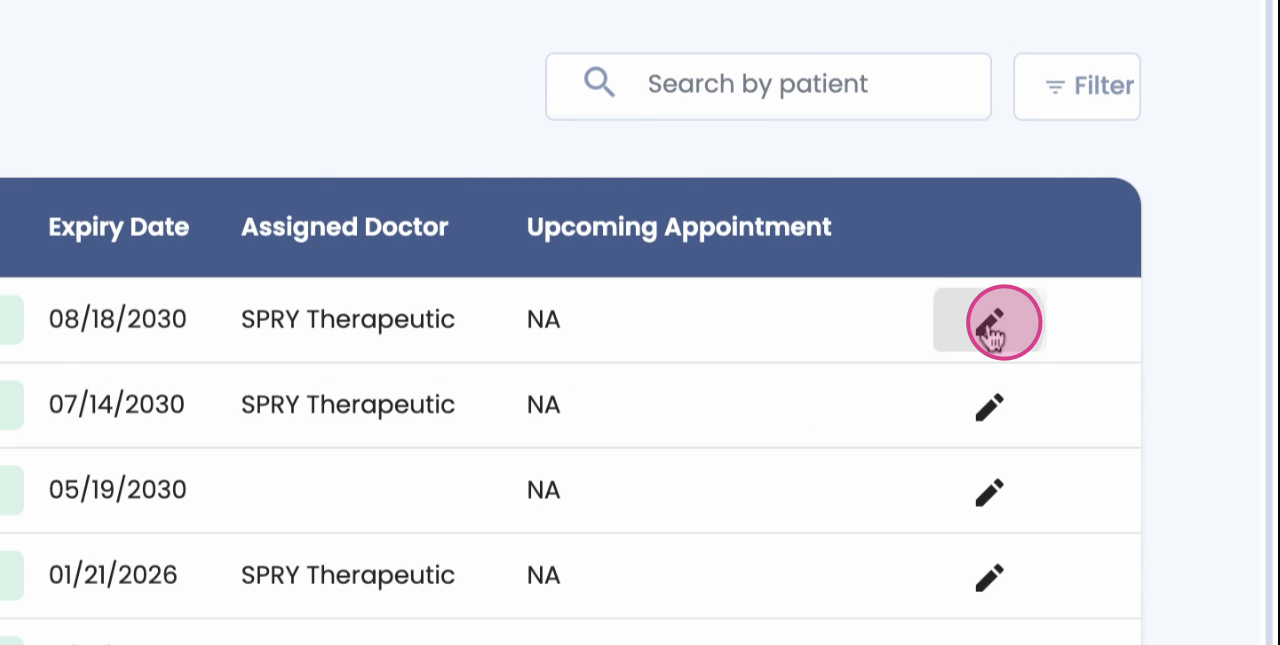
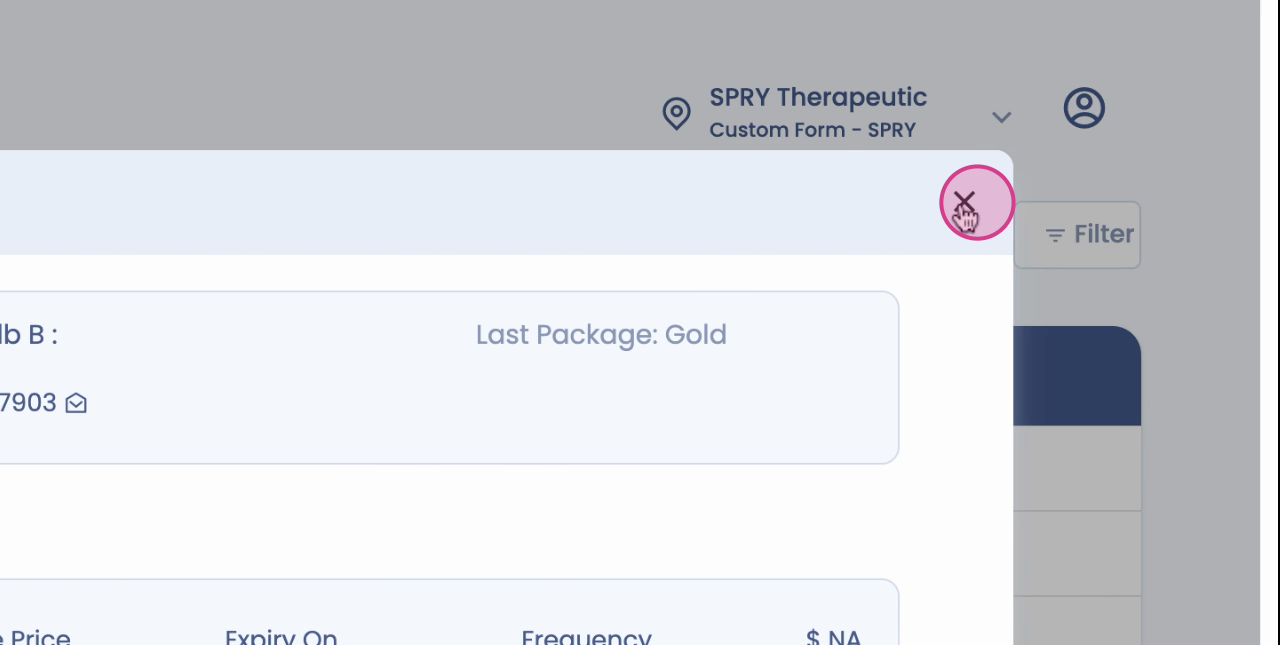
Step 13: Click on the patient's name to view the assigned package and its details. You can also edit the package here if necessary.
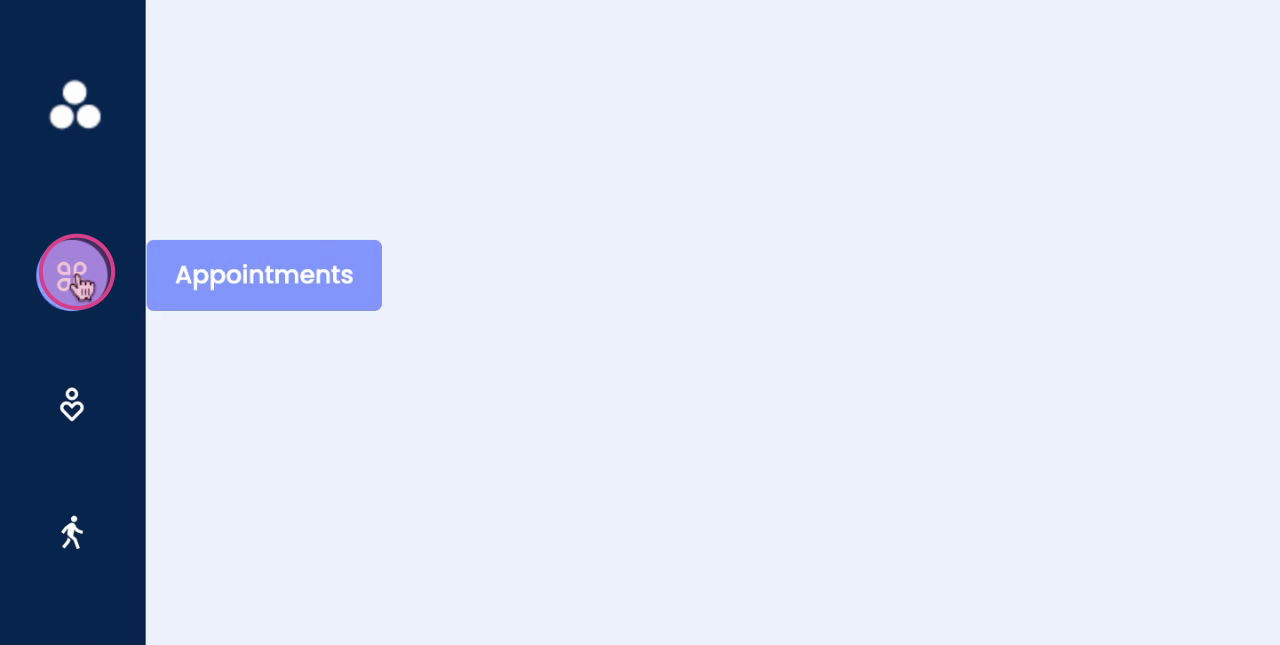
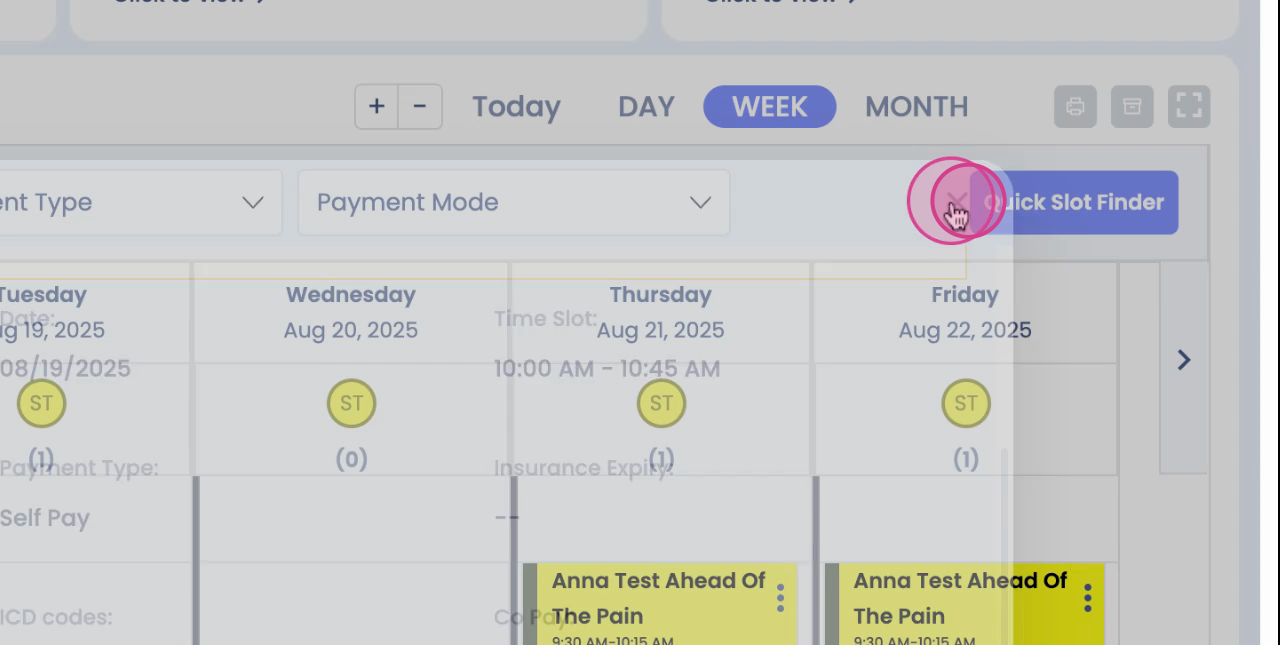
Step 14: Navigate to the Appointments page to schedule the patient from the package.
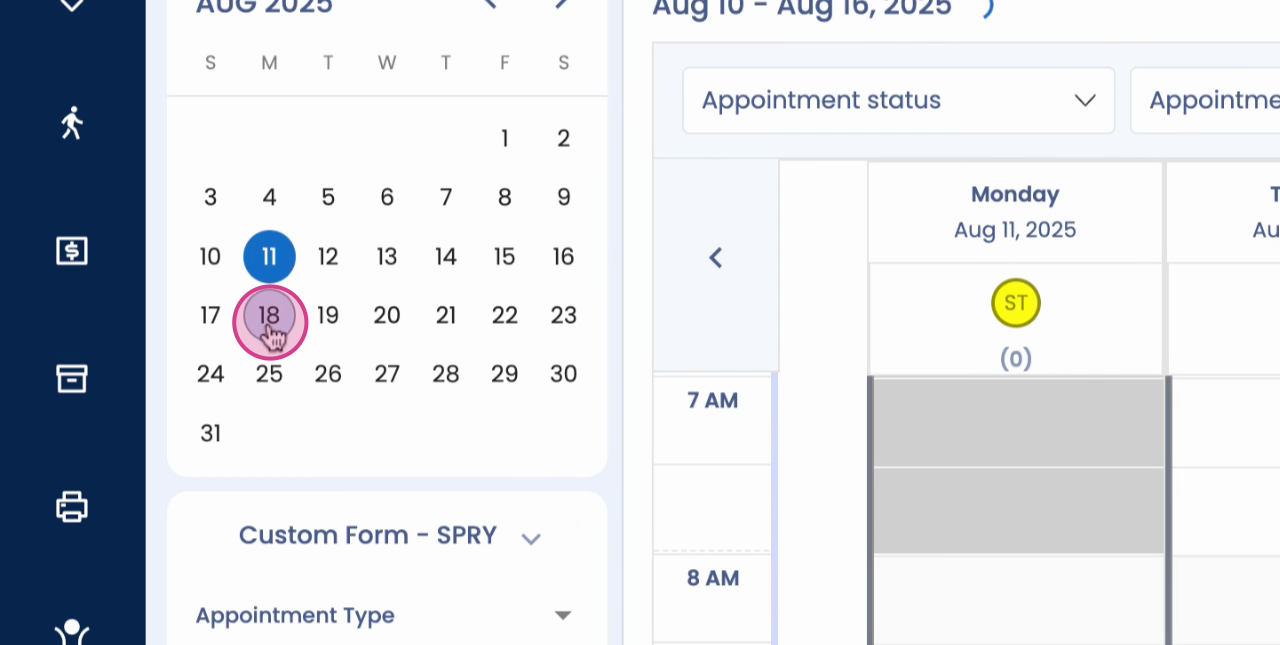
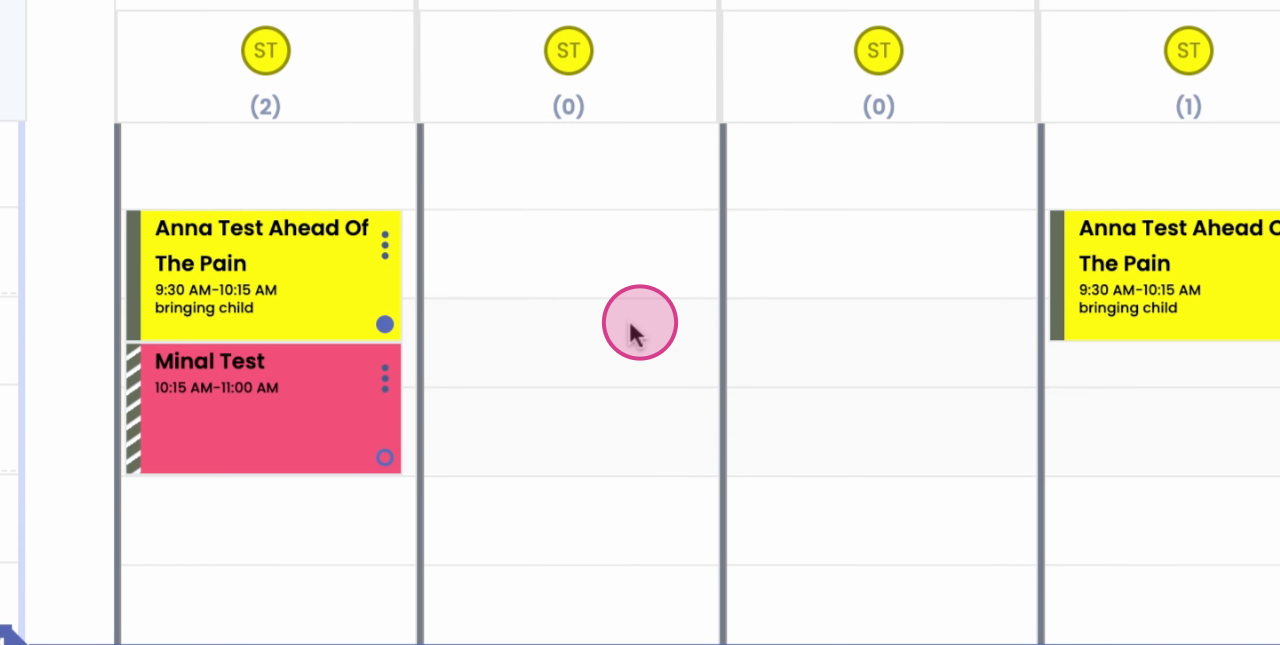
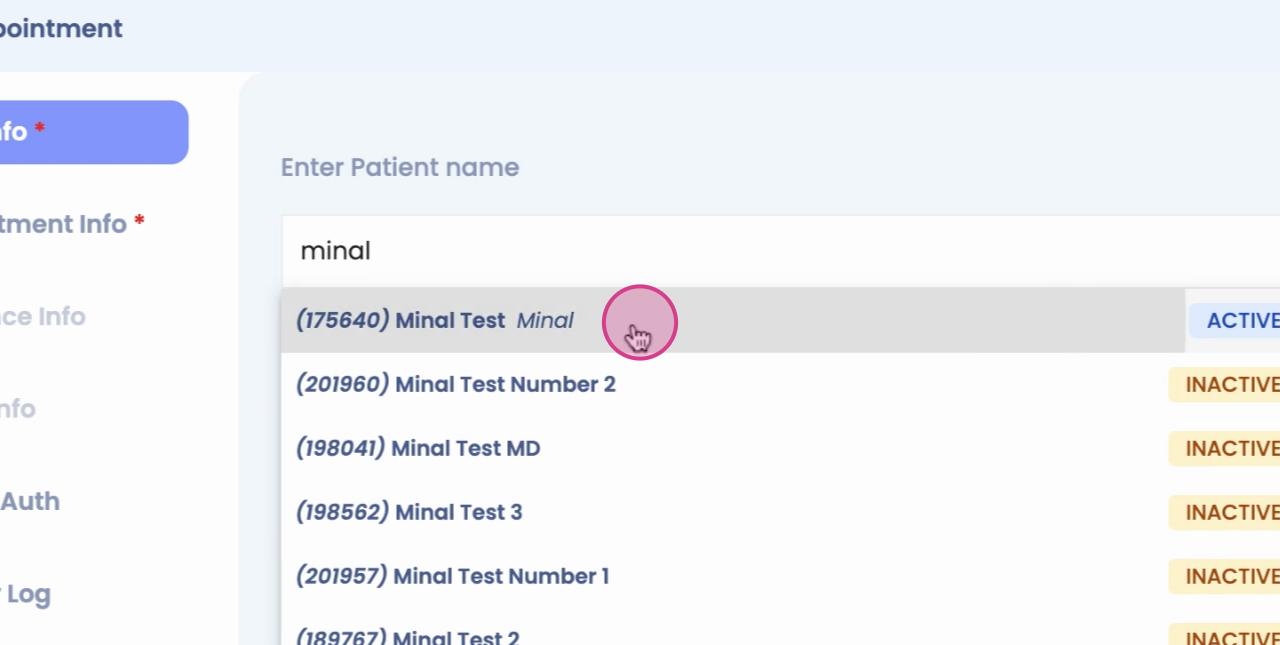
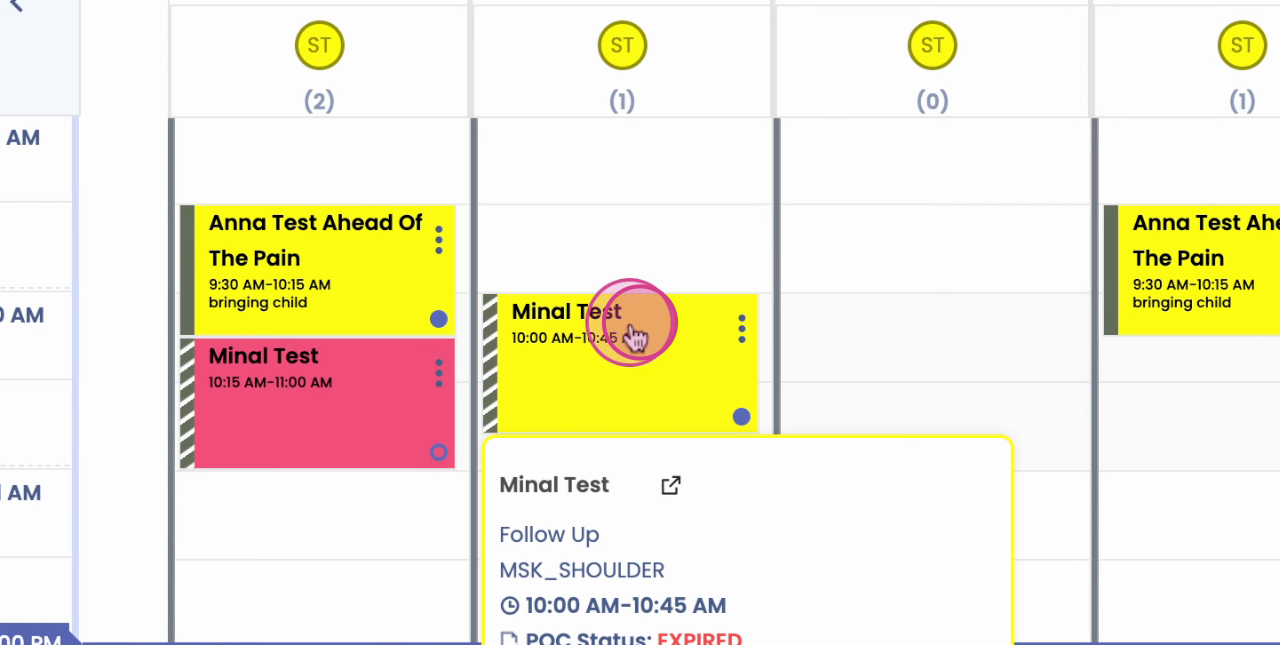
Step 15: To schedule the patient based on the package, select the appropriate slot.
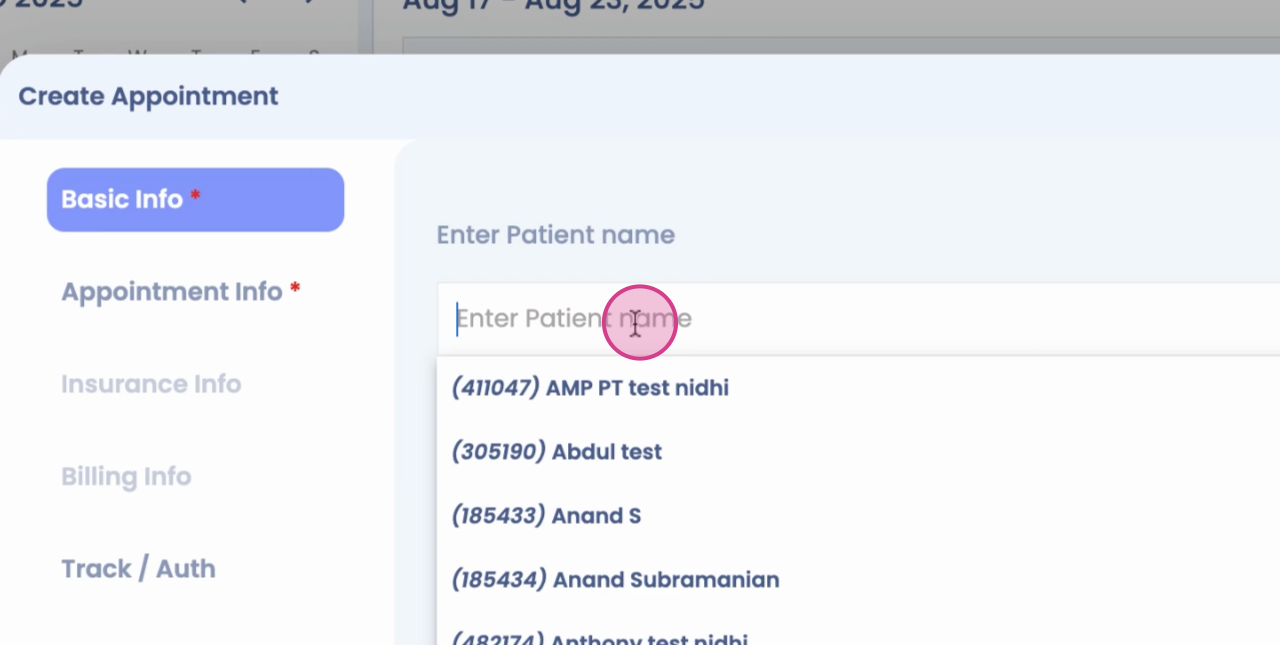
Step 16: Find the patient's name.
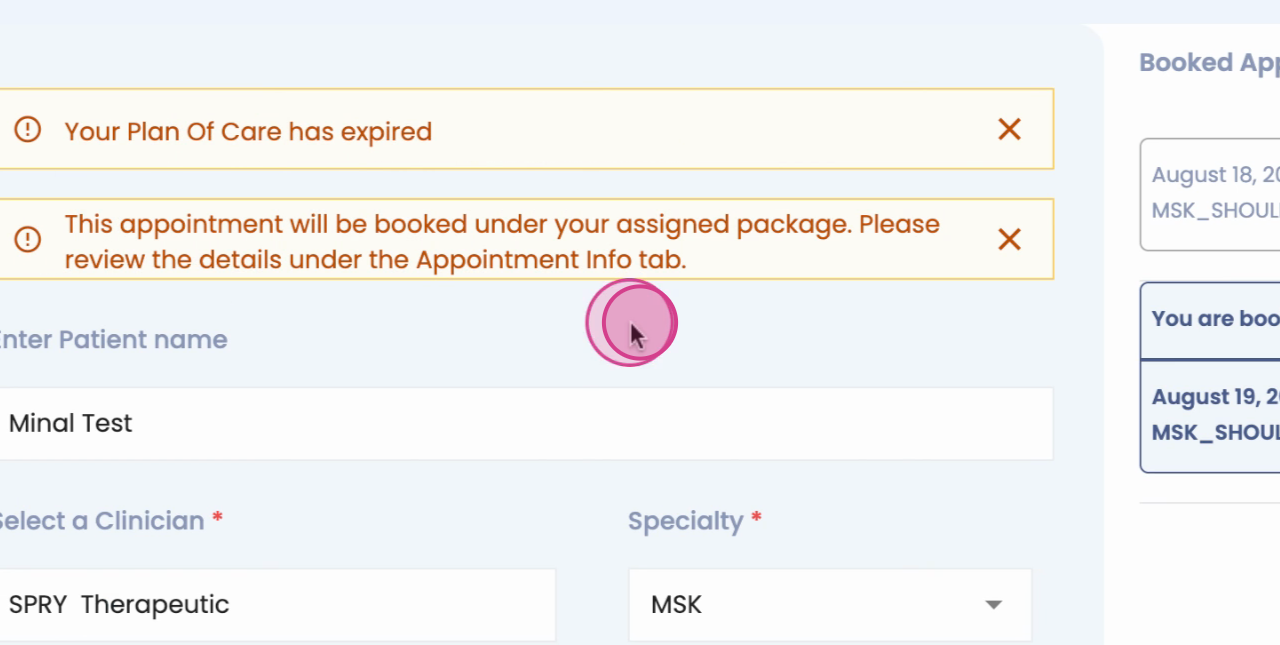
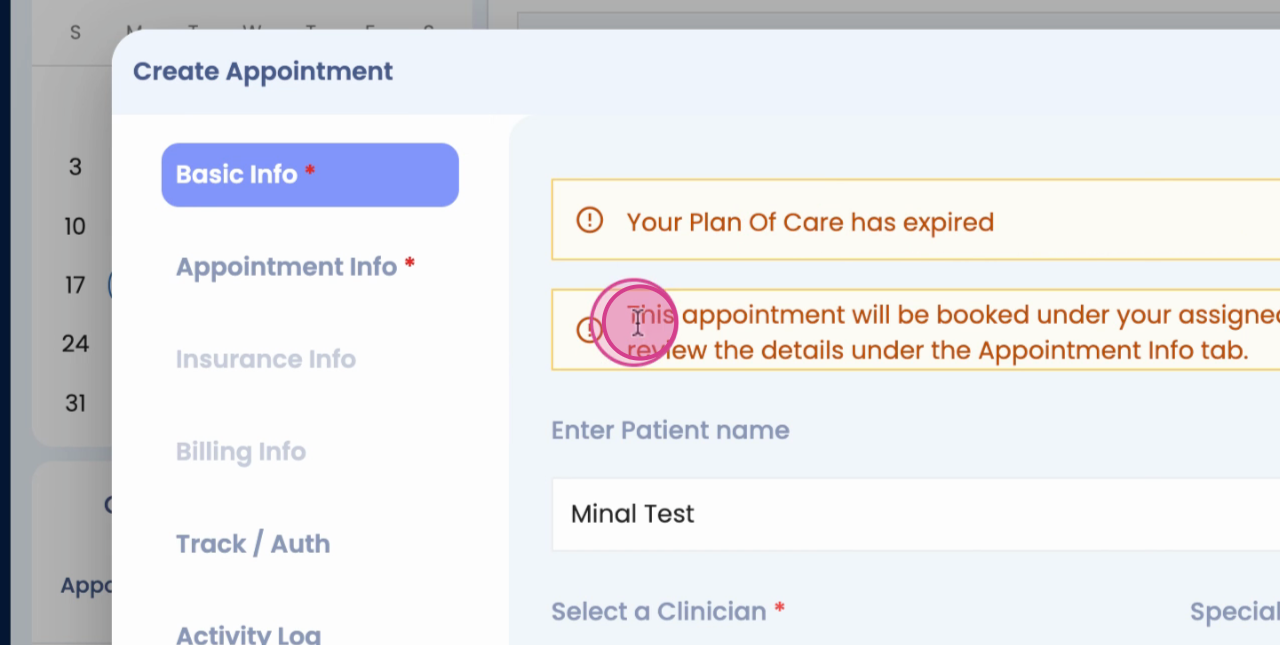
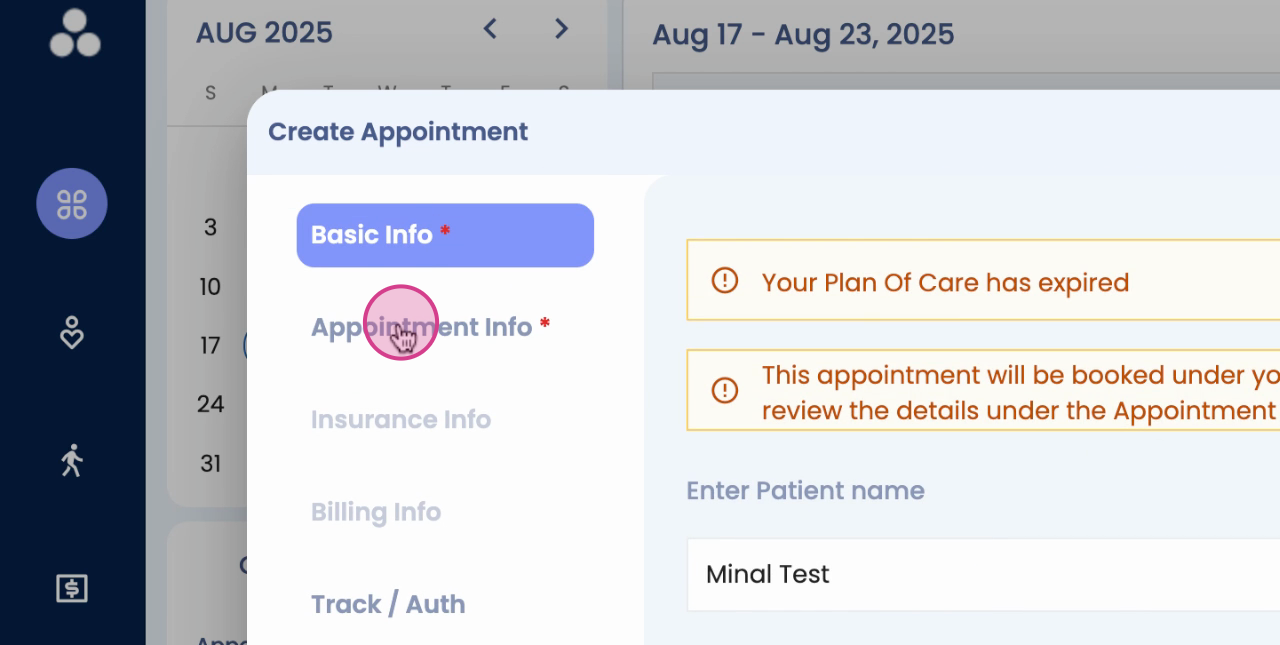
You'll see an alert about the appointment scheduled for the package.You can decide whether to continue scheduling this patient off of the package or for other types of visits.
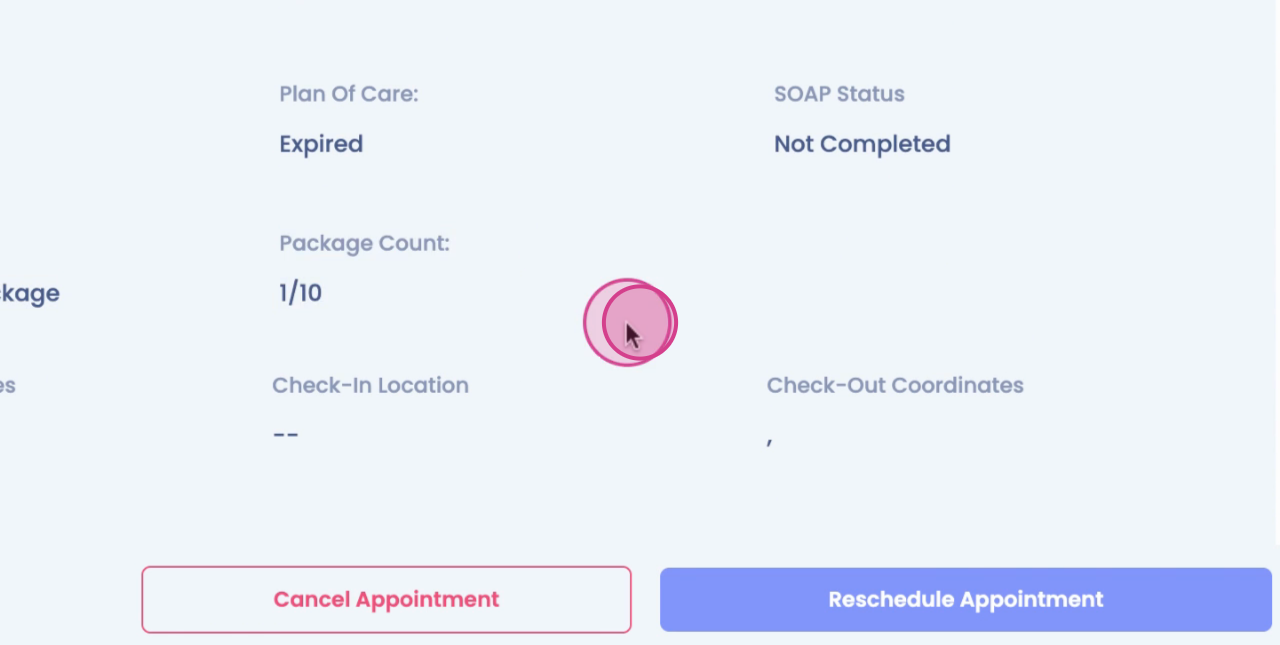
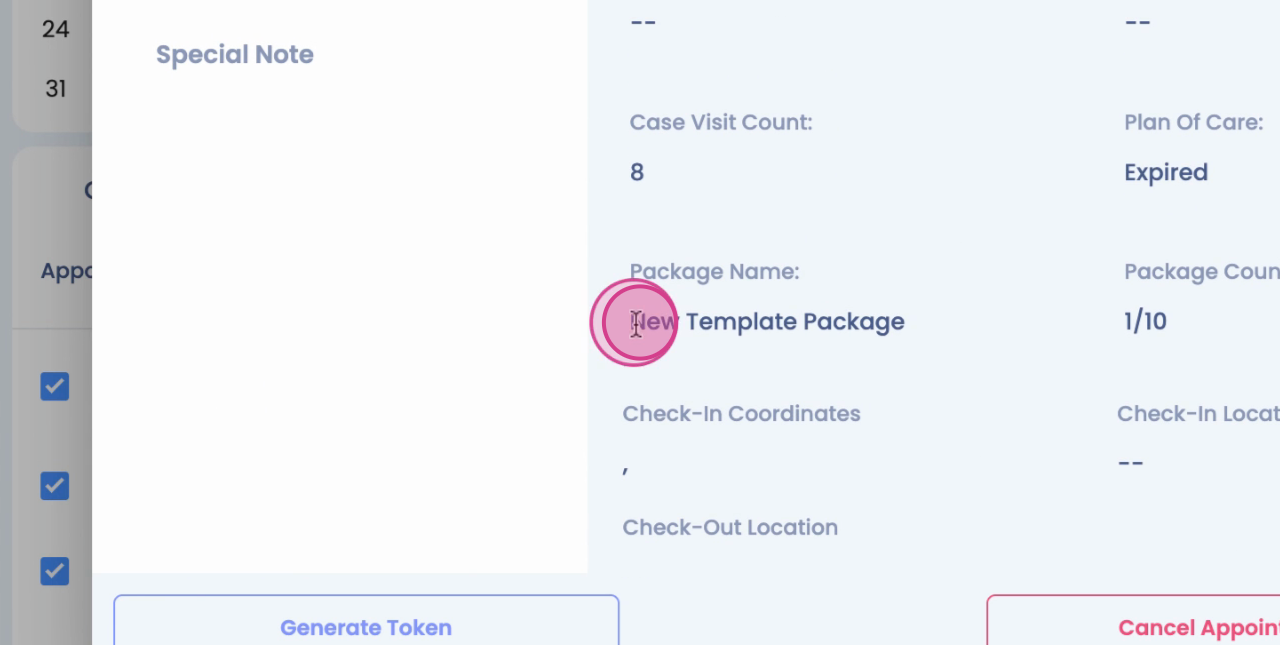
Step 17: To check which package the patient's been scheduled under, click on Appointment info.
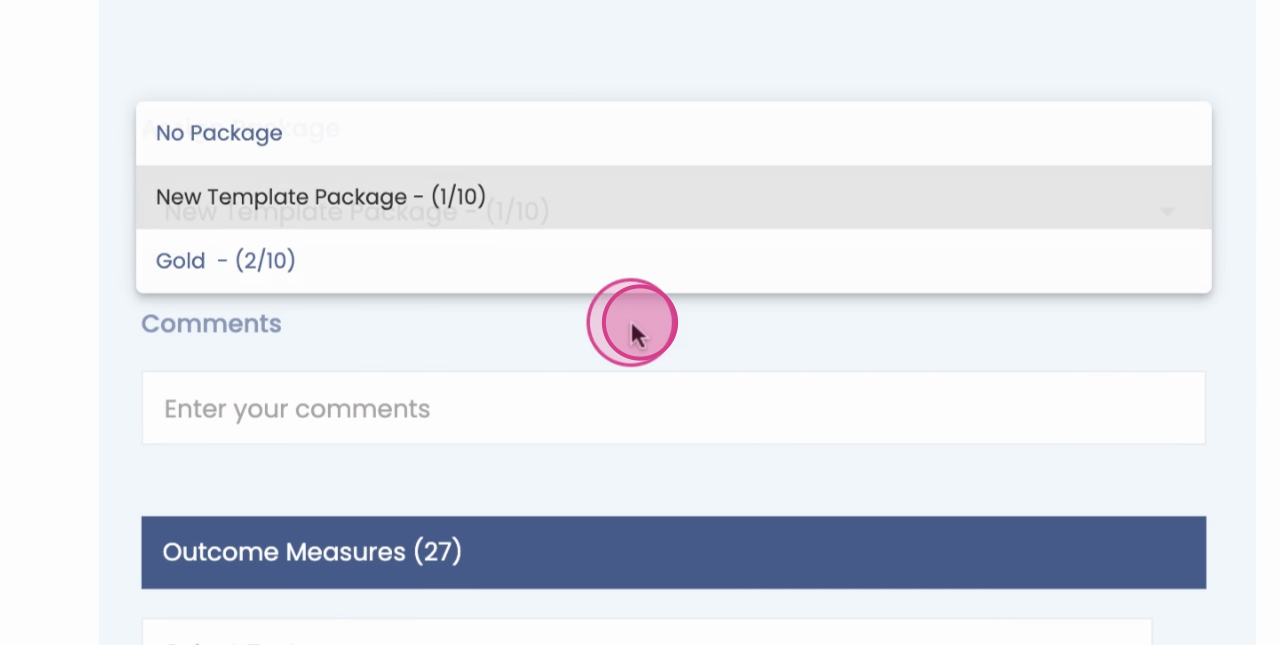
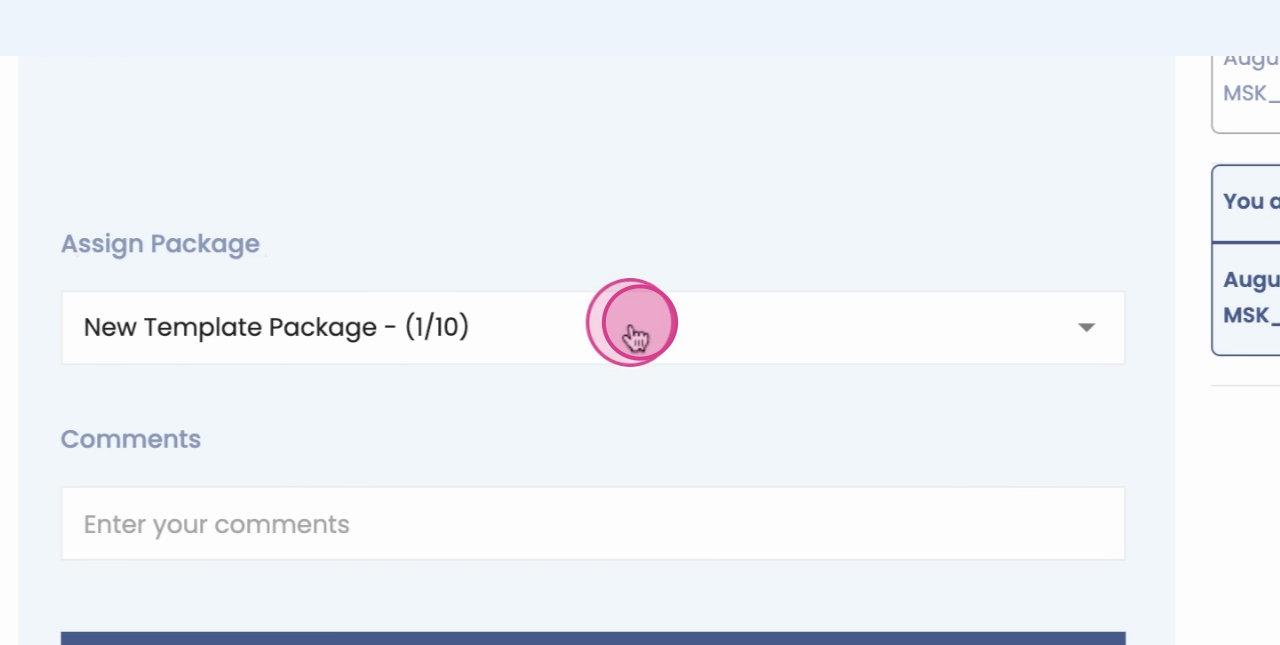
You'll see the assigned packages.
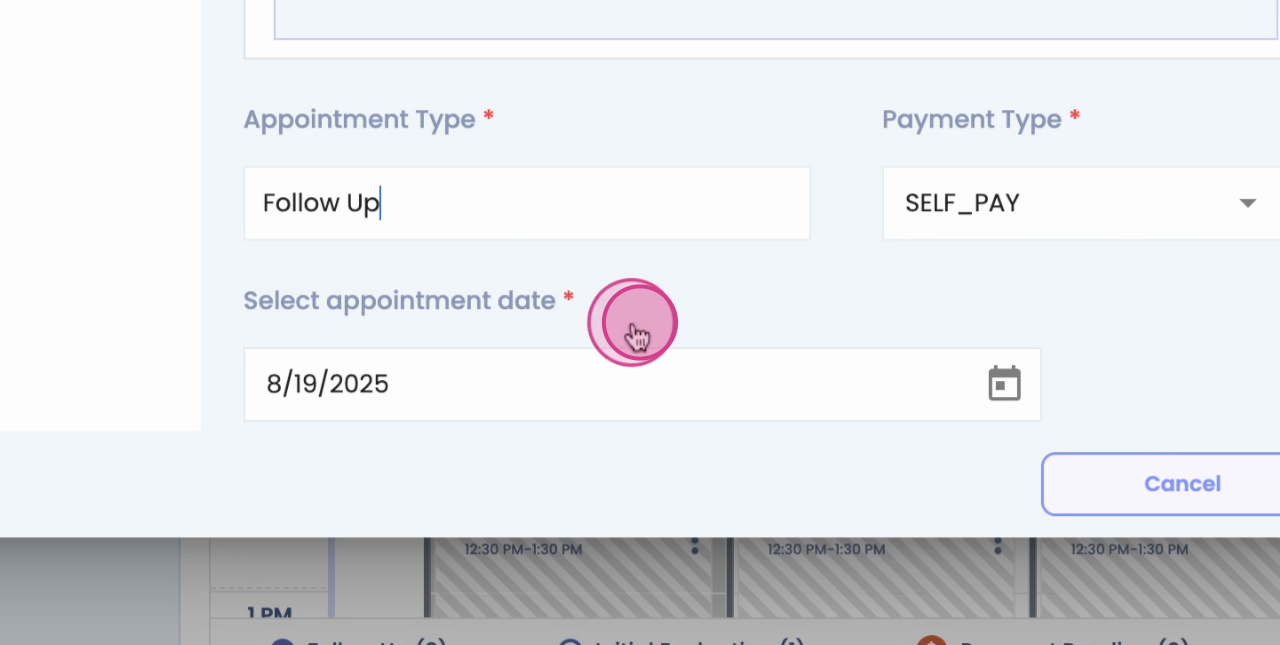
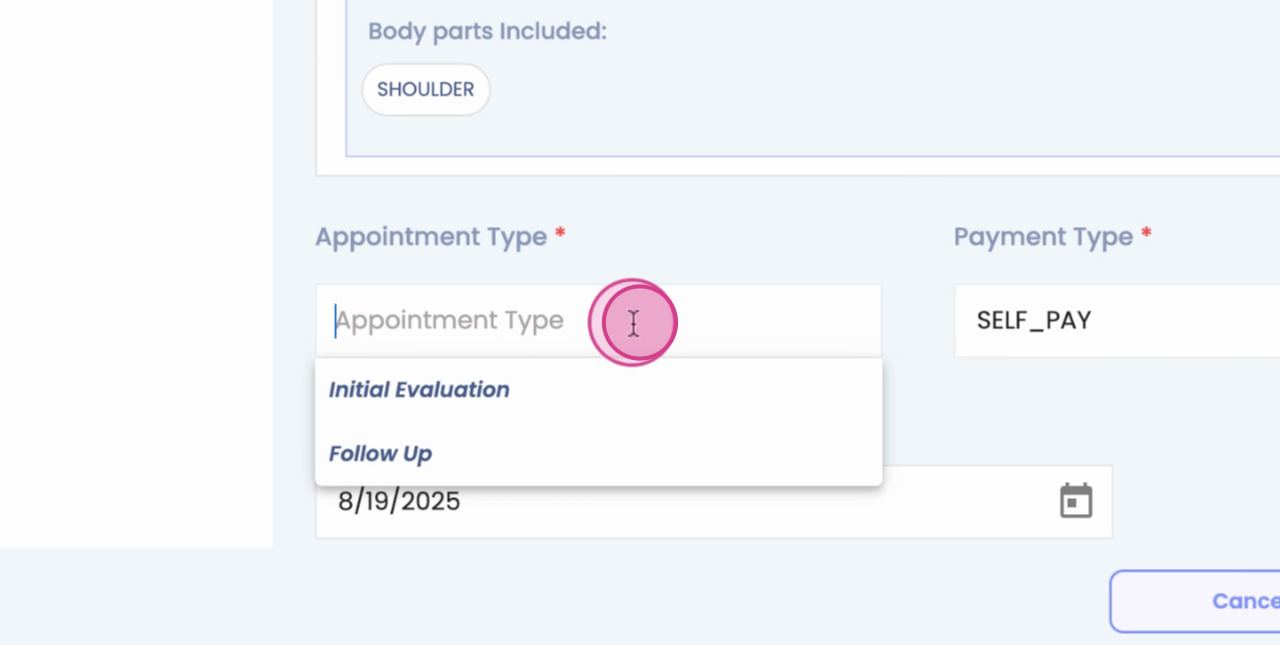
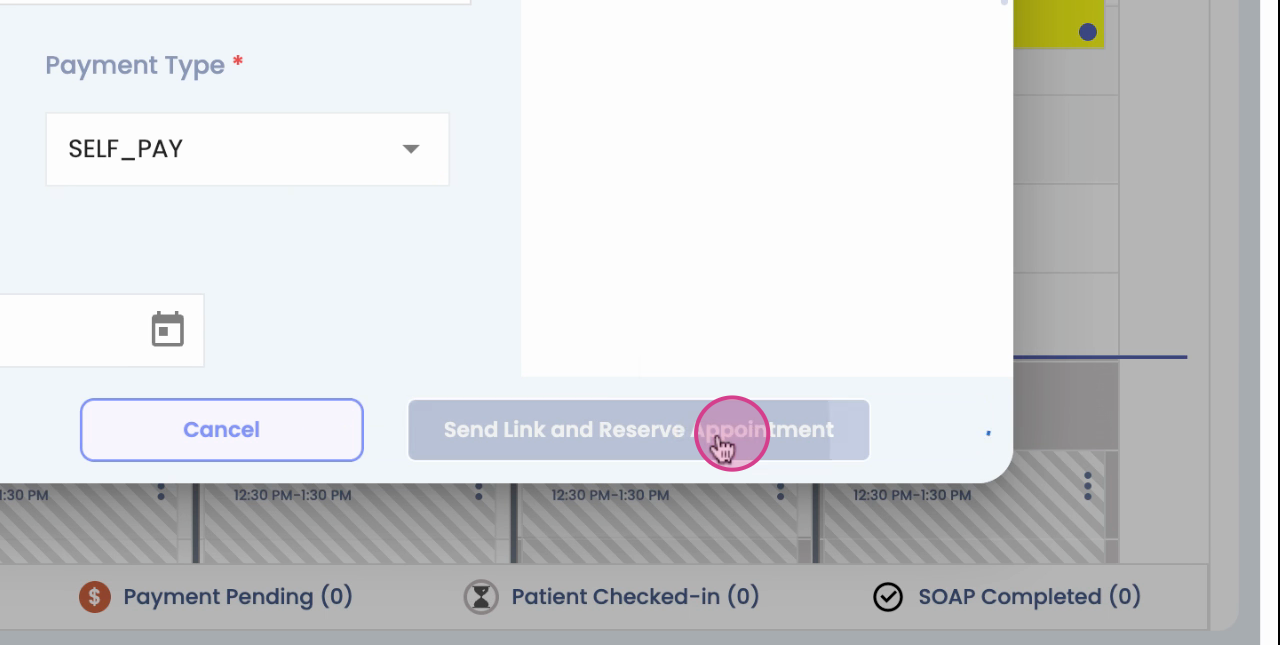
Step 18: Select the appropriate appointment type.
Step 19: Click Send Link and Reserve Appointment.
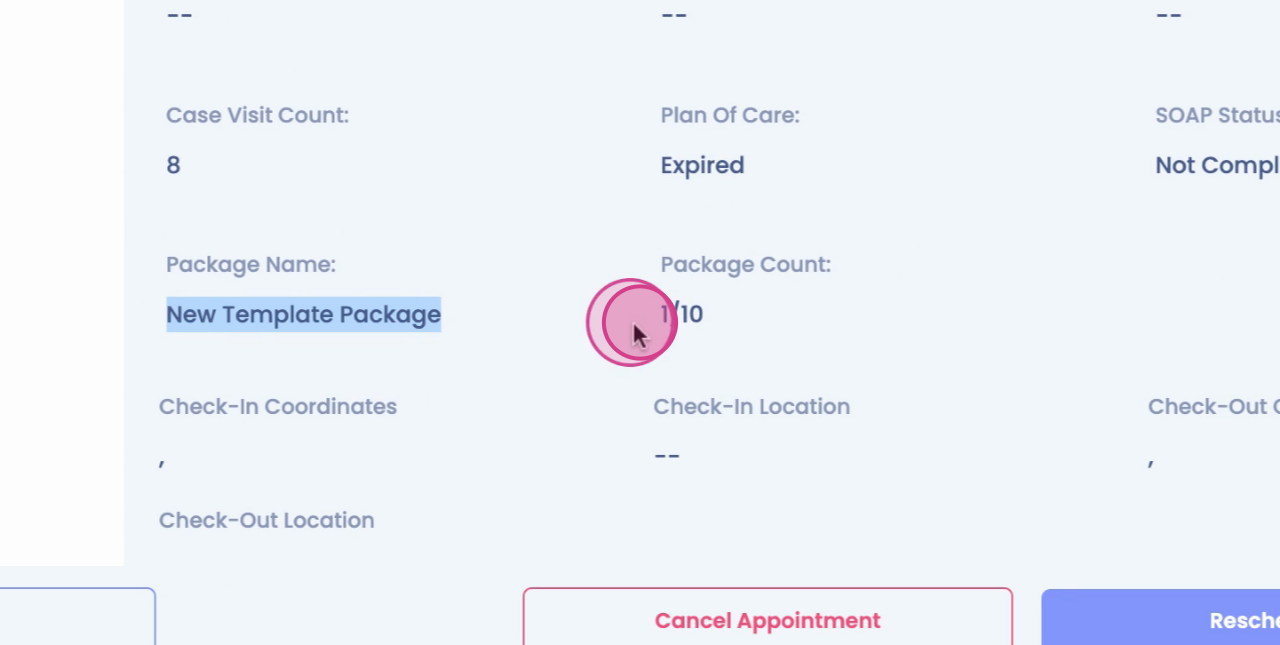
You can view the appointment as a package appointment if you click on the Appointment tile. In the summary, you'll see the package name and the count that was applied.