Auto Debit Feature Introduction
This article will guide you through the Auto Debit feature, a simple and transparent method for organizations to automatically collect overdue patient payments.
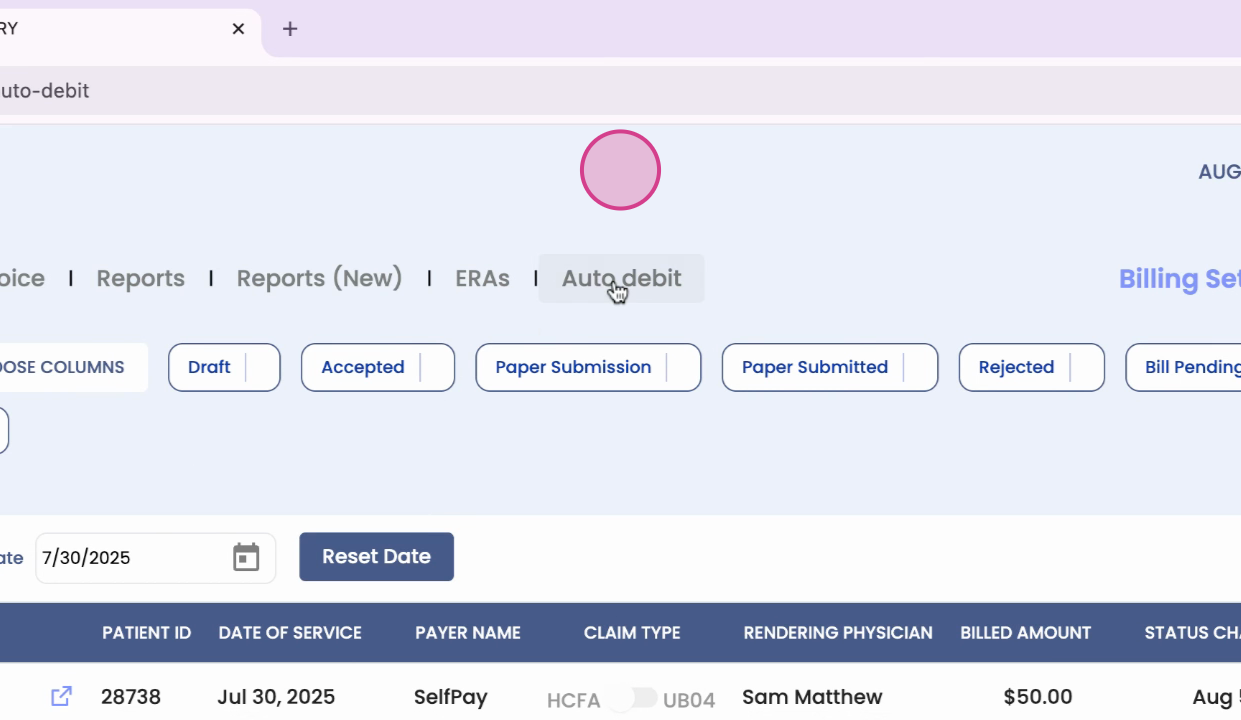
Step 1: Understand the Auto Debit Feature
The Auto Debit feature can be enabled or disabled at the organization level, with key parameters customizable to align with your organization's payment policies. The system identifies outstanding invoices that meet your set criteria, such as invoices older than a certain number of days, balances within a chosen amount range, or services billed after a specific start date. It then schedules an auto debit from the patient's saved card, ensuring no duplicate attempts for the same invoices on the same day.
Step 2: Patient Reminder
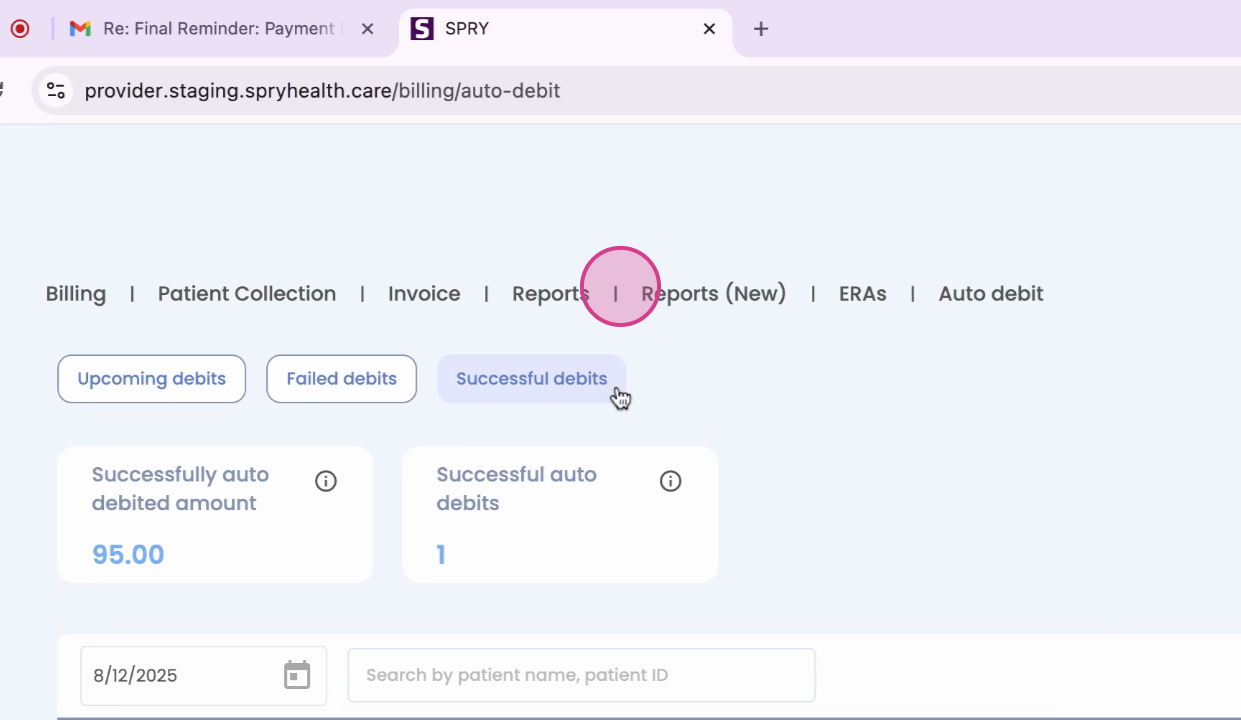
Before an auto debit occurs, the patient receives a reminder via email and text message detailing the payment. If an attempt fails, the Auto Debit dashboard provides three main screens: upcoming auto debits, failed debits, and successful debits.
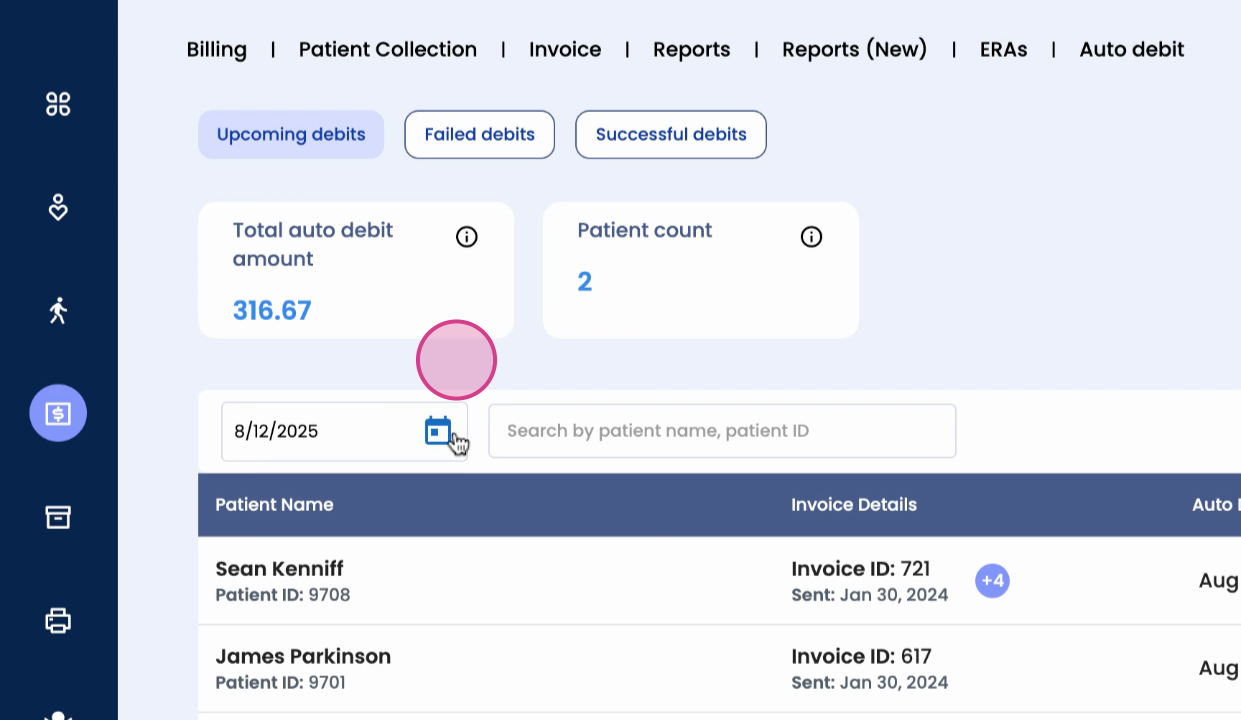
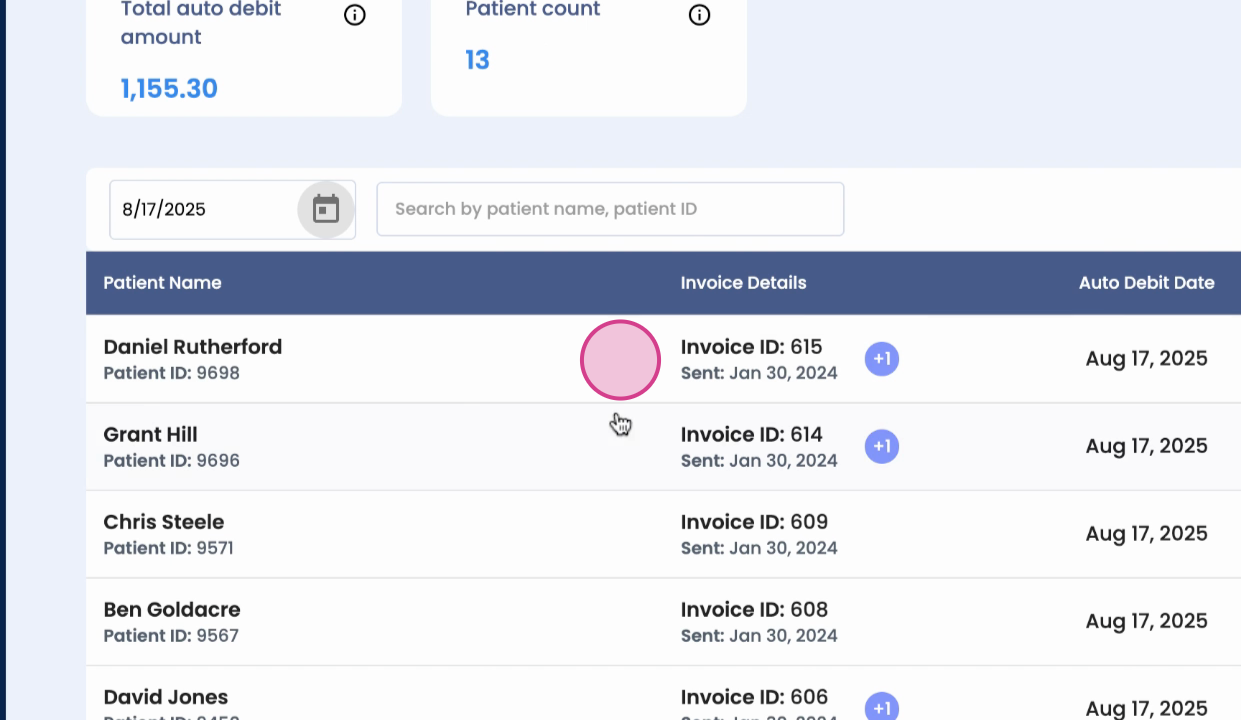
Step 3: Upcoming Auto Debits
This screen shows all scheduled debits with expandable details for each.
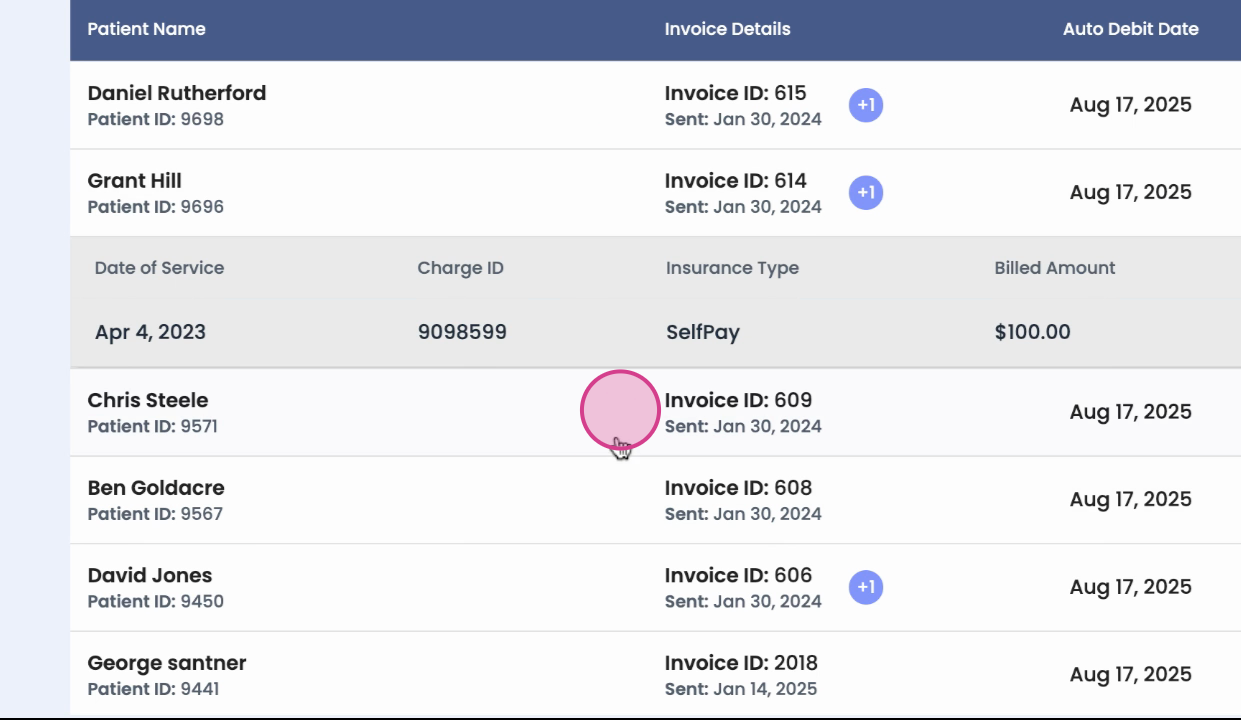
Step 4: Charges
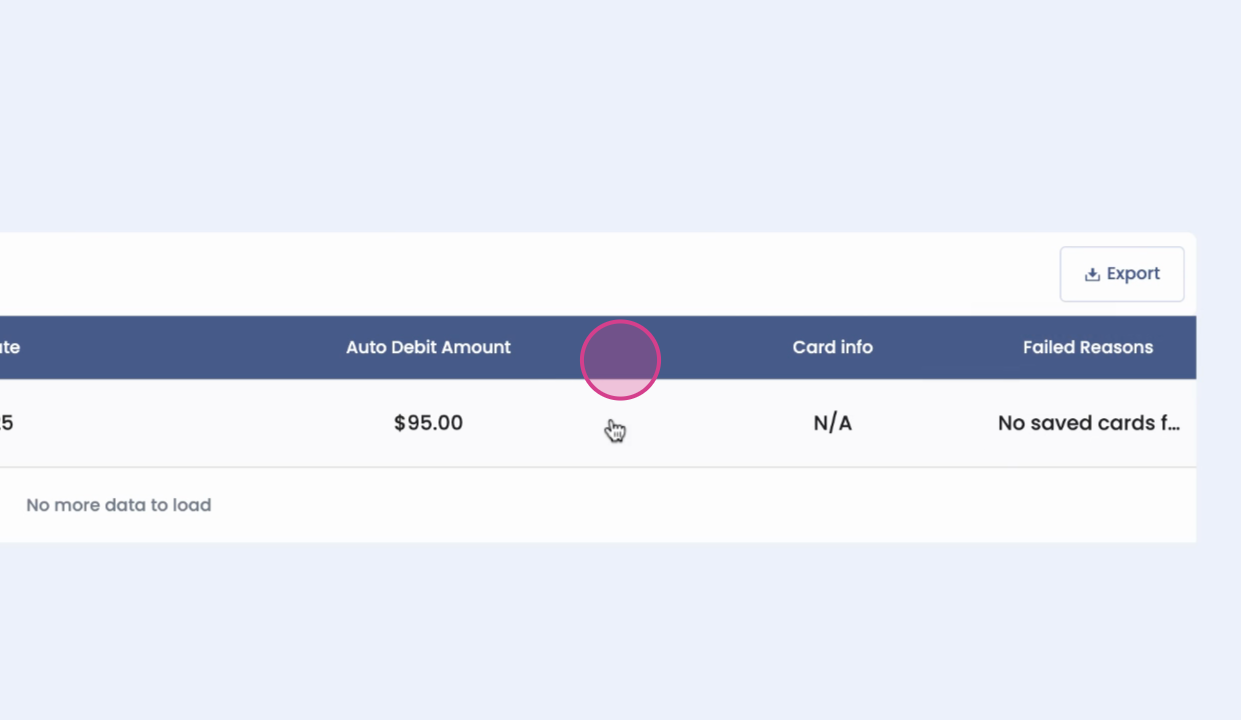
Step 5: Failed Debits
This screen lists the reason for failure and masked card details.
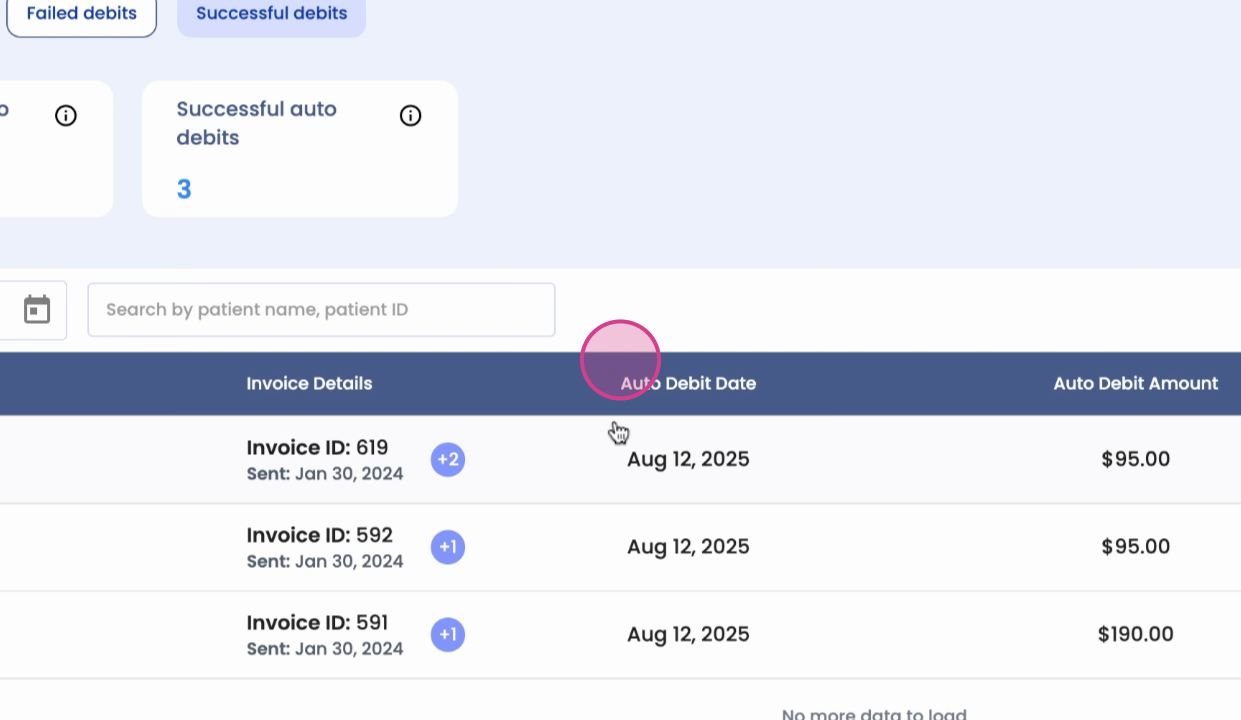
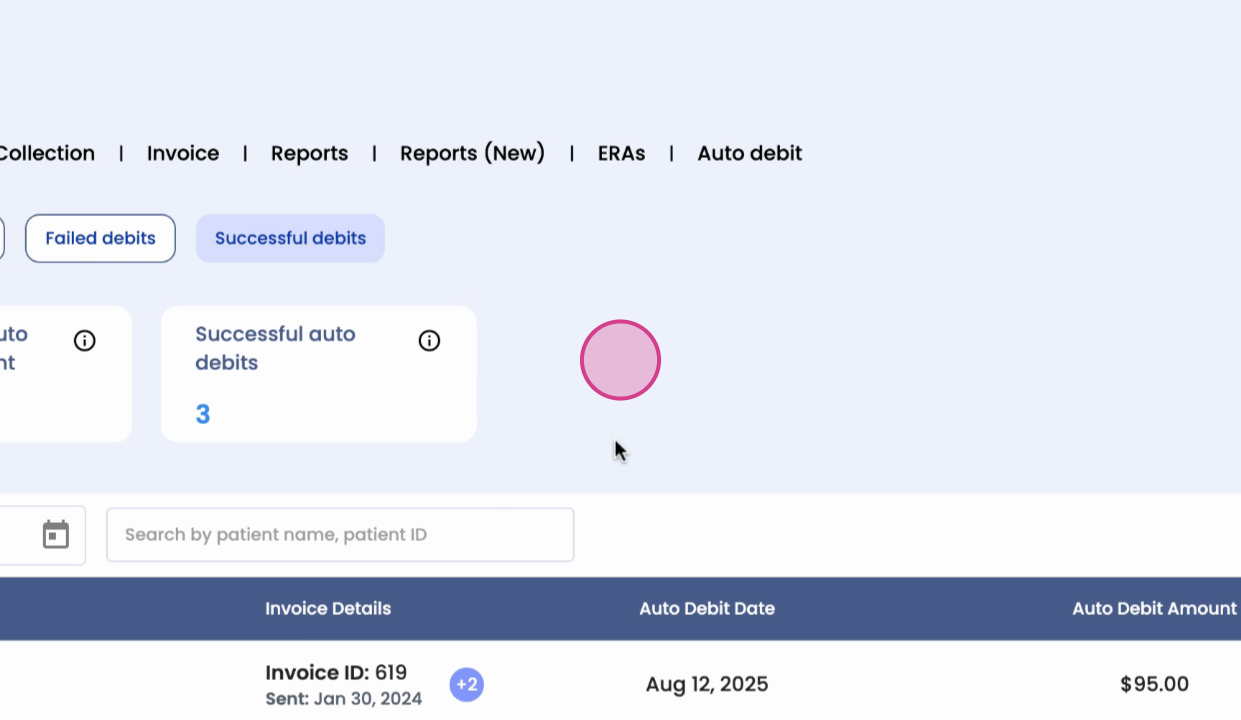
Step 6: Successful Debits
This screen confirms completed payments with related charge details.
Step 7: Card Selection
If a patient has multiple saved cards, the system will use the most recent and successful card.
Step 8: Benefits of Auto Debit
With Auto Debit, payment collection becomes automated, transparent, and patient-friendly, helping your organization streamline operations while keeping patients informed.
And that's it! You're now familiar with the Auto Debit feature.