
Enhanced Waitlist Management System
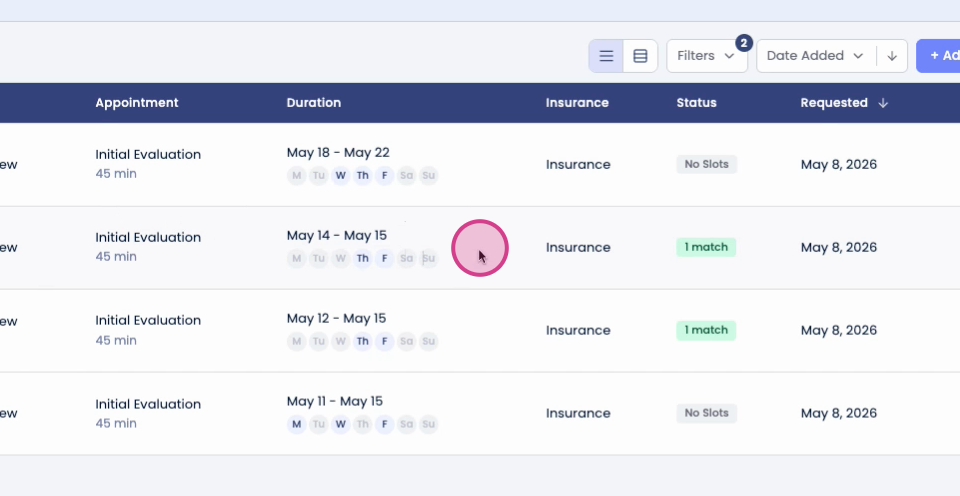
The new waitlist feature streamlines how clinics handle canceled appointments, helping staff fill open slots faster and with less manual effort. With better visibility into patient demand and open availability, the process becomes more structured and actionable—supporting both automated outreach and manual workflows, depending on your clinic’s needs.
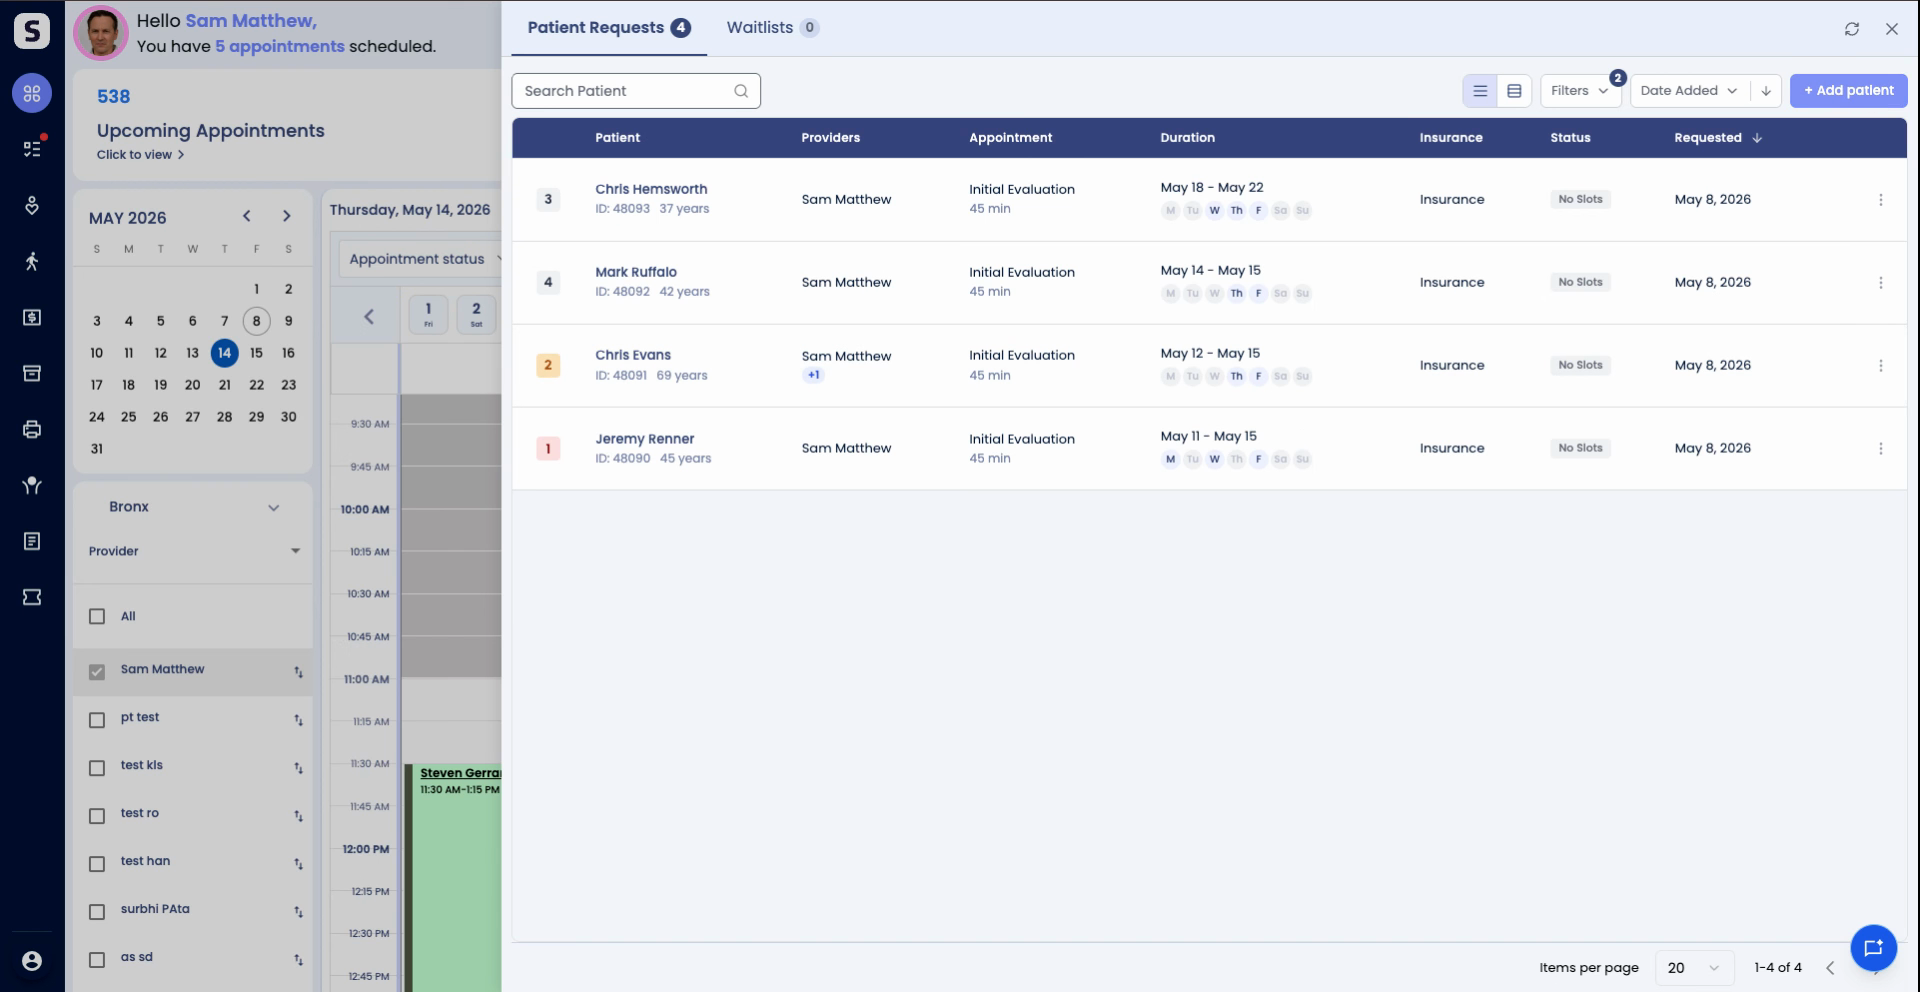
Step 1: Add a patient to the waitlist
Staff can create a waitlist request directly from the EMR for an existing or new patient.
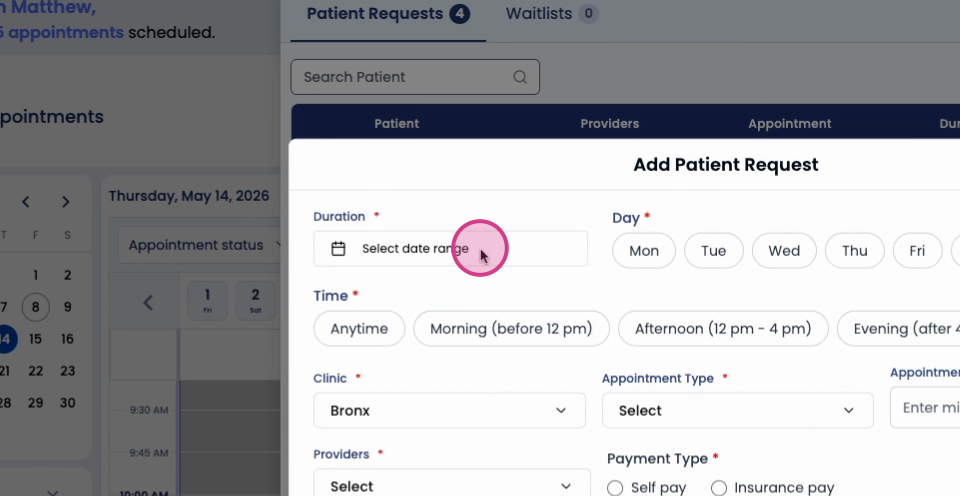
Step 2: Capture patient preferences
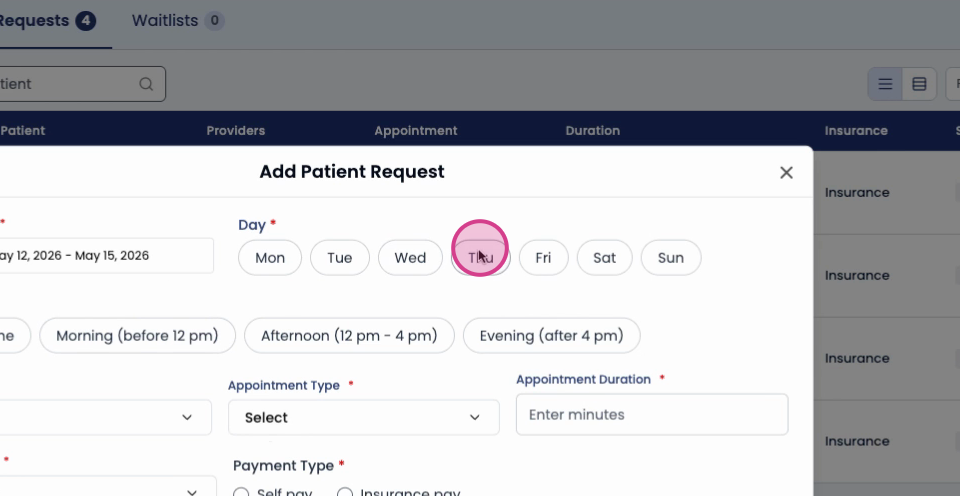
Fill out key preferences, including date range, preferred days and times, appointment type, multiple provider options, payment type, priority, and any relevant notes.
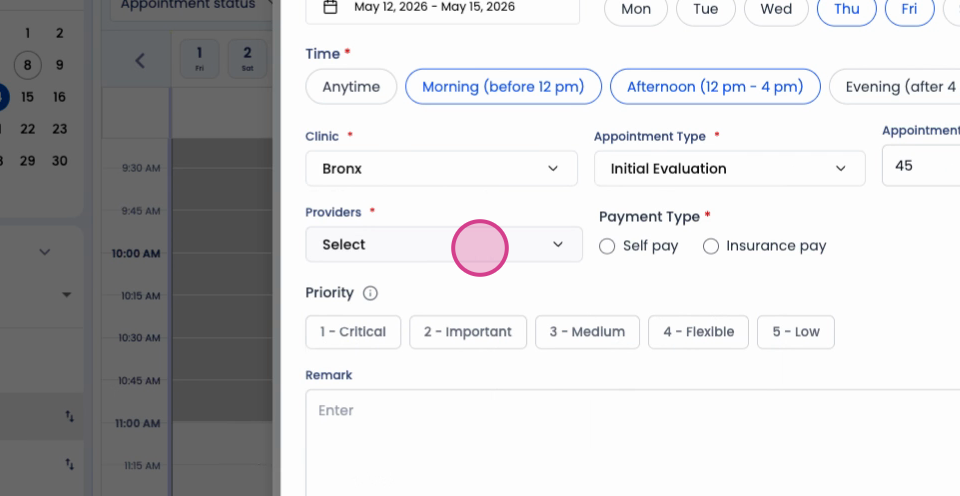
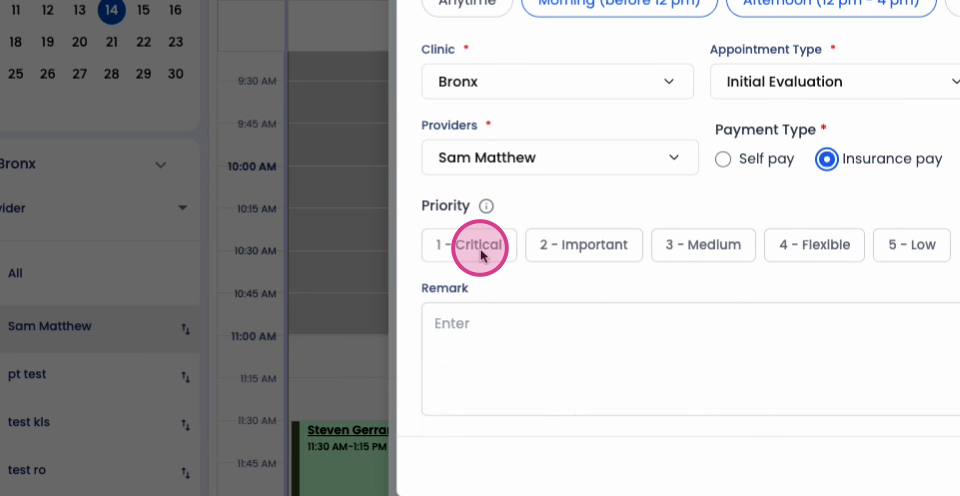
Step 3: Save the waitlist request
Once you save, the request becomes active and visible in the waitlist panel.
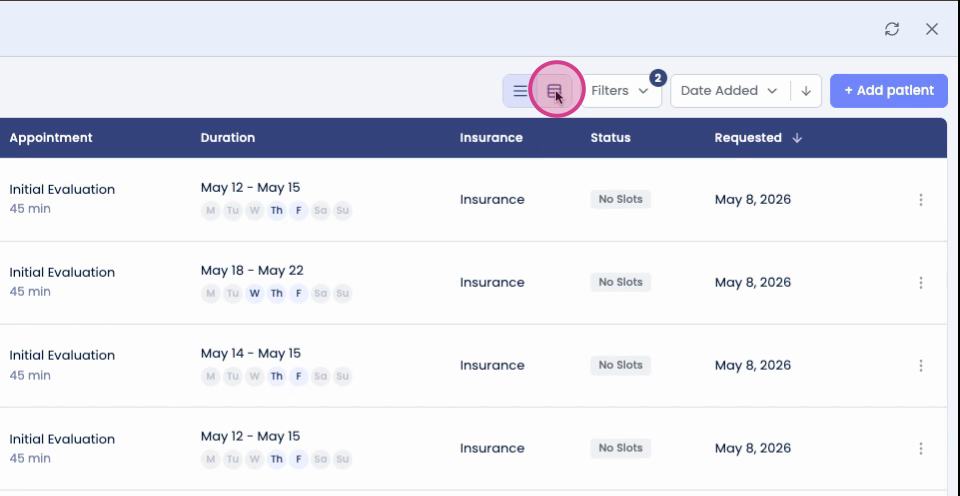
Step 4: Handle canceled appointments
When an appointment is canceled, the system automatically checks for matching patients if automation is enabled.
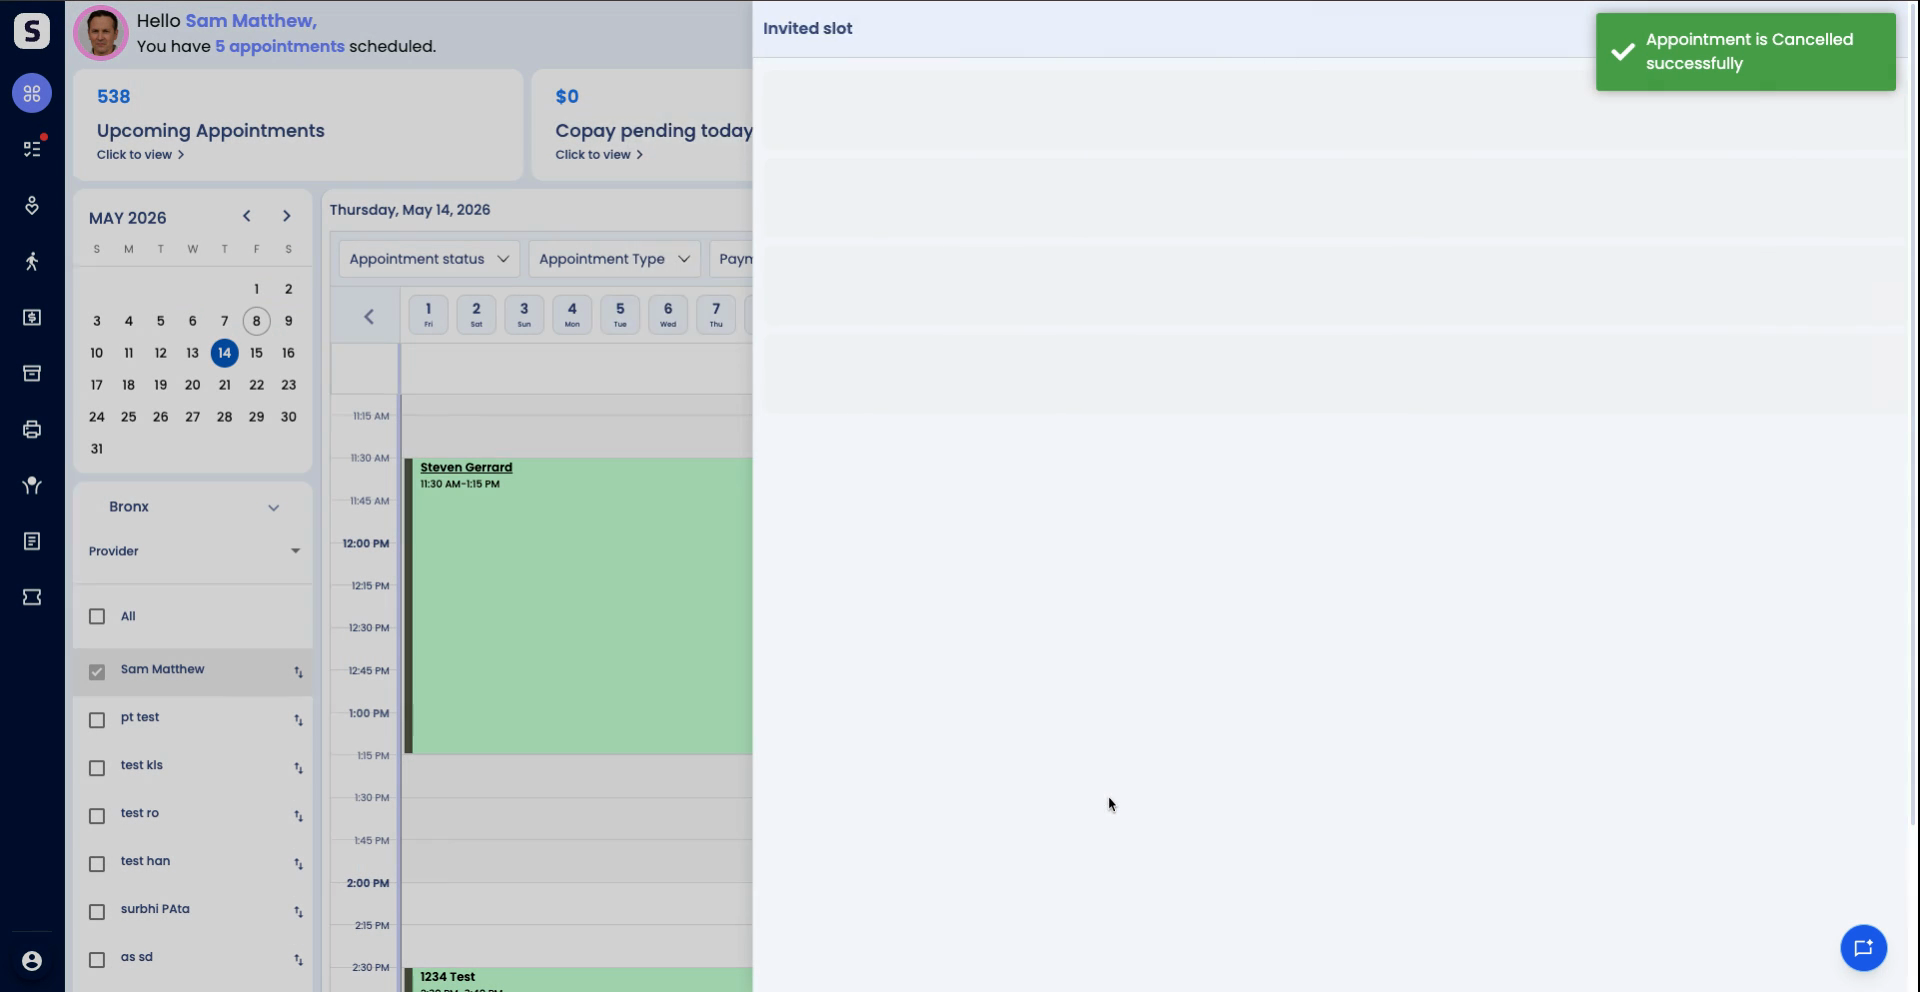
Step 5: Automated invites and staff tracking
Invitations are sent out automatically. Staff can monitor outreach directly from the waitlist panel or the calendar.
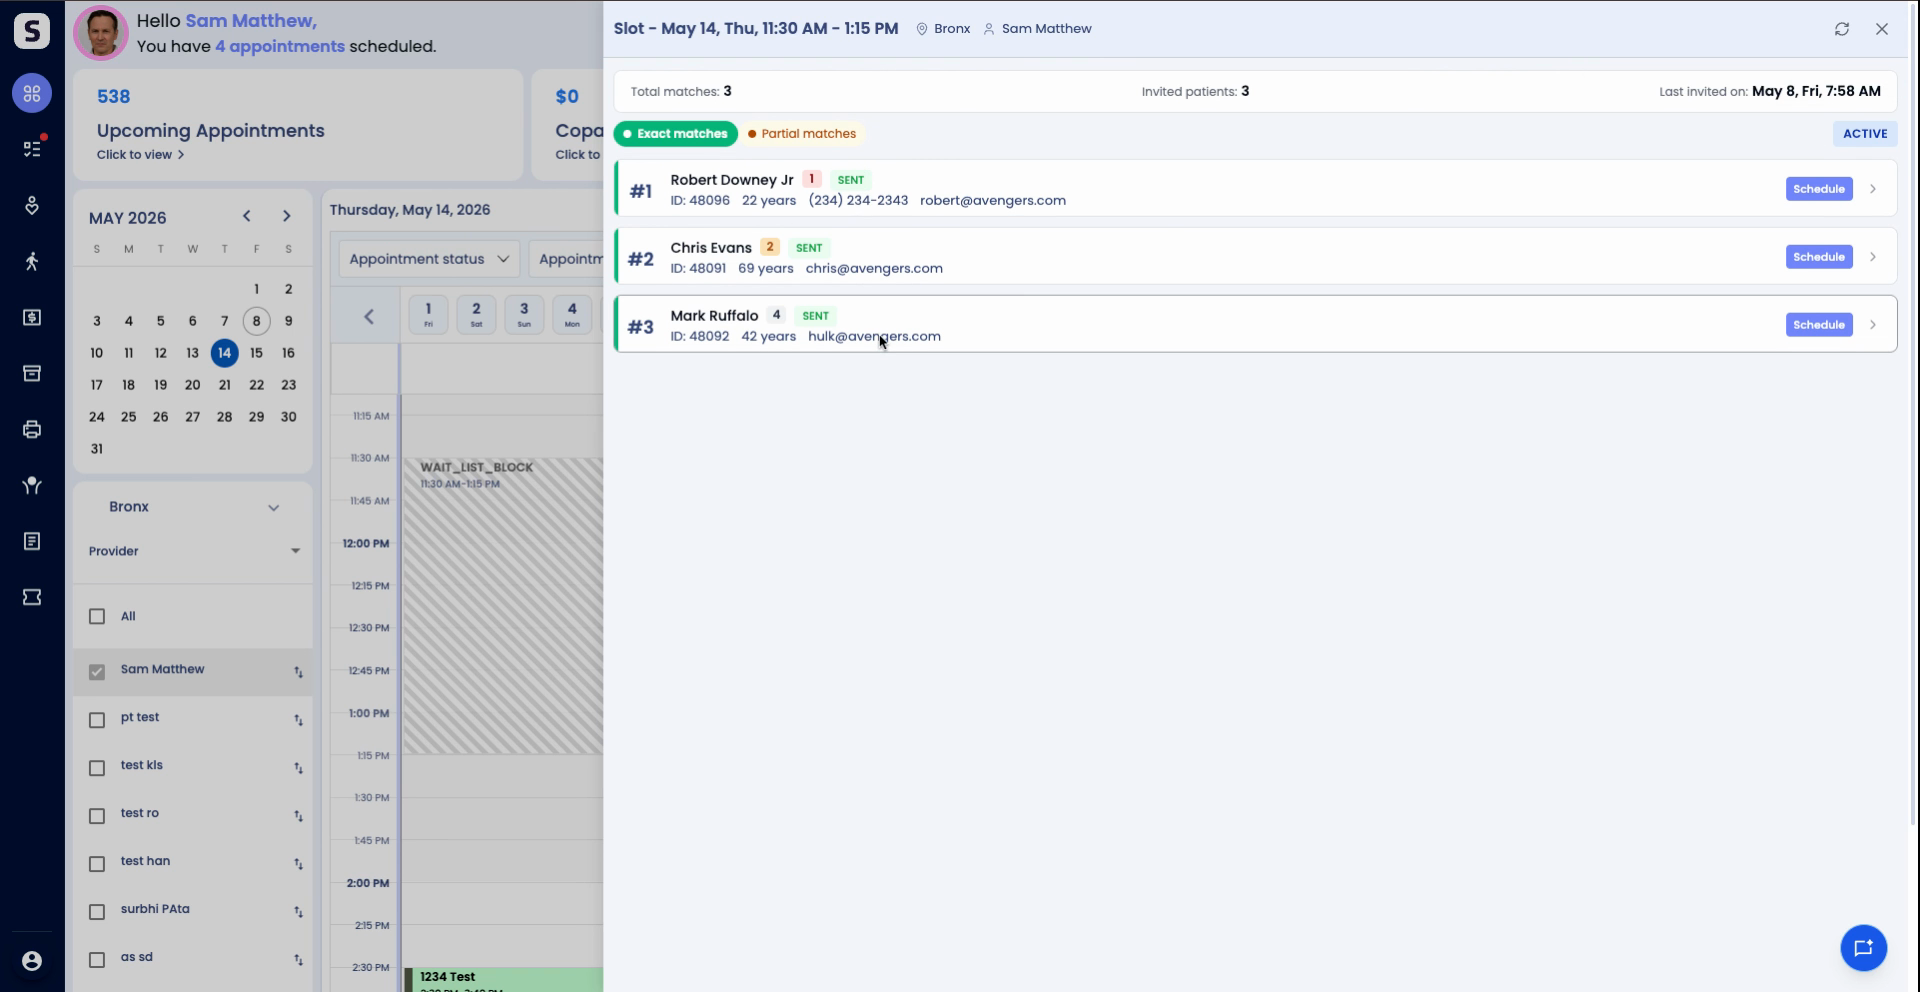
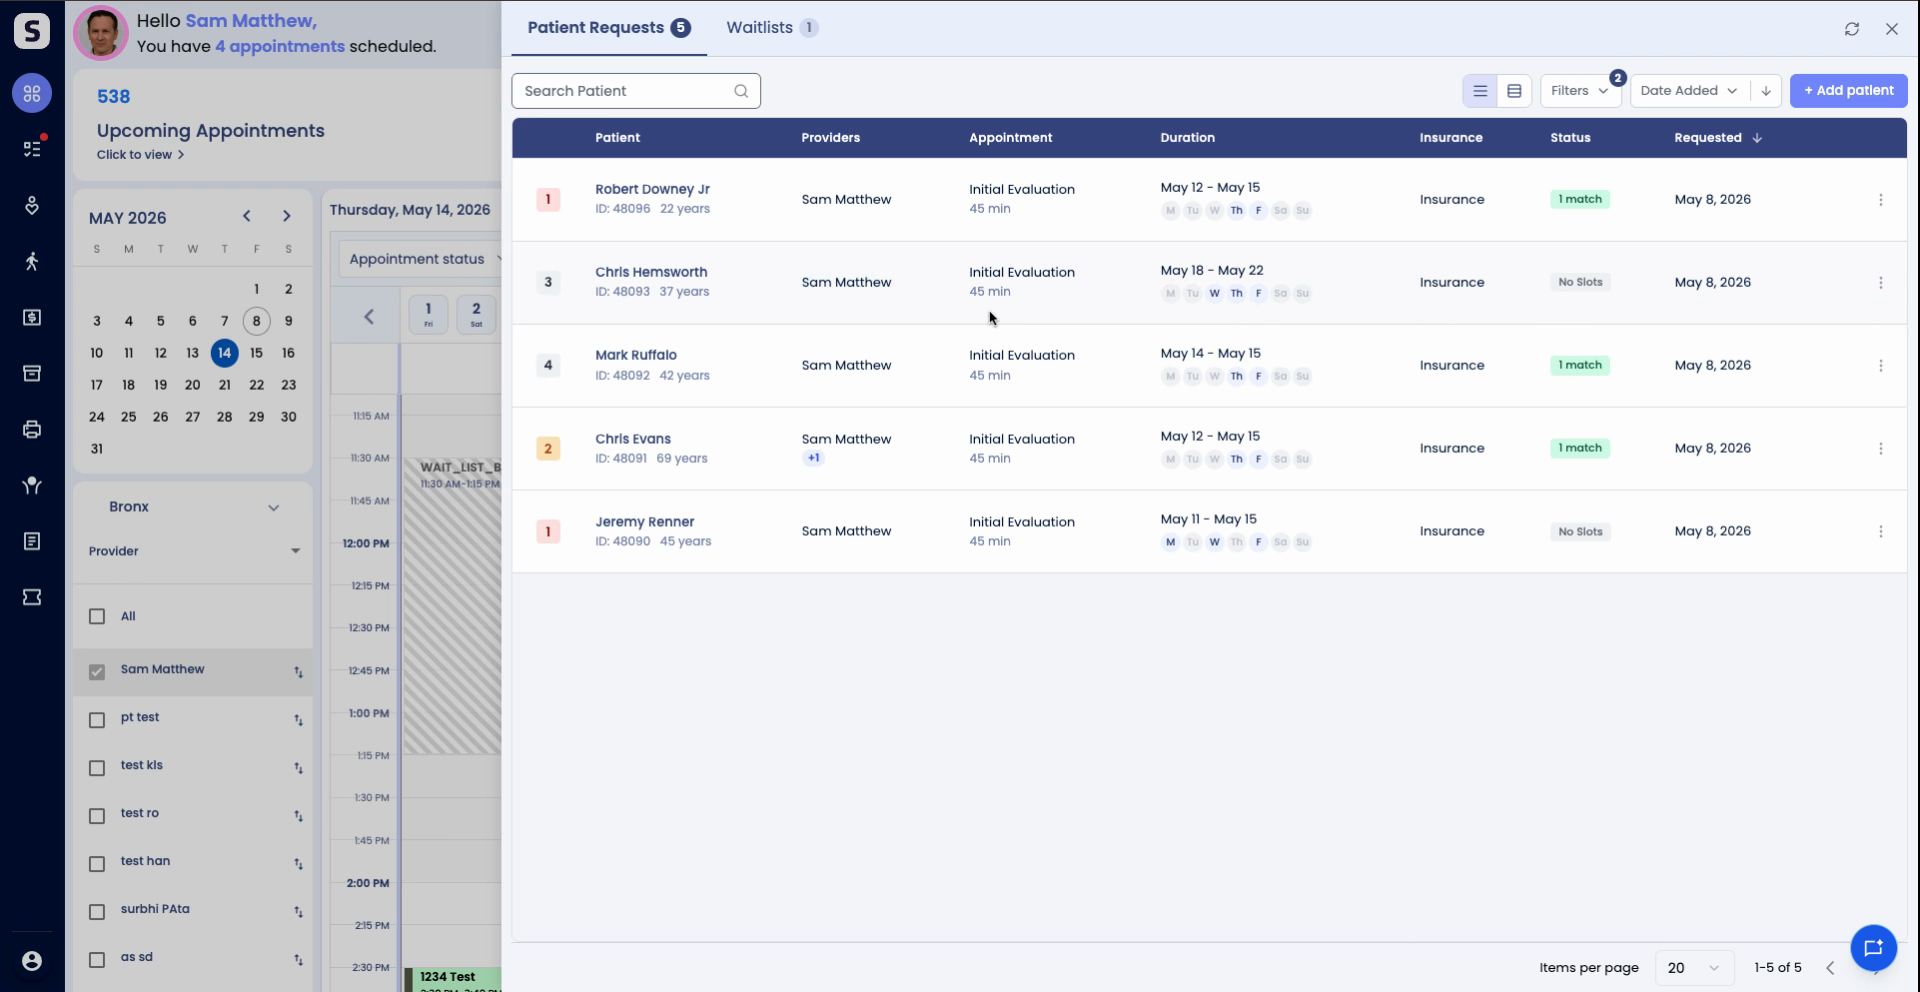
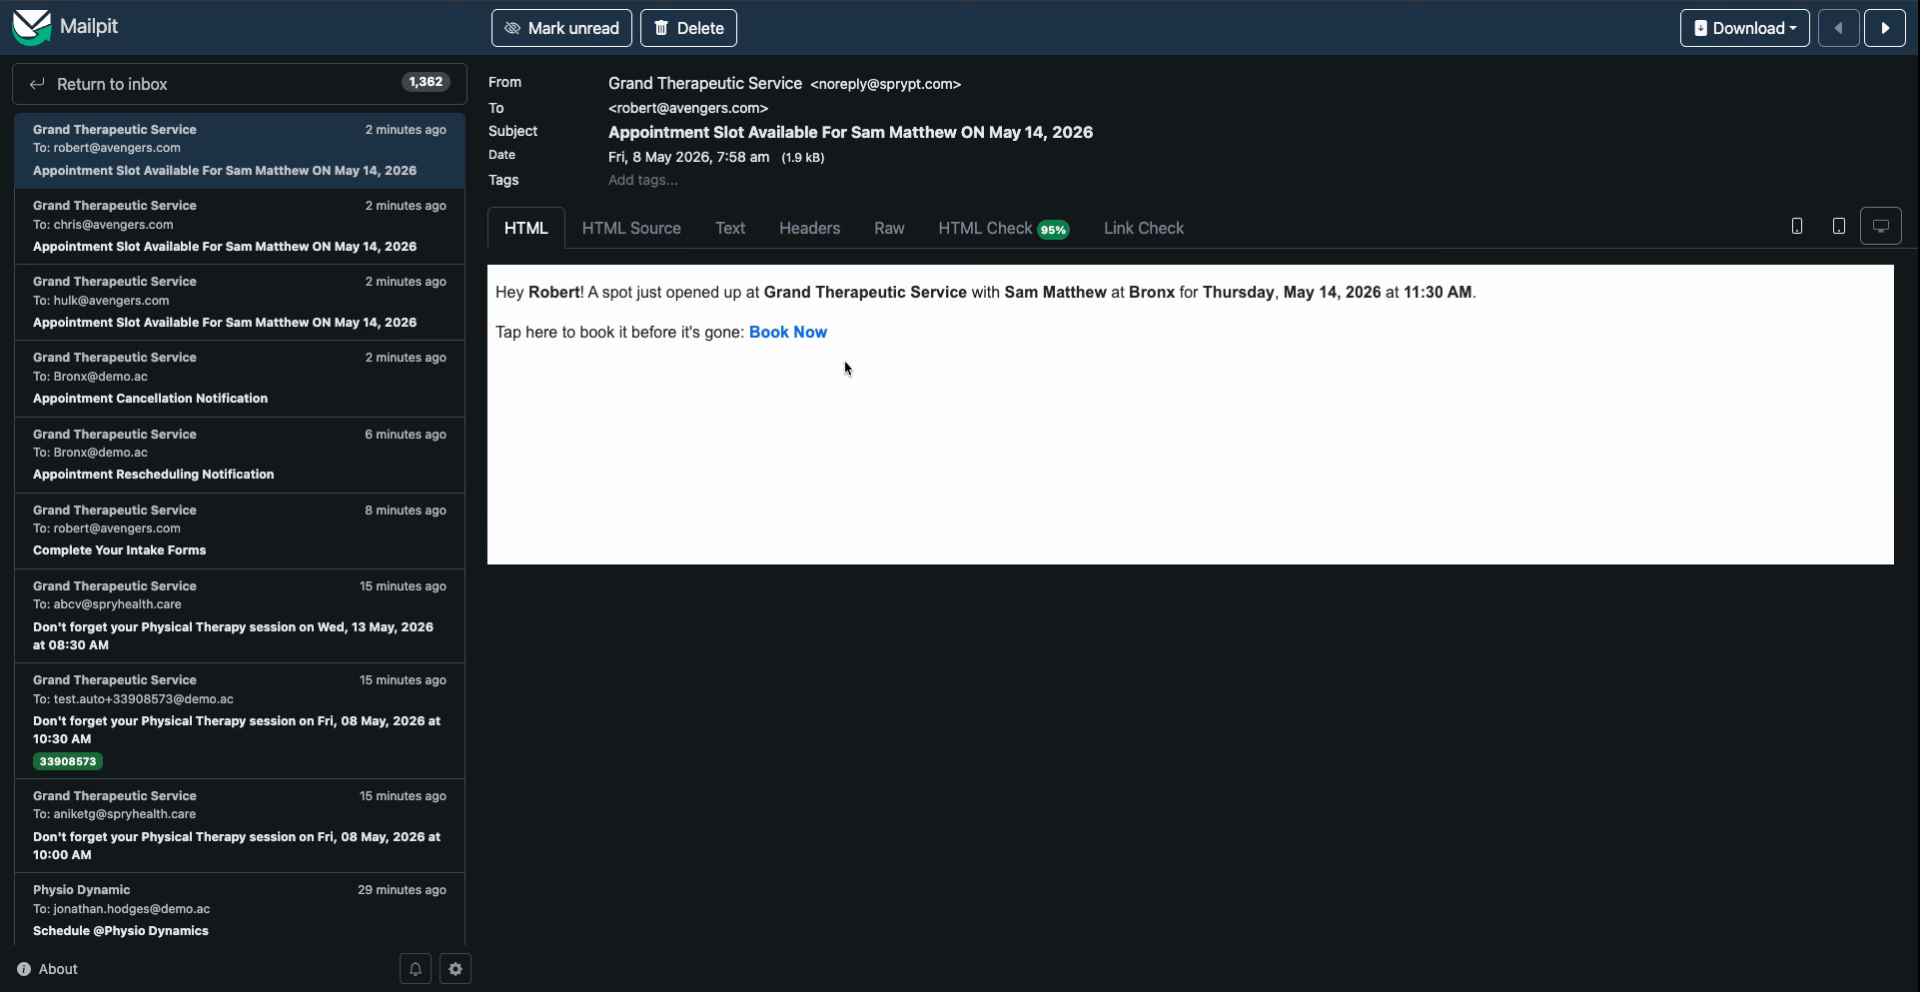
Step 6: Patients receive and confirm offers
Patients get a message with details about the available slot and can confirm directly from the link provided.
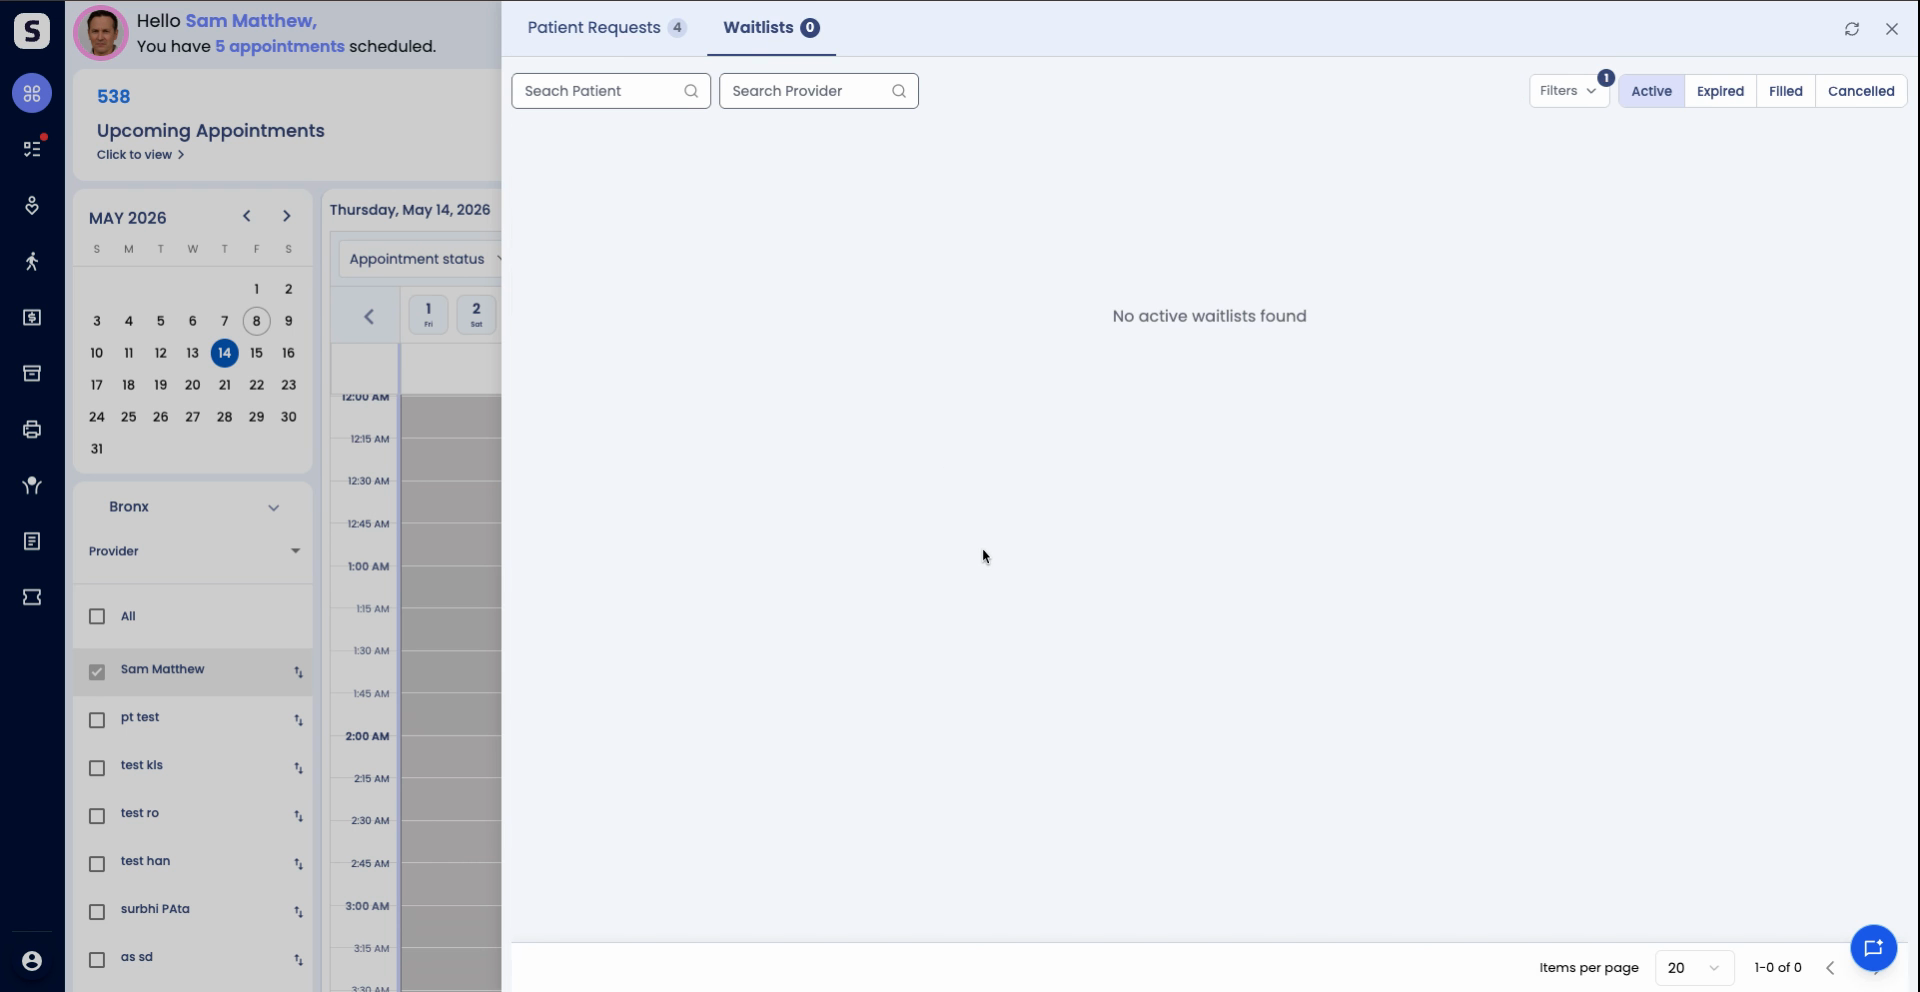
Step 7: Appointment status updates
As soon as the patient confirms, the slot updates in the system, moving into the filled state.
Step 8: Manage matches manually (optional)
Teams can also manually match patients and slots by reviewing open slots or patient preferences as needed.
The result is a faster, more transparent, and efficient way to fill openings for both staff and patients. Try different workflows and automation levels to find the approach that best fits your clinic’s needs.