Claim Assist Overview
In this article, you'll learn how to navigate and use the Claim Assist feature on your dashboard.
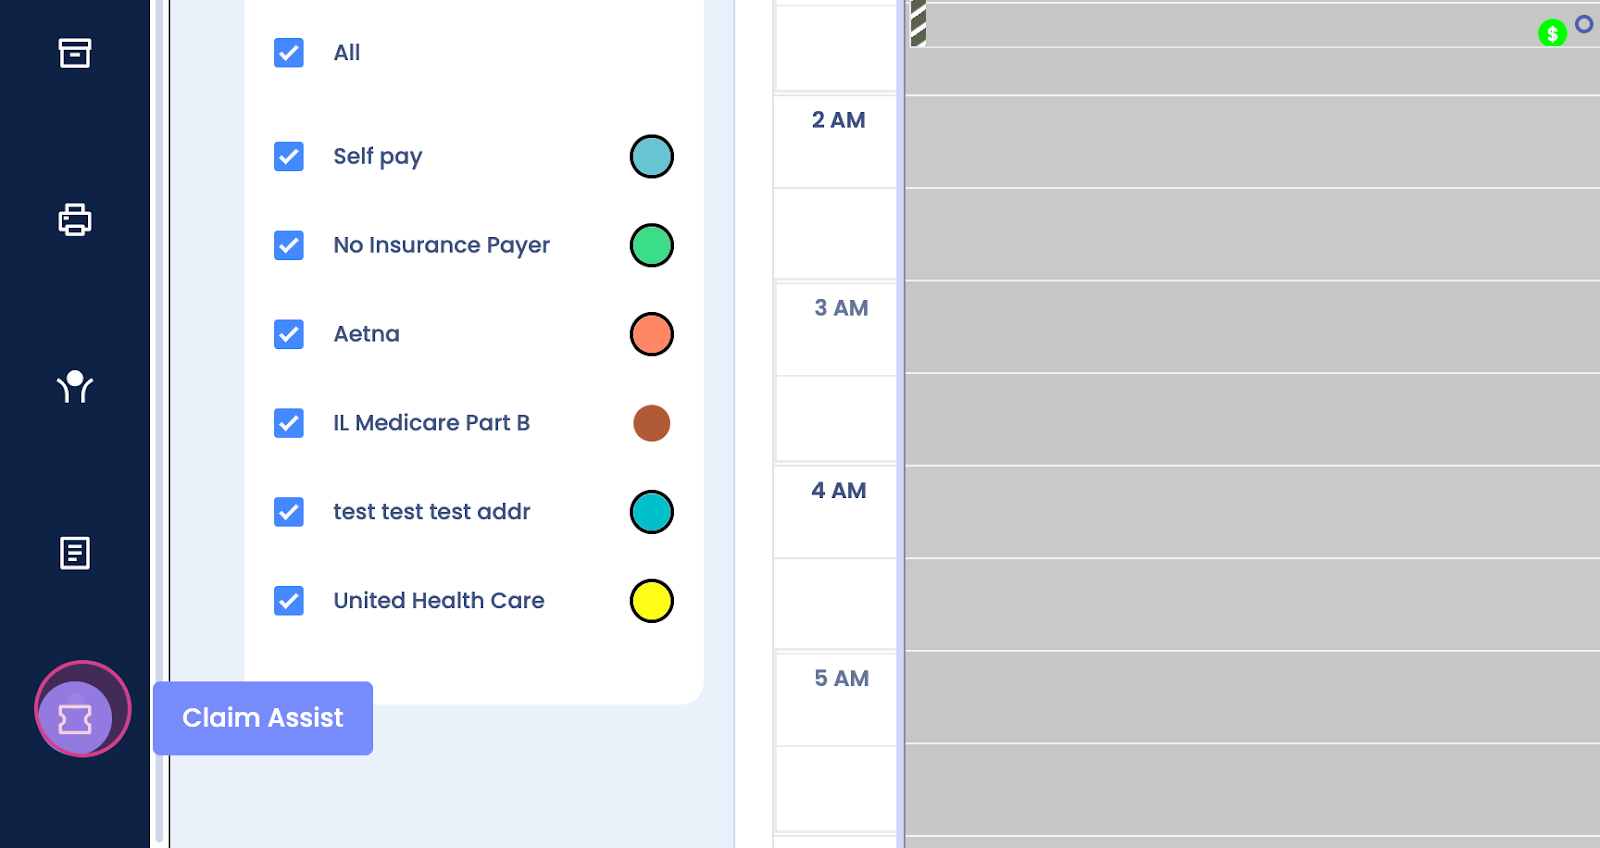
Step 1: Start by locating Claim Assist on the left side of your dashboard. Click on Claim Assist.
Step 2: You'll see all your tickets categorized into total, open, and closed tickets.
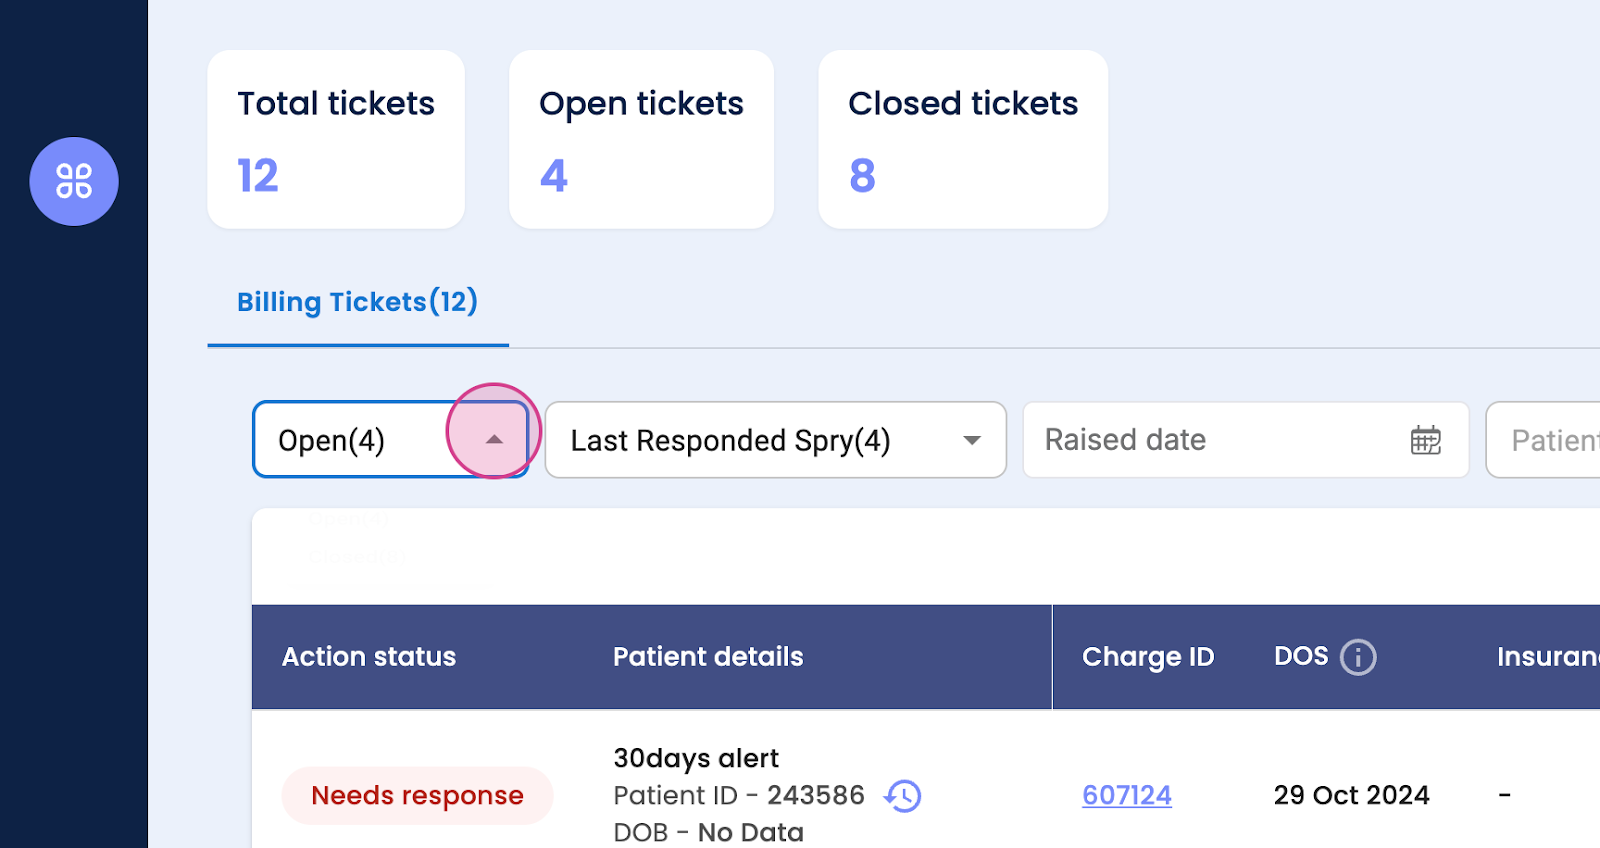
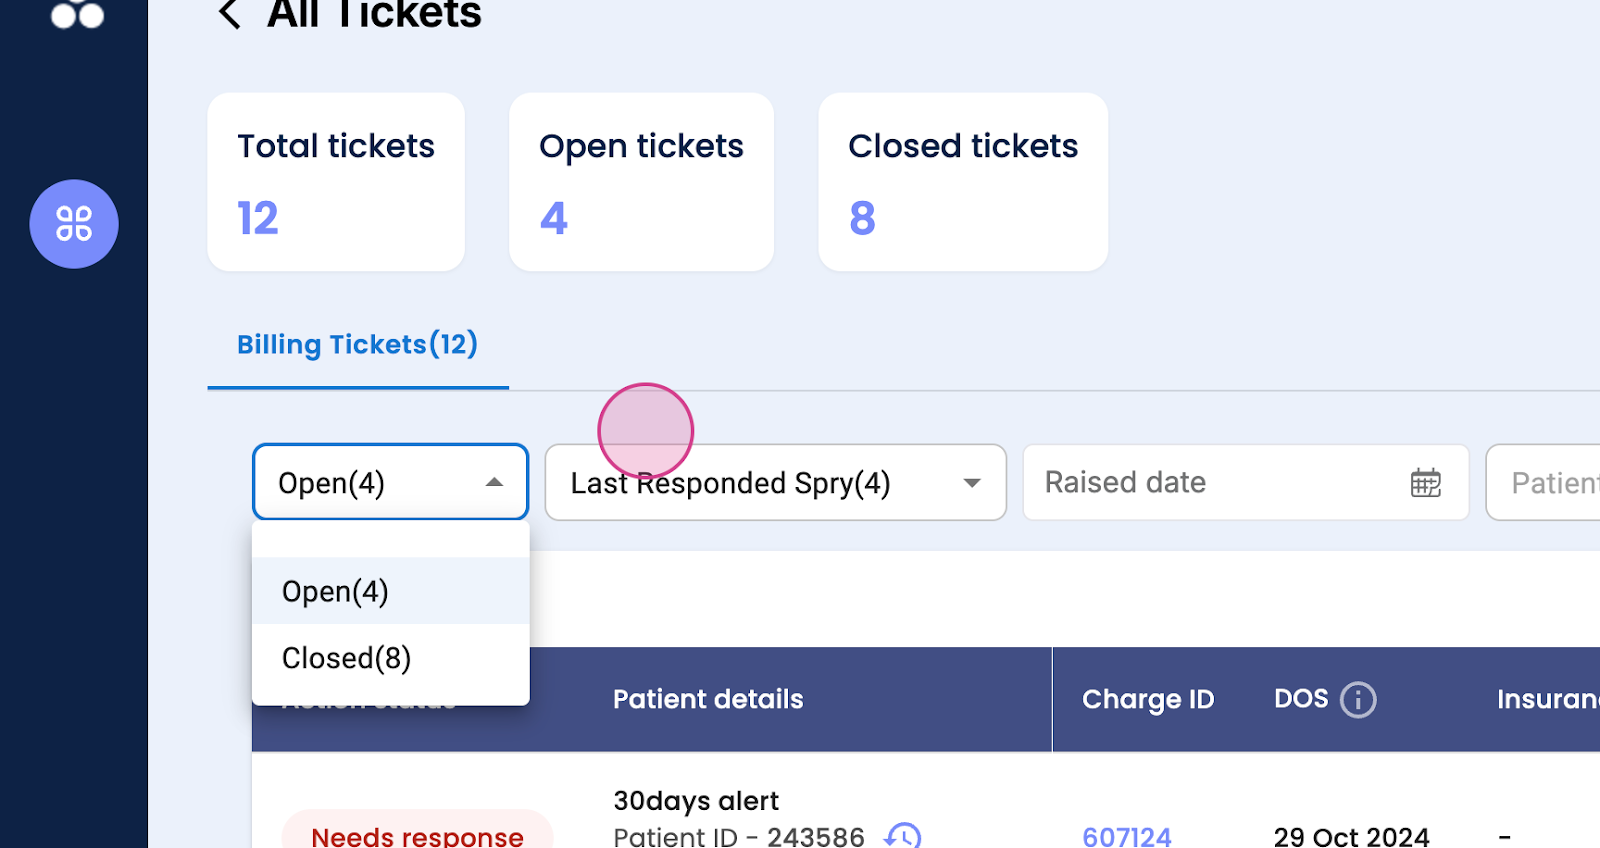
Step 3: Notice the filters for open or closed tickets.
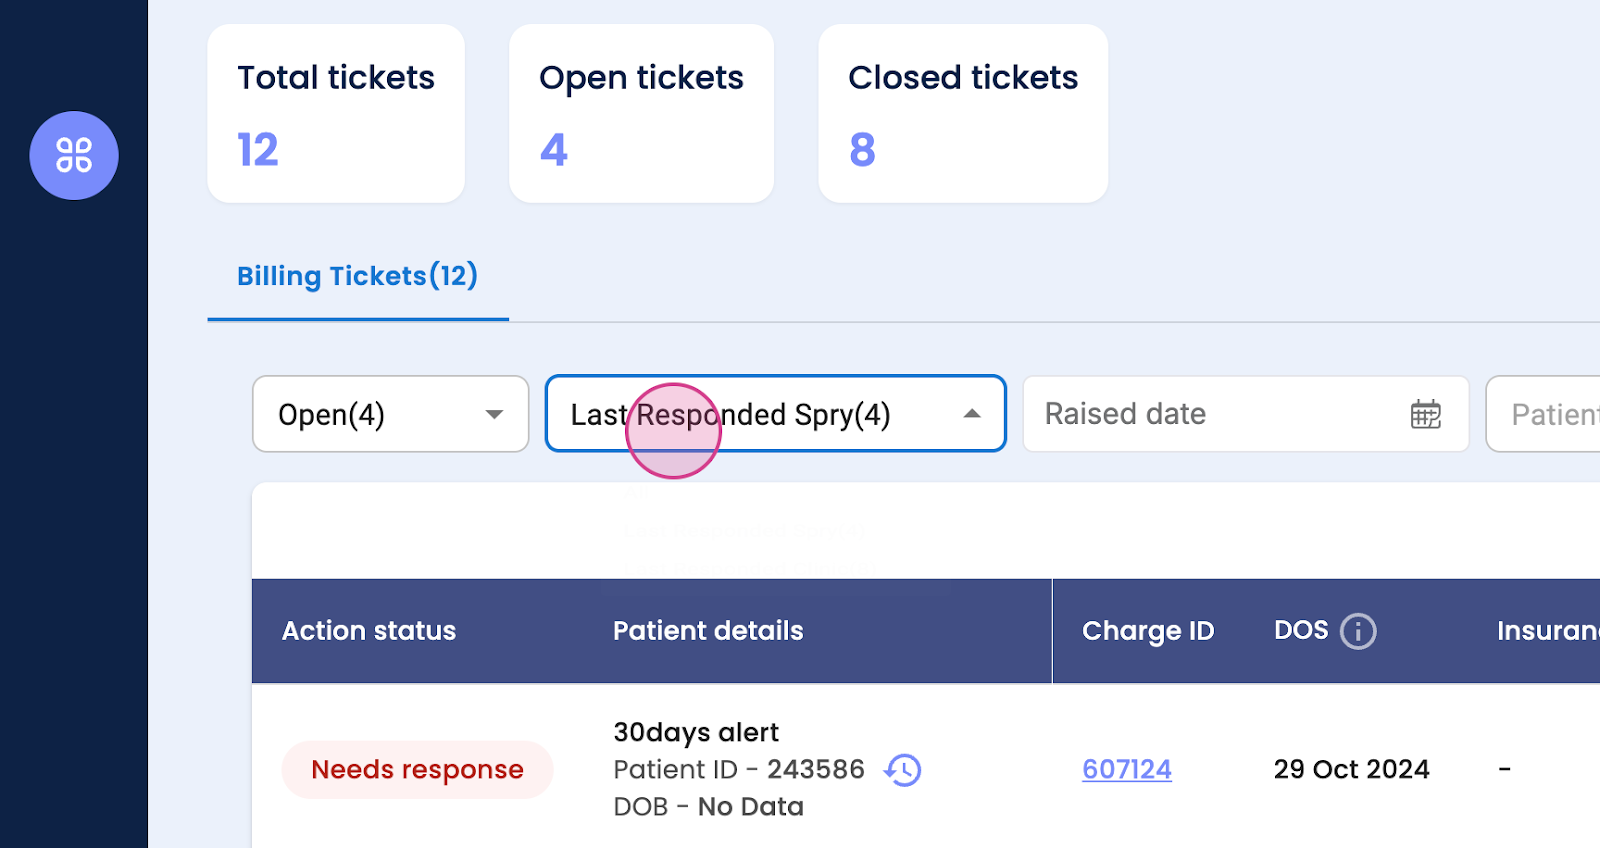
Step 4: Check out the last response by the clinic.
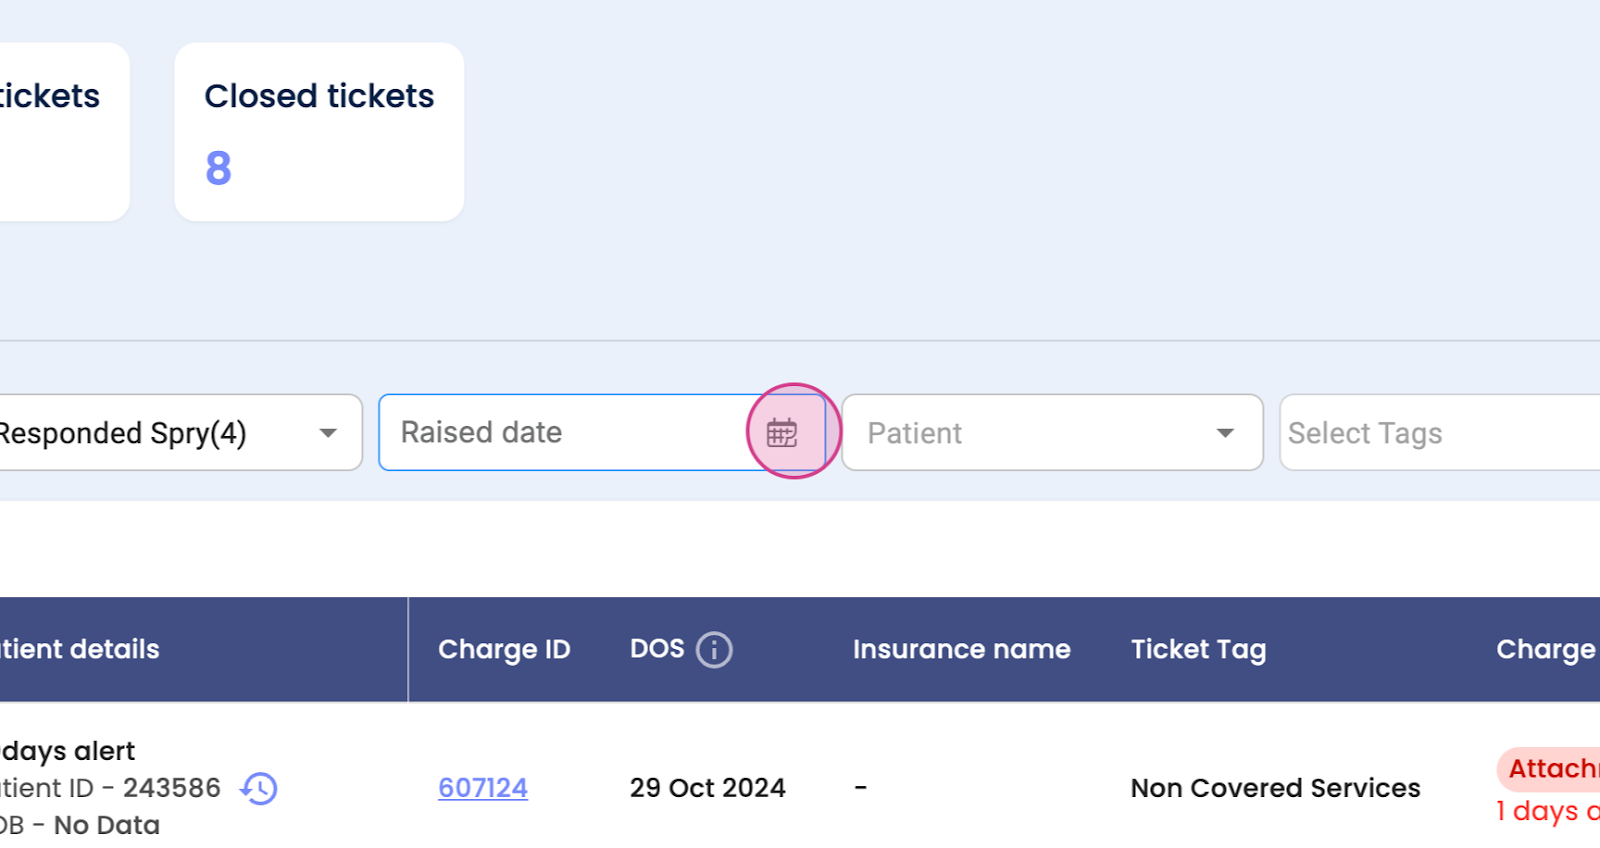
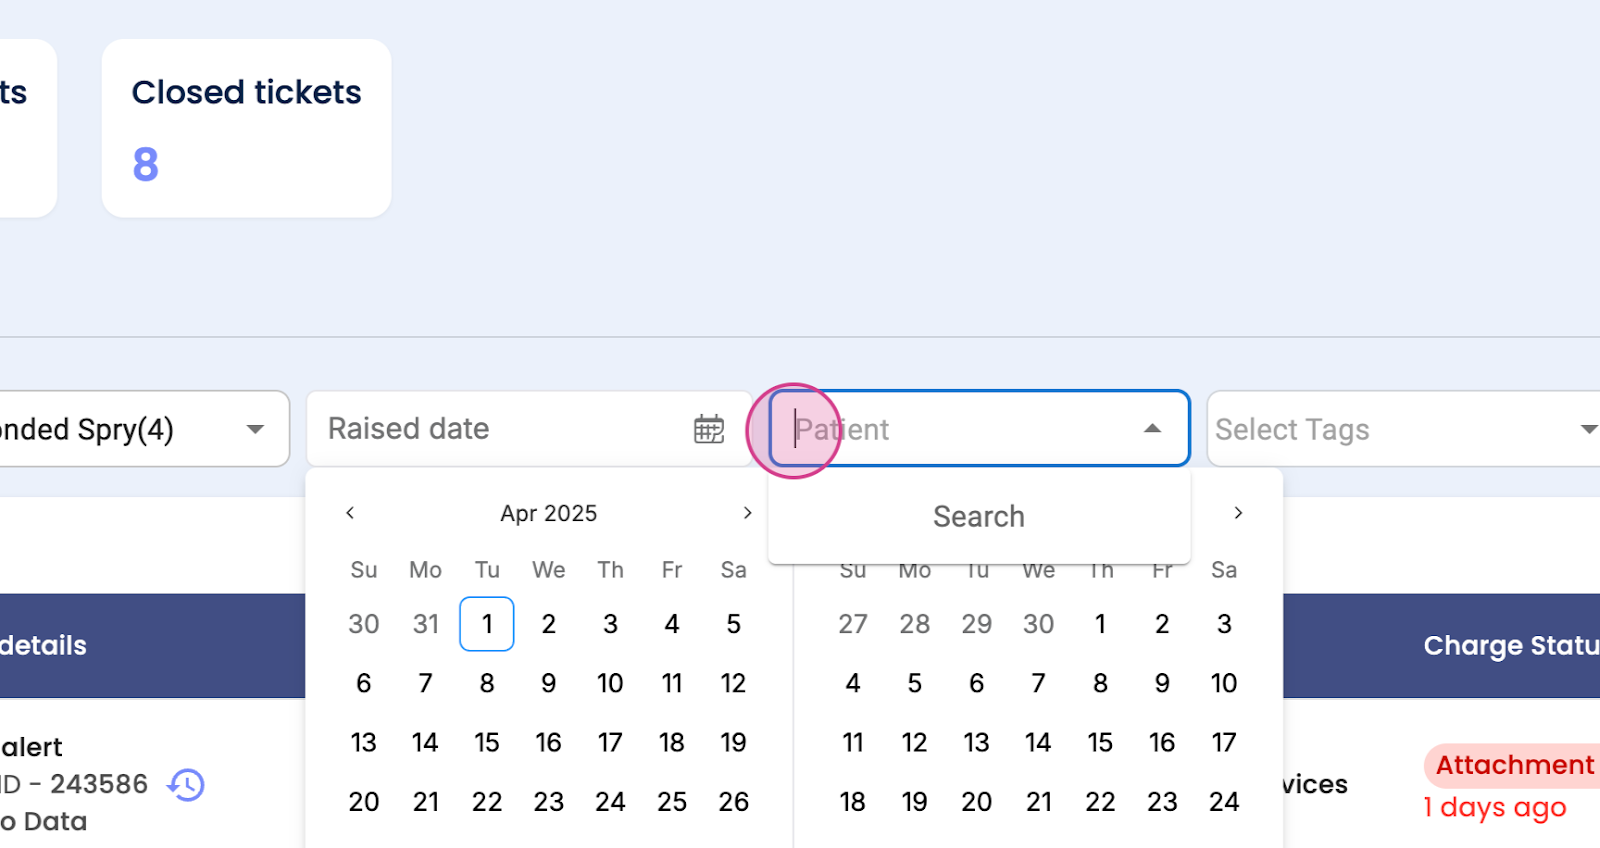
Step 5: You're able to search for a ticket by date.
Step 6: You're also able to search for a ticket by a patient's name.
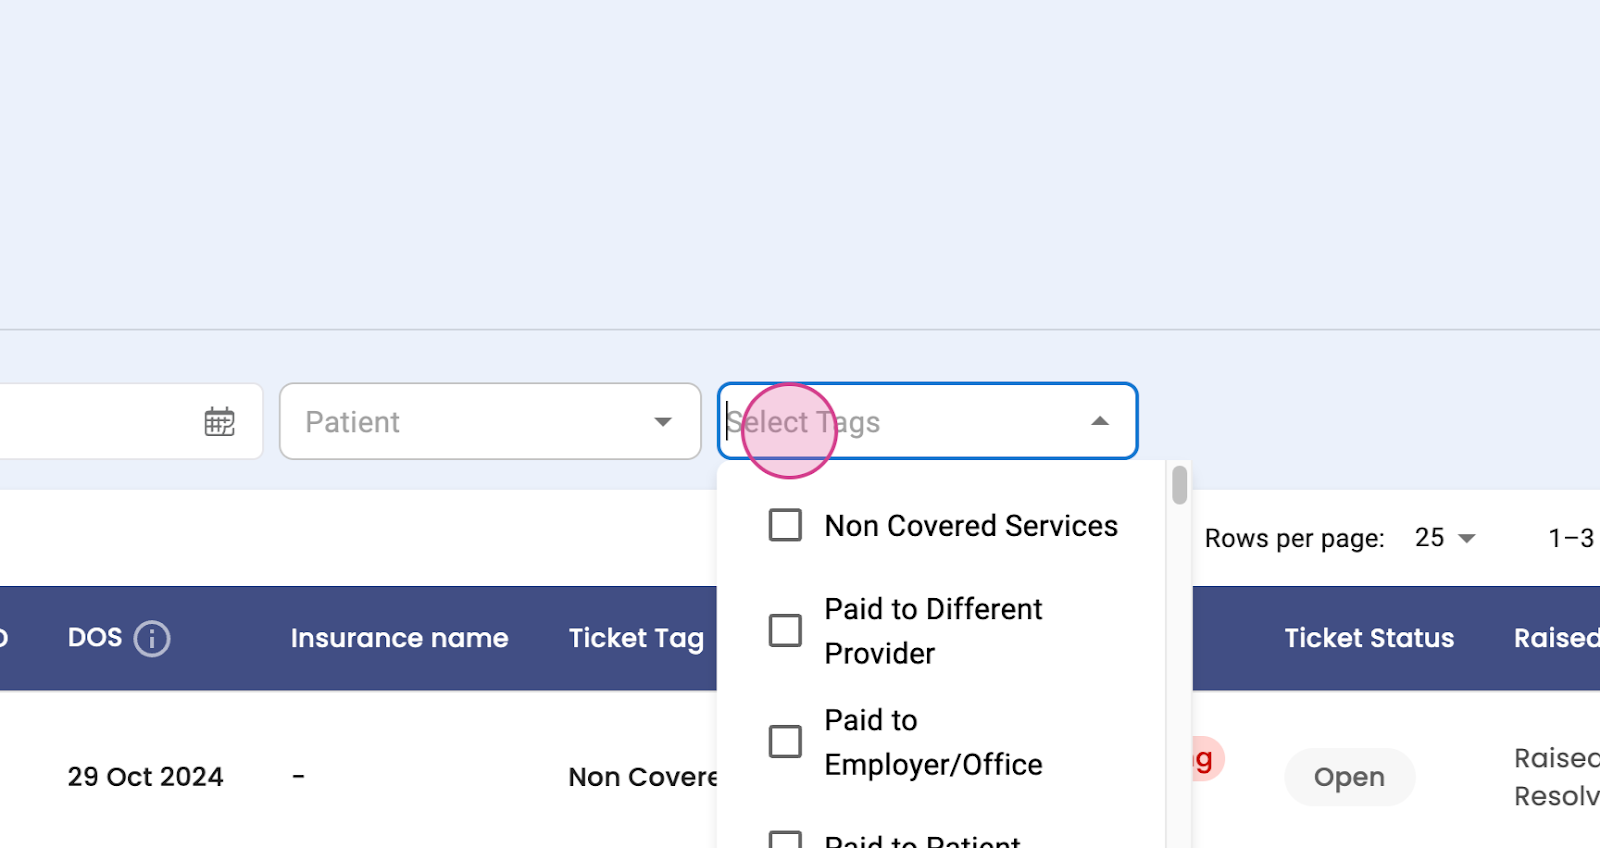
Step 7: Use the select tags feature to search for tickets.
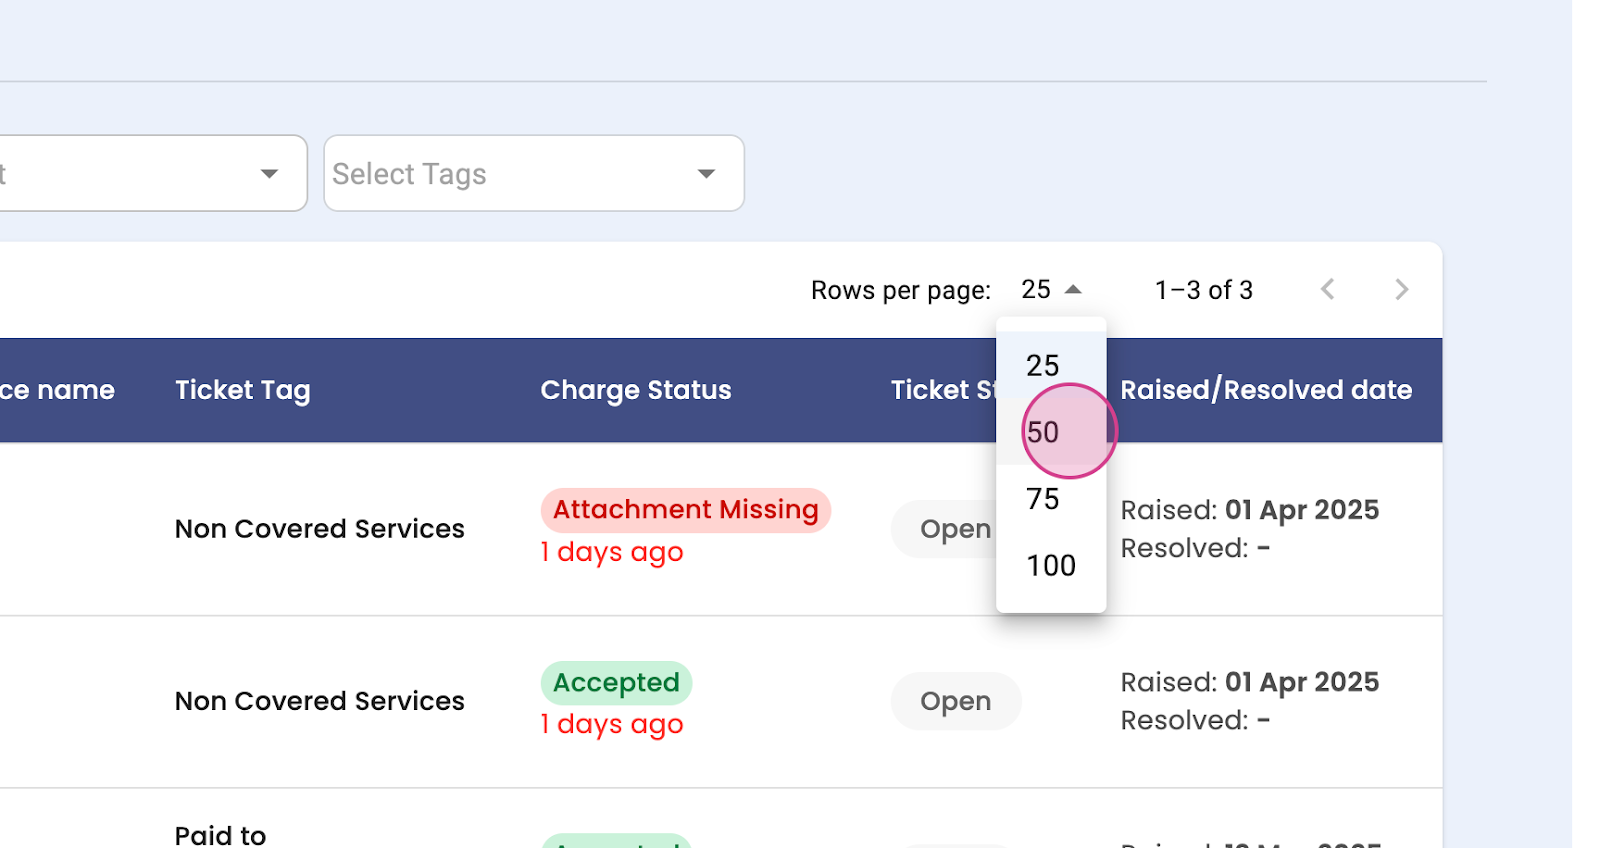
Step 8: View the action status, response, or need response. You'll also see patient details, charge ID, date of service, insurance name, ticket tax, non-covered, covered, etc., charge status, accepted, not accepted, ticket status, open or closed, raised or resolved date. You'll see 25 tickets on one page.
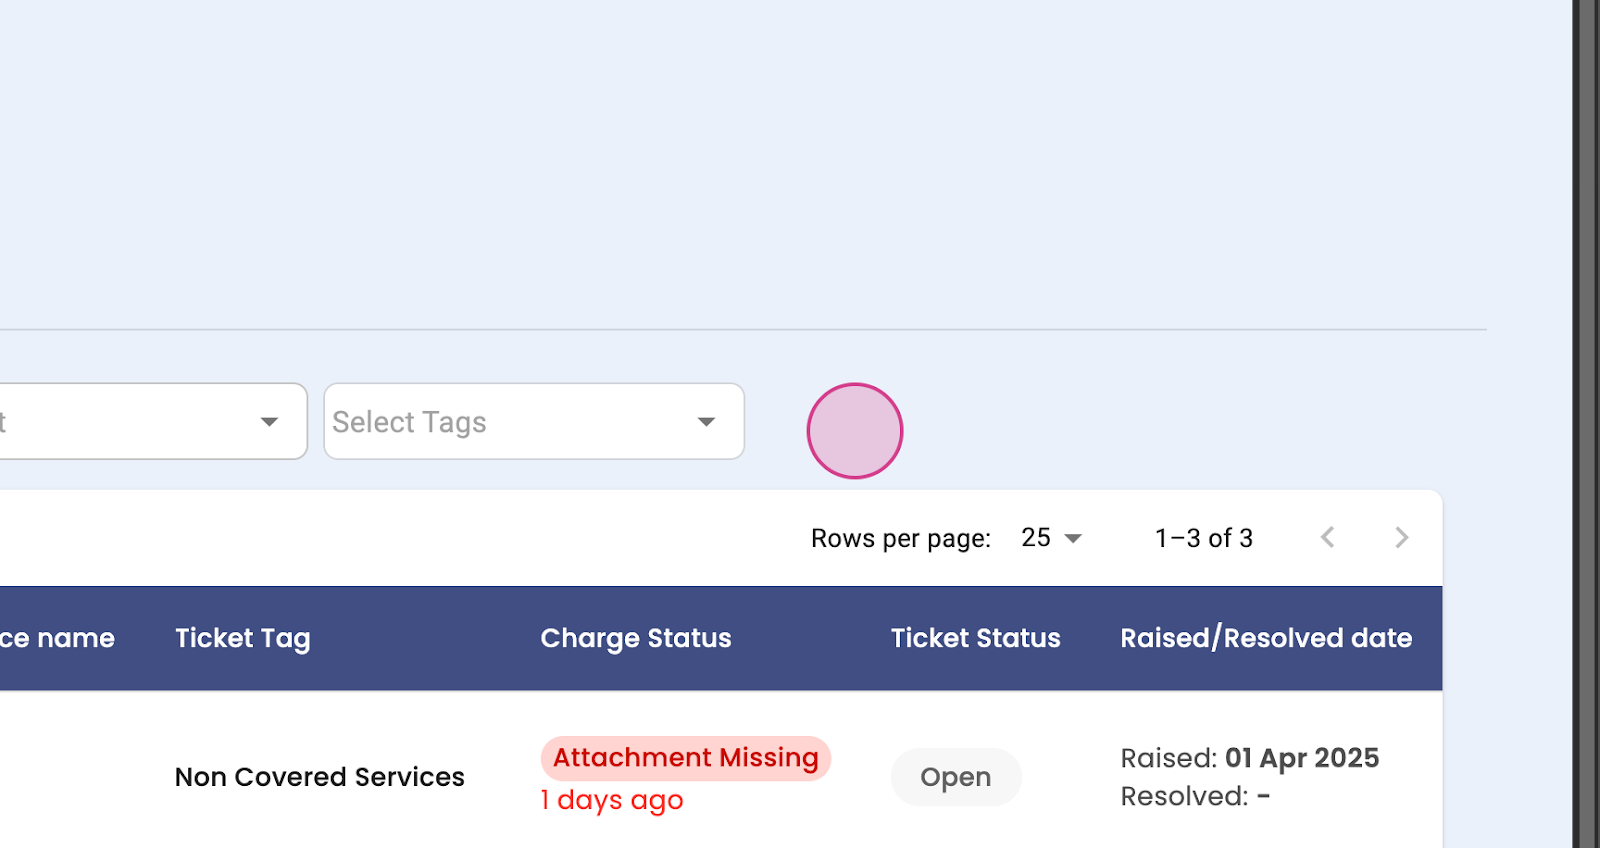
Step 9: If you need to see more tickets, select the numbers from the drop-down menu.
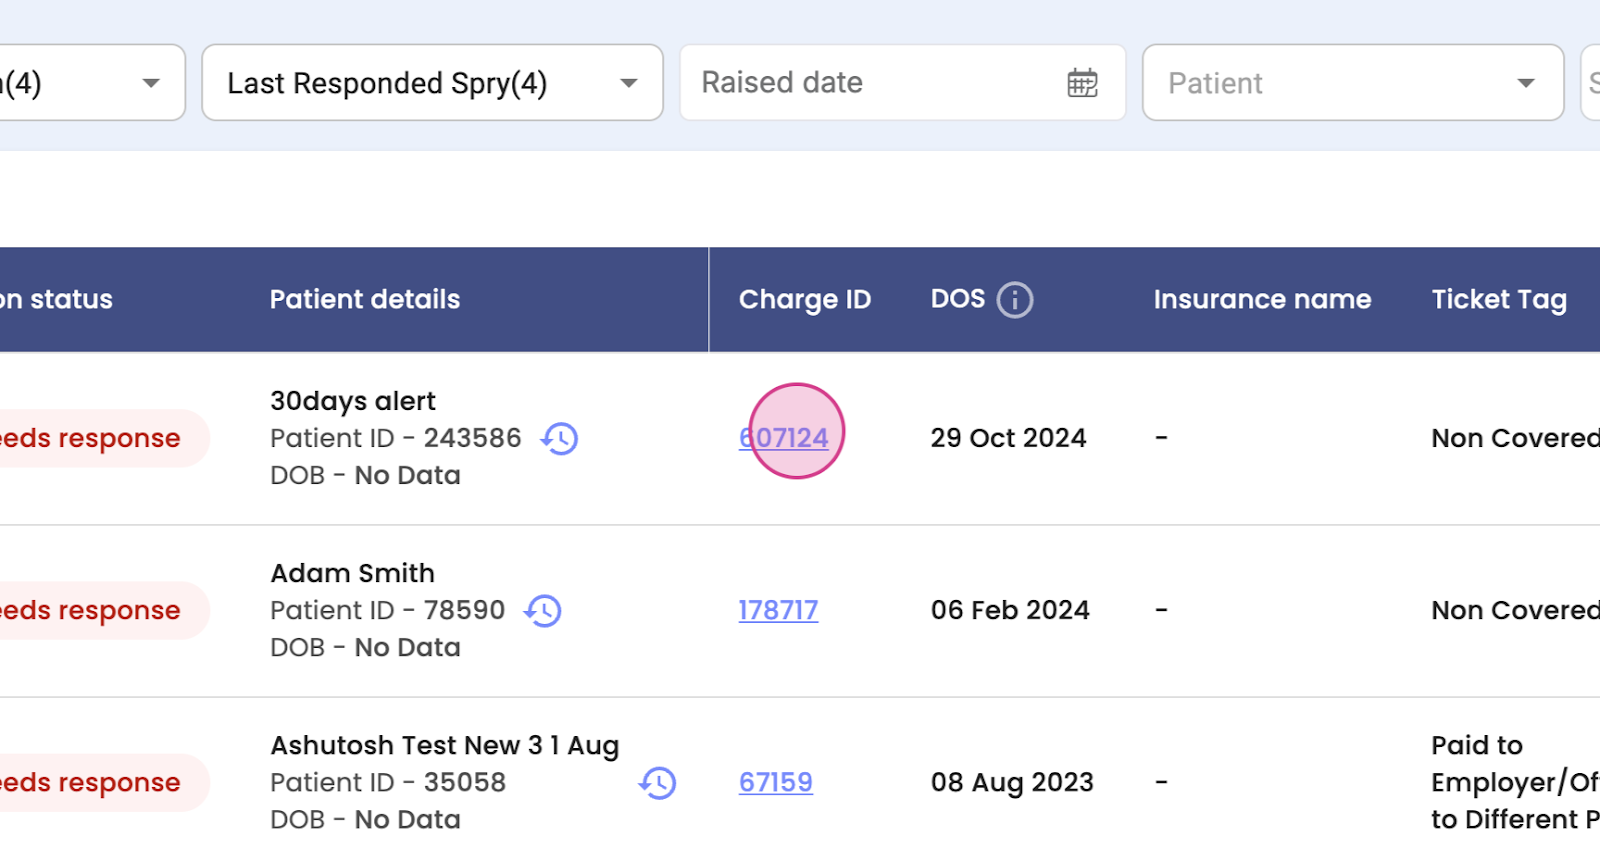
Step 10: Click on the Charge ID to see more details.
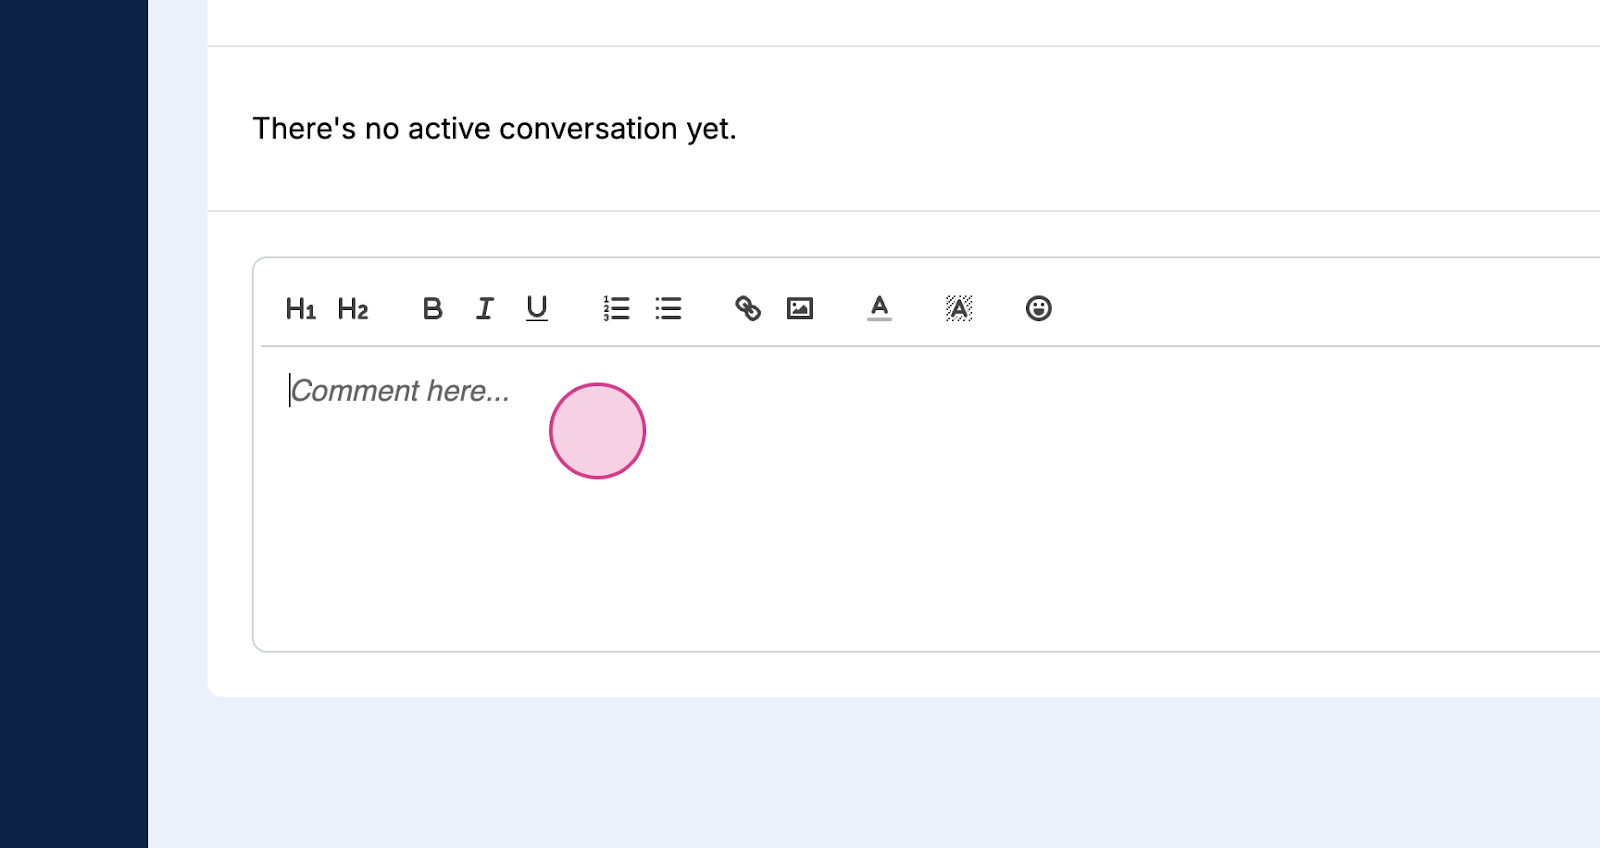
Step 11: Here, you'll find insurance-related queries and need confirmation to add an access modifier in the clip. You're able to reply and click on Send.
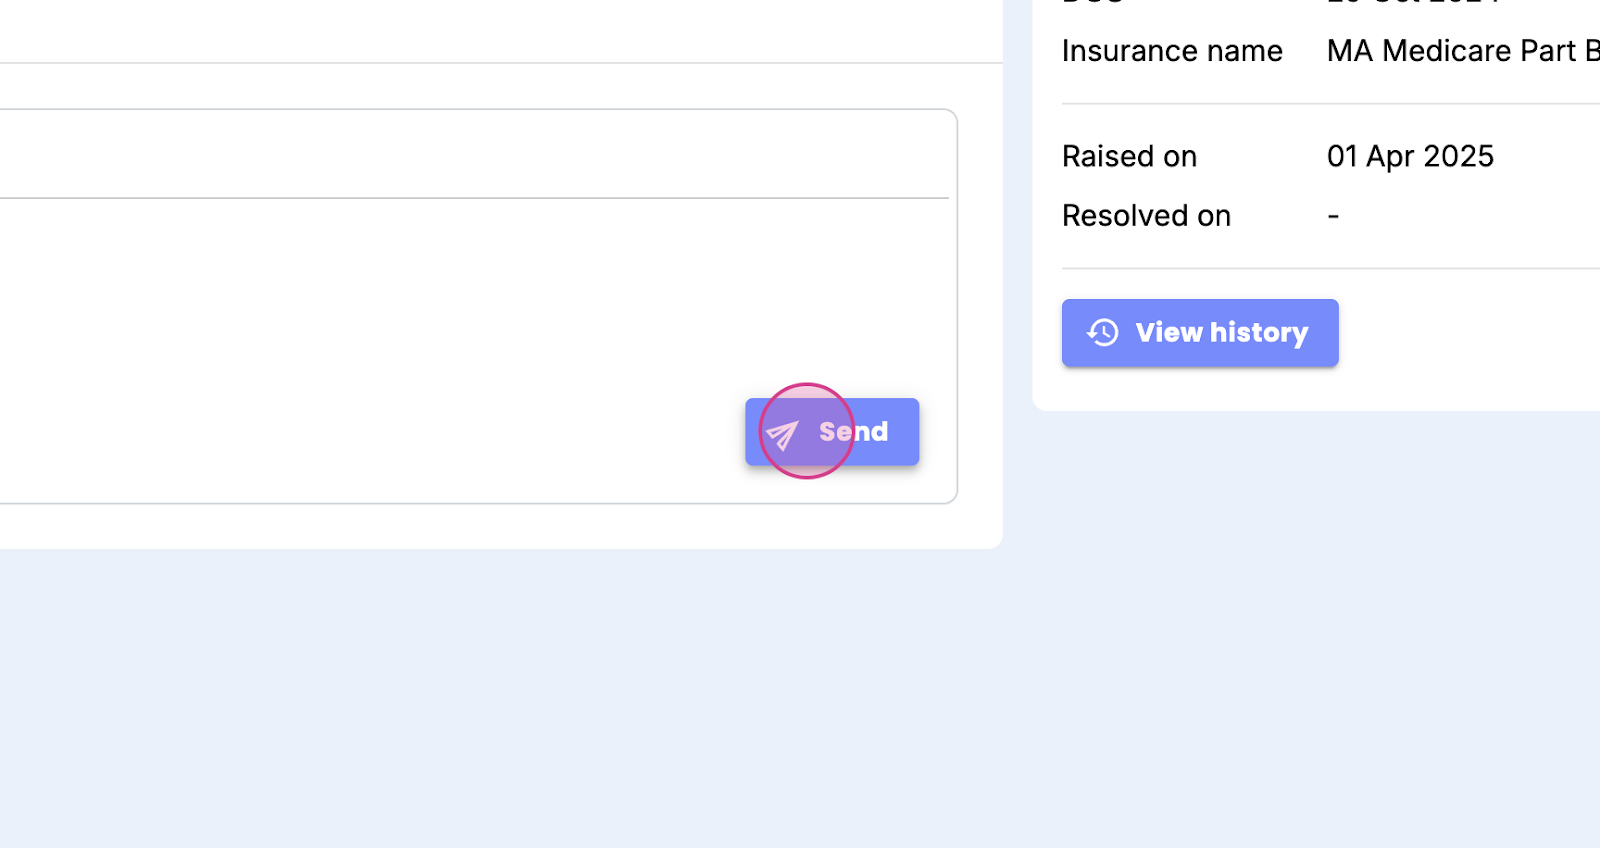
Your reply will be sent from here. You'll see the ticket details and history. With Claim Assist, getting answers to insurance-related queries is easy. Thank you.