Detailed Claim Overview
Dive into a detailed view of each individual point in this guide.
Step 1 test: Click on the pop-up to navigate to the next screen.
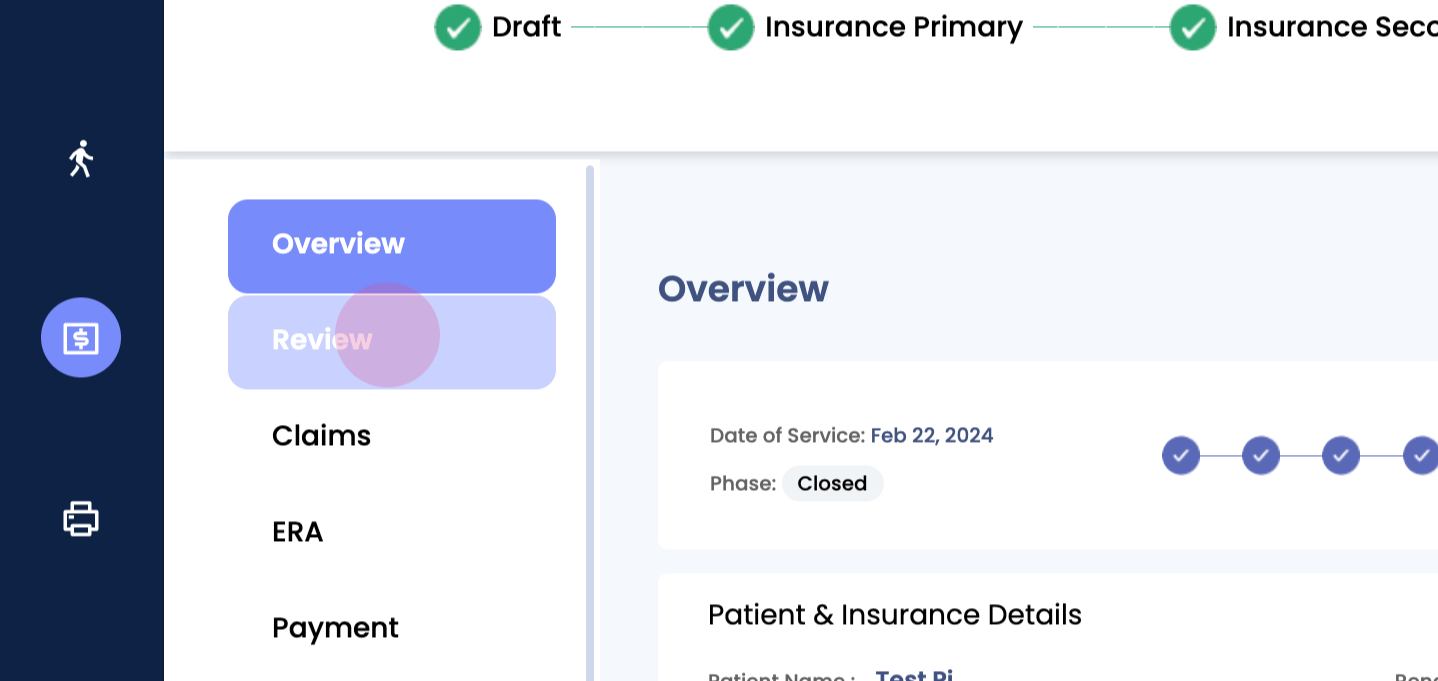
Step 2: Observe the overview of the entire claim, including what was allowed, the bill, and the insurance adjusted pay.
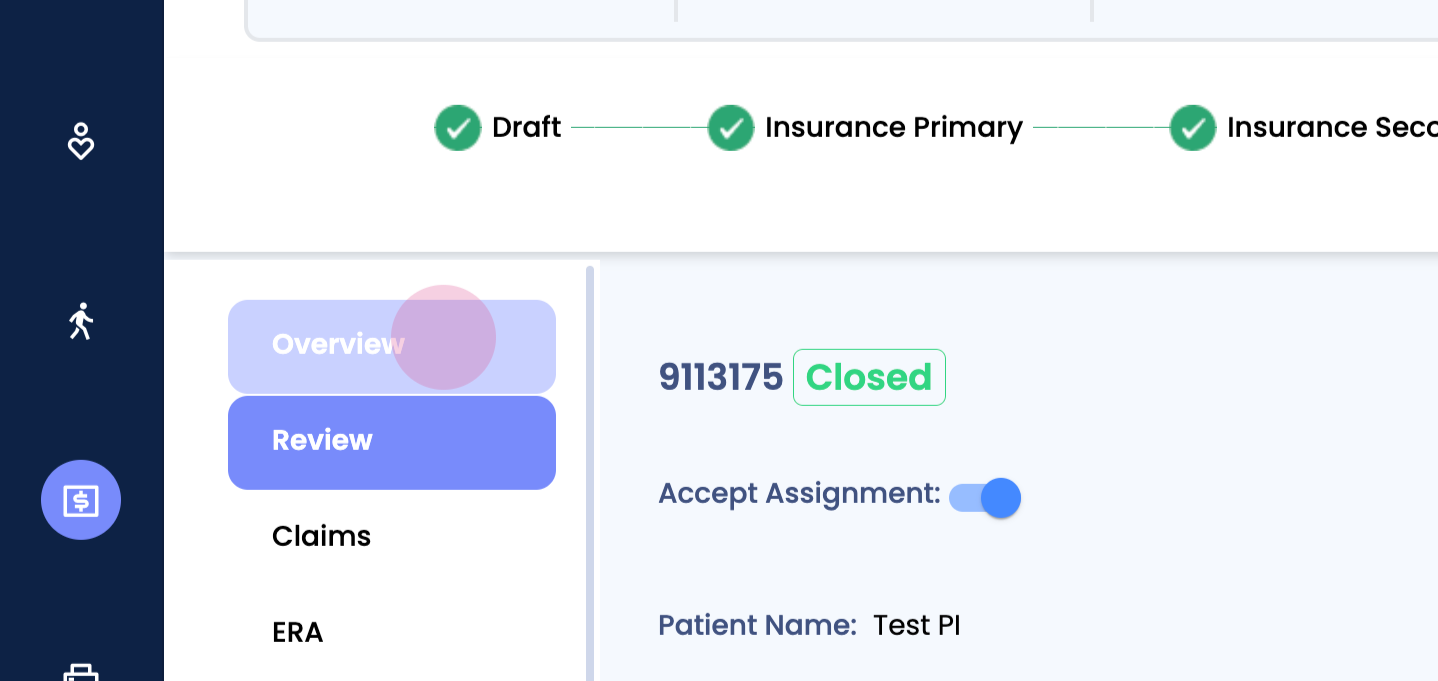
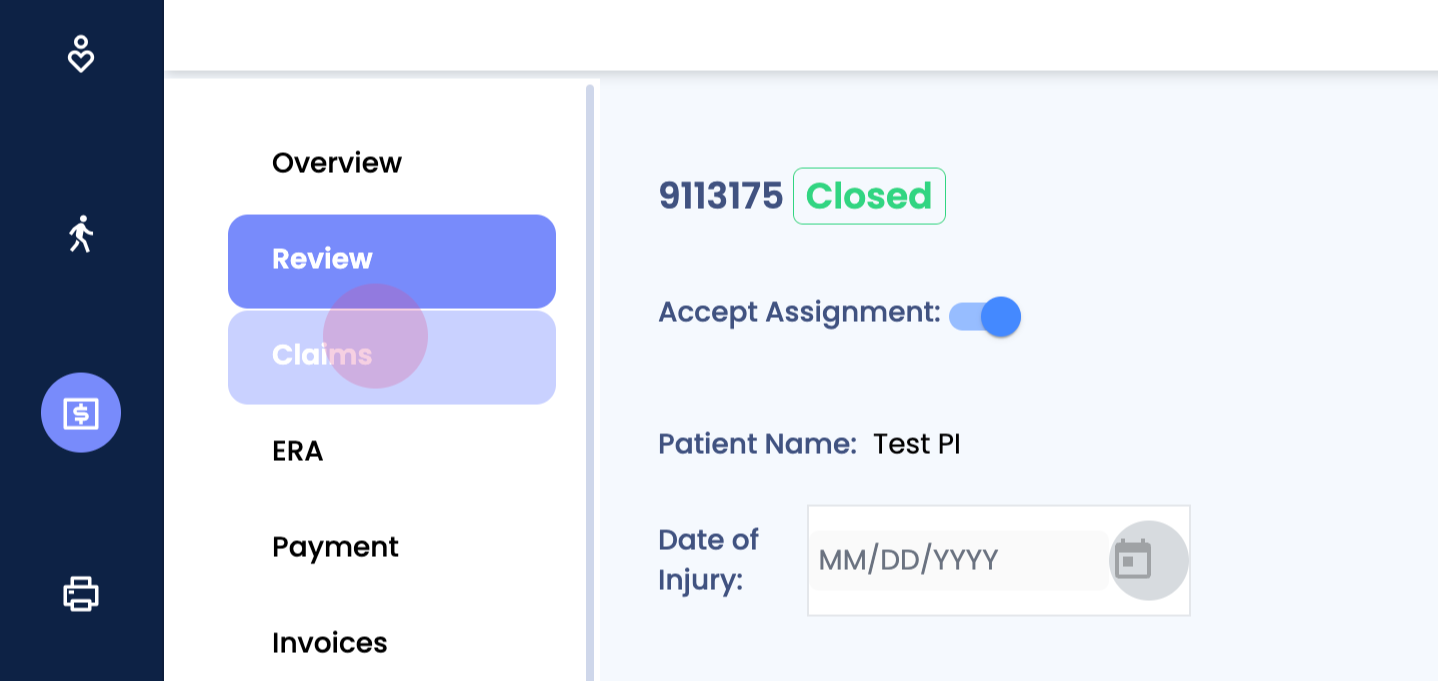
Step 3: Navigate to the review section. Note that editing is not possible for closed claims.
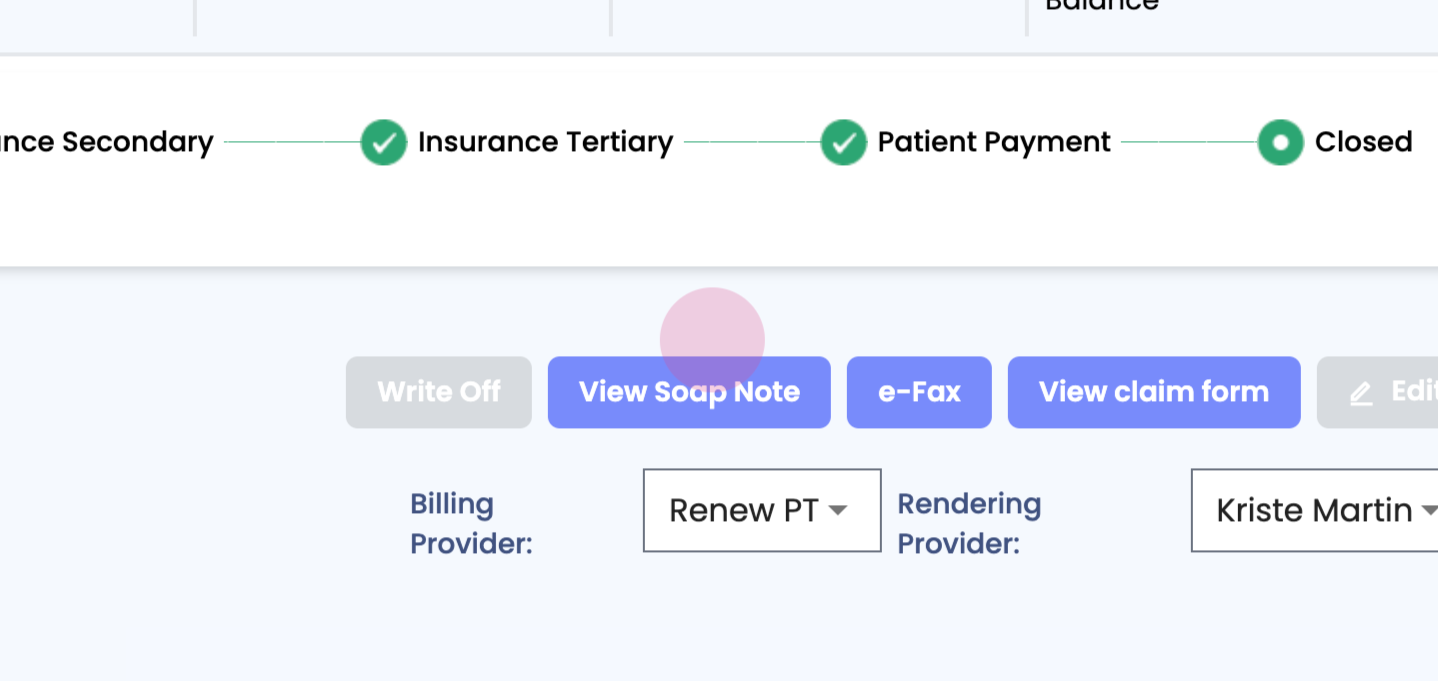
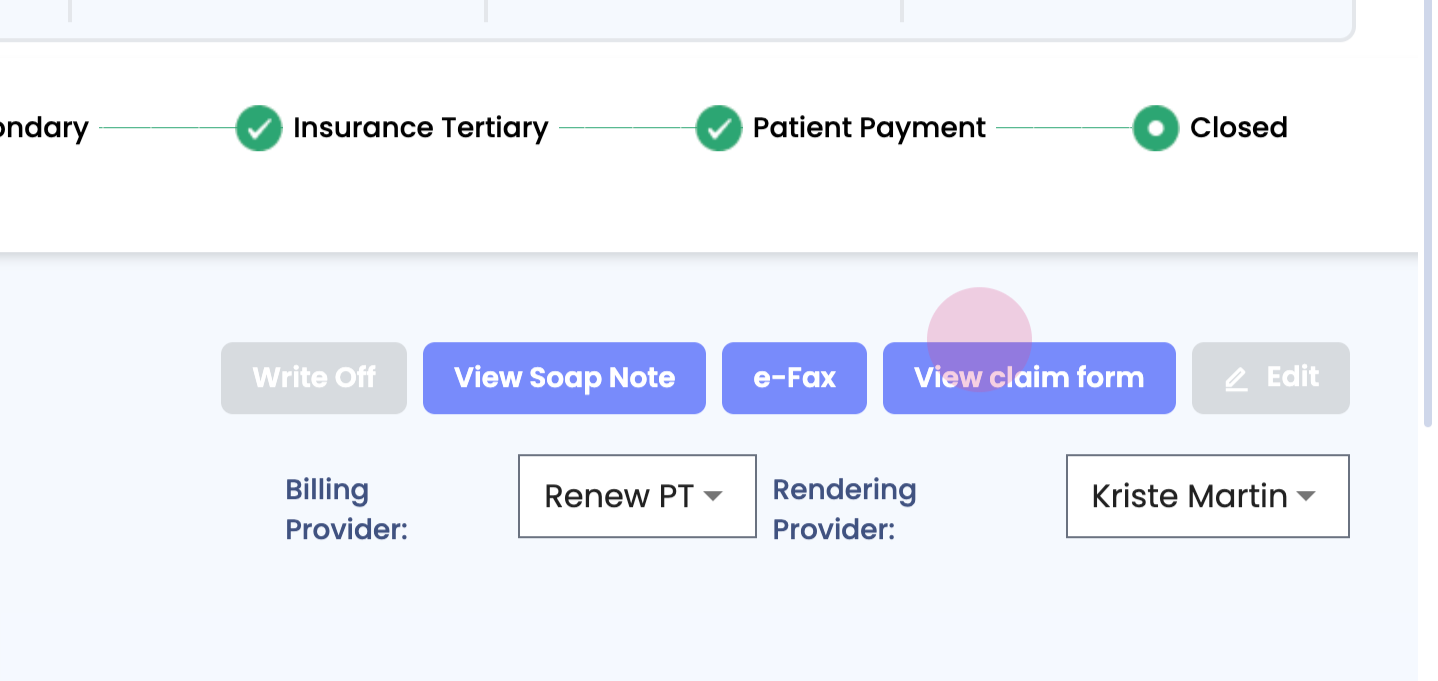
Step 4: Explore options such as efax, viewing the actual claim form, and viewing the SOAP note.
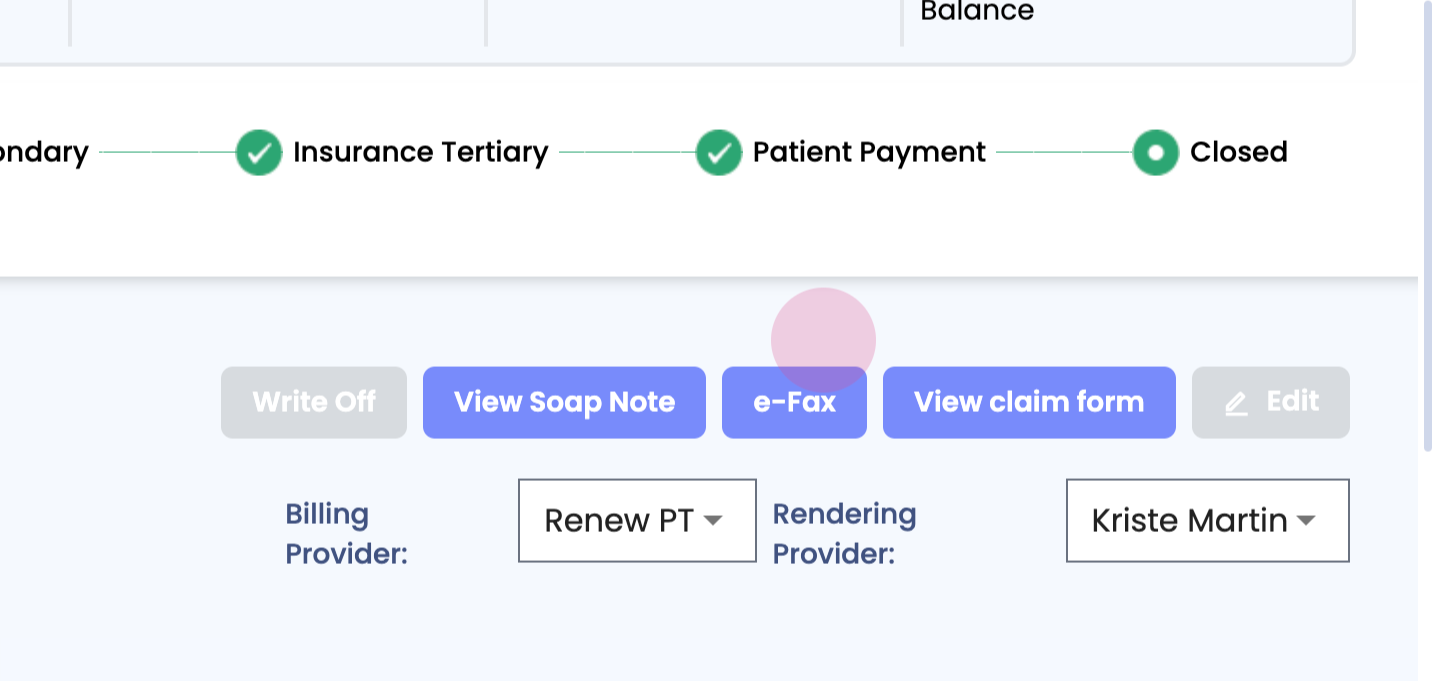
Step 5: Scroll down to see the ICD and CPT codes billed.
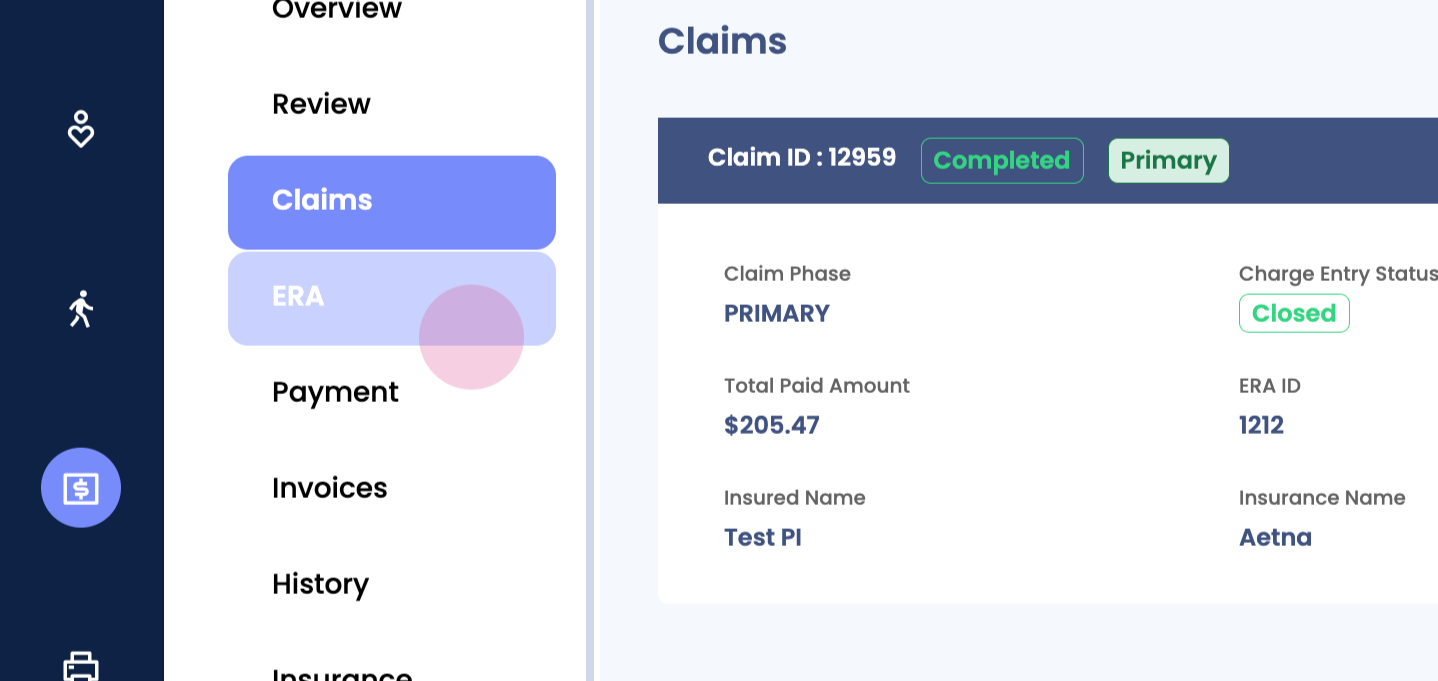
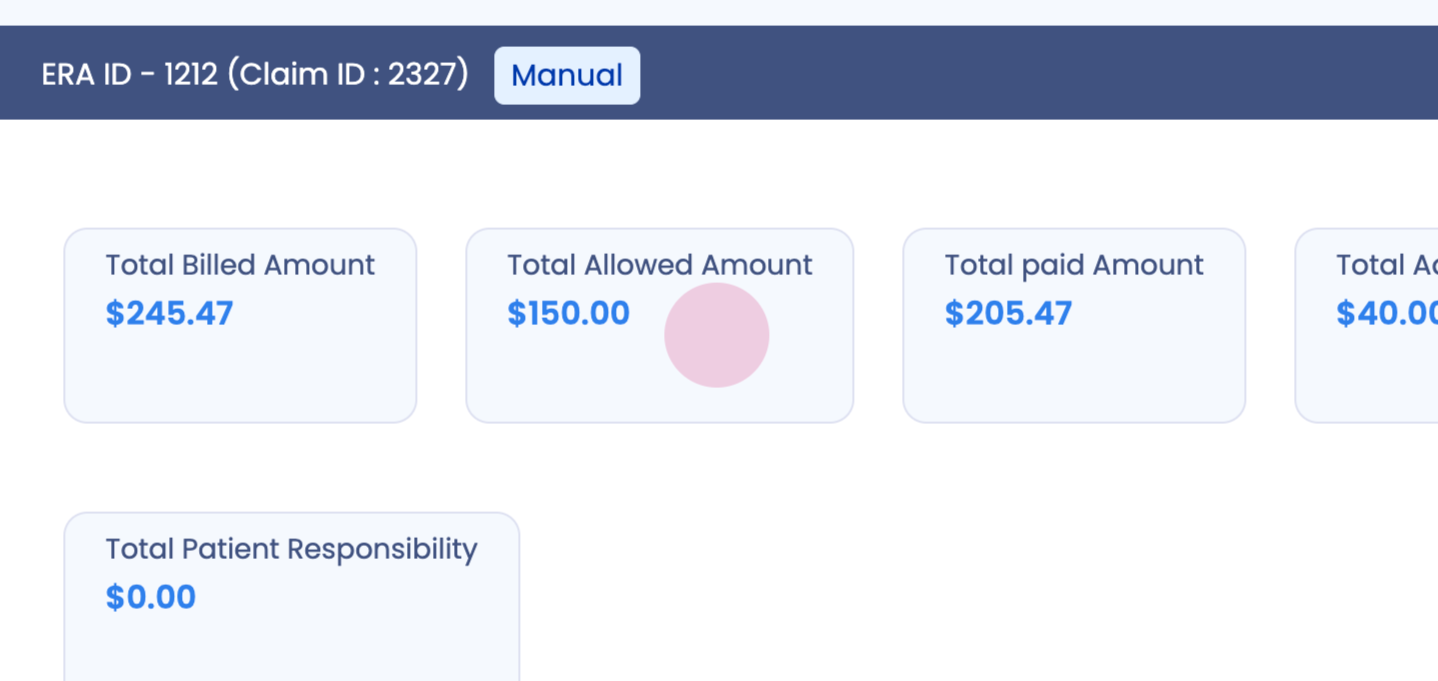
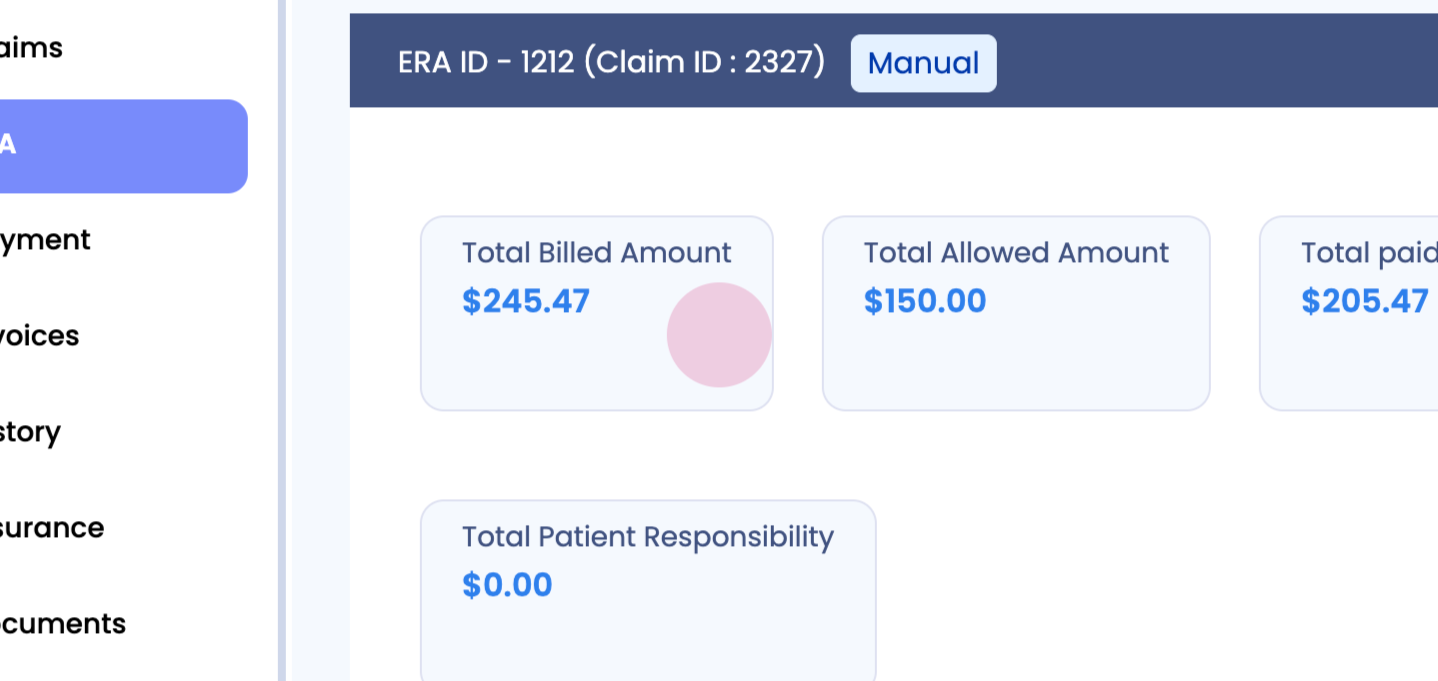
Step 1: Examine the overall claim, including the ERA ID, total charge amount, insurance, and a broad overview of the claim itself.
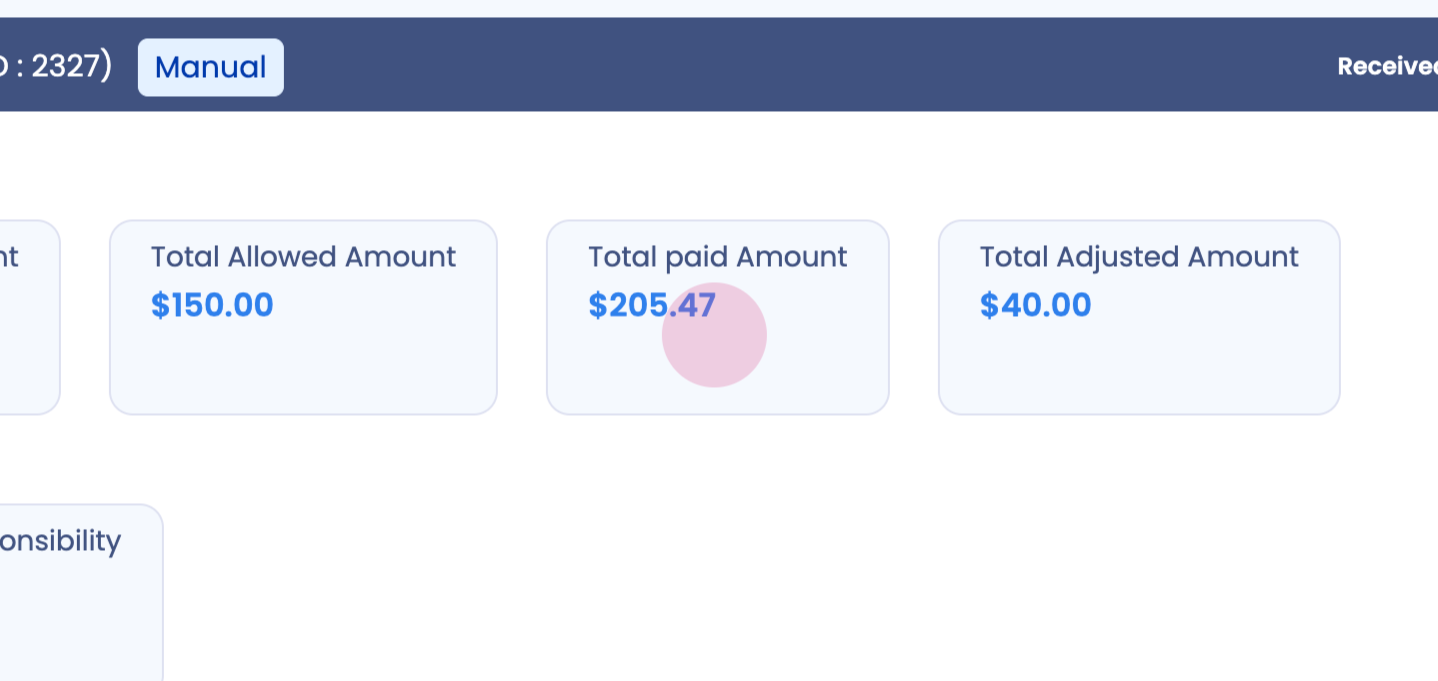
Step 2: Navigate to the ERA section. Note that in a sandbox environment, it will say manual. In a live environment, claims are automatically posted.
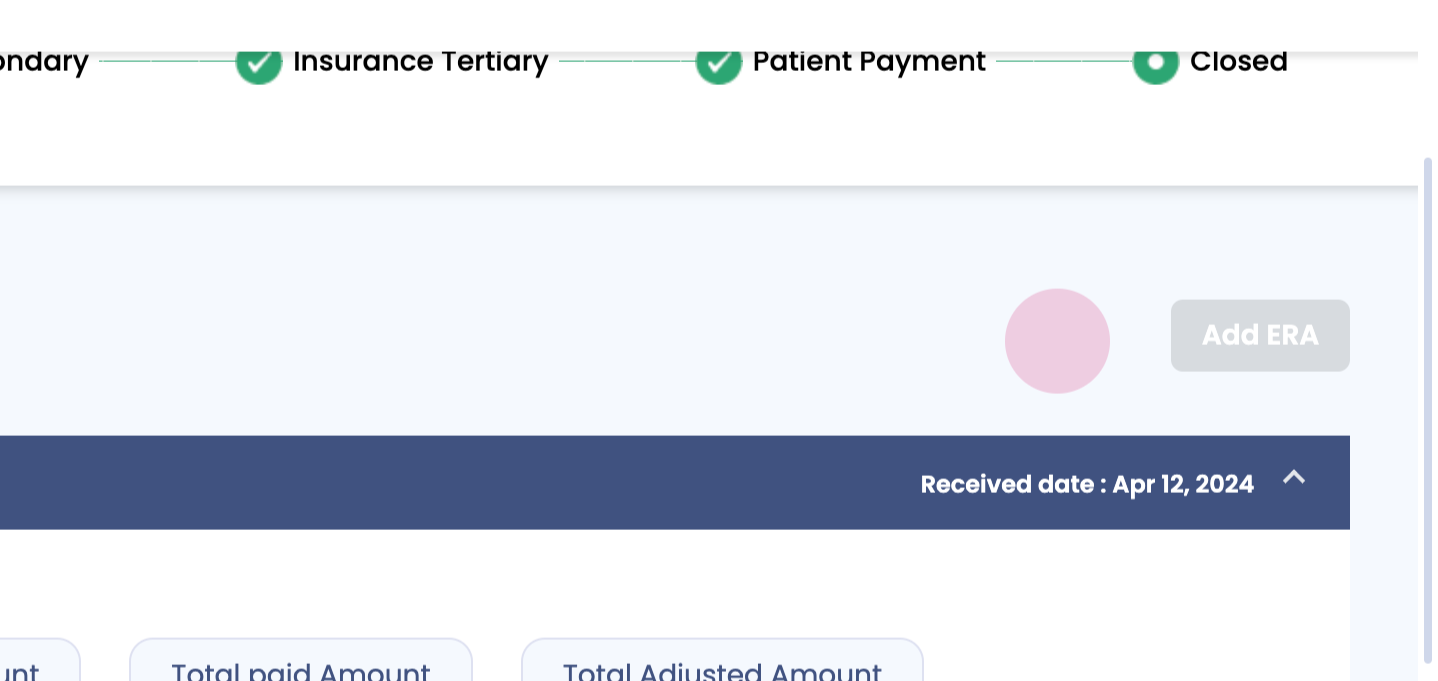
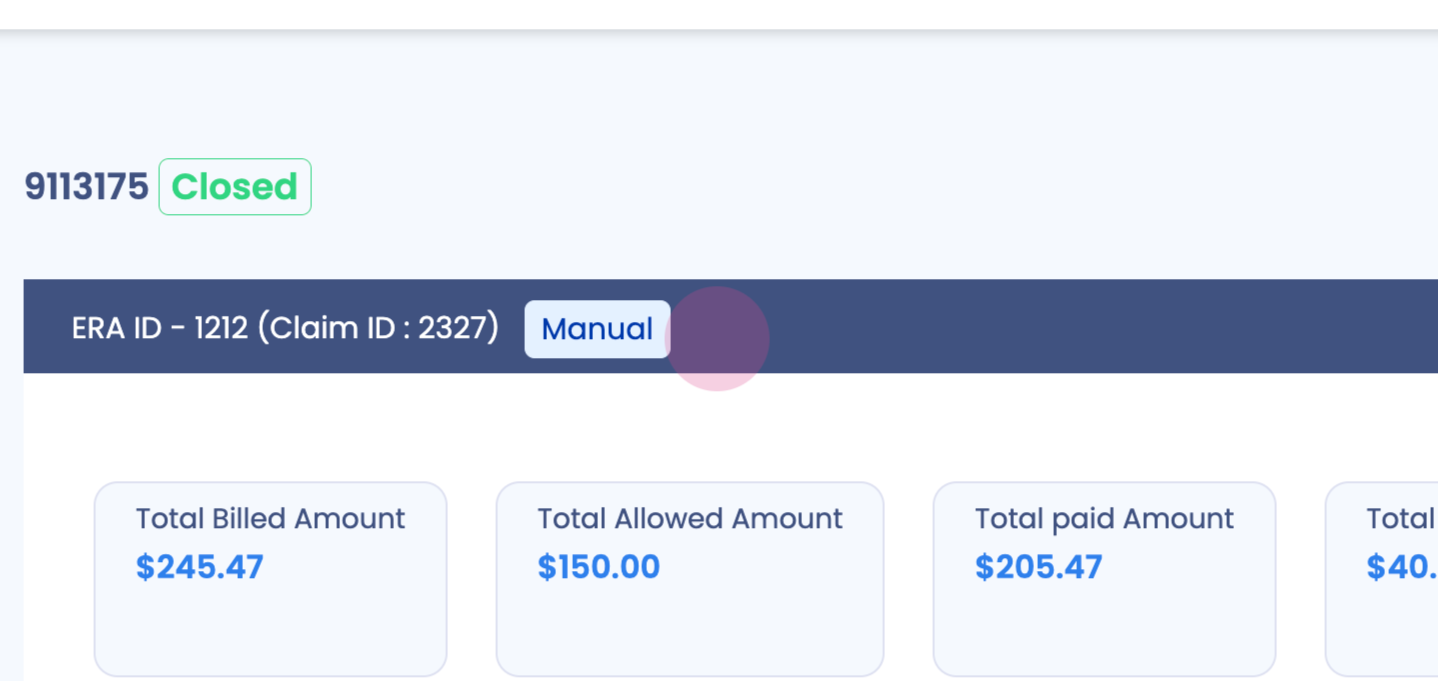
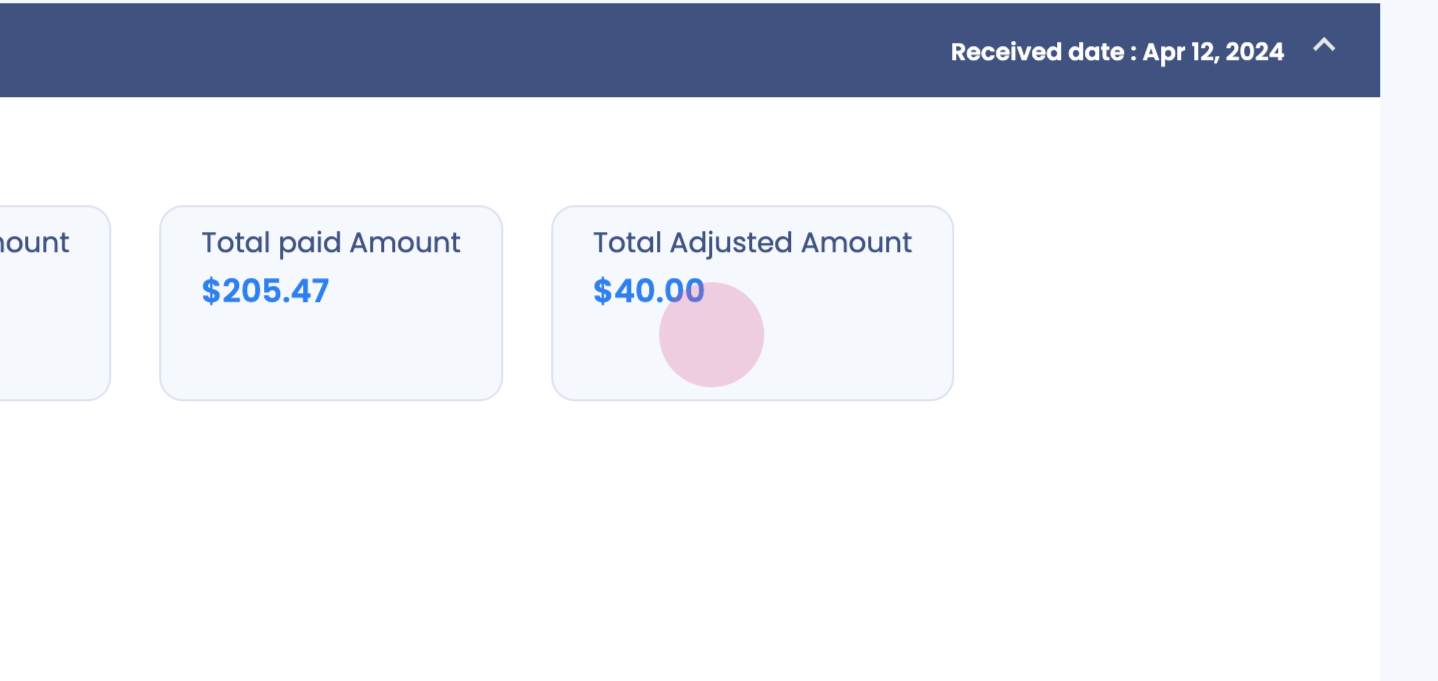
Step 3: Observe the total billed amount, total allowed amount, total paid amount, and total adjusted amount, as well as the different codes.
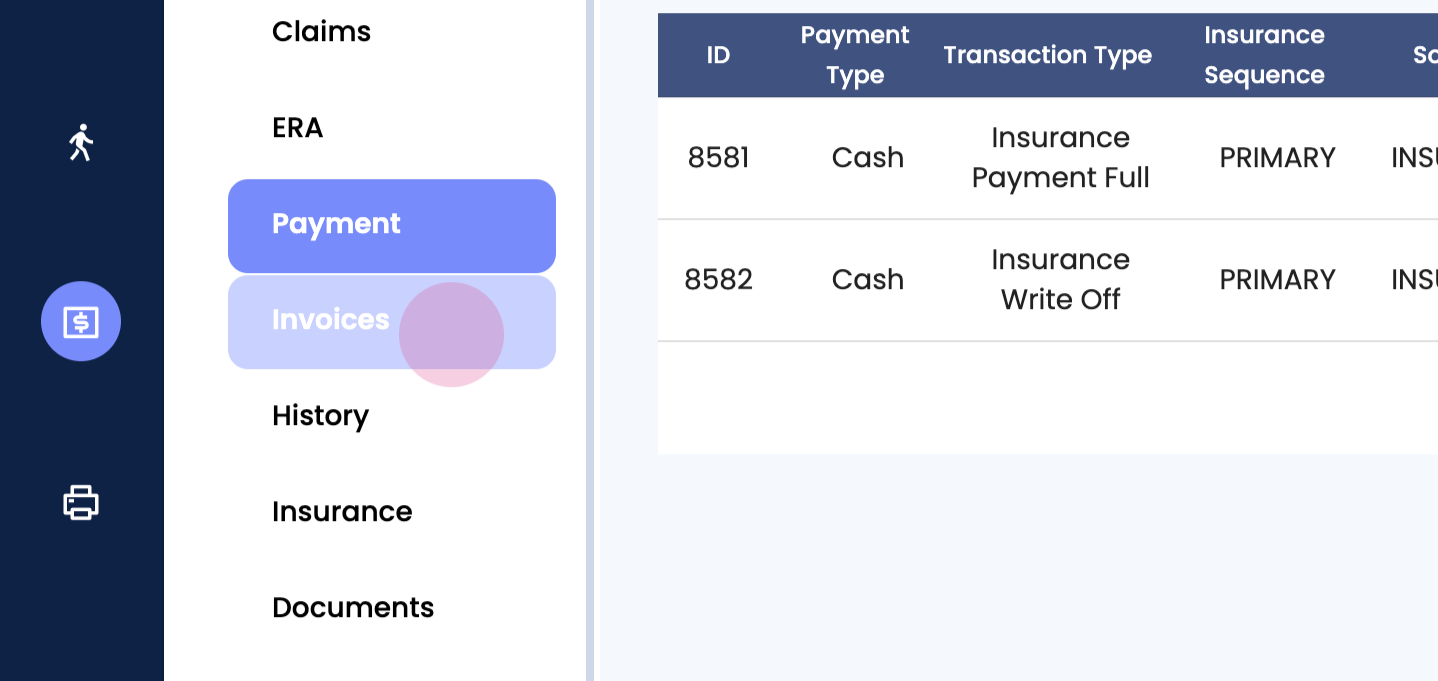
Step 1: Review the payment section, which shows all the different payments made during the claim process.

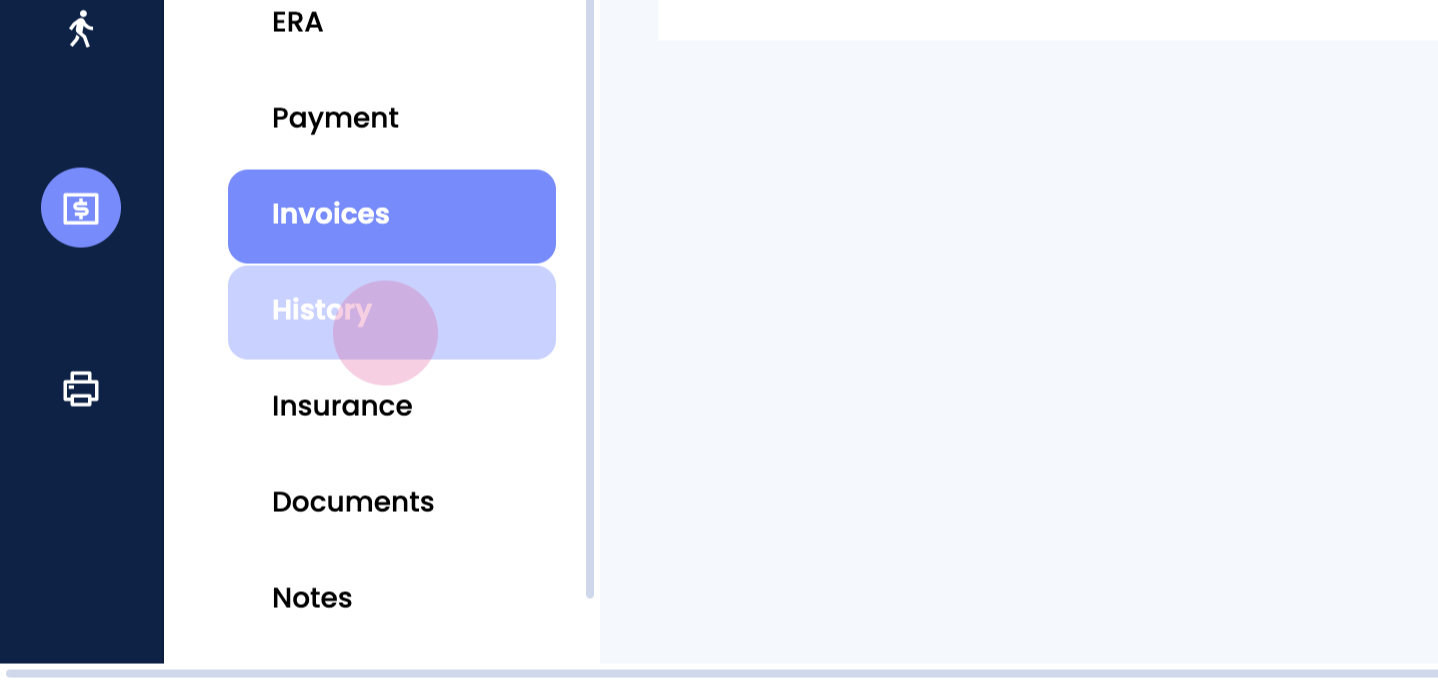
Step 2: Check out the invoices sent to the patient.
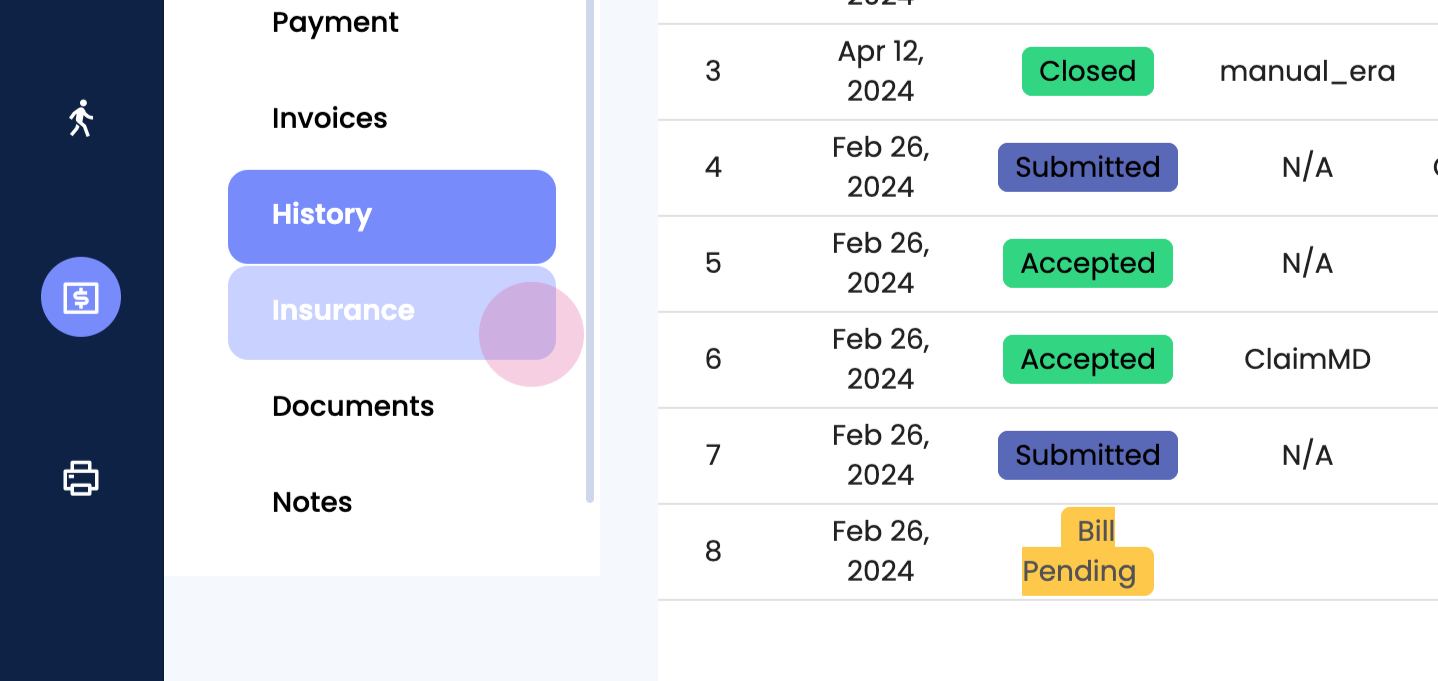
Step 1: View the overall history of the claim, including all stages from bill pending to closure.
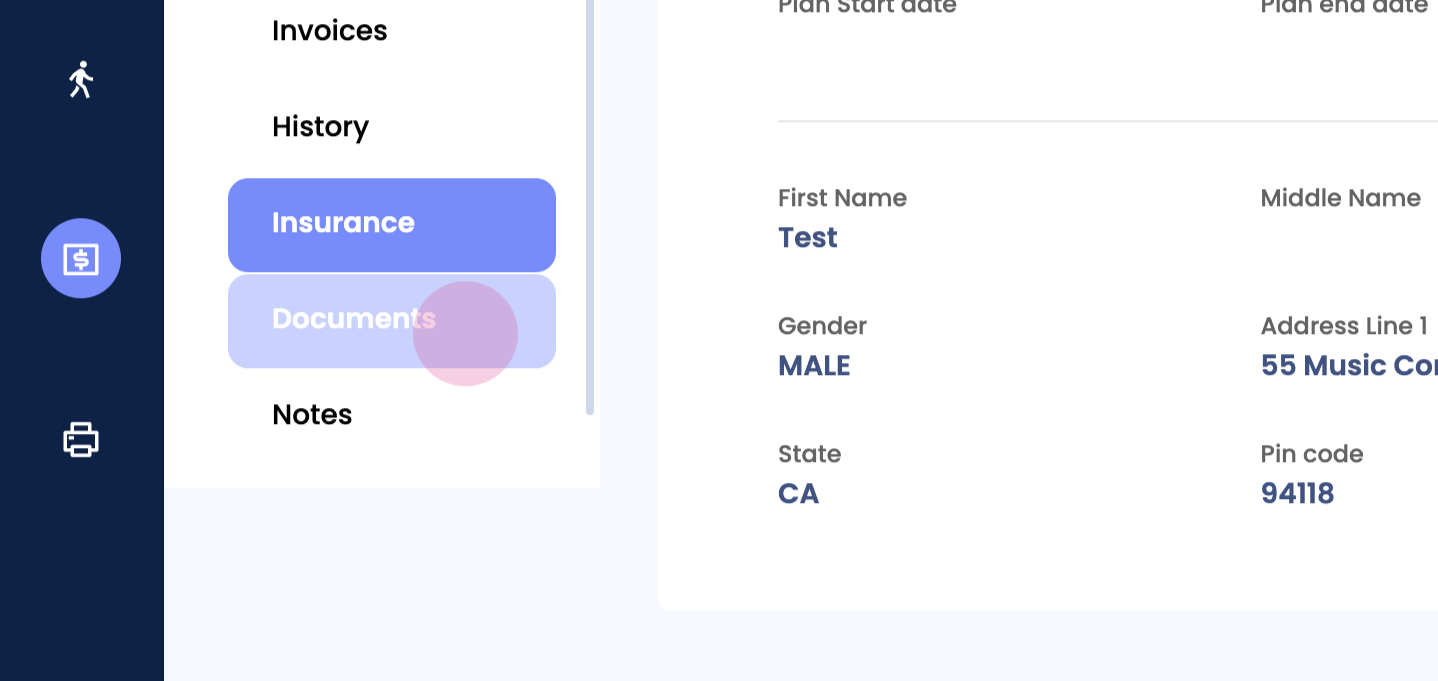
Step 2: Check the insurance details of the patient.
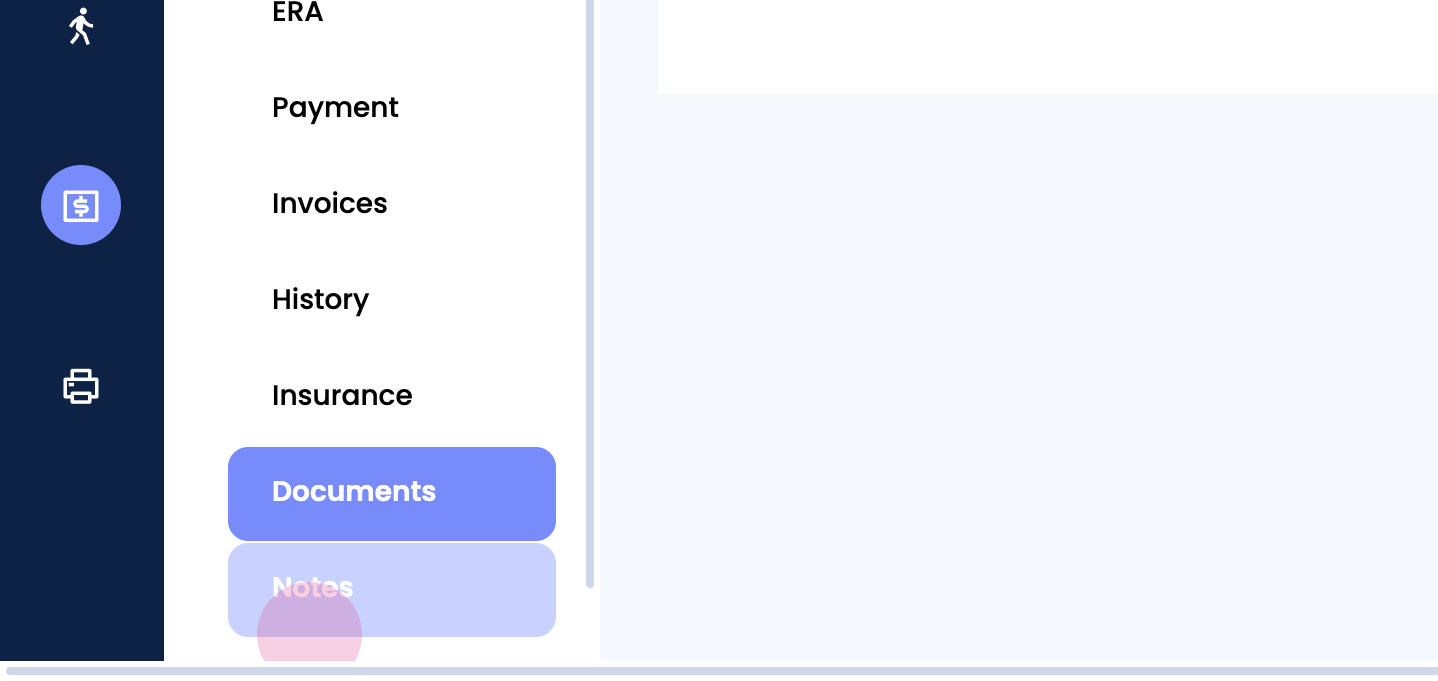
Step 1: If any documents were uploaded as part of the claim, they will be found here.
Step 2: Review any notes added to the claim.
Step 1: Check eligibility for each individual claim.
Step 2: If the claim is not closed and is in bill pending, collect payment from here. Send a link to the patient for payment or swipe if they are present.

Remember, the collect payment button is typically used when sending an invoice of the bill to the patient.