
SOAP Note History Feature
How to Use the History Feature in SOAP Notes
The new History feature makes reviewing and editing fields in your SOAP notes faster and more transparent. See exactly what’s changed between visits and bring forward previous entries when needed—right from each field.
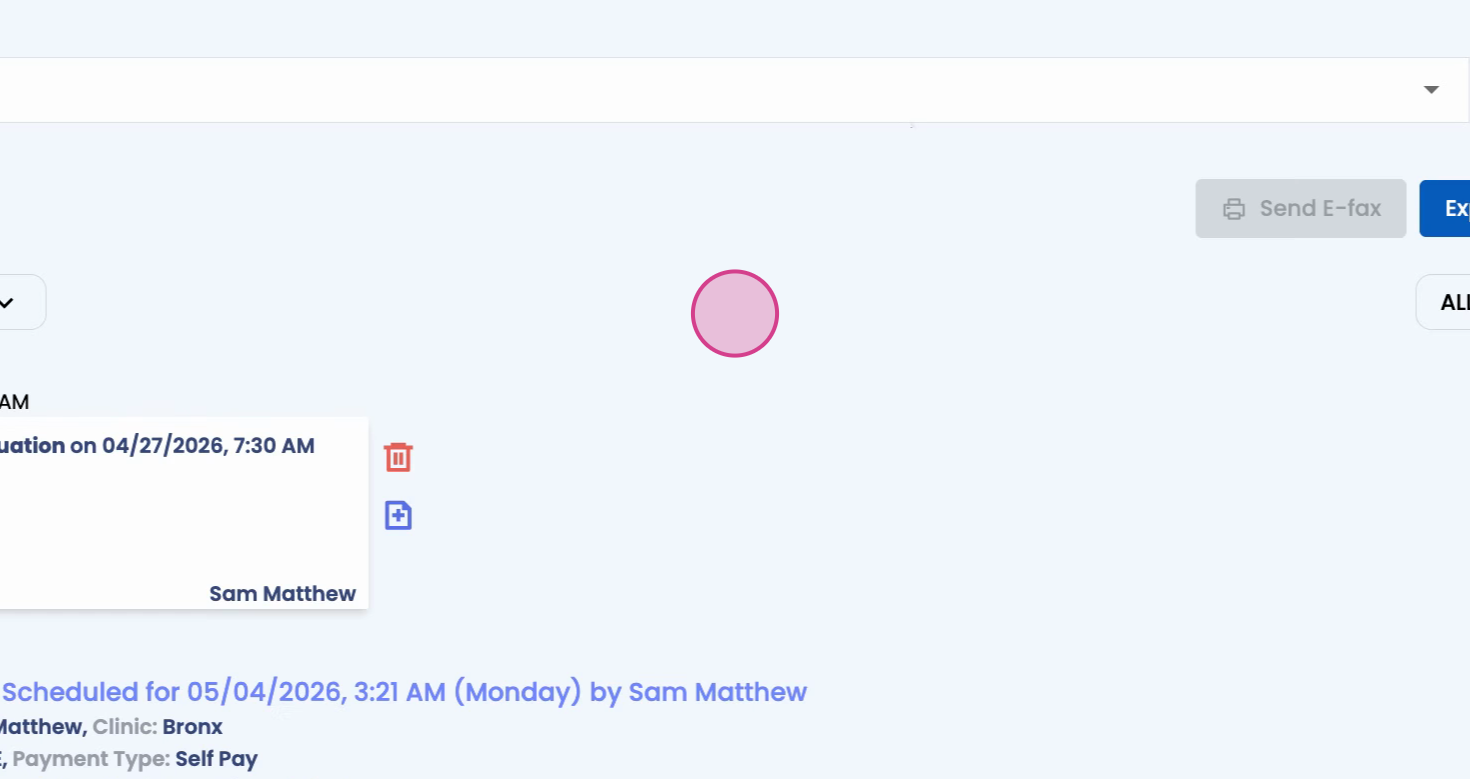
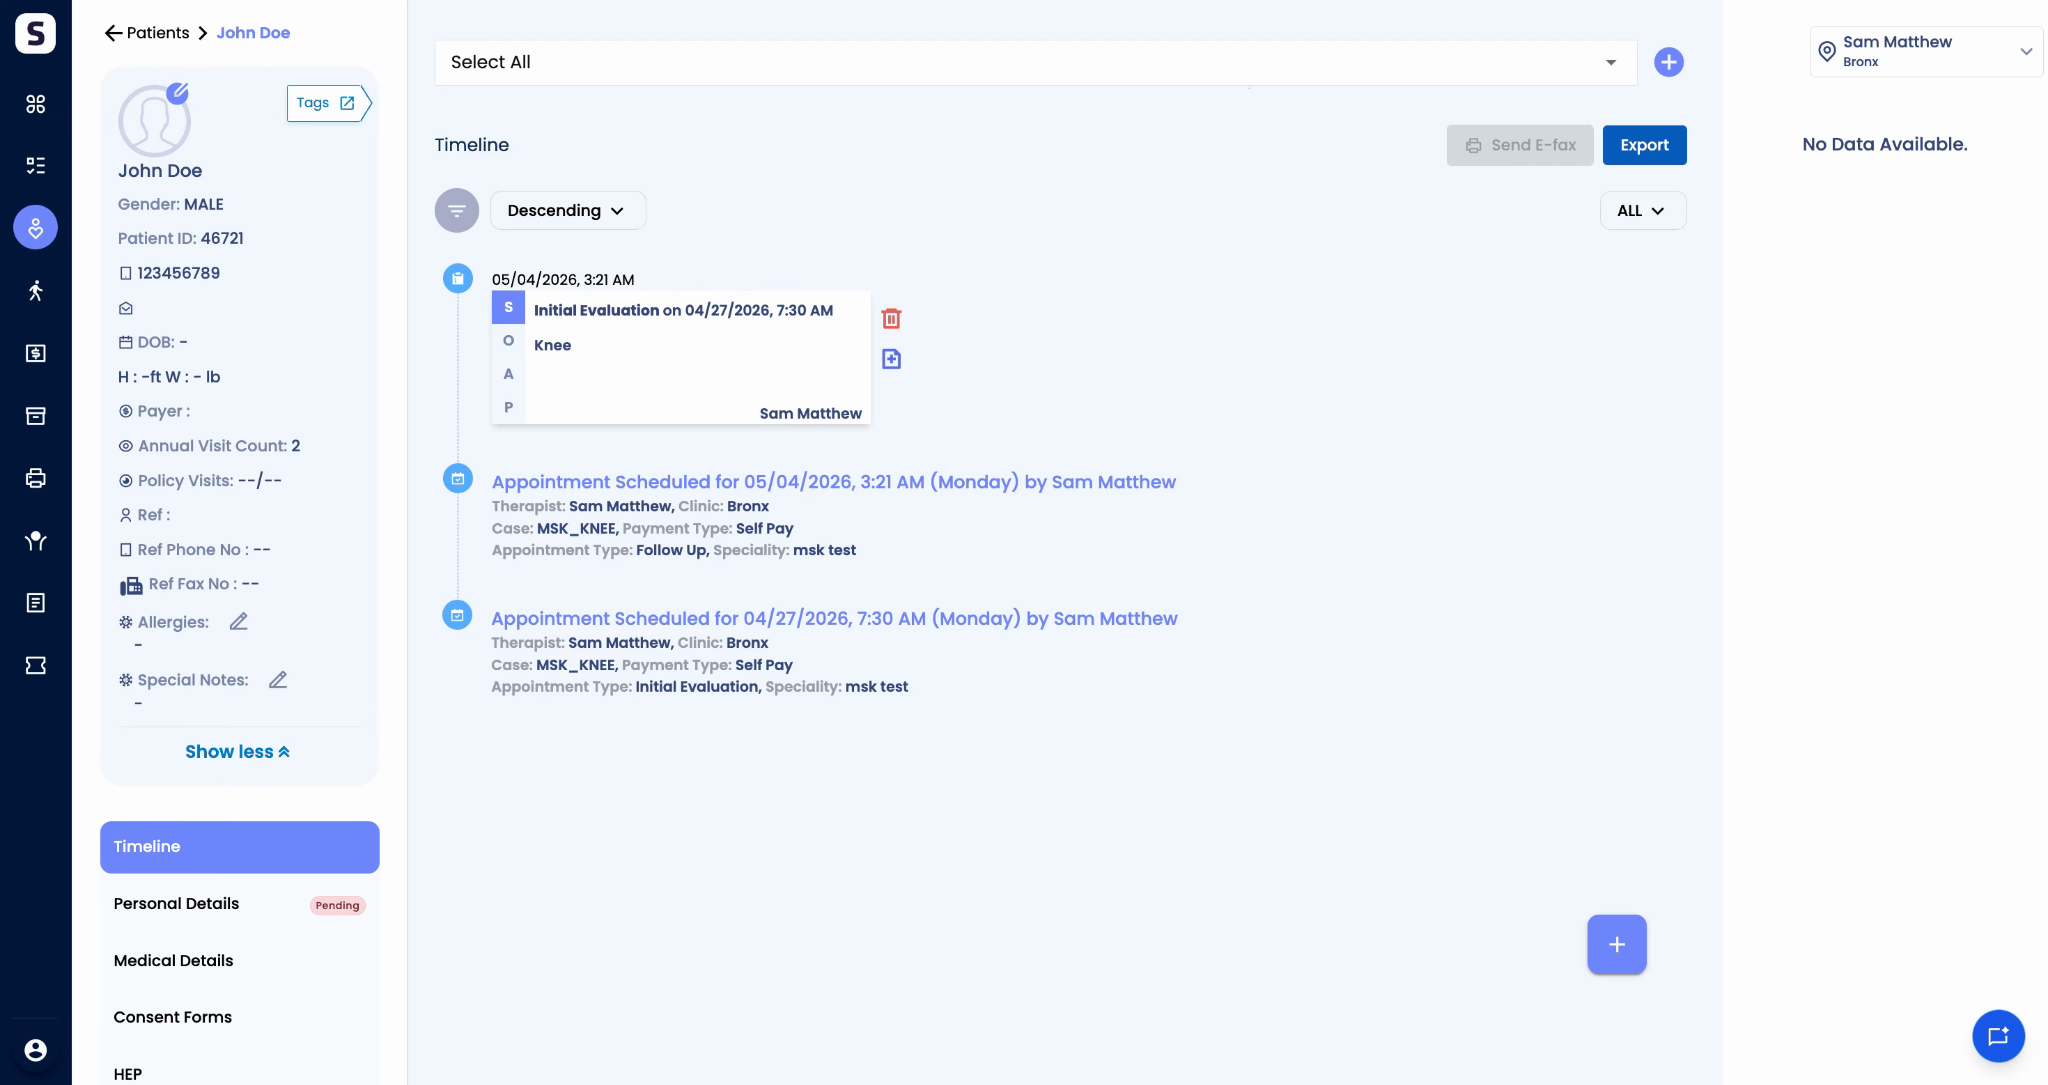
Step 1: Spot the history icon next to fields
In your SOAP notes, you’ll now see a history icon next to key fields like Age, Subjective, Objective, and Assessment. This appears during follow-up notes, progress notes, and evaluations.
Step 2: Click the history icon to view previous values
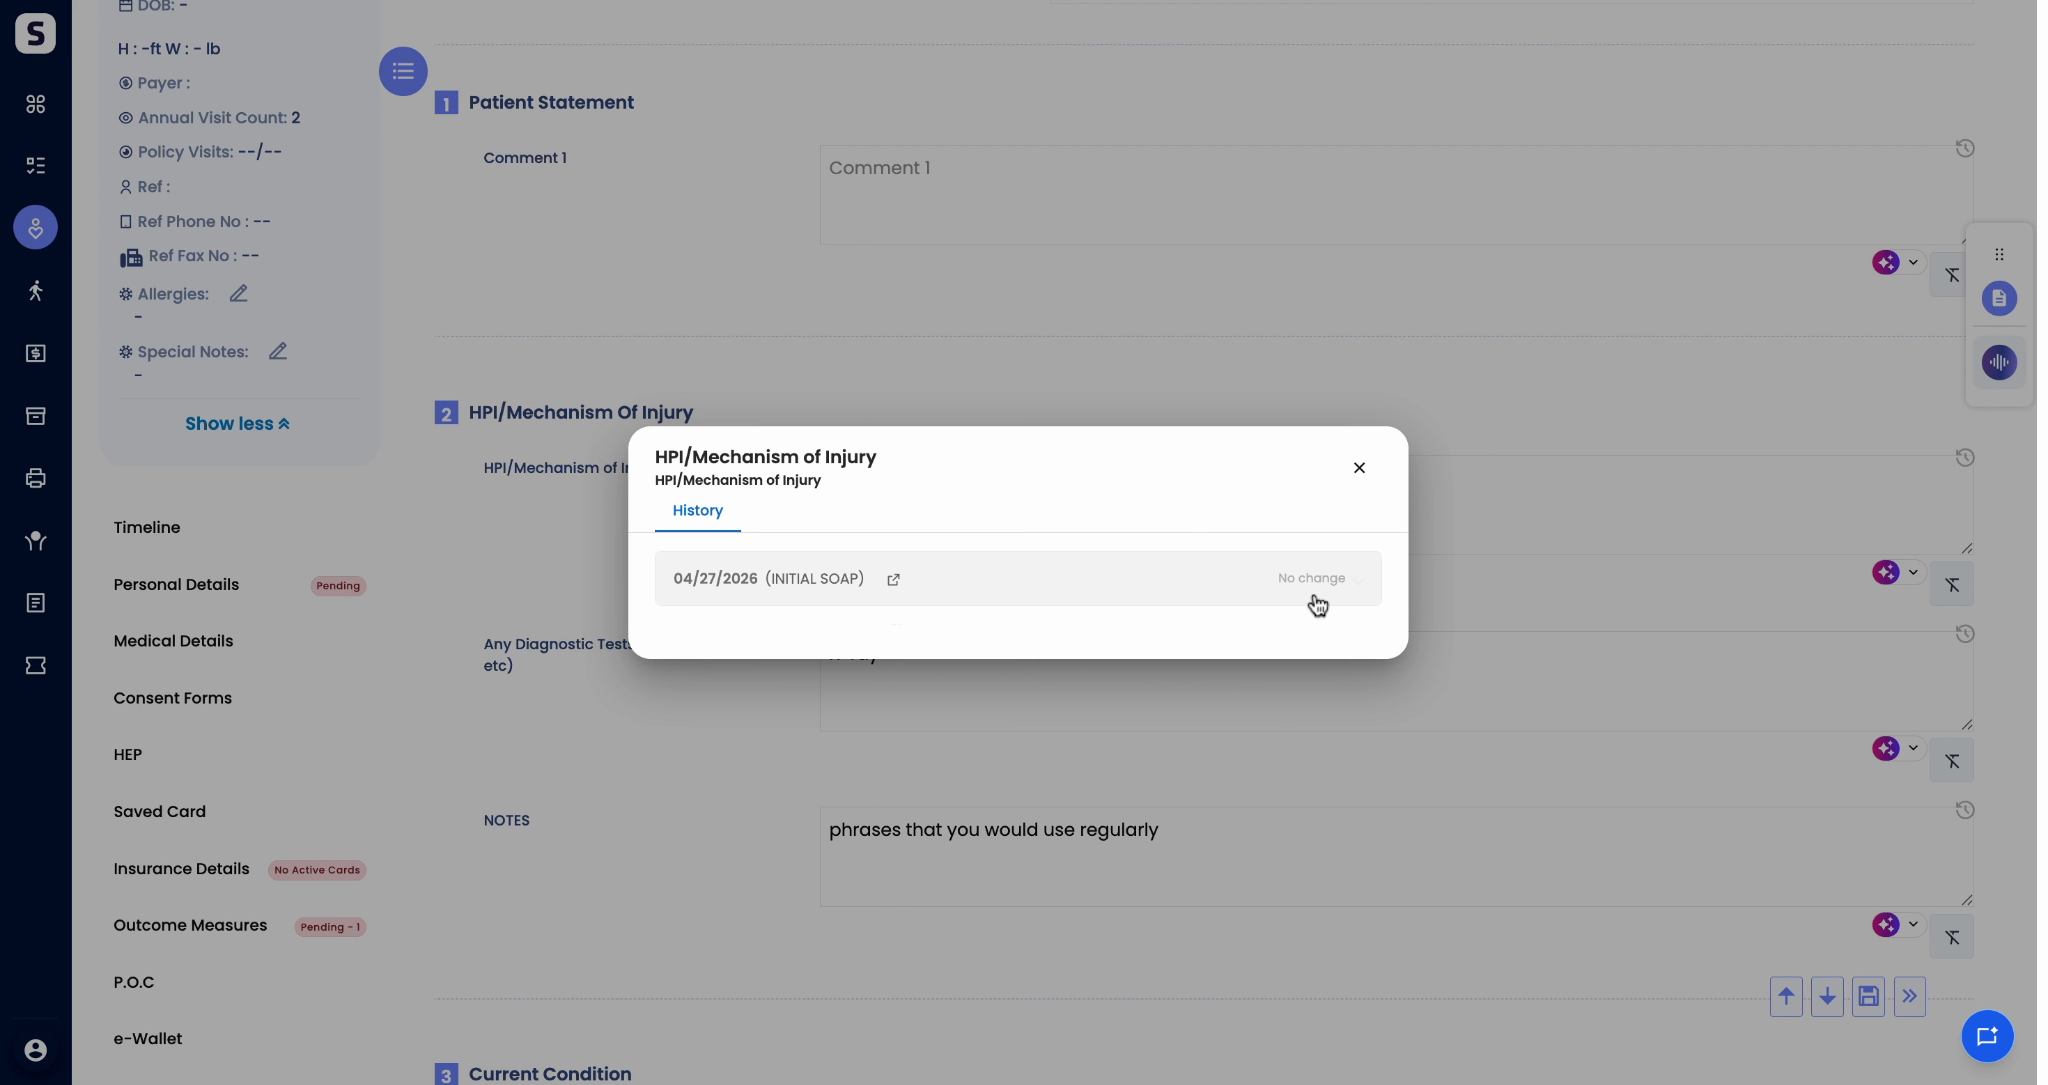
Click the history icon to view previous entries for that specific field from earlier dates of service. A pop-up displays the value from the most recent note.
Step 3: Review field changes—and what hasn’t changed
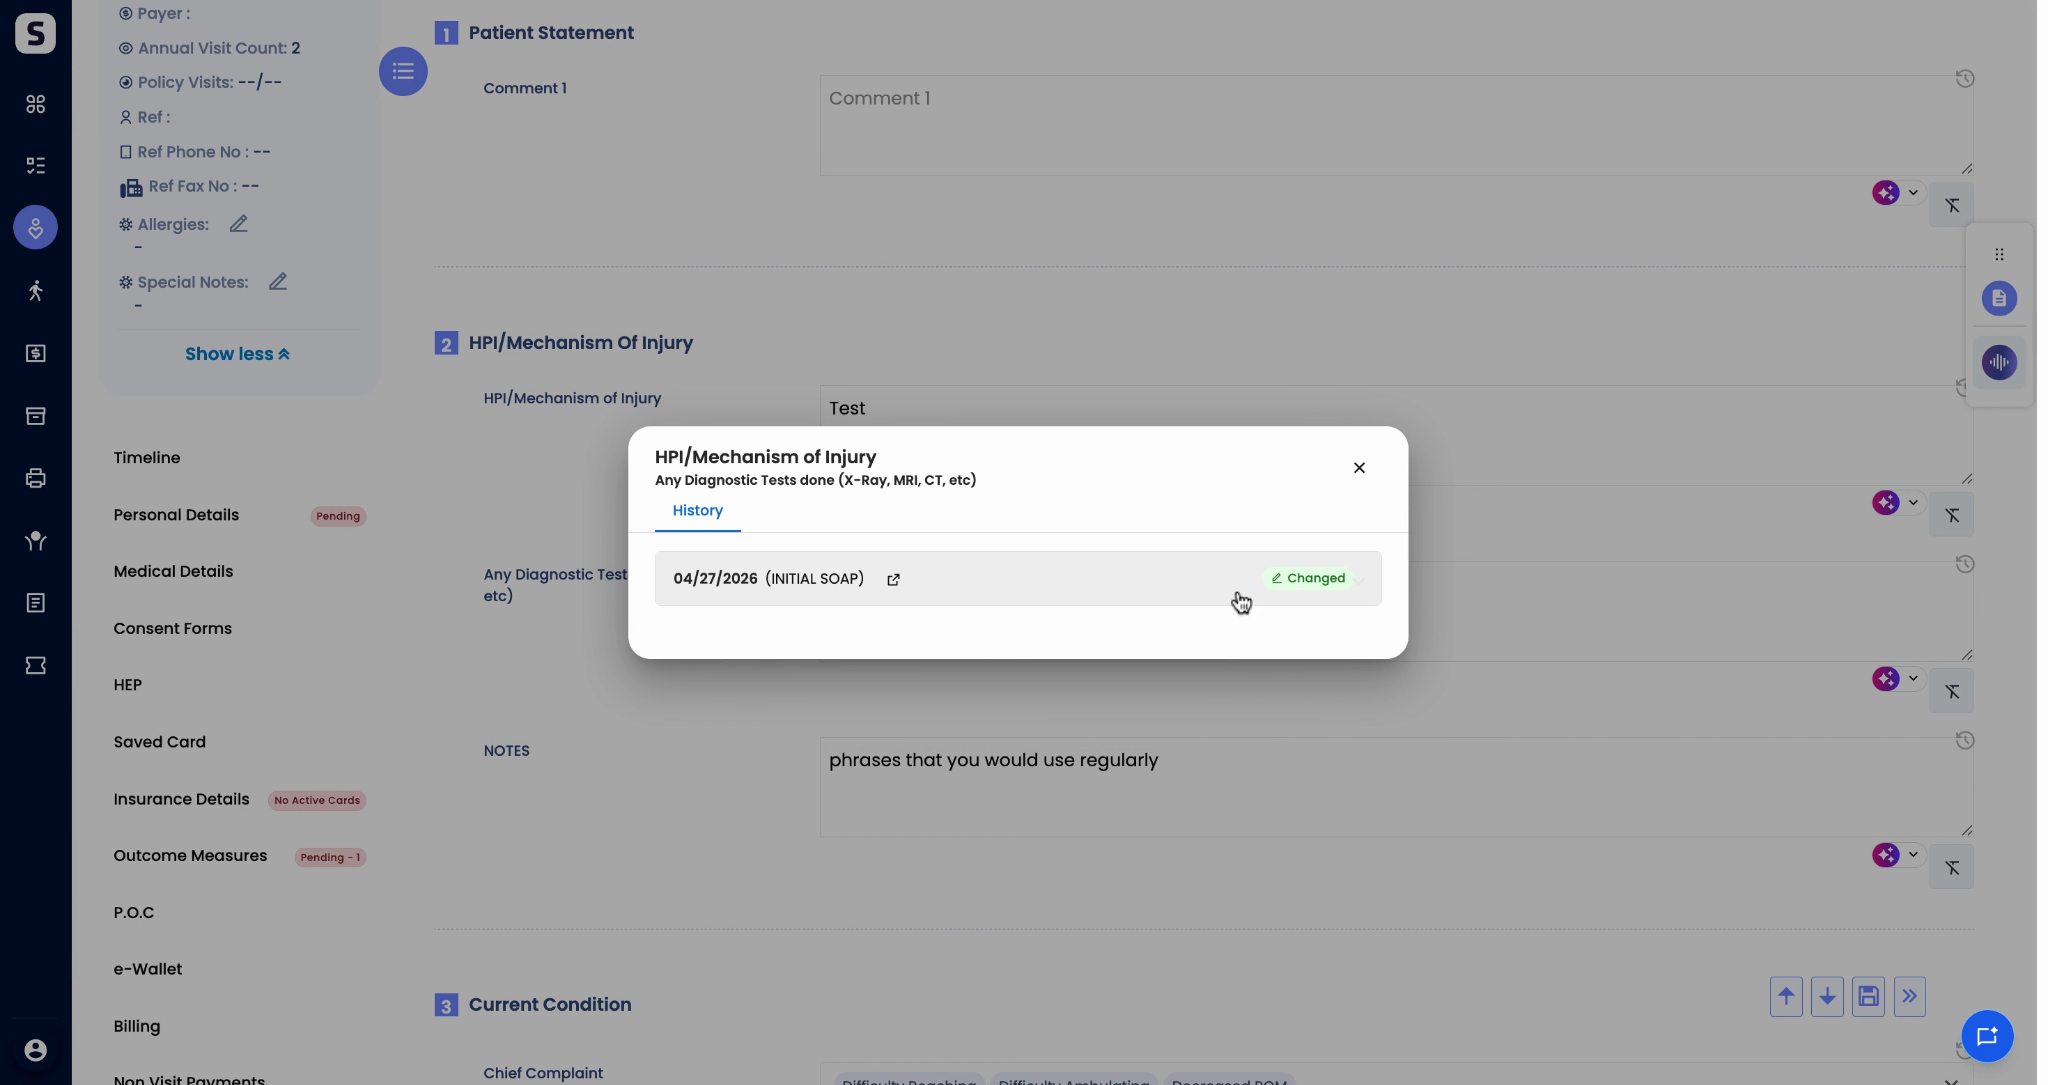
If there’s no change compared to the previous entry, the history display will say so. If you updated the field (for example, changing “X-ray” to “MRI”), the icon turns green to indicate a change, and you’ll see what’s different right away.
Step 4: Bring previous data forward as needed
After clicking the history icon, choose how to use the previous value:
- Prepend: Add the older value before your current entry.
- Append: Add the older value after your current entry.
- Replace: Swap your current entry with the previous value entirely.
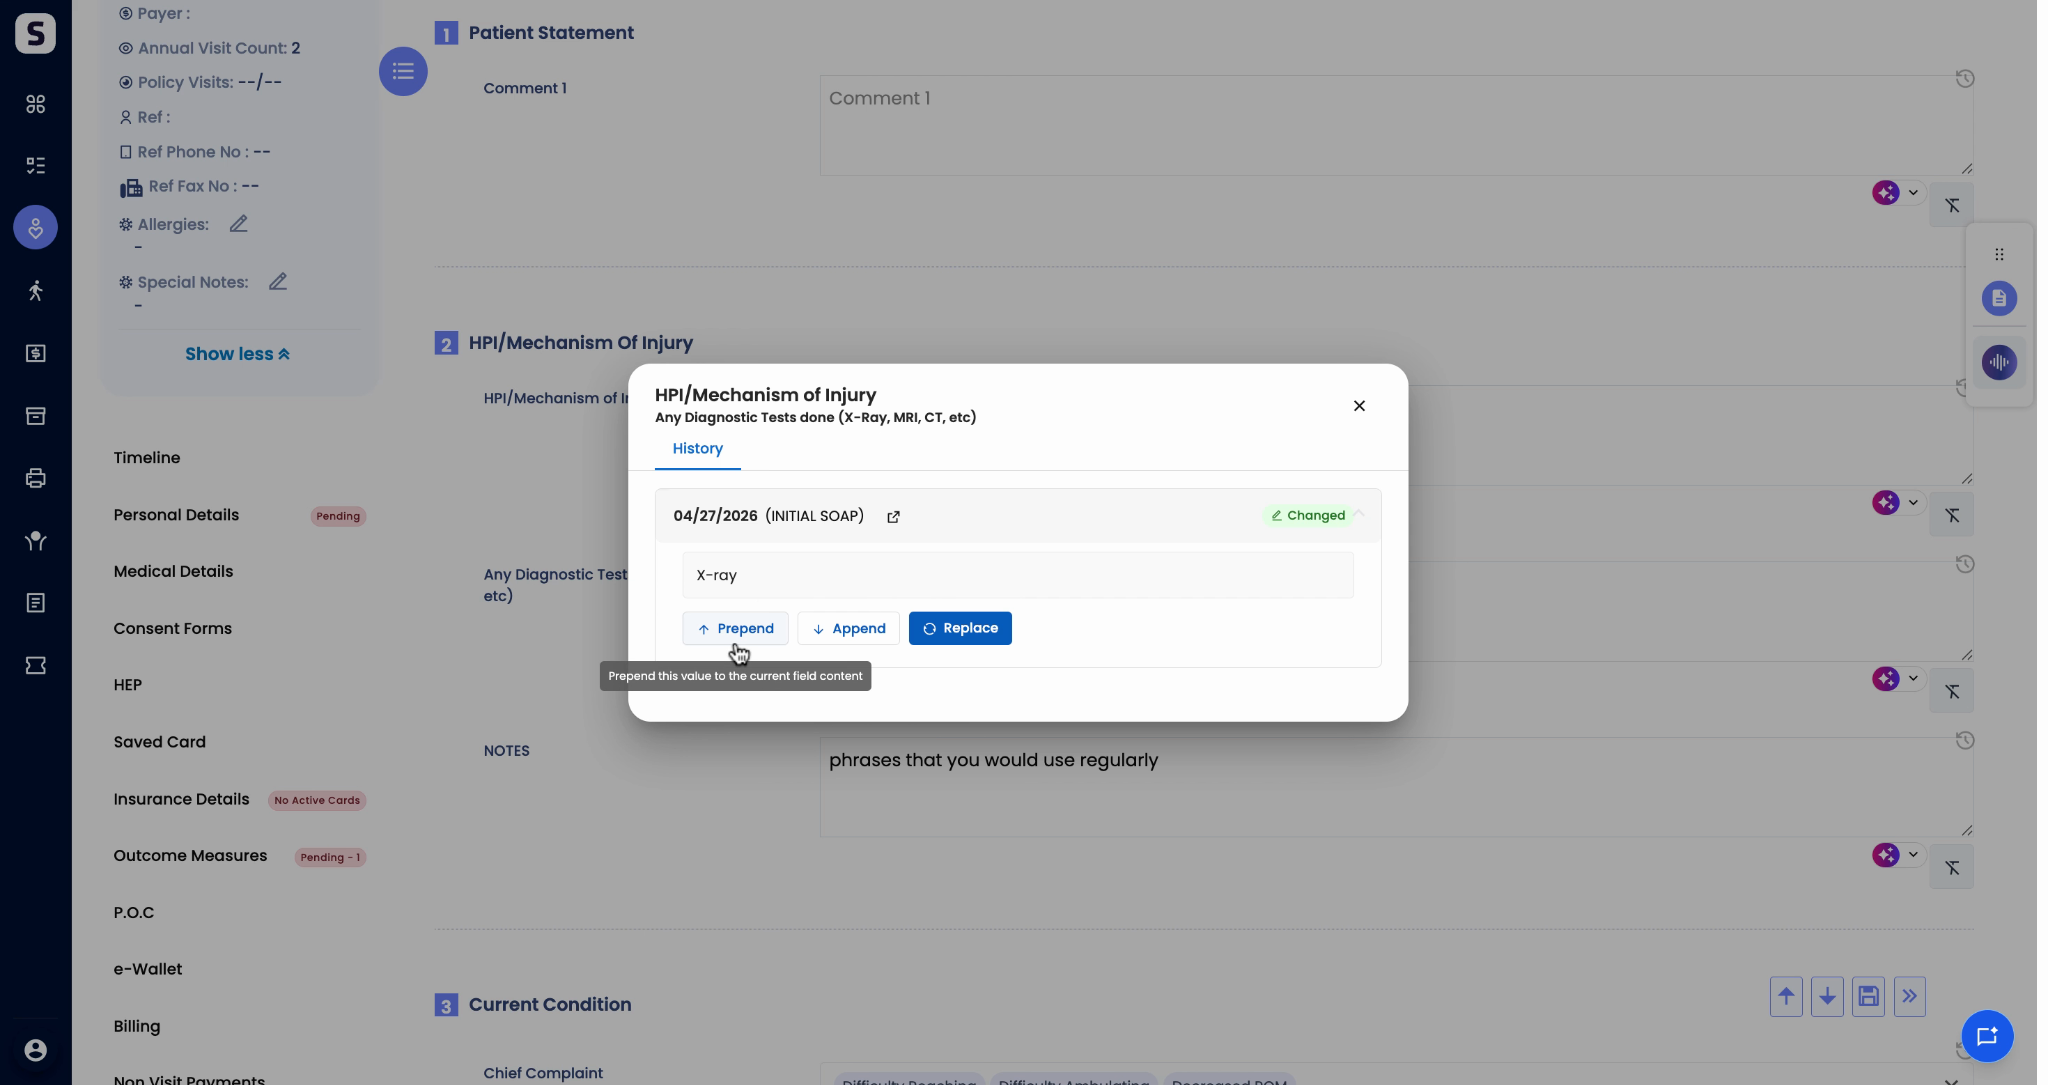
Just click your choice. For example, selecting Replace will overwrite your current field with the prior note’s documentation.
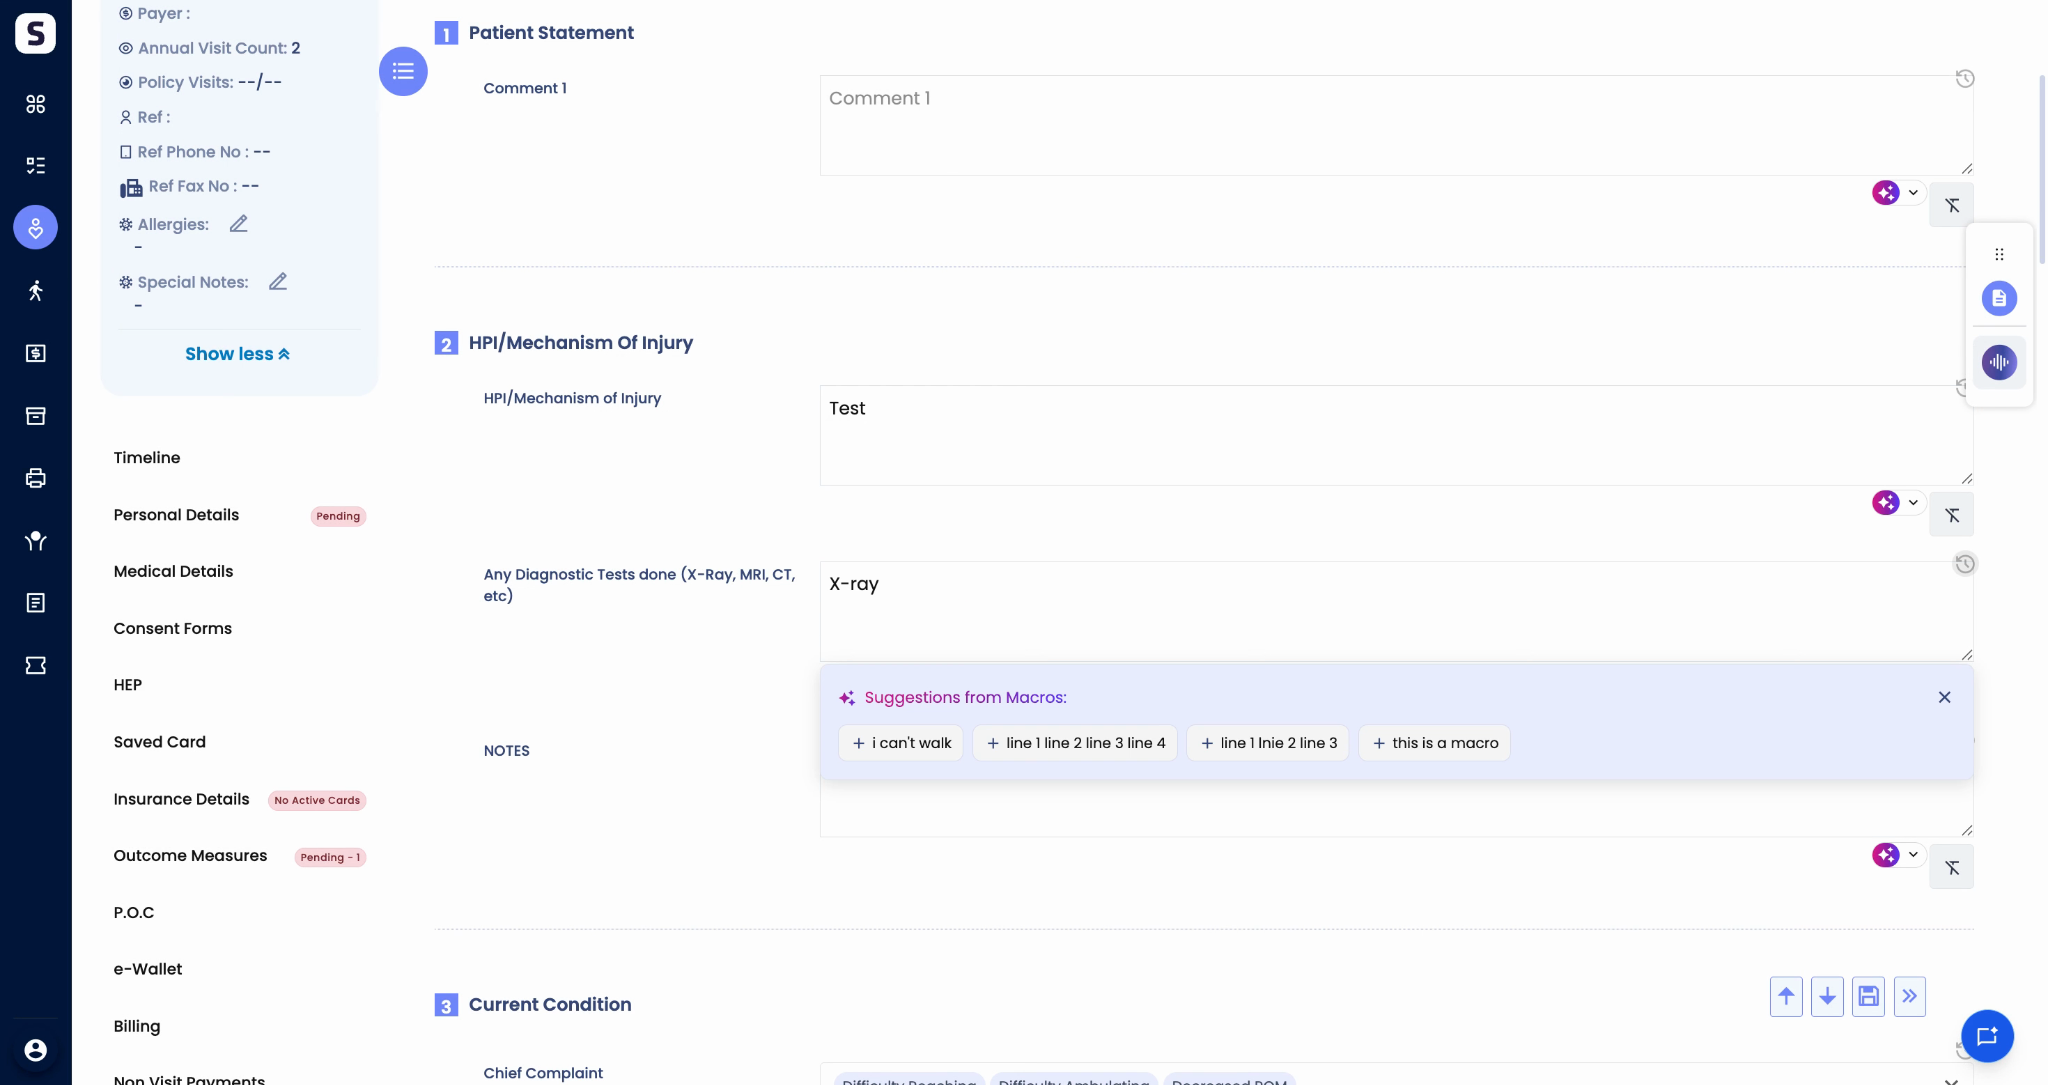
The History feature gives you fast field-by-field context in your SOAP notes. Use it to keep patient records clear and make updates with total confidence.