Non-Visit Payment Workflow Guide
Manage Non-Visit Payments for Patients
The Non-Visit Payment feature lets you handle payments for products and services that aren't tied directly to a patient visit. Use this workflow to quickly add, edit, and track these payments within the patient's profile.
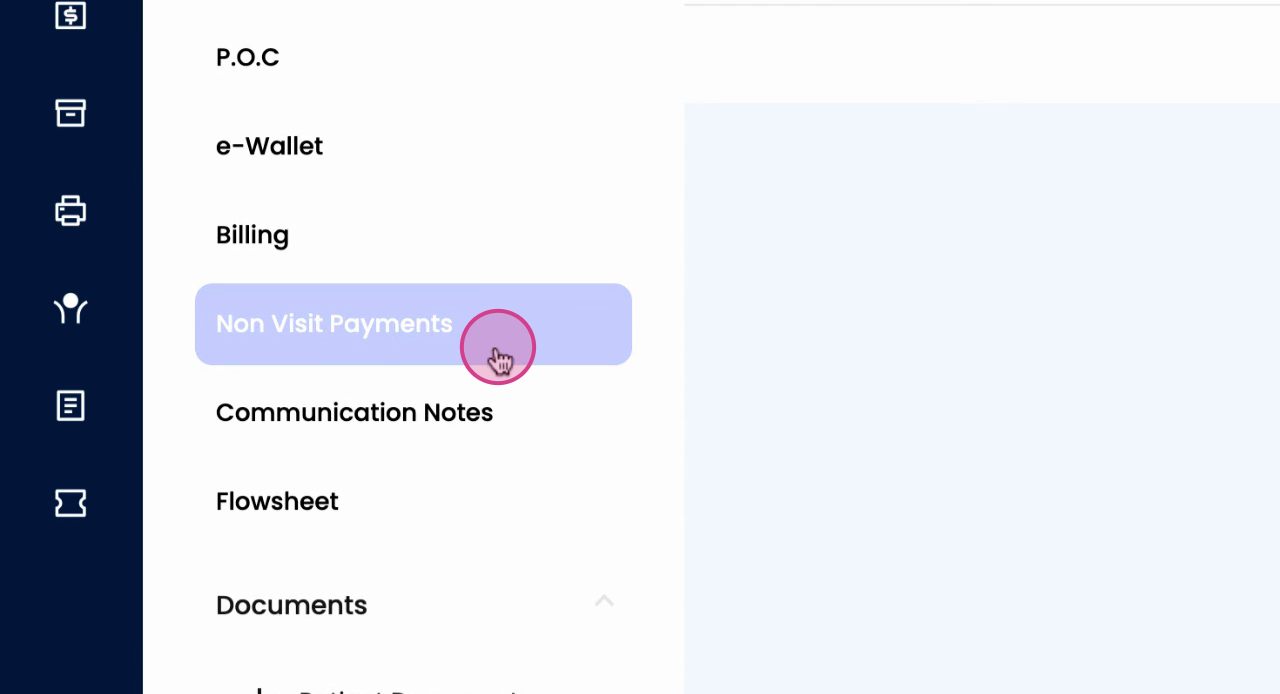
Step 1: Go to Patients and scroll down to the Non visit Payment tab.
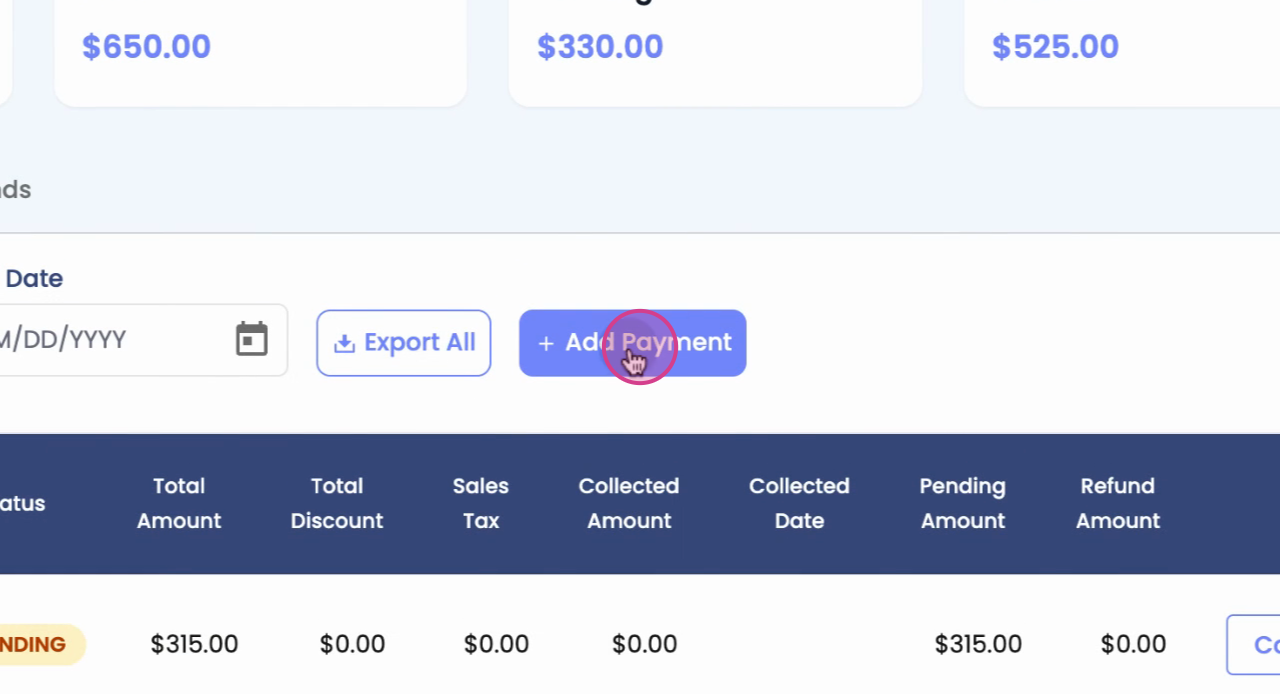
Step 2: Click Add Payment to start entering a new payment for a product or non-visit service.
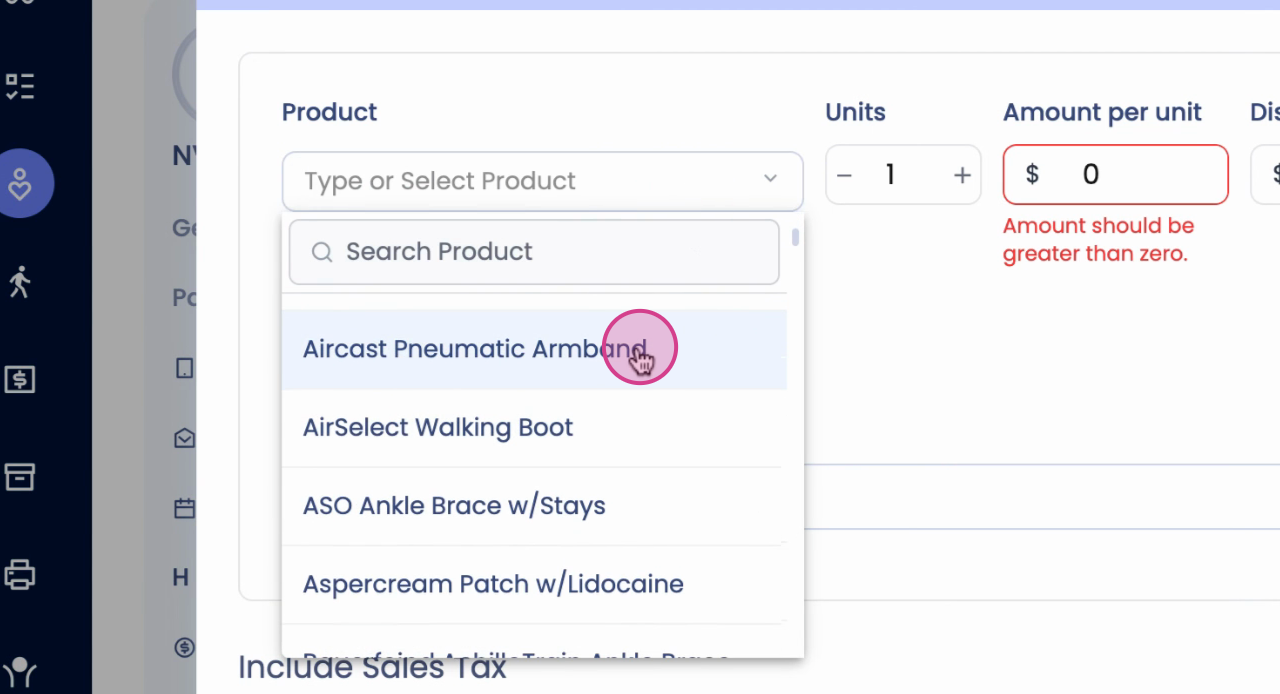
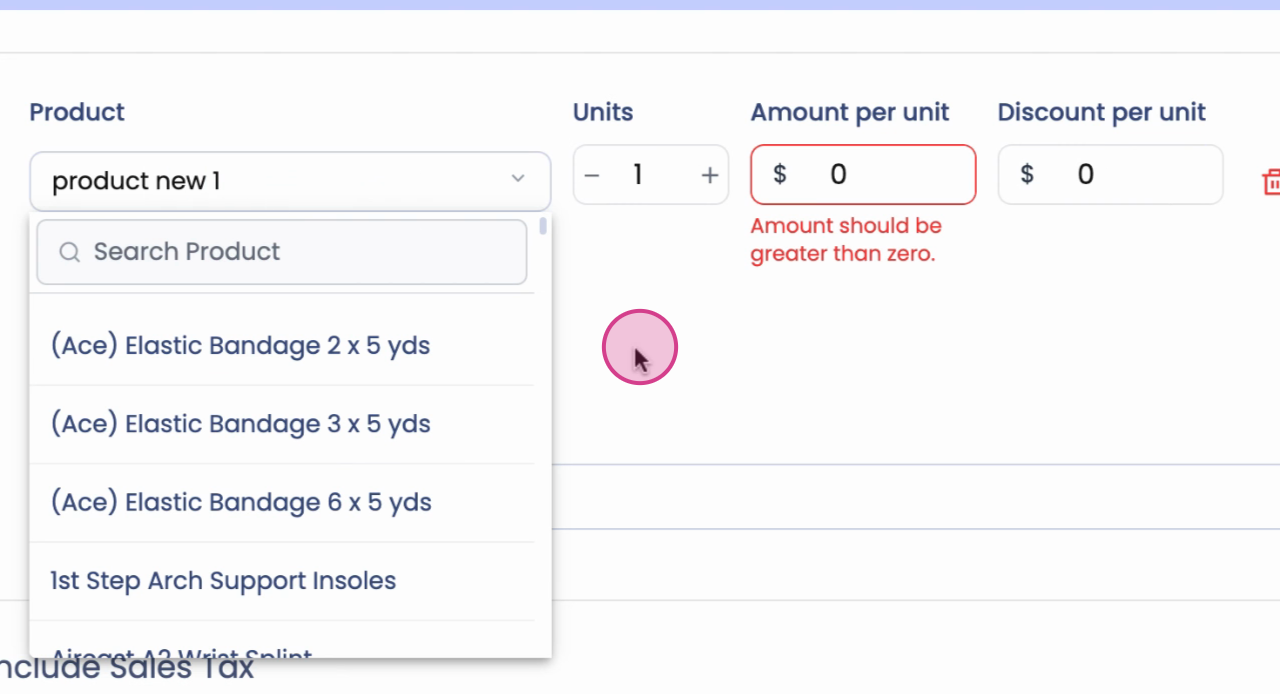
Step 3: Under Product, choose an item from the dropdown menu to auto-populate the amount.
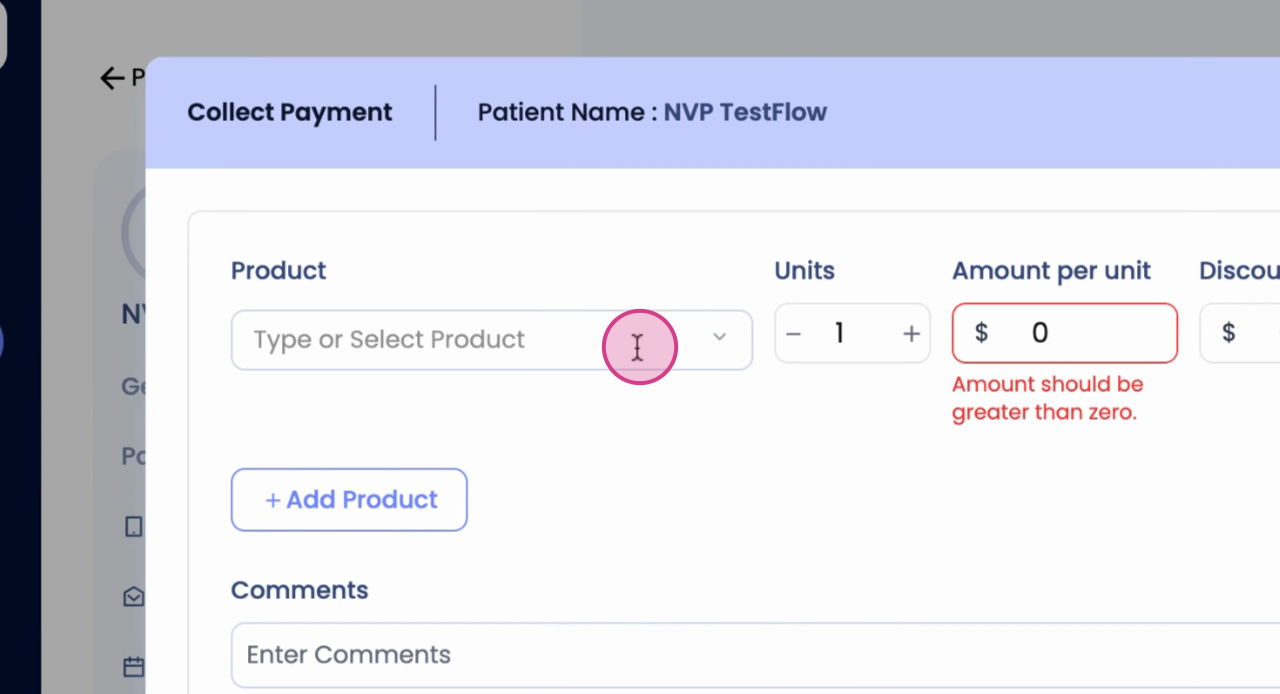
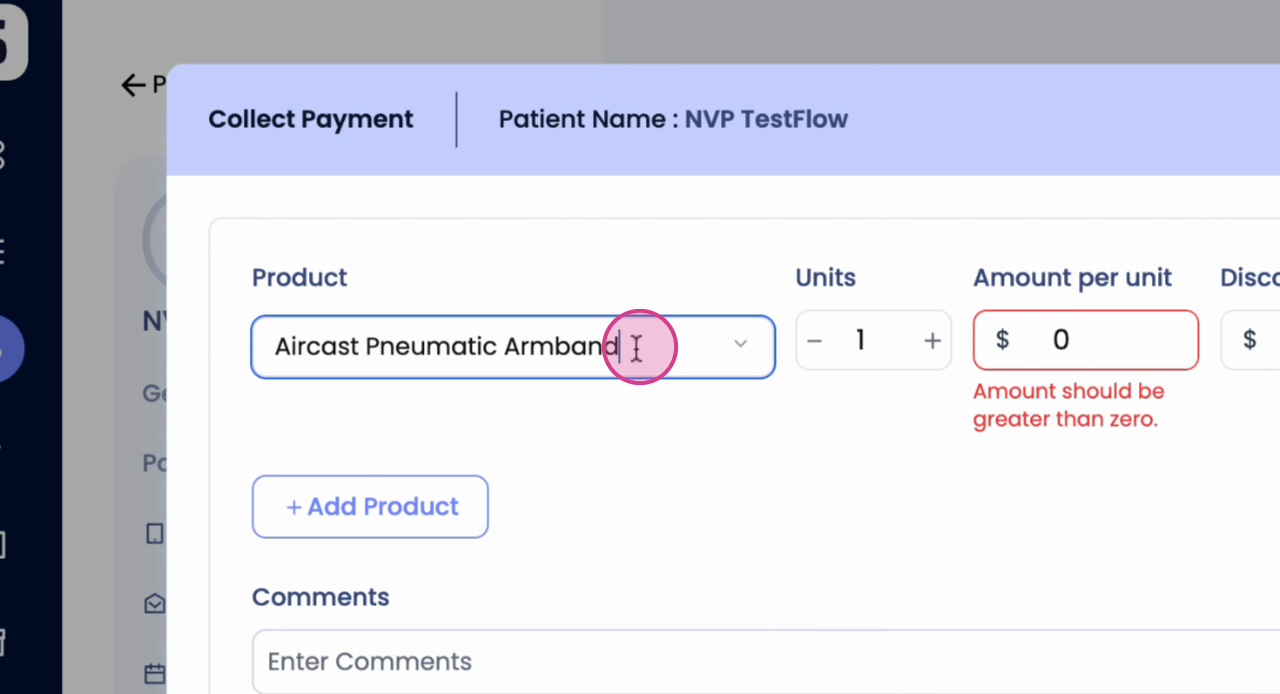
Step 4: To add a new product manually, enter the product details and price.
Step 5: Select Add Product if you need to include multiple products in the payment.
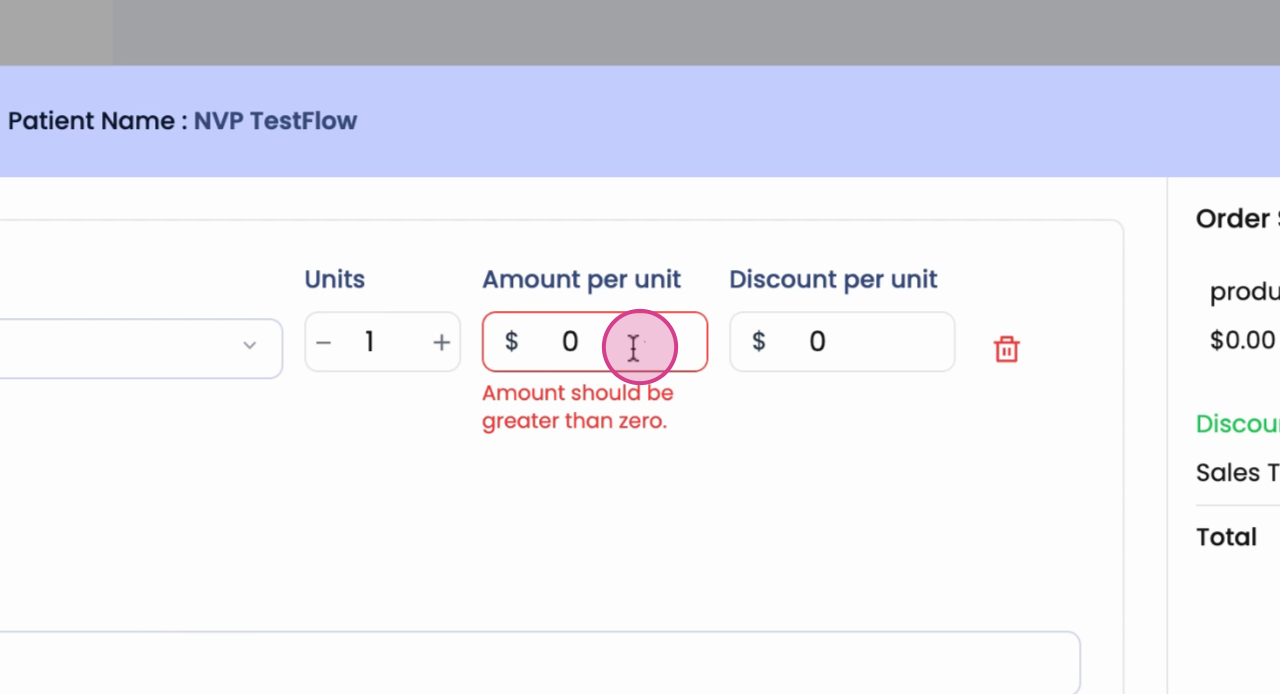
Step 6: Type in the payment amount.
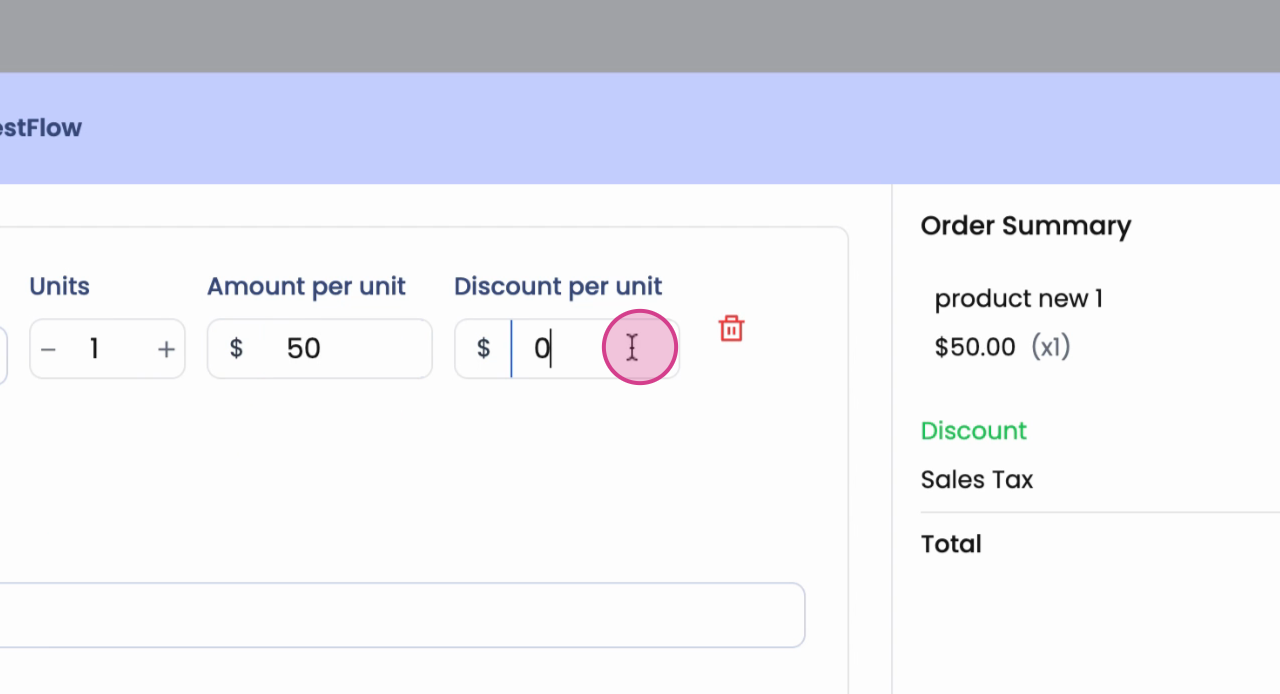
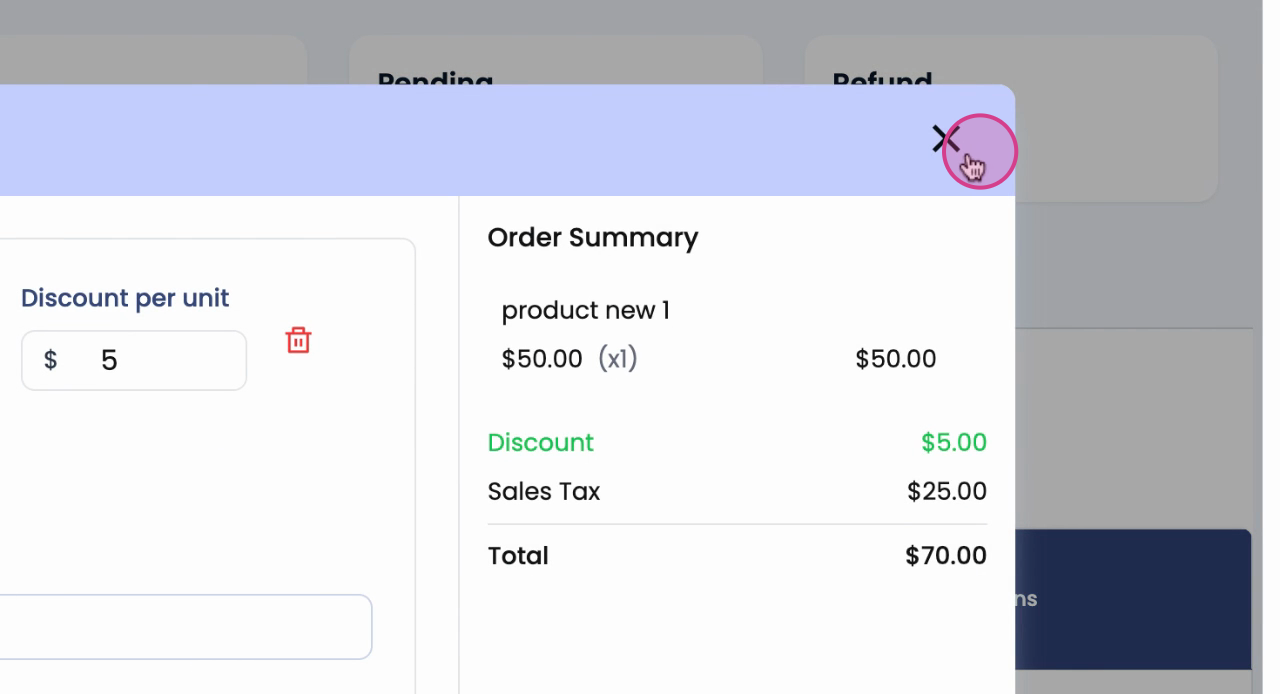
Step 7: Add a discount if it's applicable.
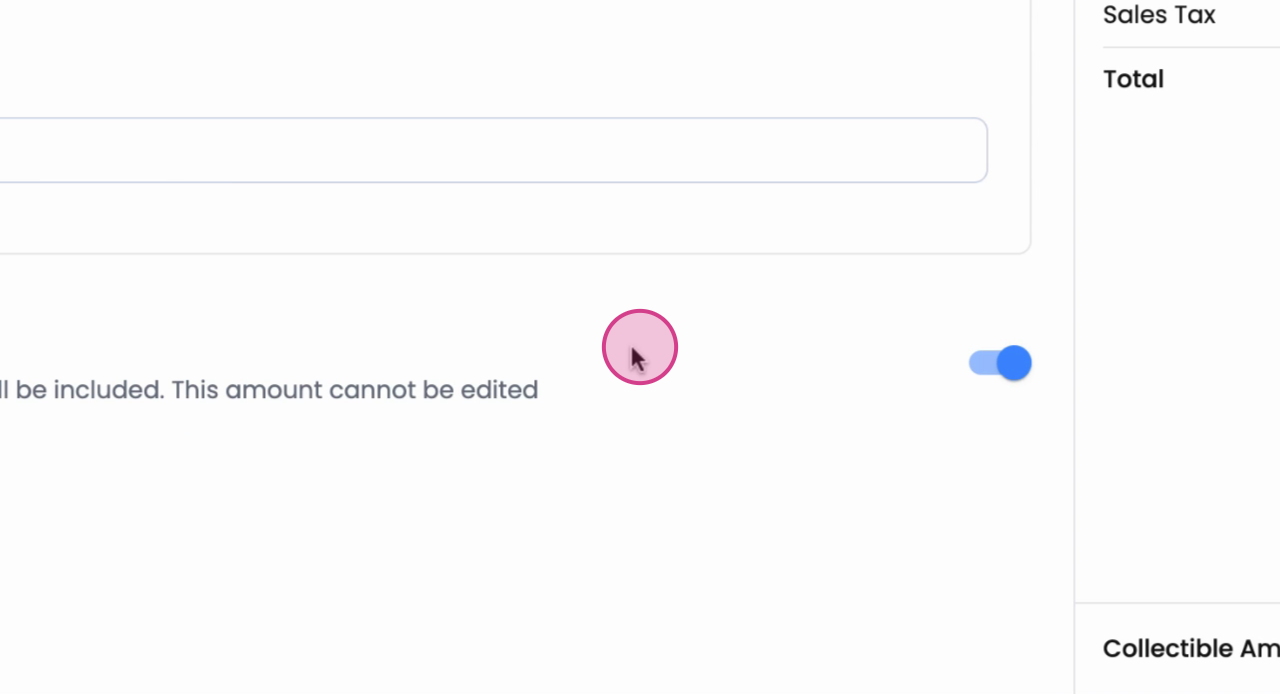
Step 8: If your account supports sales tax, the tax will appear automatically for each payment. To enable sales tax, contact support.
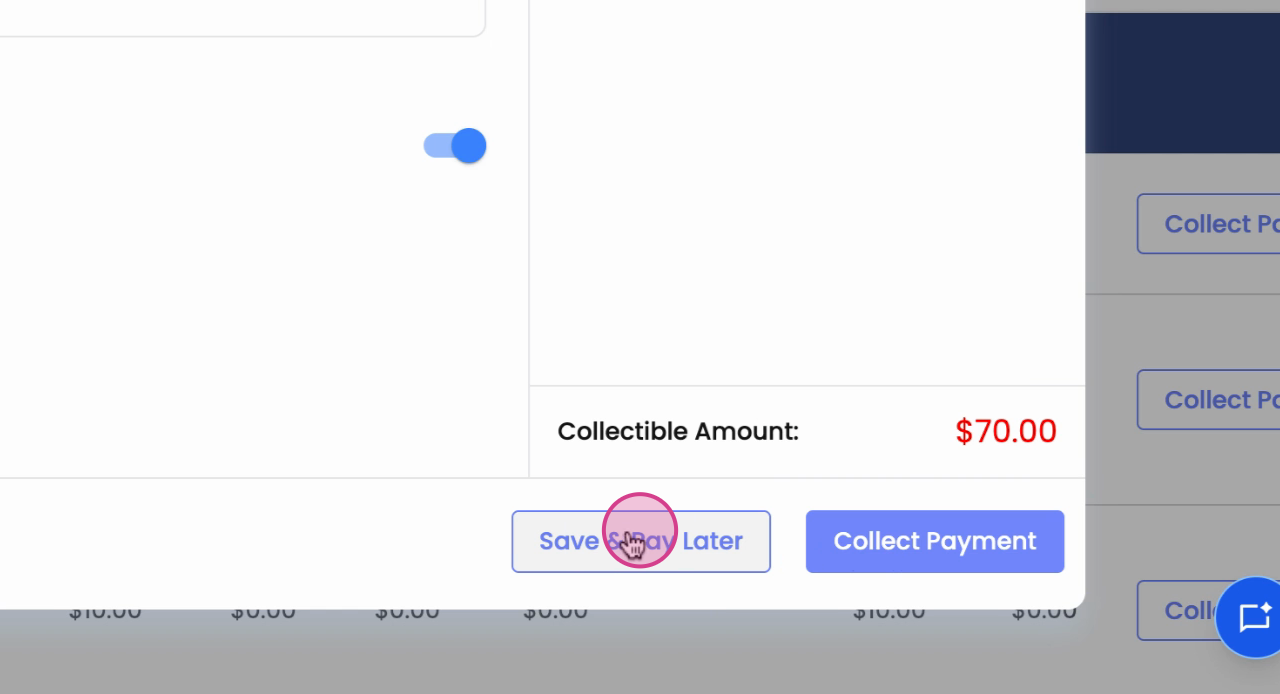
Step 9: Click Collect Payment to accept immediate payment, or select Save and pay later if you want to process it in the future.
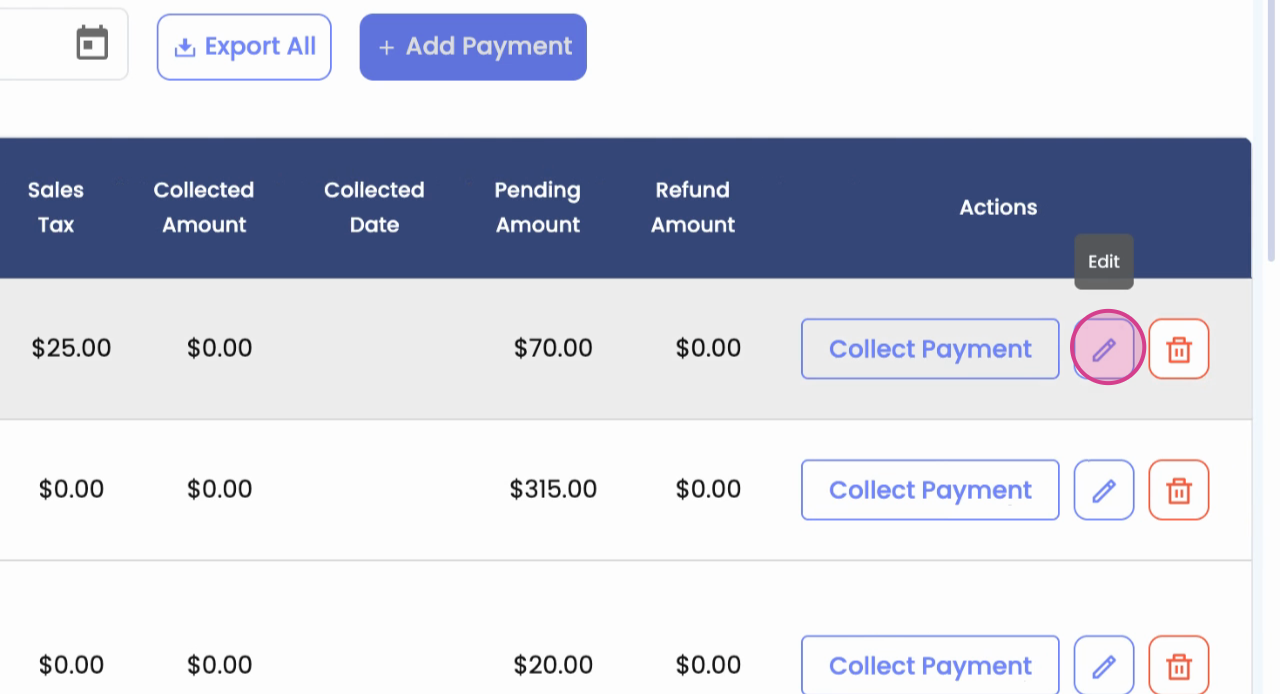
Step 10: Once the product is added, edit details or add more products directly from the same screen.
Step 11: Remove any products if no payment has been made, using the Delete option.
Step 12: To download a payment history report, use the Export option.
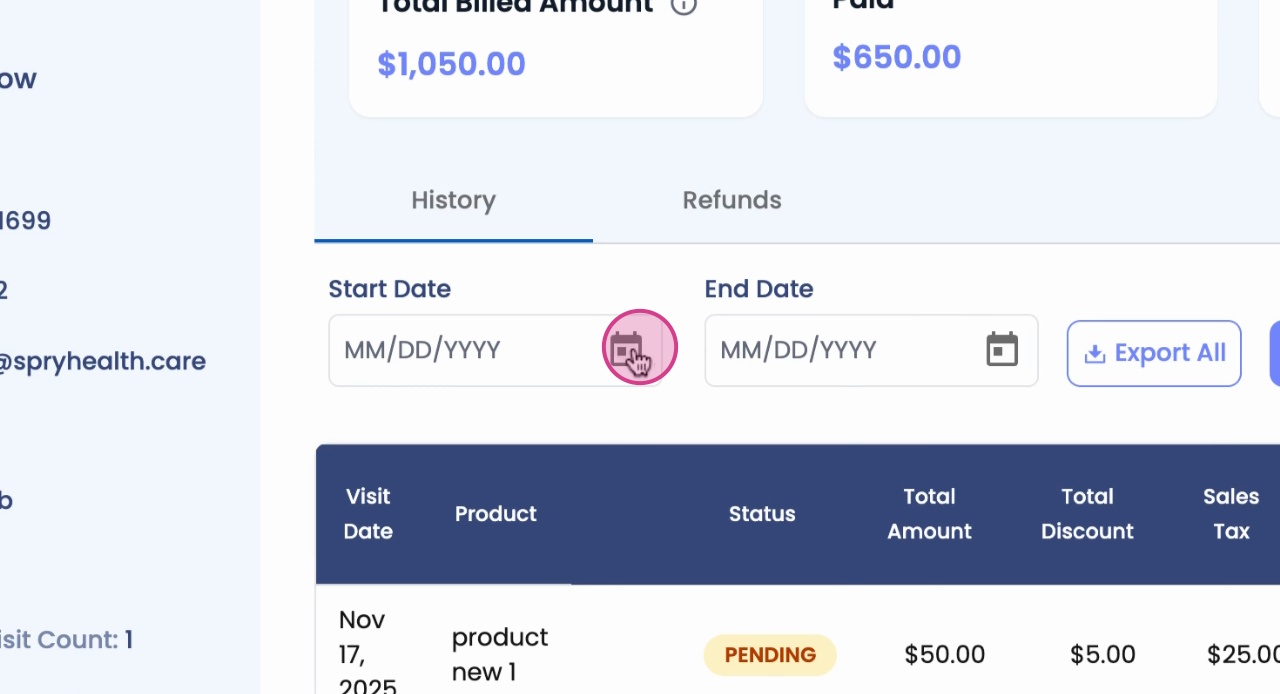
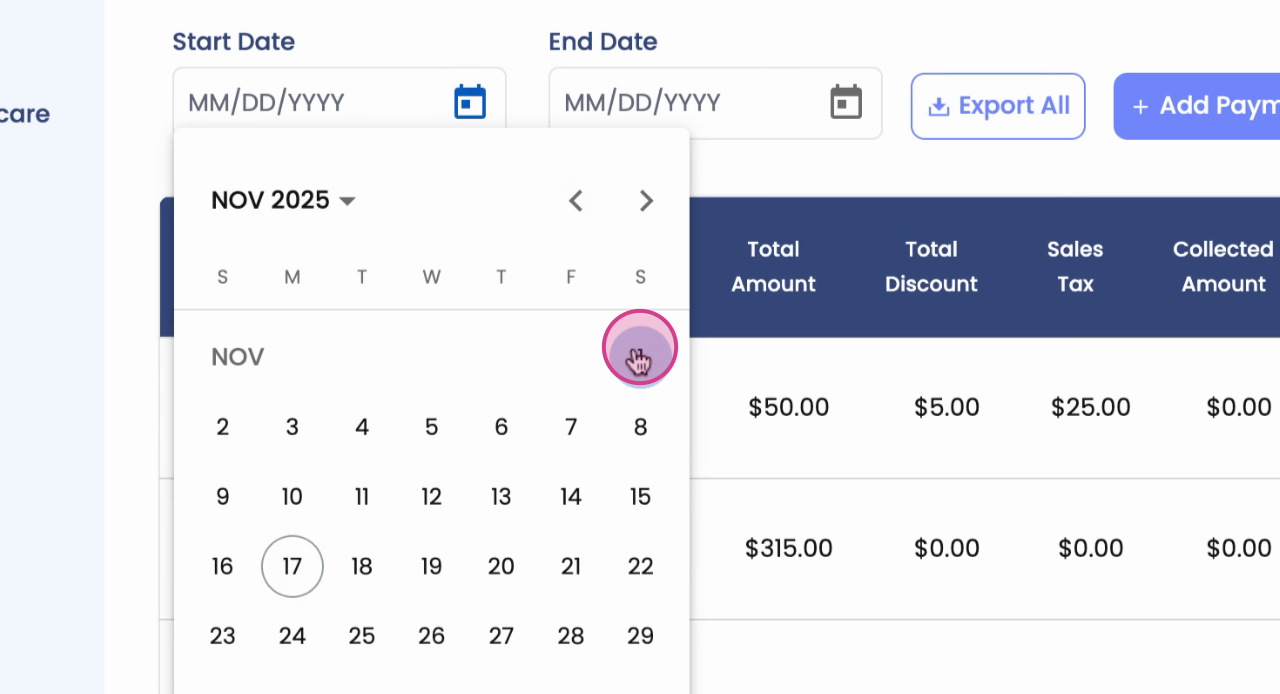
Step 13: Set the desired date range.

Step 14: Click Export all to generate a report. This includes visit date, product, total amount, discount, sales tax, collected and pending amounts, collected date, and refund status.
The Non-Visit Payment workflow makes it straightforward to manage miscellaneous and product payments for patients. With features for multiple products, discounts, tax calculations, and reporting, you get a complete overview of all non-visit payment activities—keeping your records organized and payment processes efficient.