Skip to content Patient Case Management Guide
← Back to list
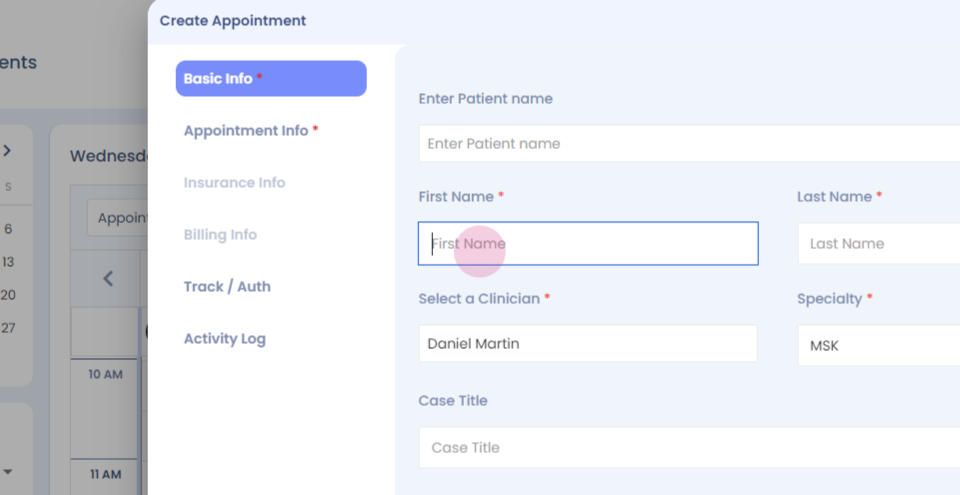
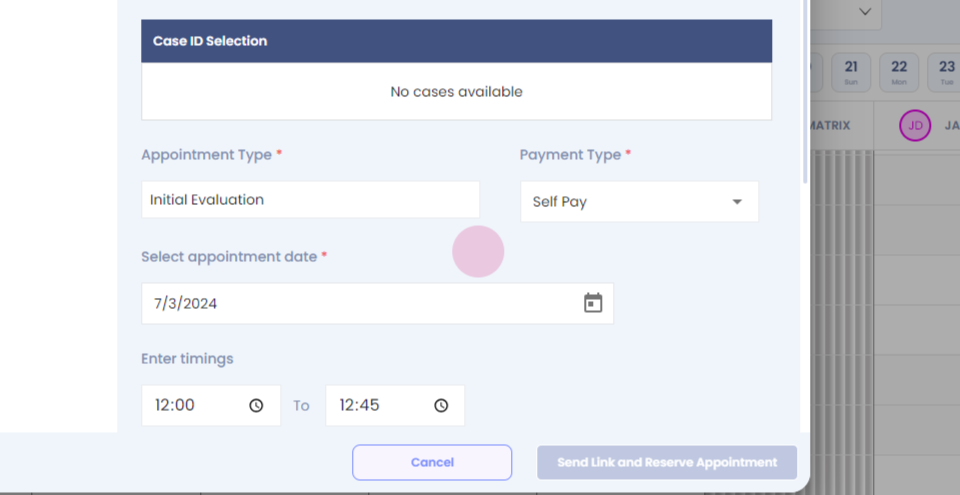
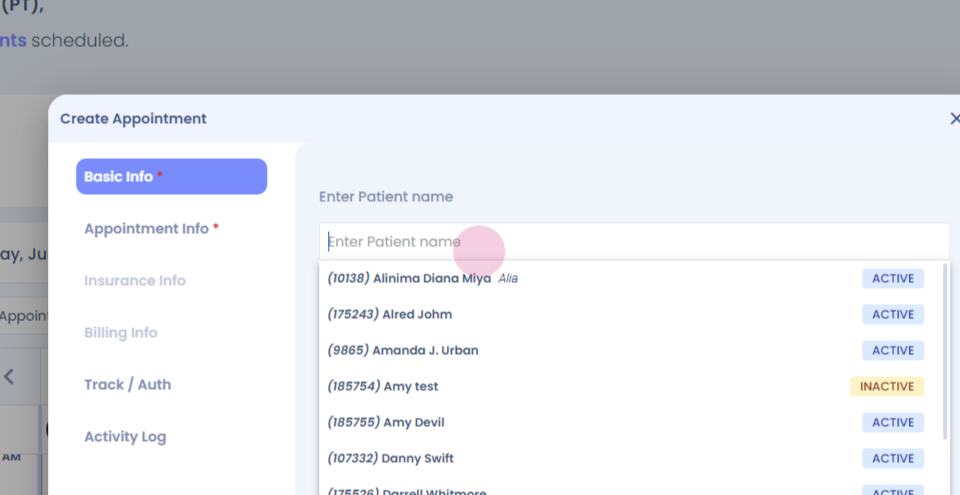
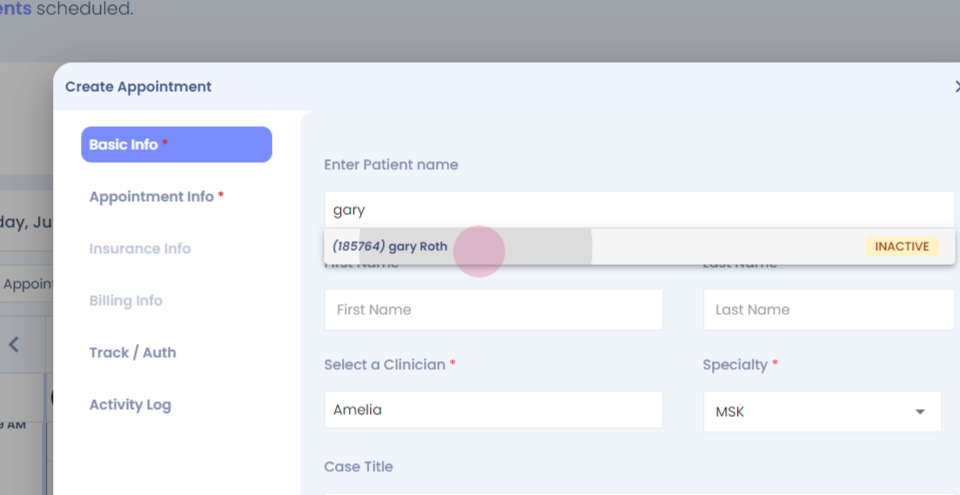
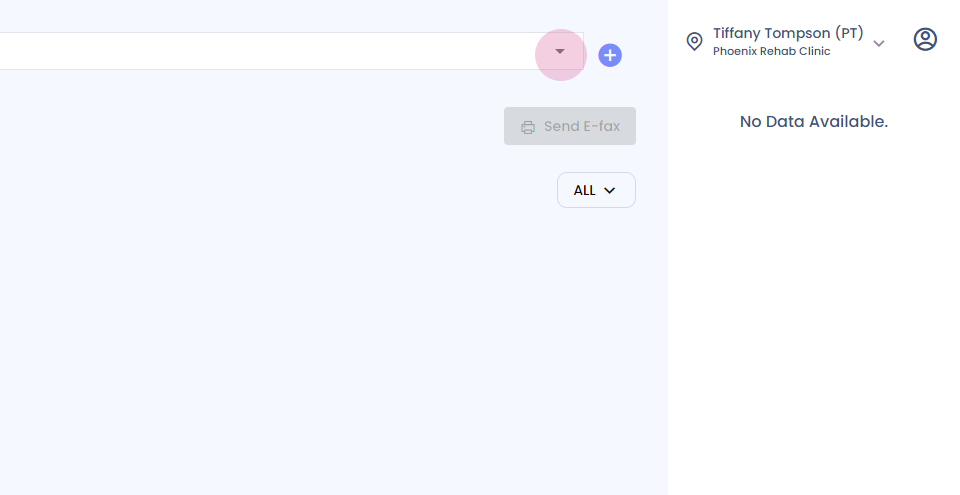
Step 1: Case ID feature. To create a new case for a patient, left click.
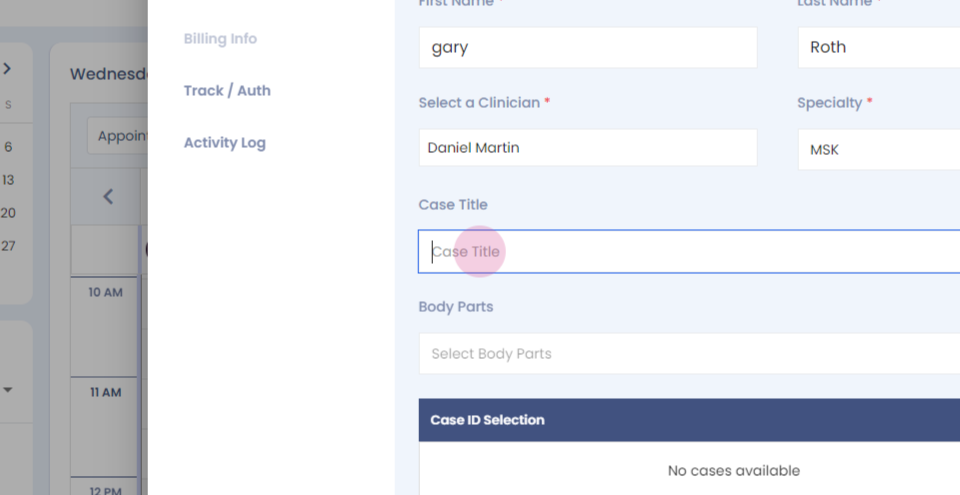
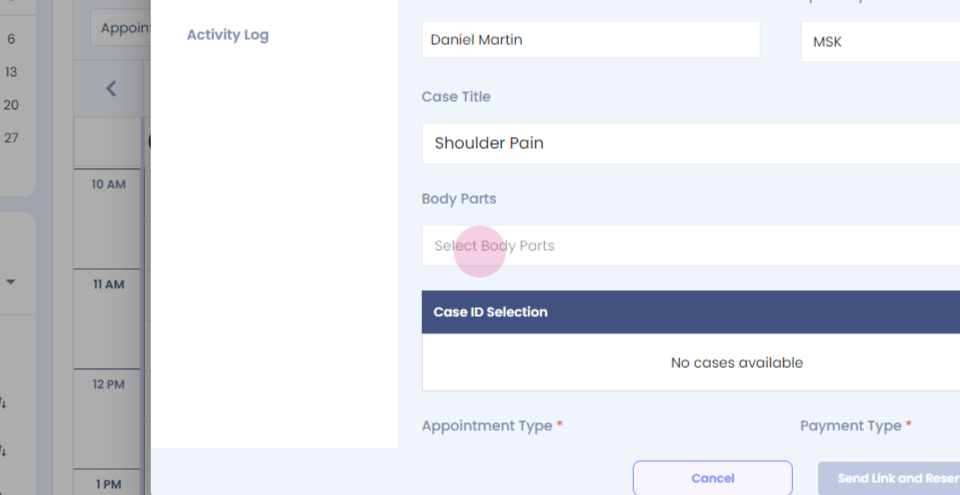
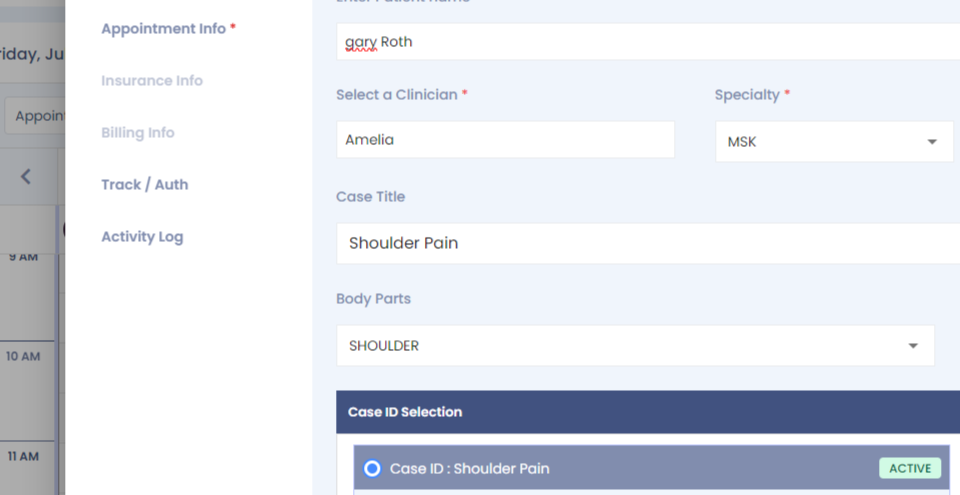
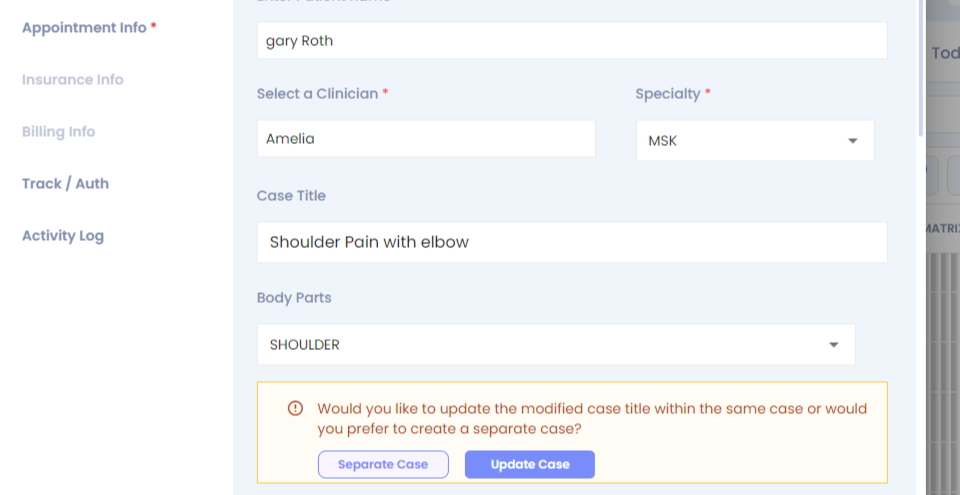
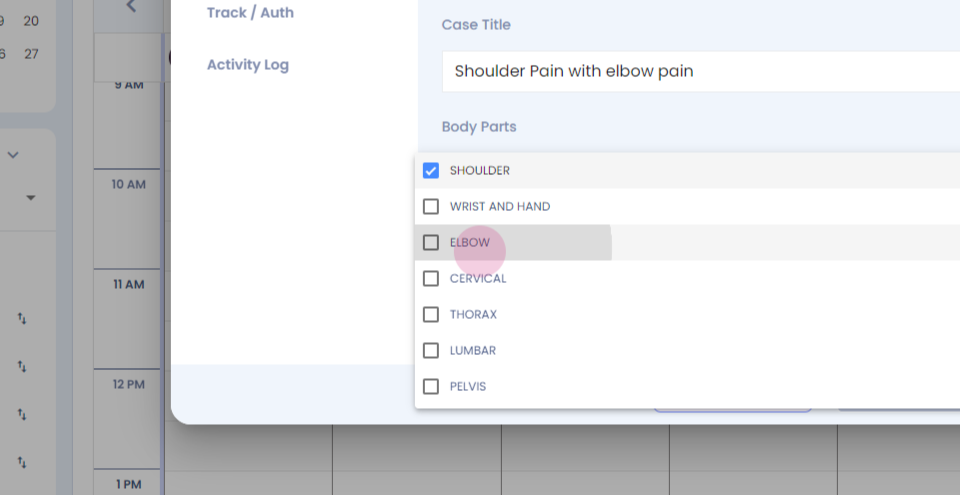
Step 2: Follow the steps for booking an appointment, Enter the case title.
Step 3:
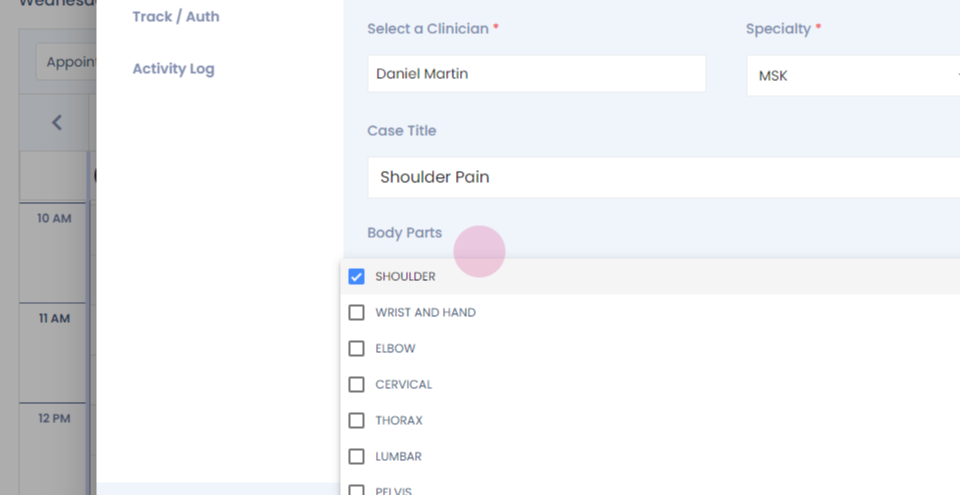
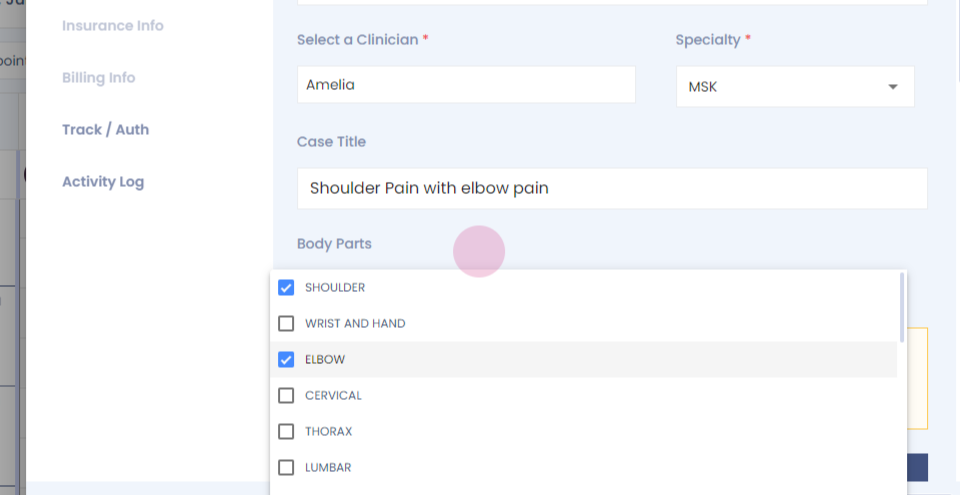
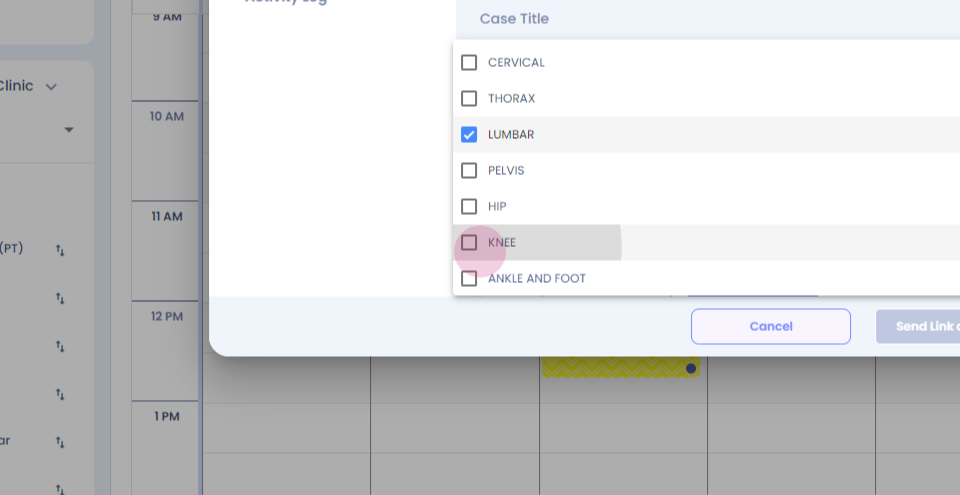
Step 4: Select the body part.
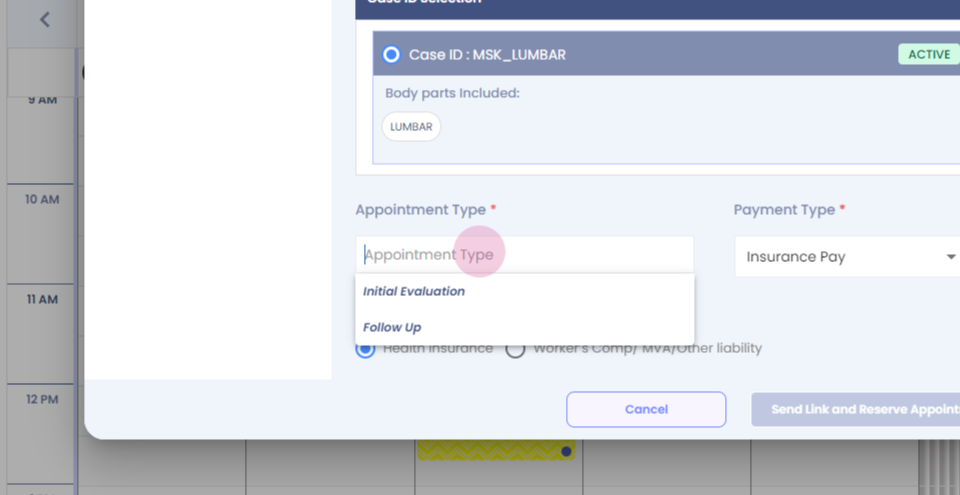
Step 5:
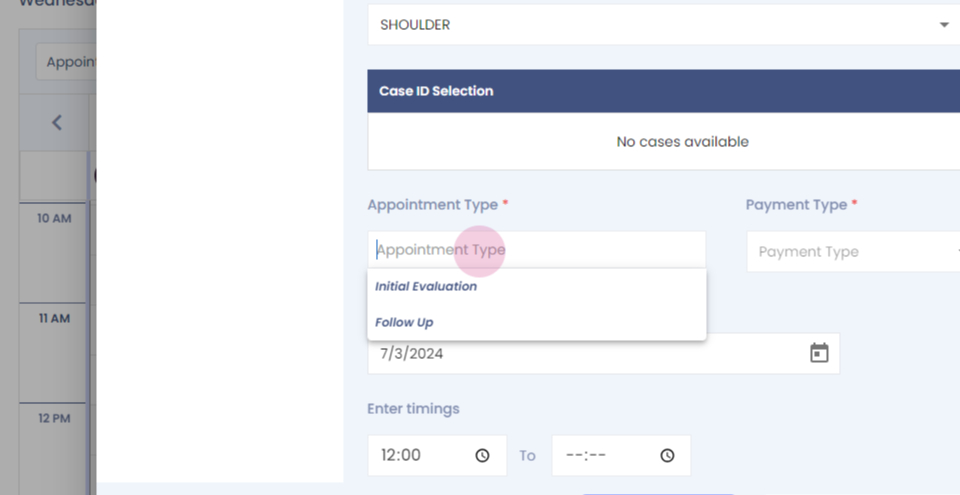
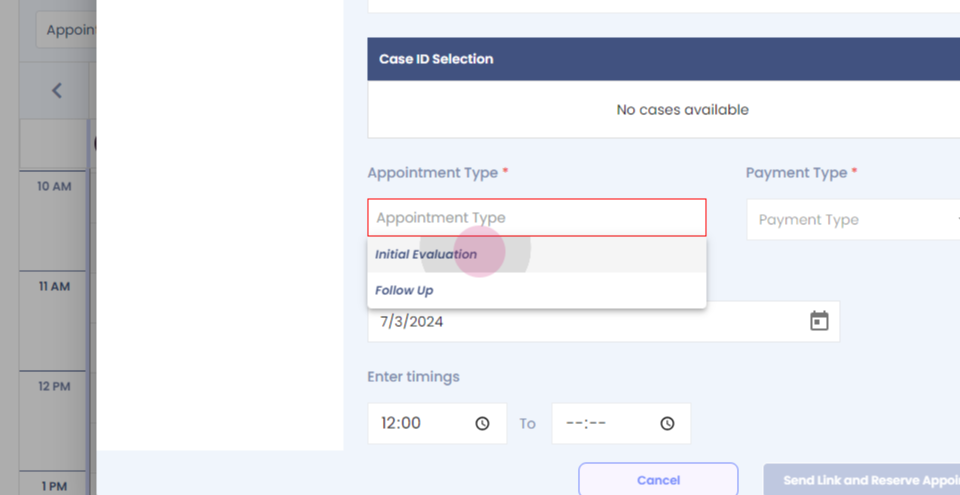
Step 6:
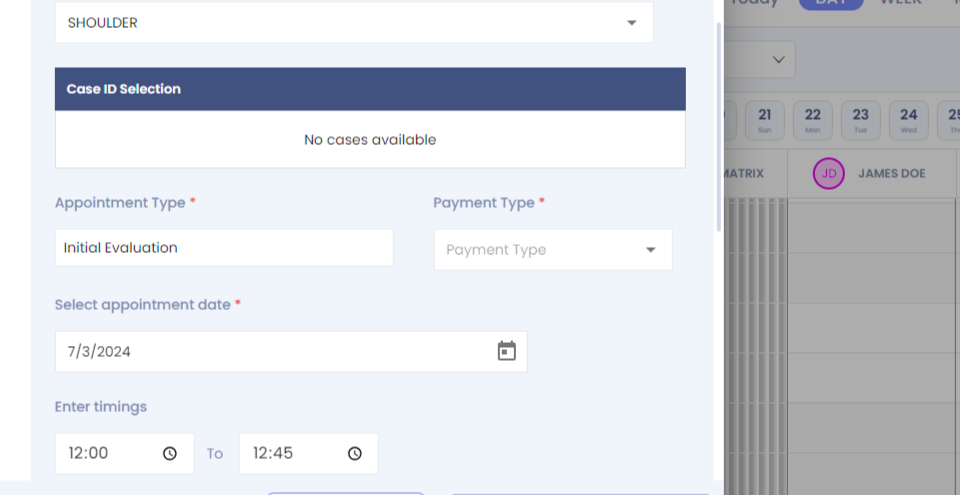
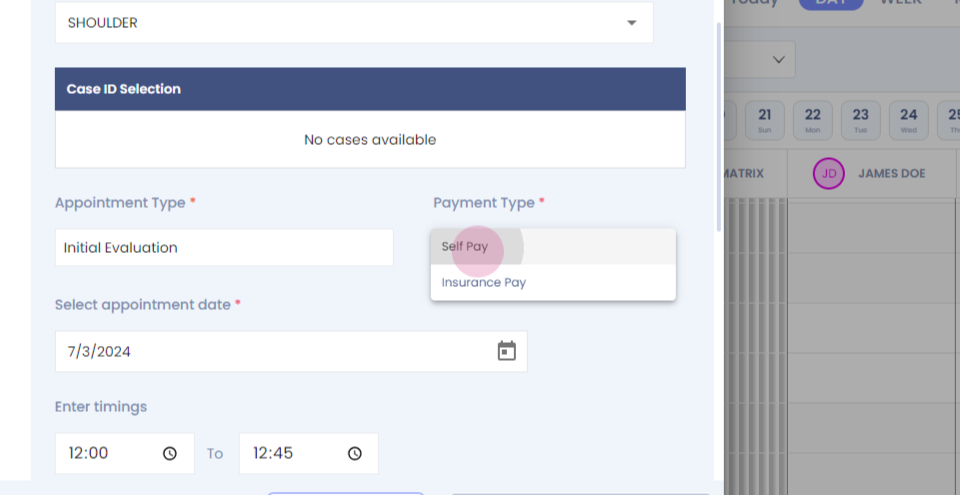
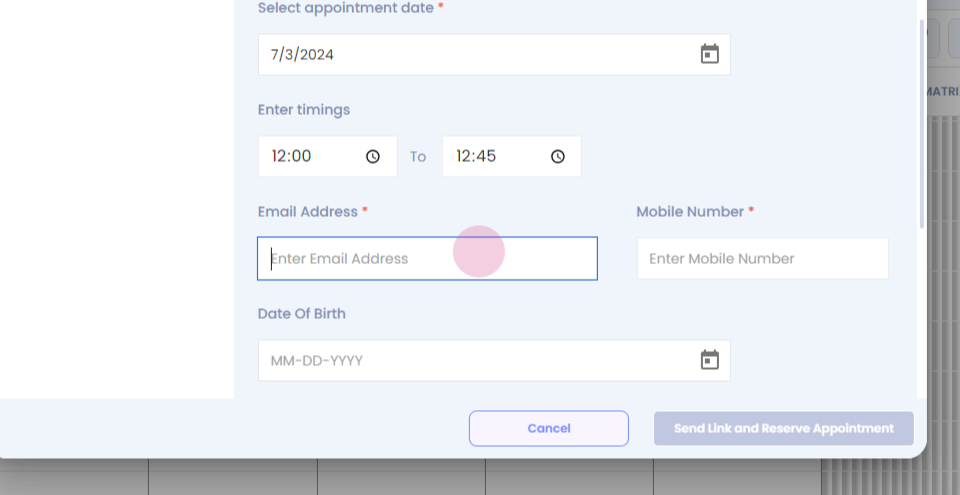
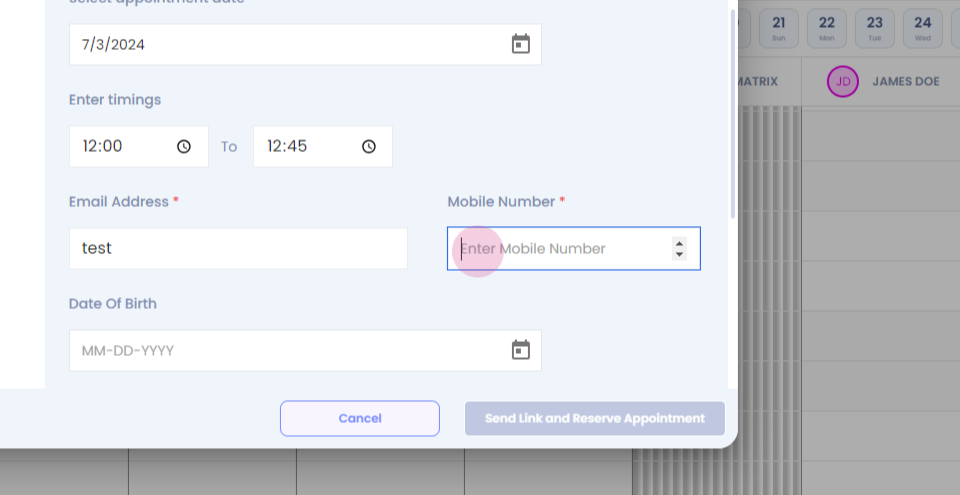
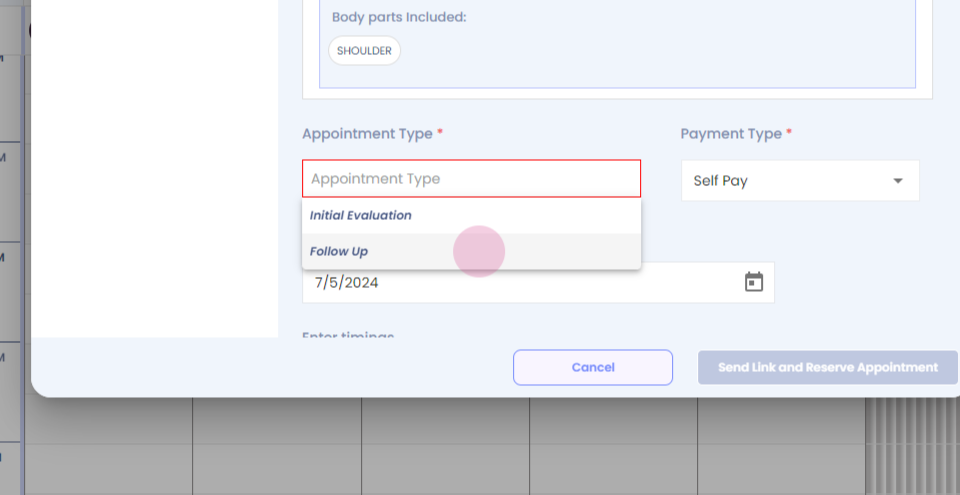
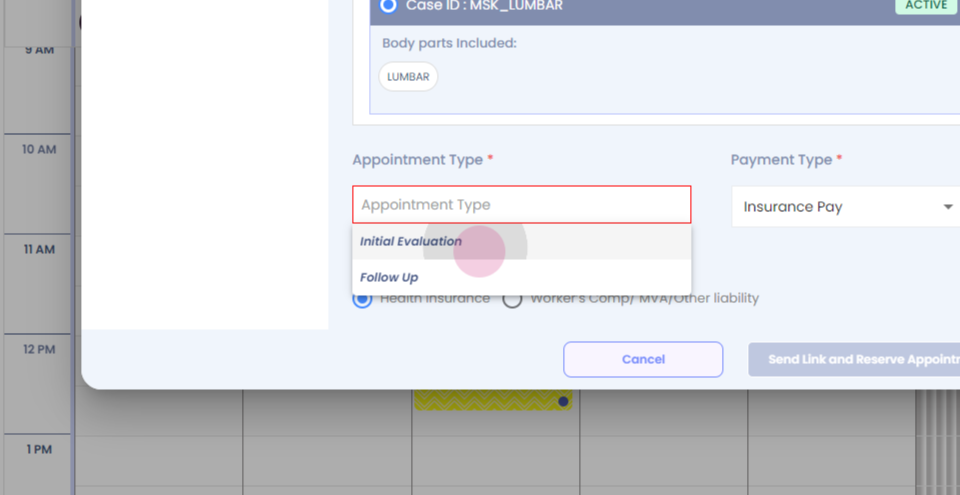
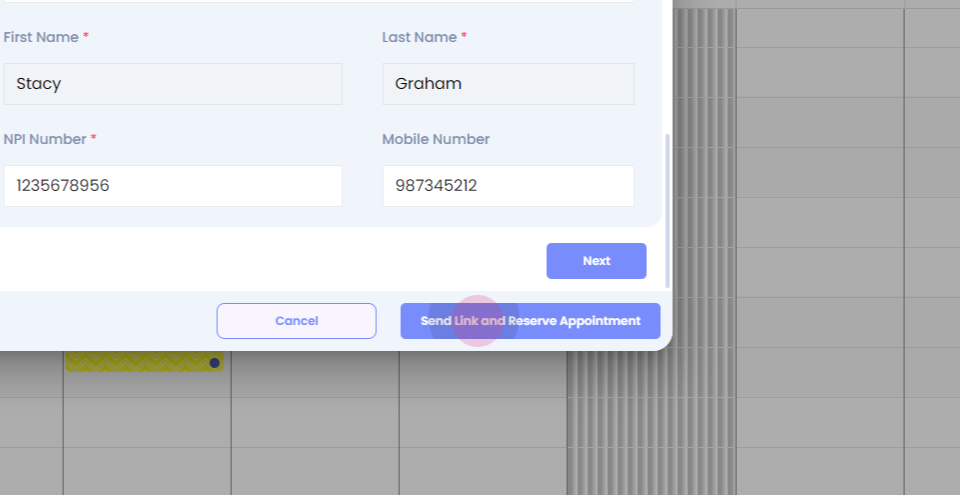
Step 7: Fill in the other mandatory details.
Step 8:
Step 9:
Step 10:
Step 11:
Step 12:
Step 13:
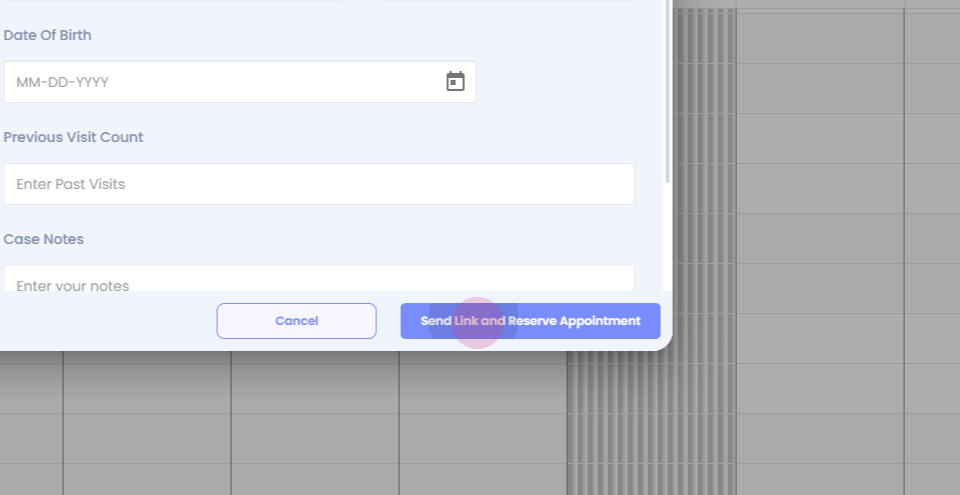
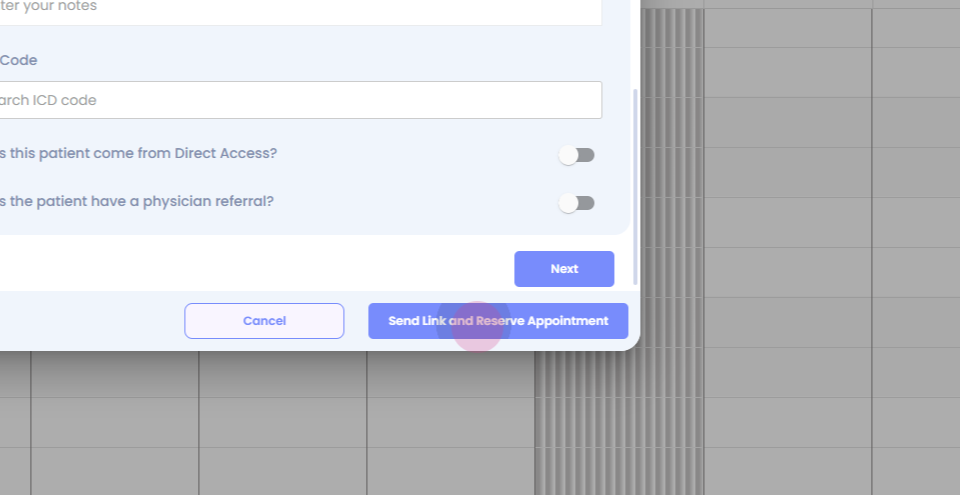
Step 14: Click on send link and reserve appointment.
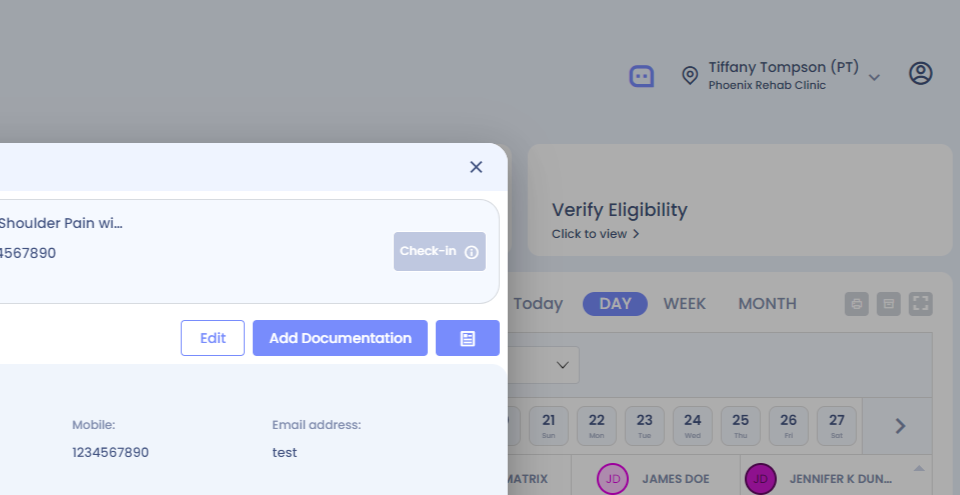
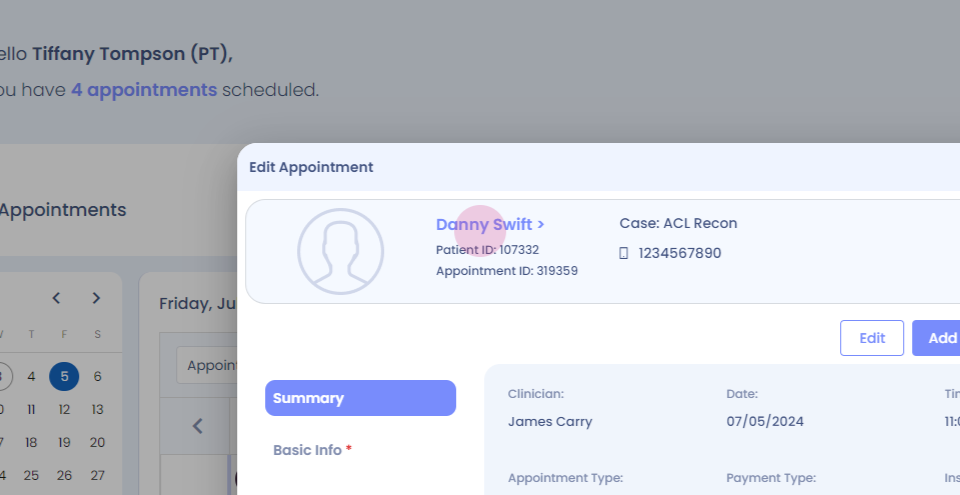
Step 15:
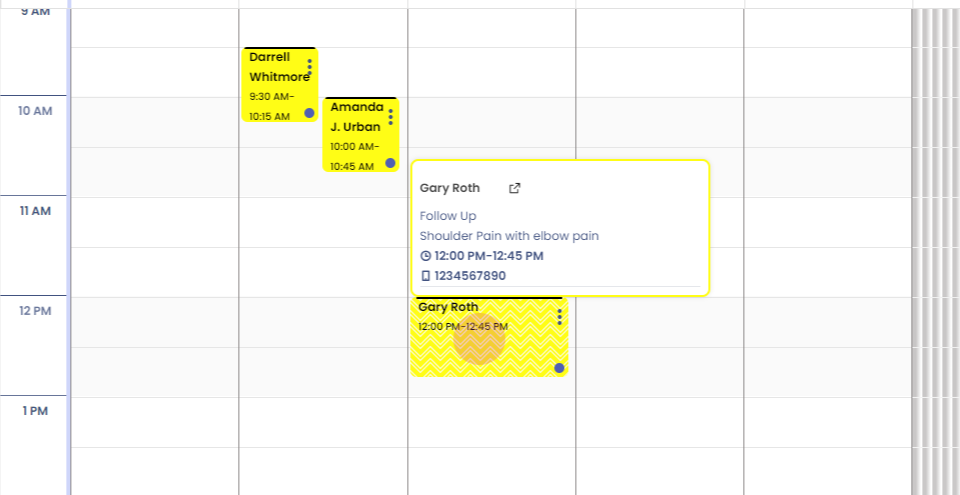
Step 16: You can see a new case has been registered for the patient.
Step 17:
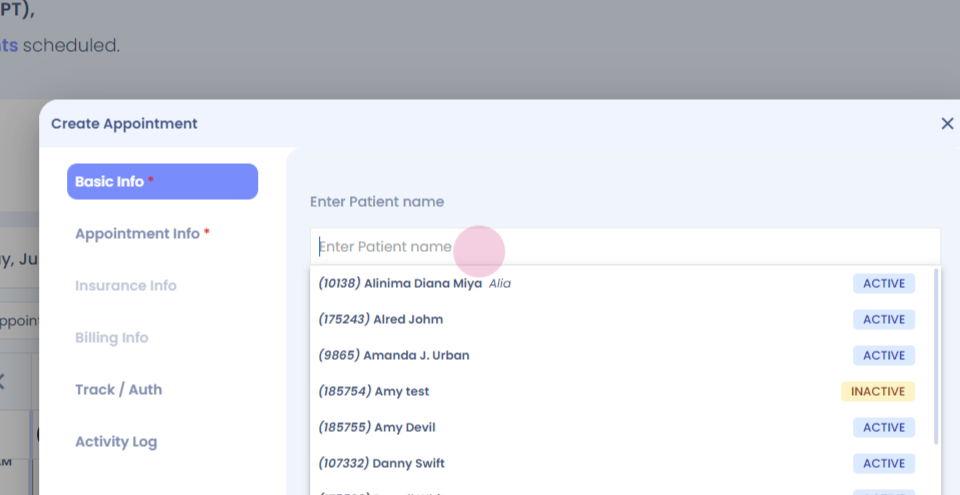
Step 18: To merge cases for a patient for an existing patient, left click.
Step 19:
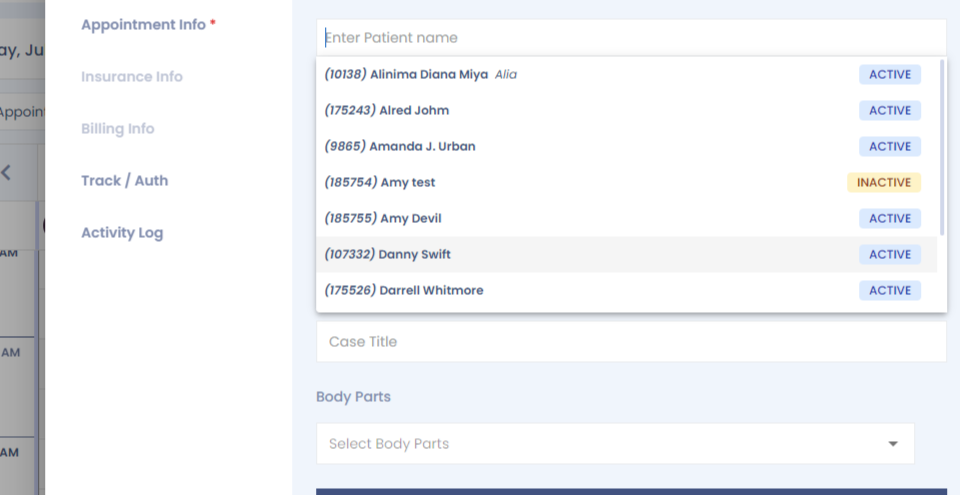
Step 20: Select the patient.
Step 21:
Step 22:
Step 23:
Step 24:
Step 25:
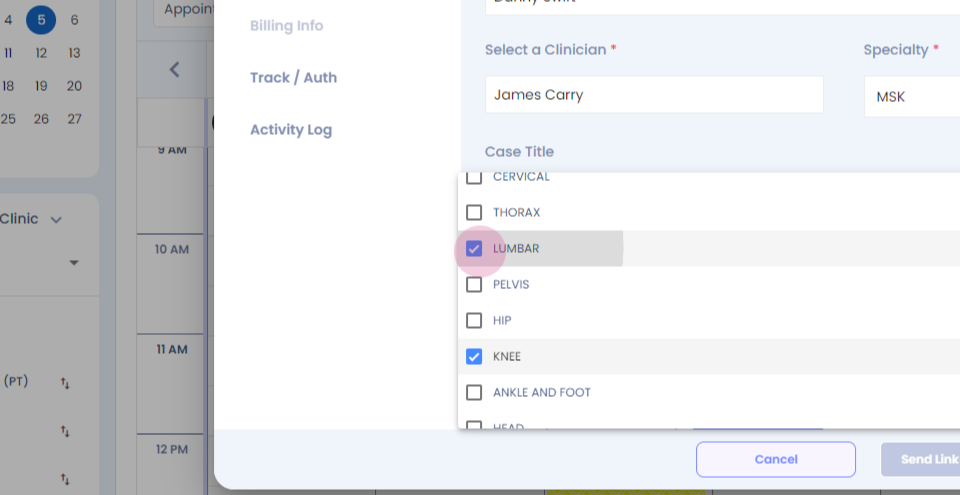
Step 26: Select the body part.
Step 27:
Step 28:
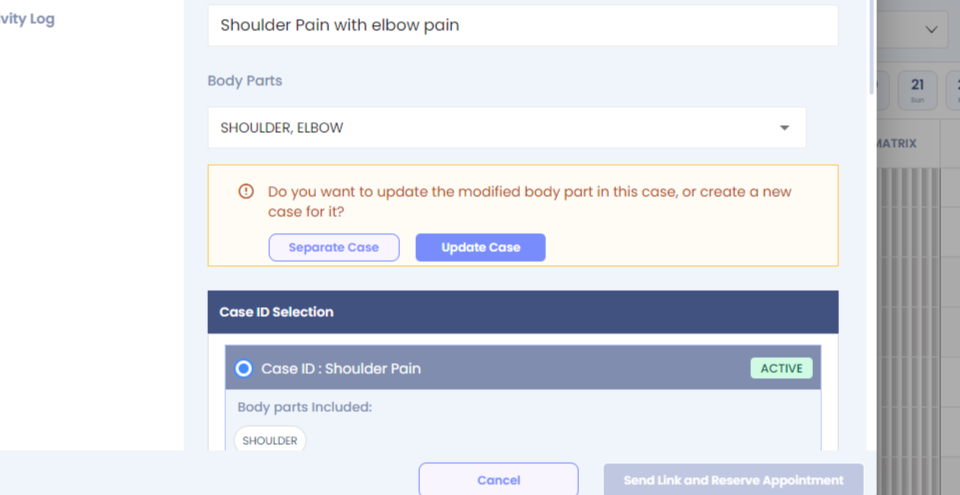
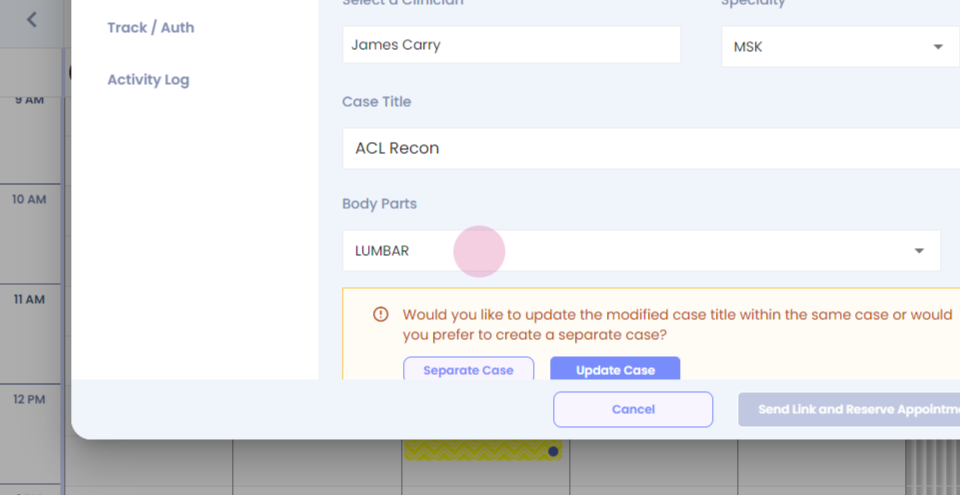
Step 29:
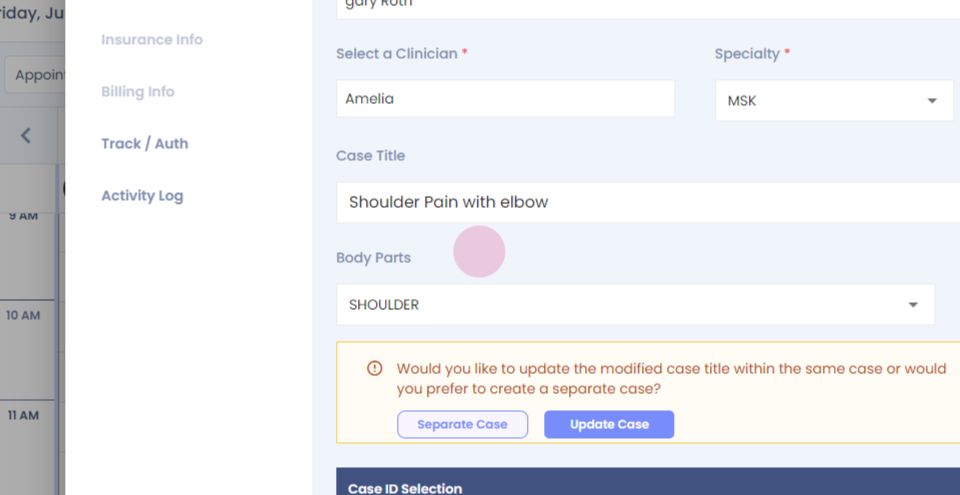
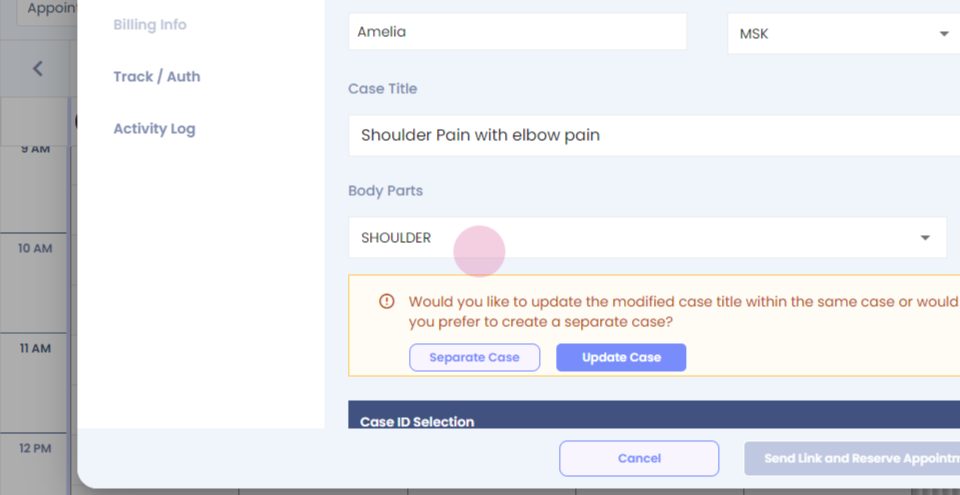
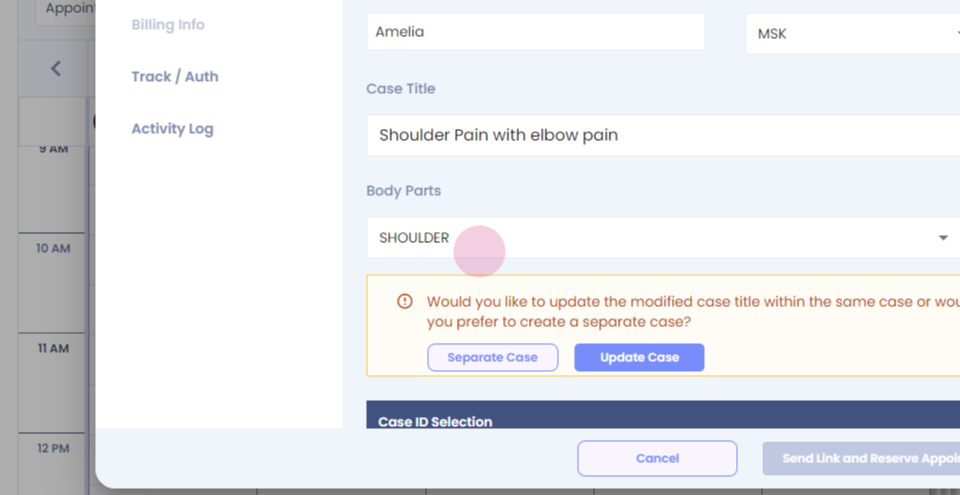
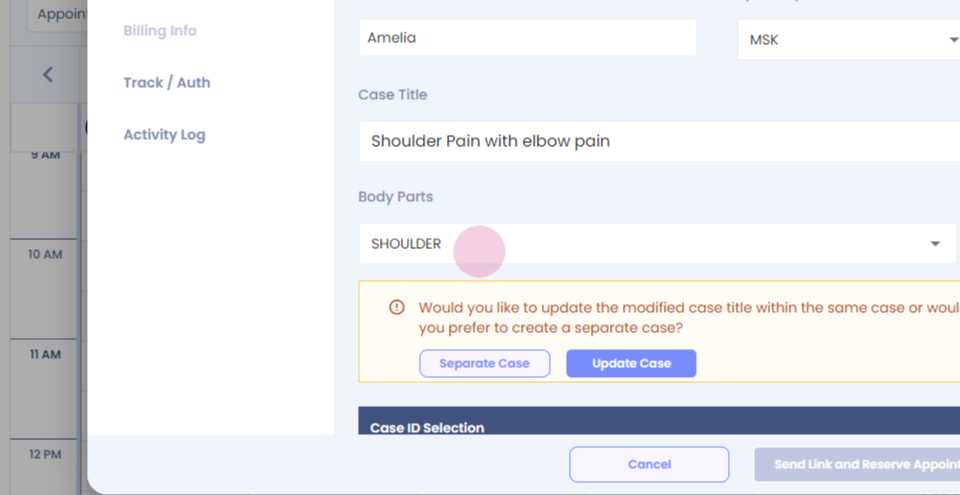
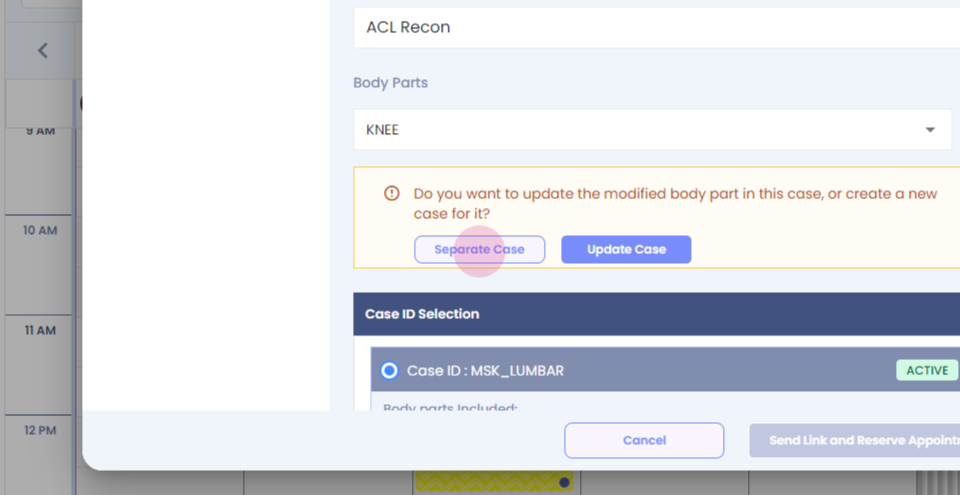
Step 30: The system asks you if you want to create a separate case or you want to update the case. Currently, we are updating the case.
Step 31:
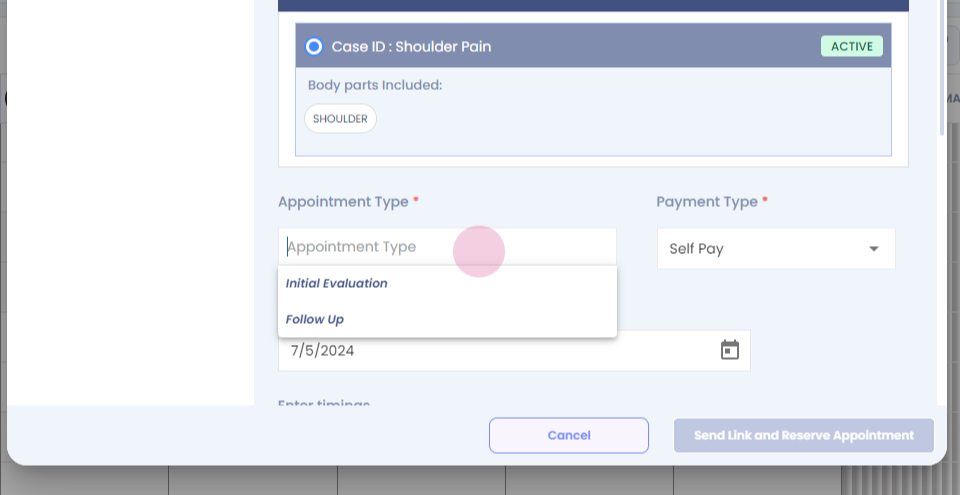
Step 32:
Step 33: Fill in the mandatory details. Click on send link and reserve appointment.
Step 34: When you view the patient, you will be able to see that the case has been updated, And you can see the body parts have been updated.
Step 35:
Step 36:
Step 37: To merge cases for an existing patient.
Step 38:
Step 39: Select the patient.
Step 40:
Step 41:
Step 42:
Step 43:
Step 44: To create a new case for an existing patient, left click.
Step 45:
Step 46: Select the patient.
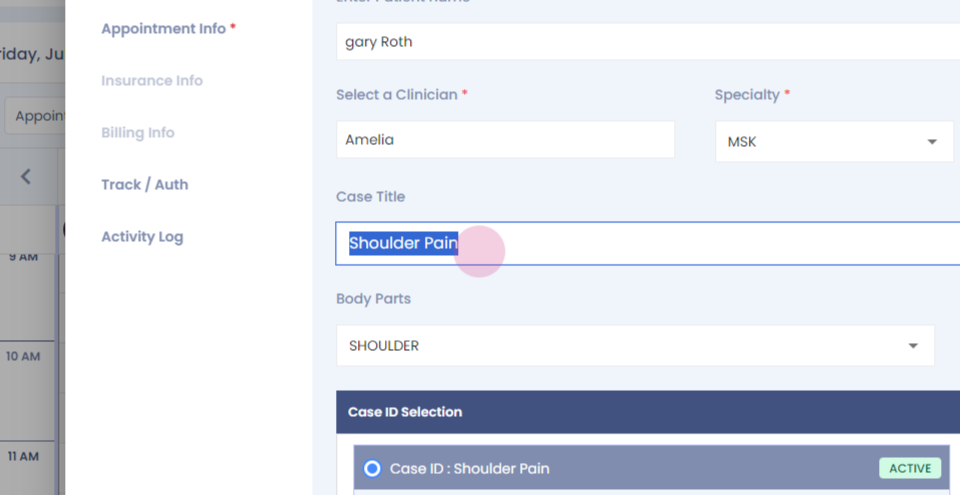
Step 47:
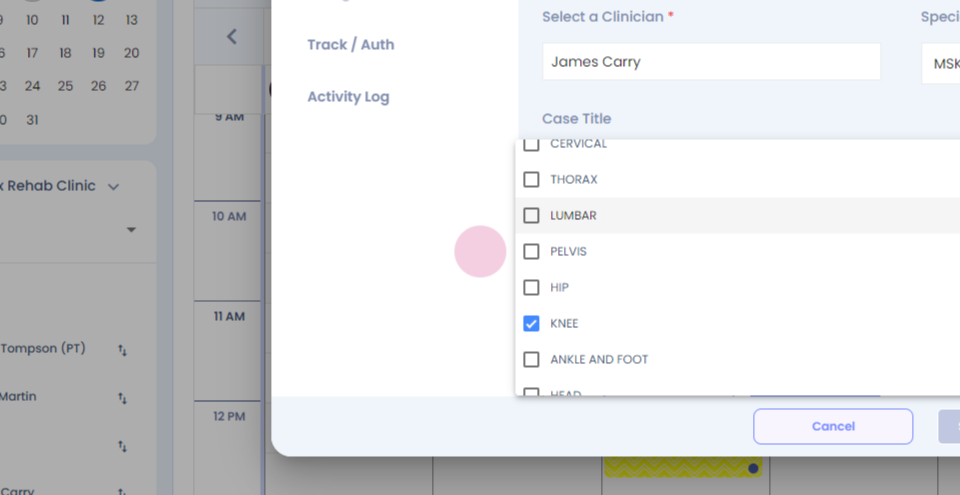
Step 48: Update the case title.
Step 49: Select the body part.
Step 50:
Step 51:
Step 52: Click separate case.
Step 53:
Step 54: Fill in the other mandatory information.
Step 55: Click on sending a reserve appointment.
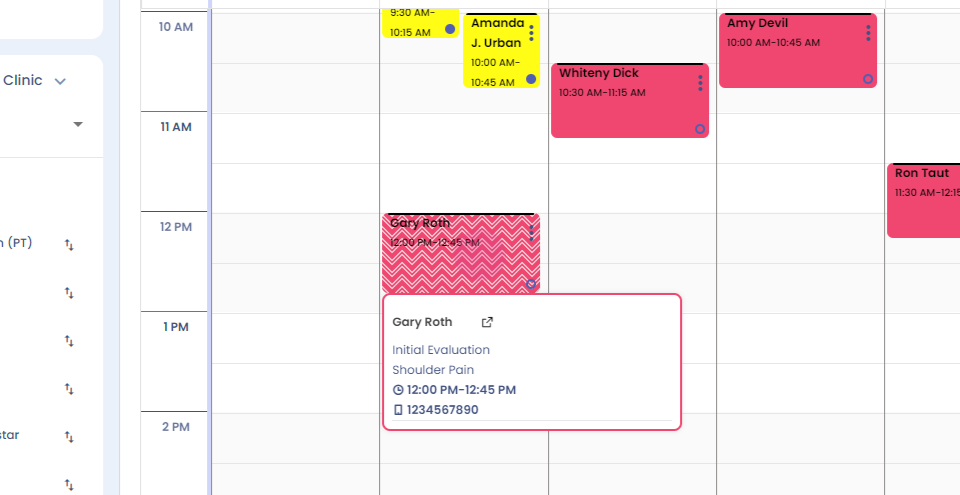
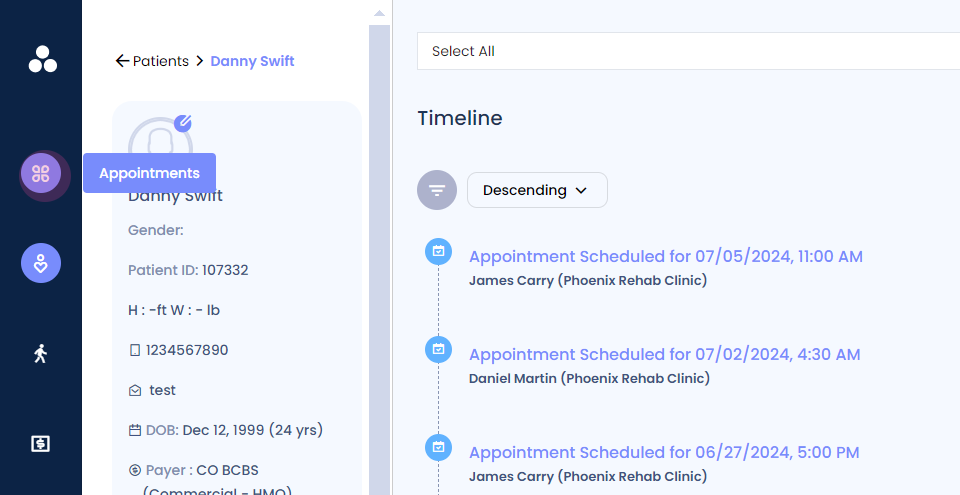
Step 56: You would have created a new case for an existing patient.
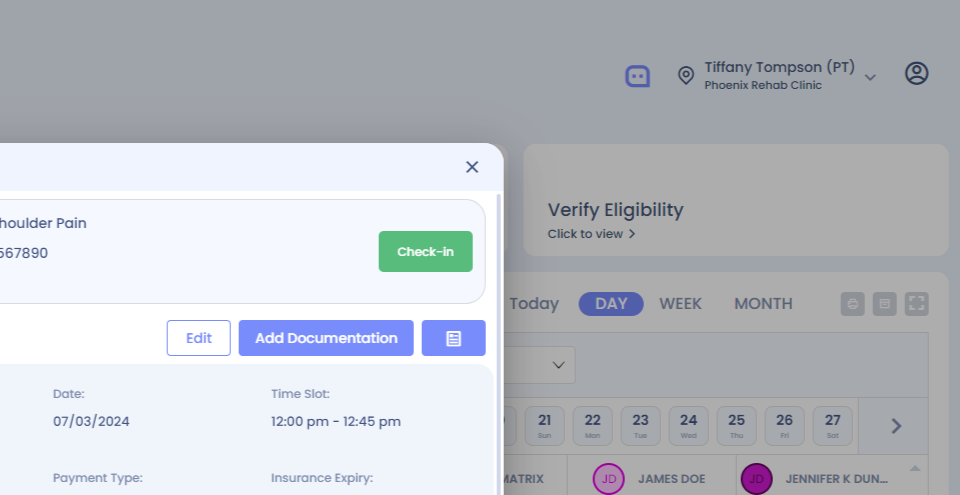
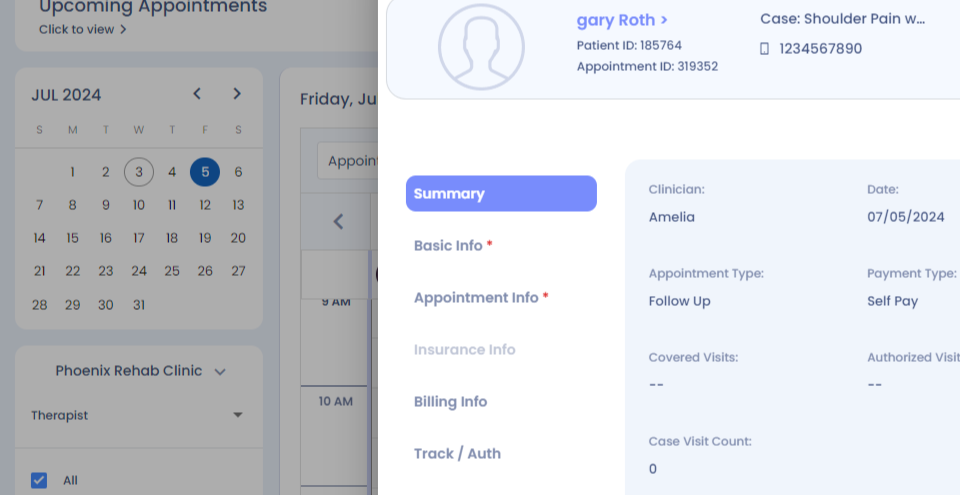
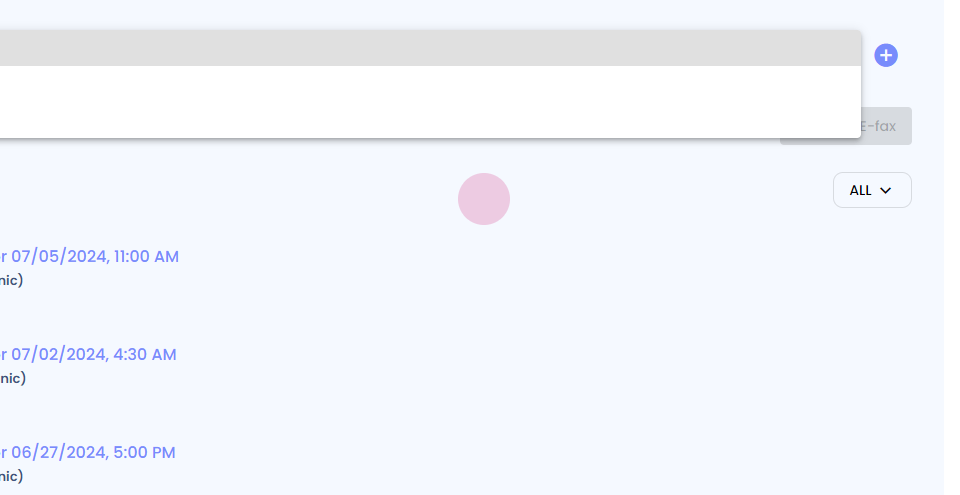
Step 57: To view the cases of the patient, click on the patient's name.
Step 58: Click on the drop down here.
Step 59: You will be able to see the cases that are available for an existing patients.
Step 60: