Discount Workflow
In this tutorial, you'll learn how to apply a discount to all appointments in a case more efficiently.
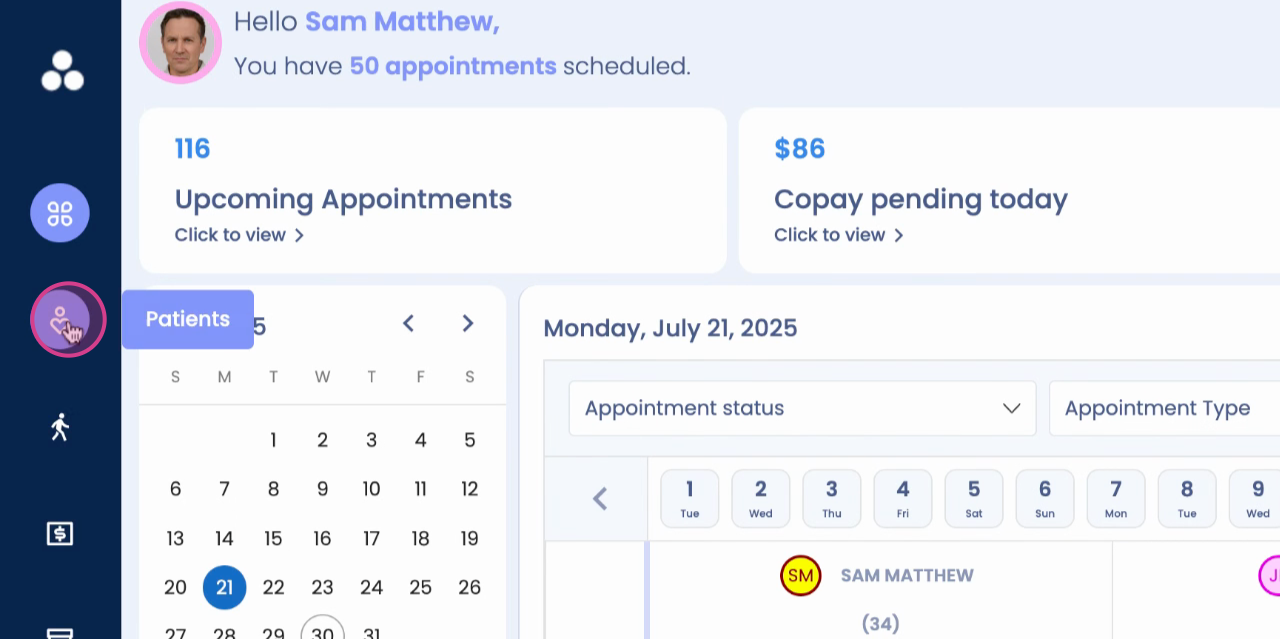
Step 1: Navigate to the patient profile.
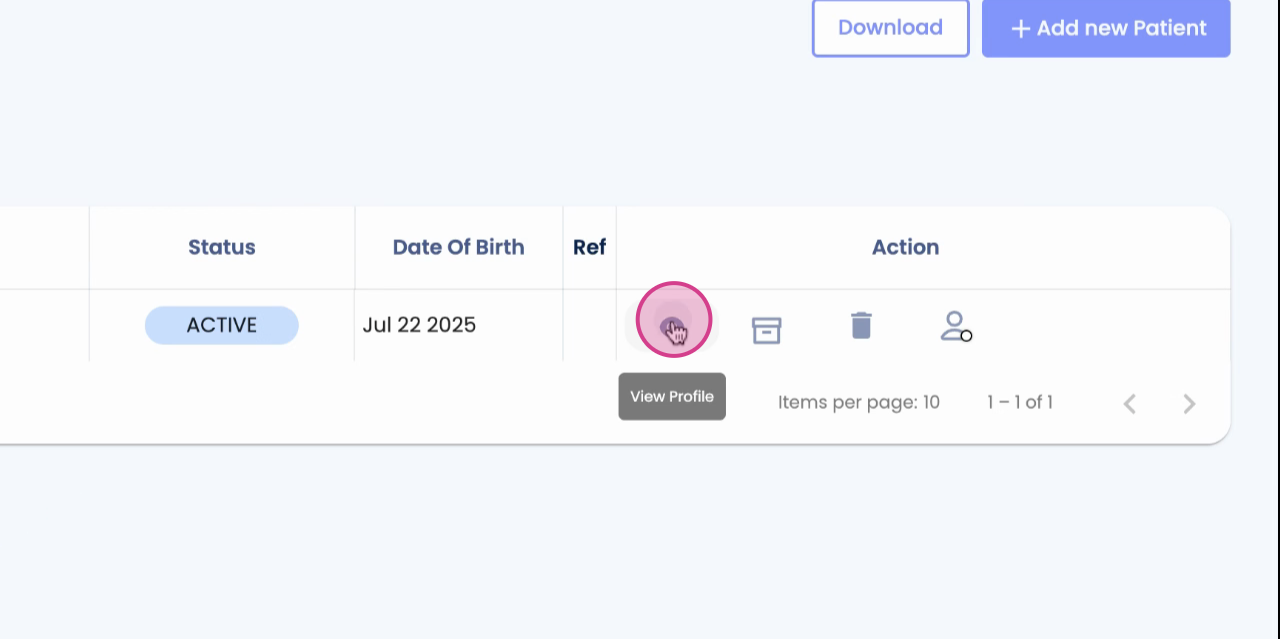
Step 2: Click on View Profile.
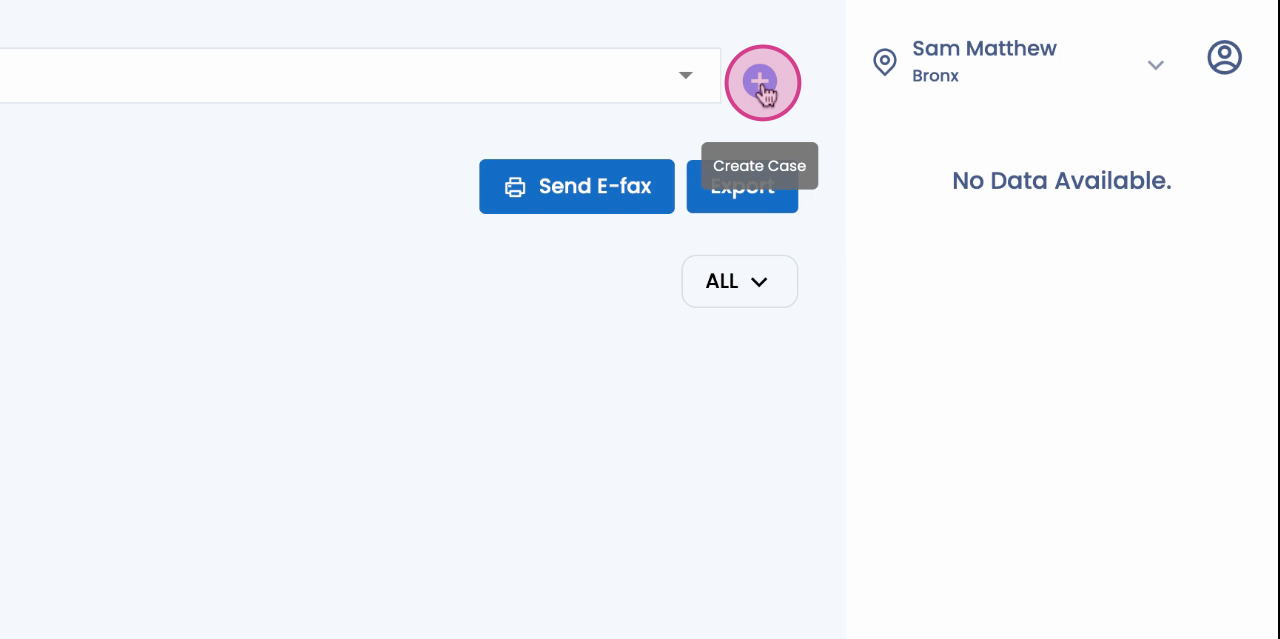
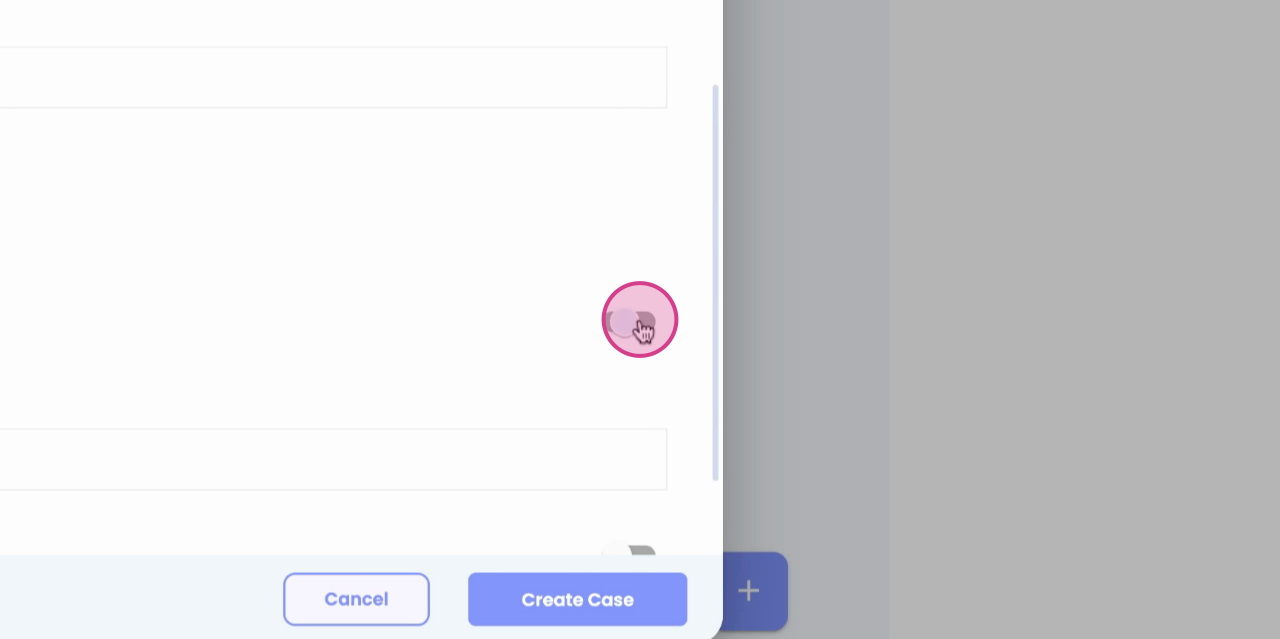
Step 3: Click to create a new case.
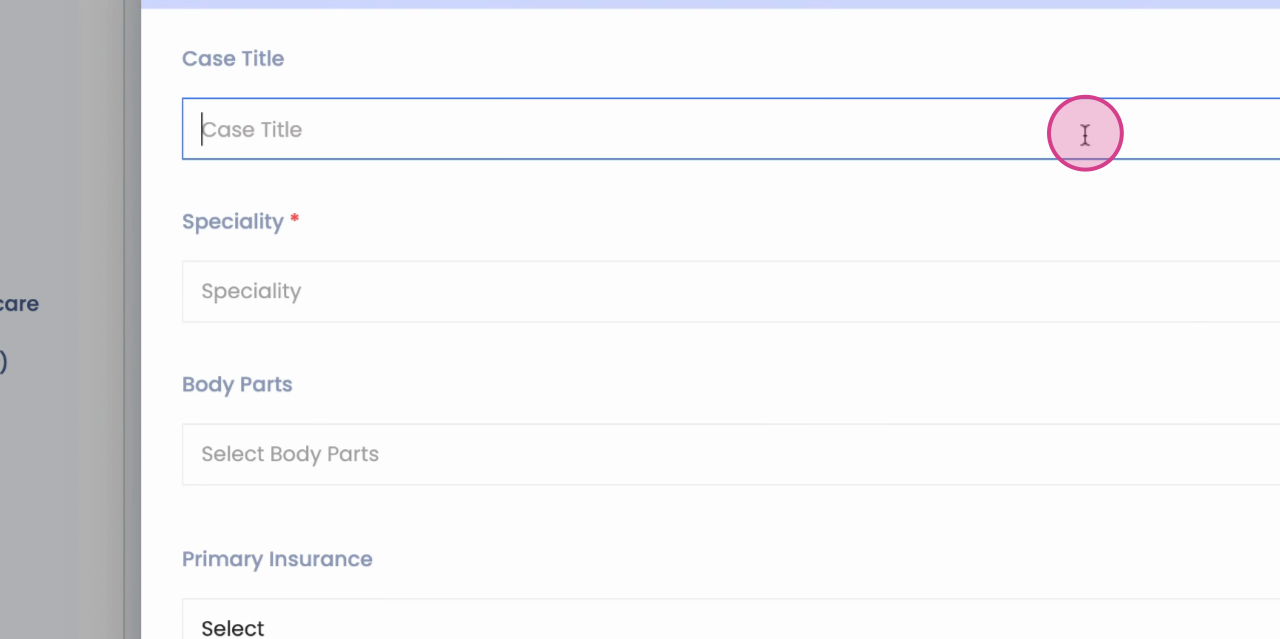
Step 4: Fill in the mandatory information for the case.
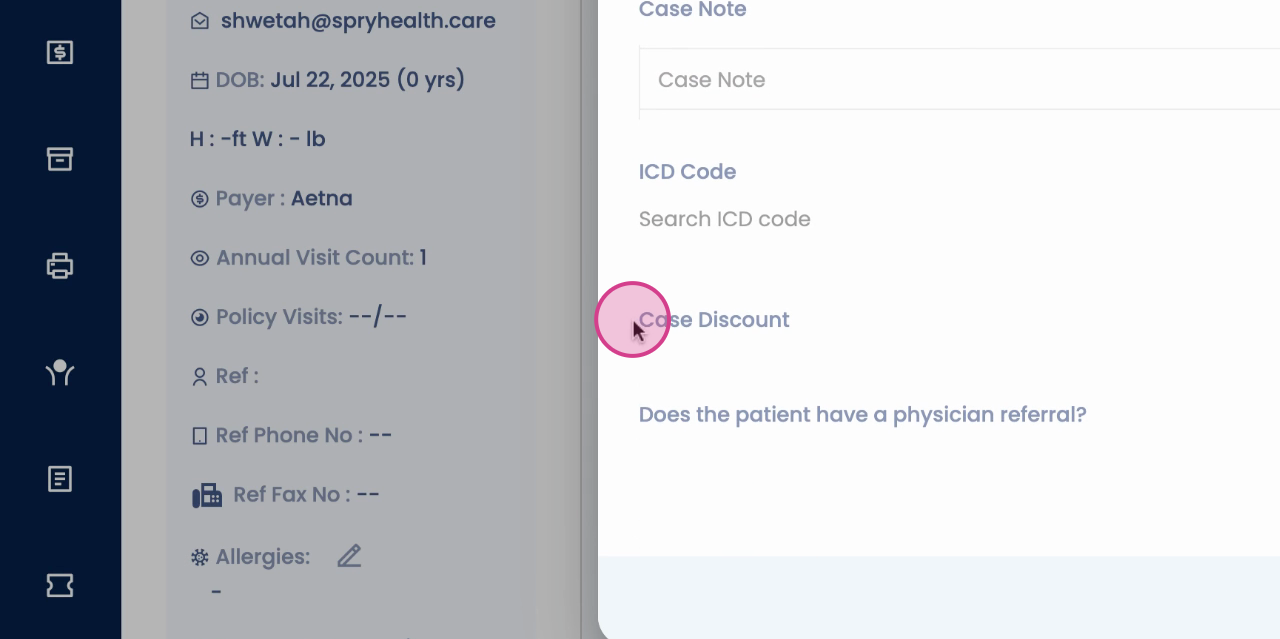
Step 5: After filling in the mandatory information, locate the case discount toggle.
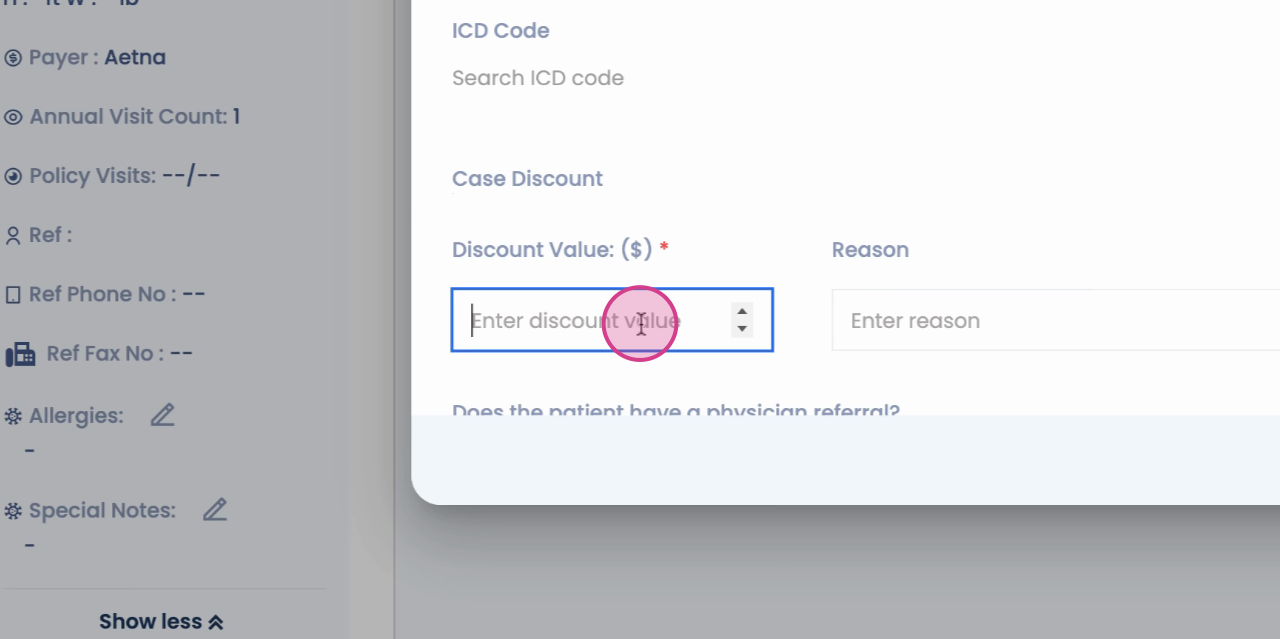
Step 6: Enter the discount value.
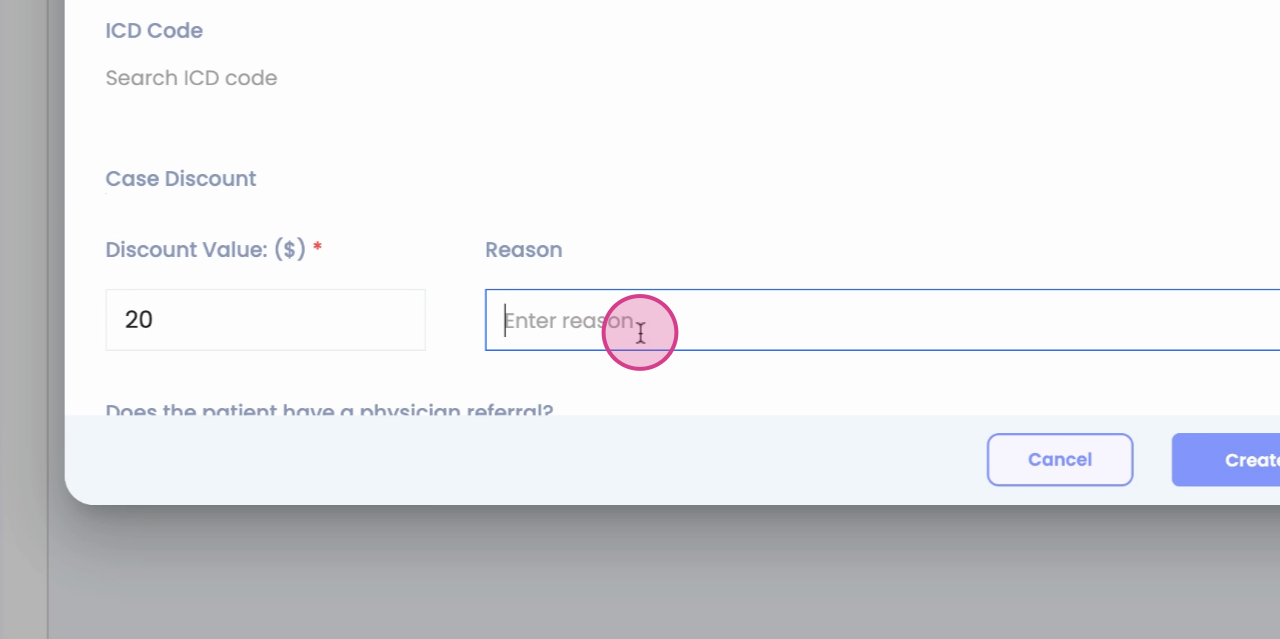
Step 7: Provide a reason for the discount.
Step 8: Click on Create Case. This action creates your case with the applied discount.

Step 9: To view the discount in the billing section, navigate to the Timeline.
Step 10: Click on Billing.
Step 11: Click on Charge id to view the amount of the discount.


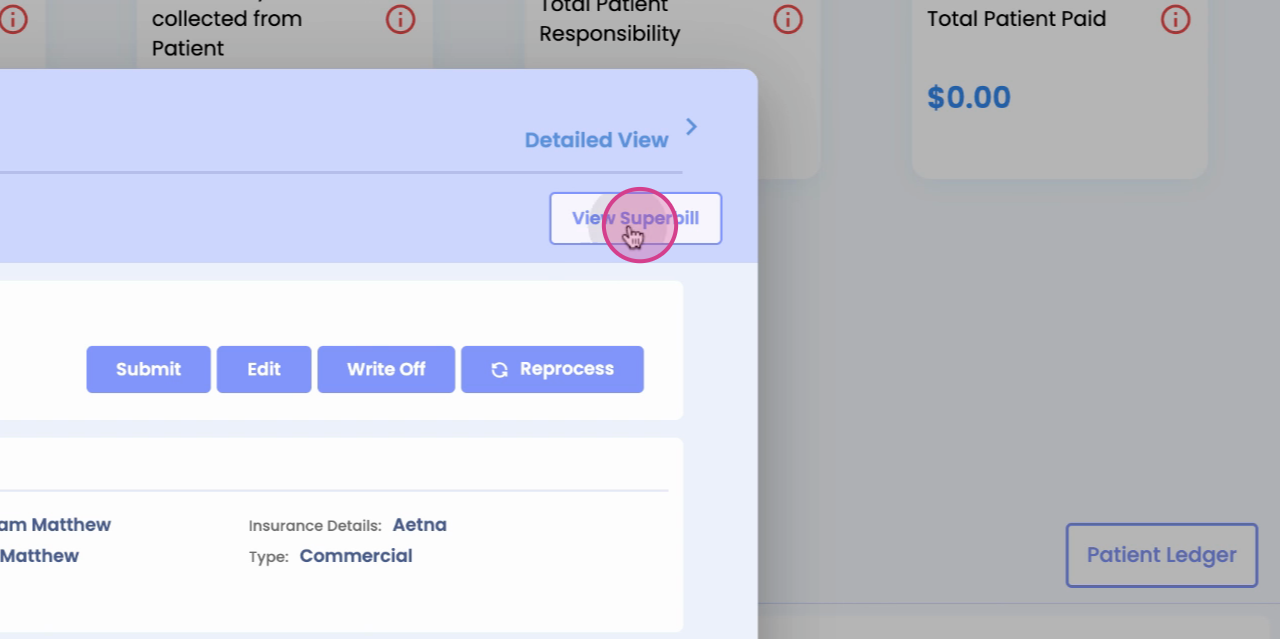
Step 12: Click on View Superbuild to see the total charge discount and patient balance. This is where you'll see the applied discount.
And that's it! You've successfully applied a discount to all appointments in a case.