
Google Calendar Sync
Sync Your SPRY Appointments with Google Calendar
Spry’s Google Calendar integration keeps your clinic schedule in sync with your personal or work calendars—no manual entry and no risk of double-booking. Access your appointments from any device and get notifications on new bookings. Here’s how it works and how to set it up.
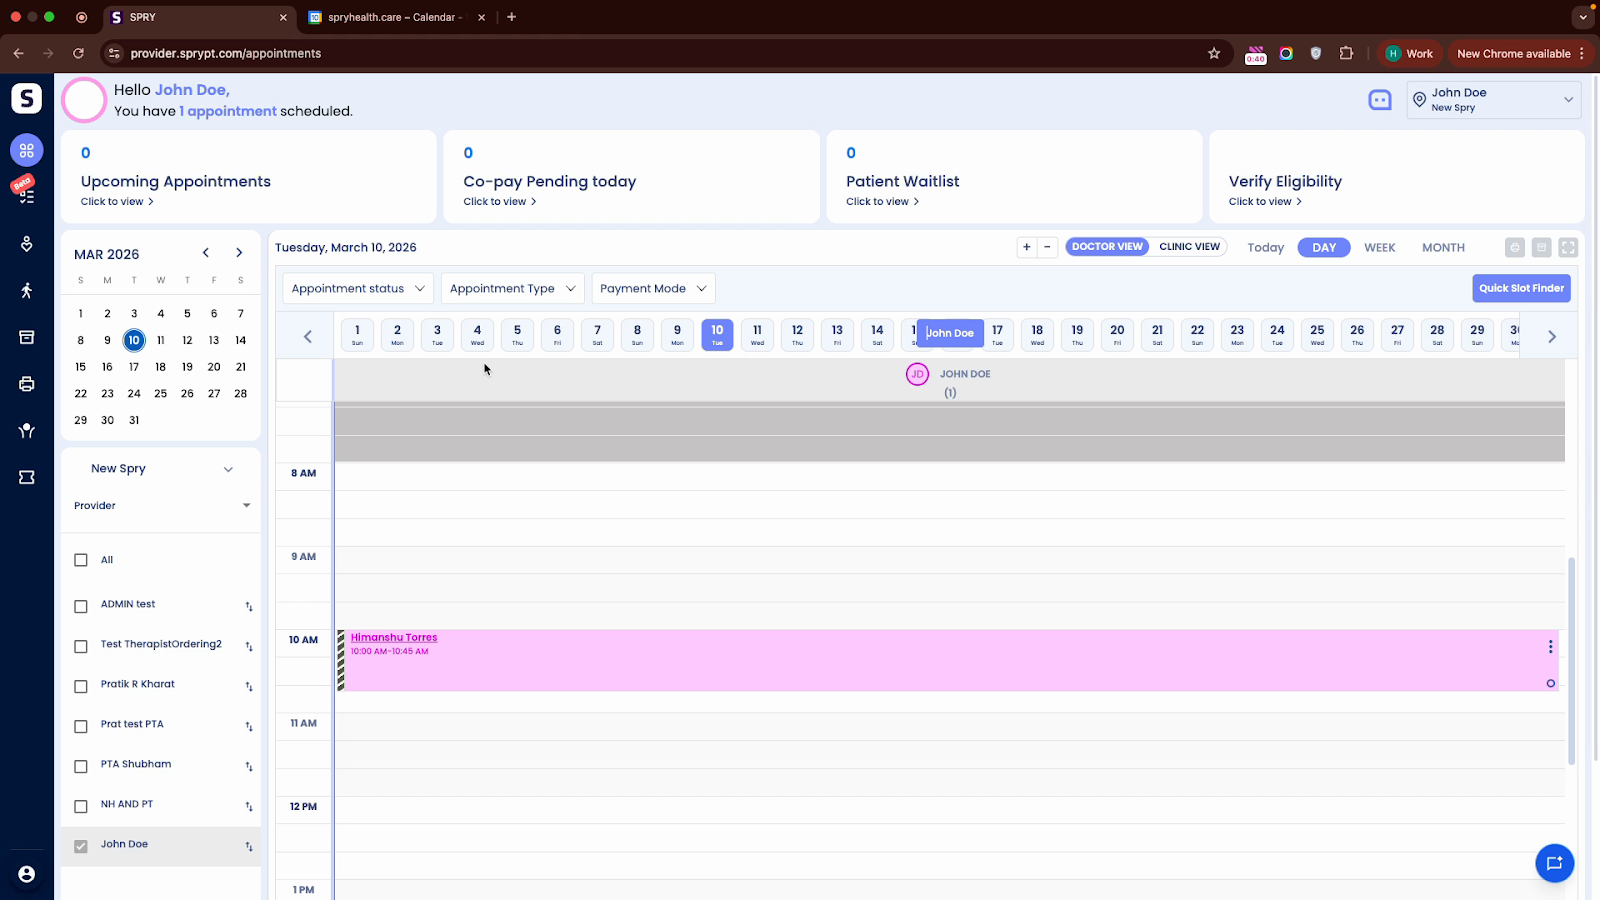
Step 1: Open My Profile in Spry.
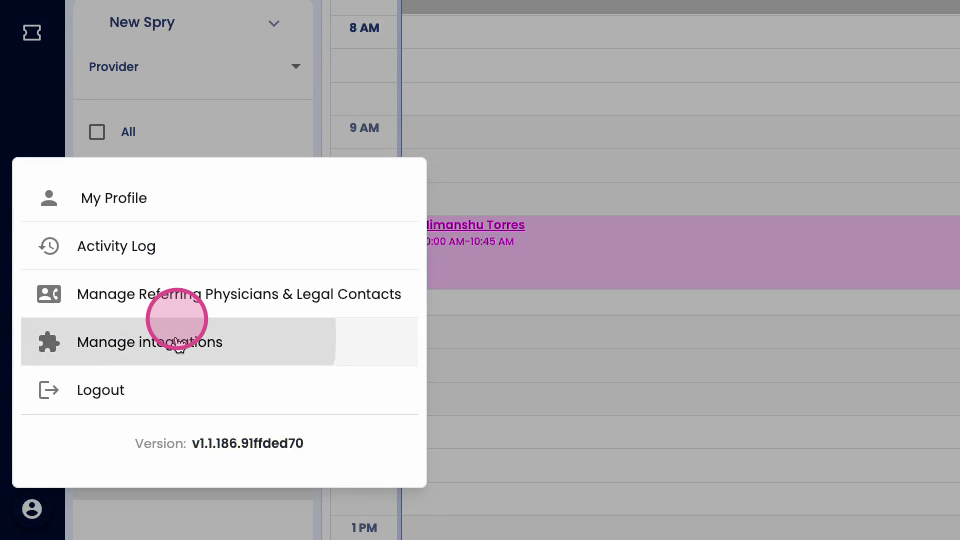
Step 2: Click Manage Integration.
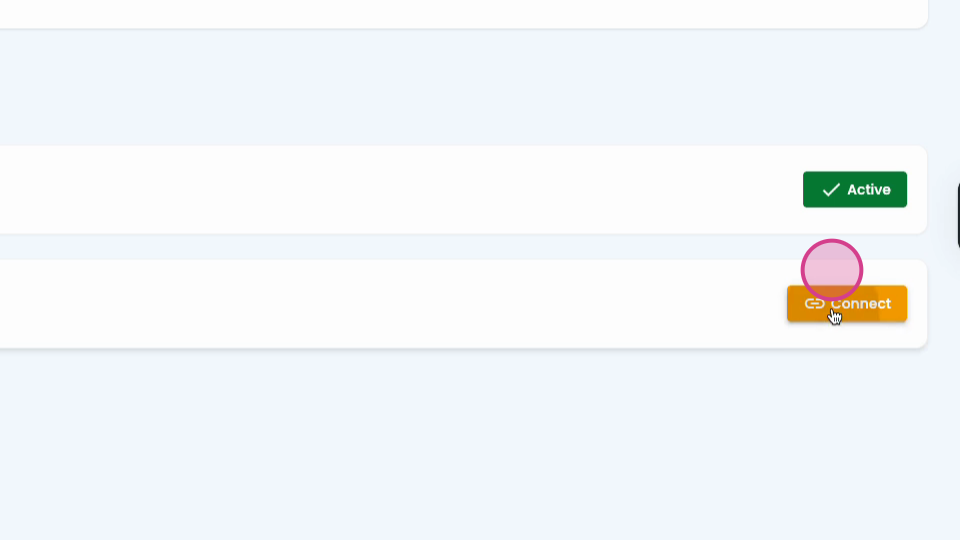
Step 3: Under Google Integration, find Google Calendar and select Connect.
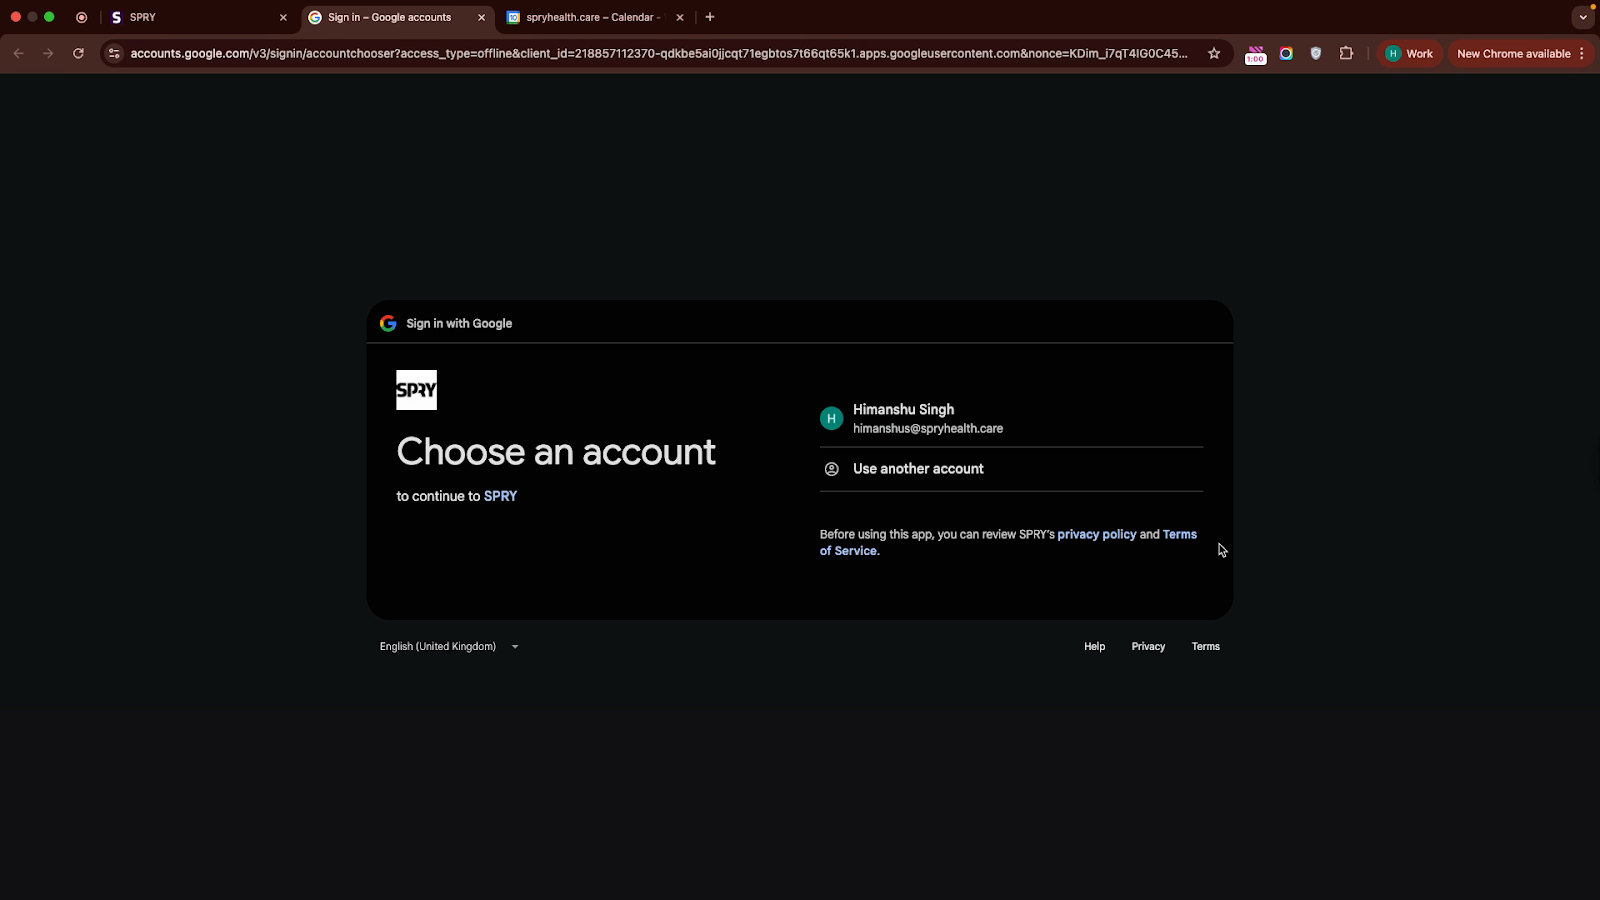
Step 4: Sign in with your Google account to authenticate the connection.
Step 5: Choose your sync option.
- Sync Spry appointments to your main Google Calendar
- Or, create a separate Google Calendar to keep your clinical schedule organized
Create a Separate Google Calendar for Spry Appointments
Keep your clinic appointments separate from personal events by creating a dedicated Google Calendar.
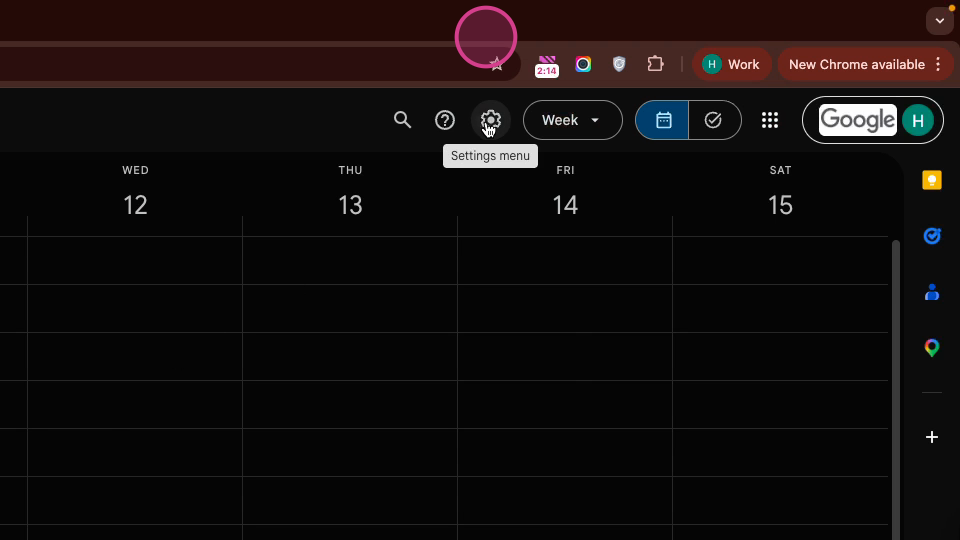
Step 1: Open Google Calendar Settings.
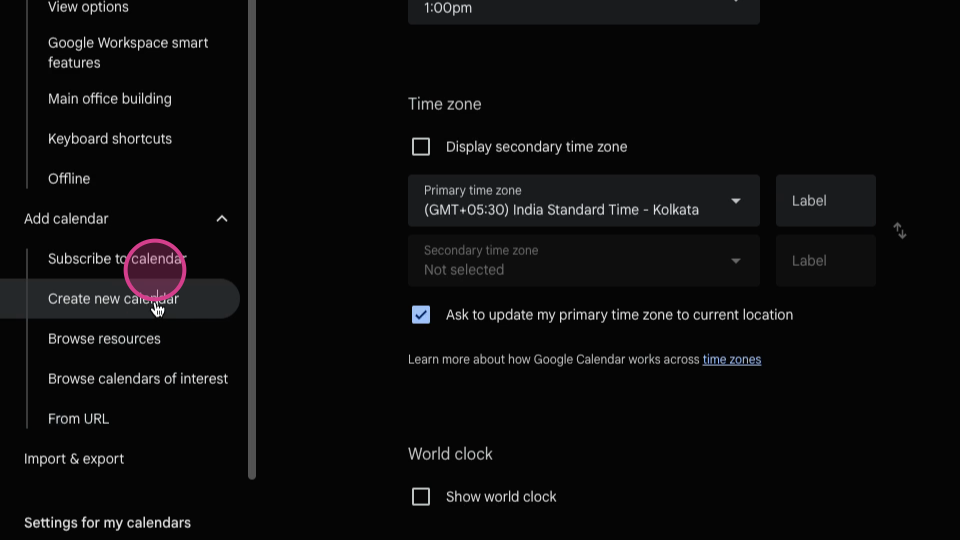
Step 2: Select Add Calendar, then Create New Calendar.
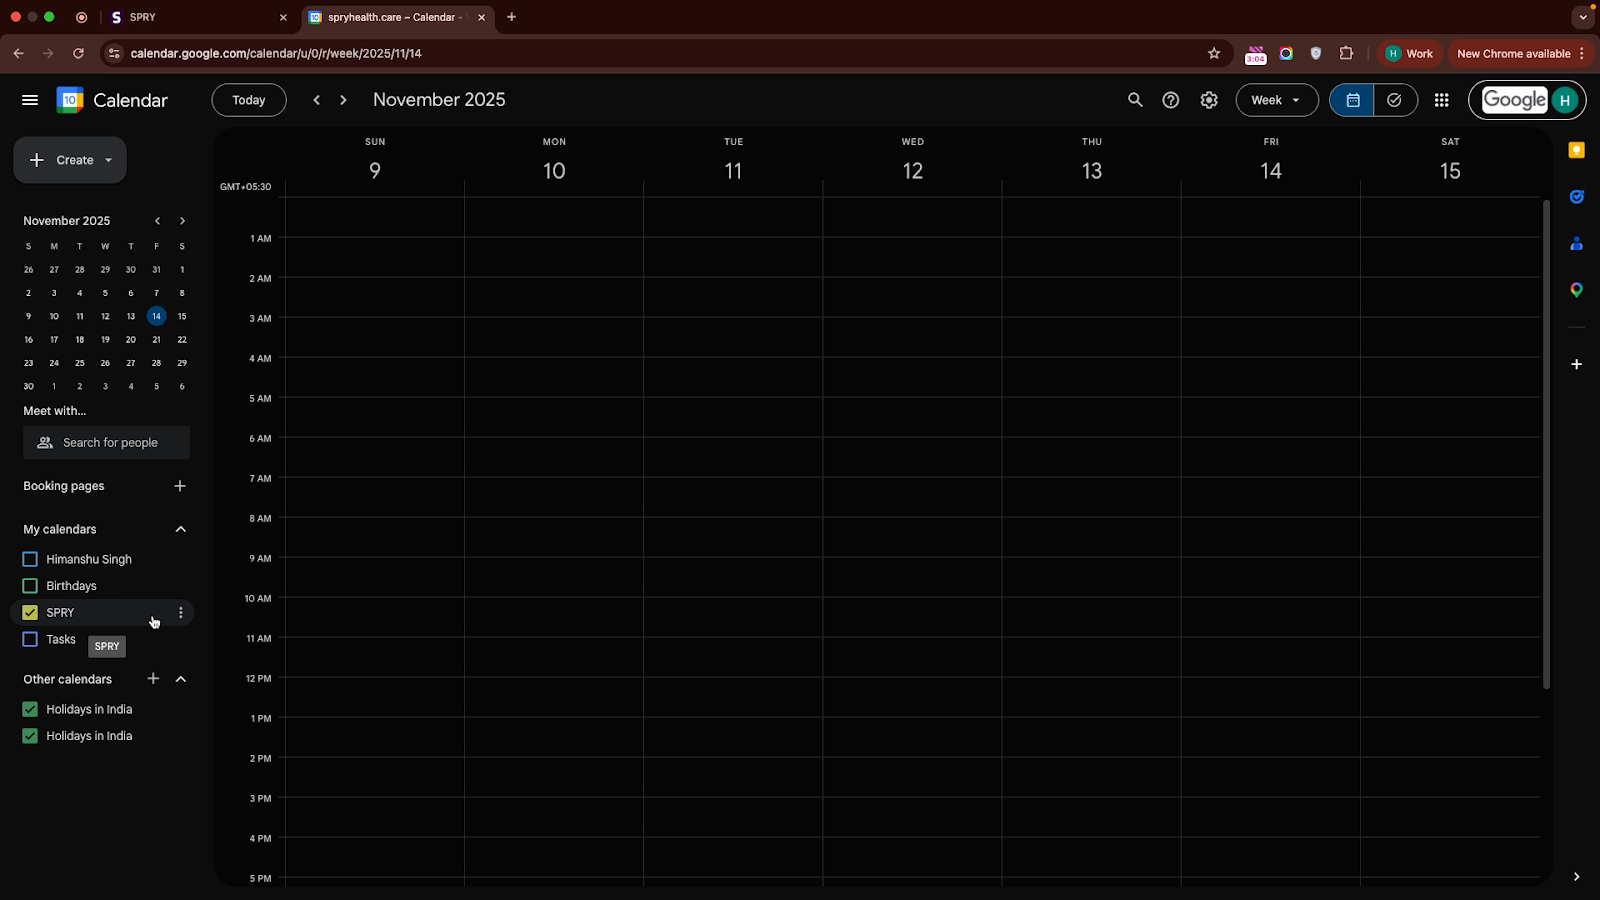
Step 3: Find the new calendar under My Calendars.
Open its Settings.
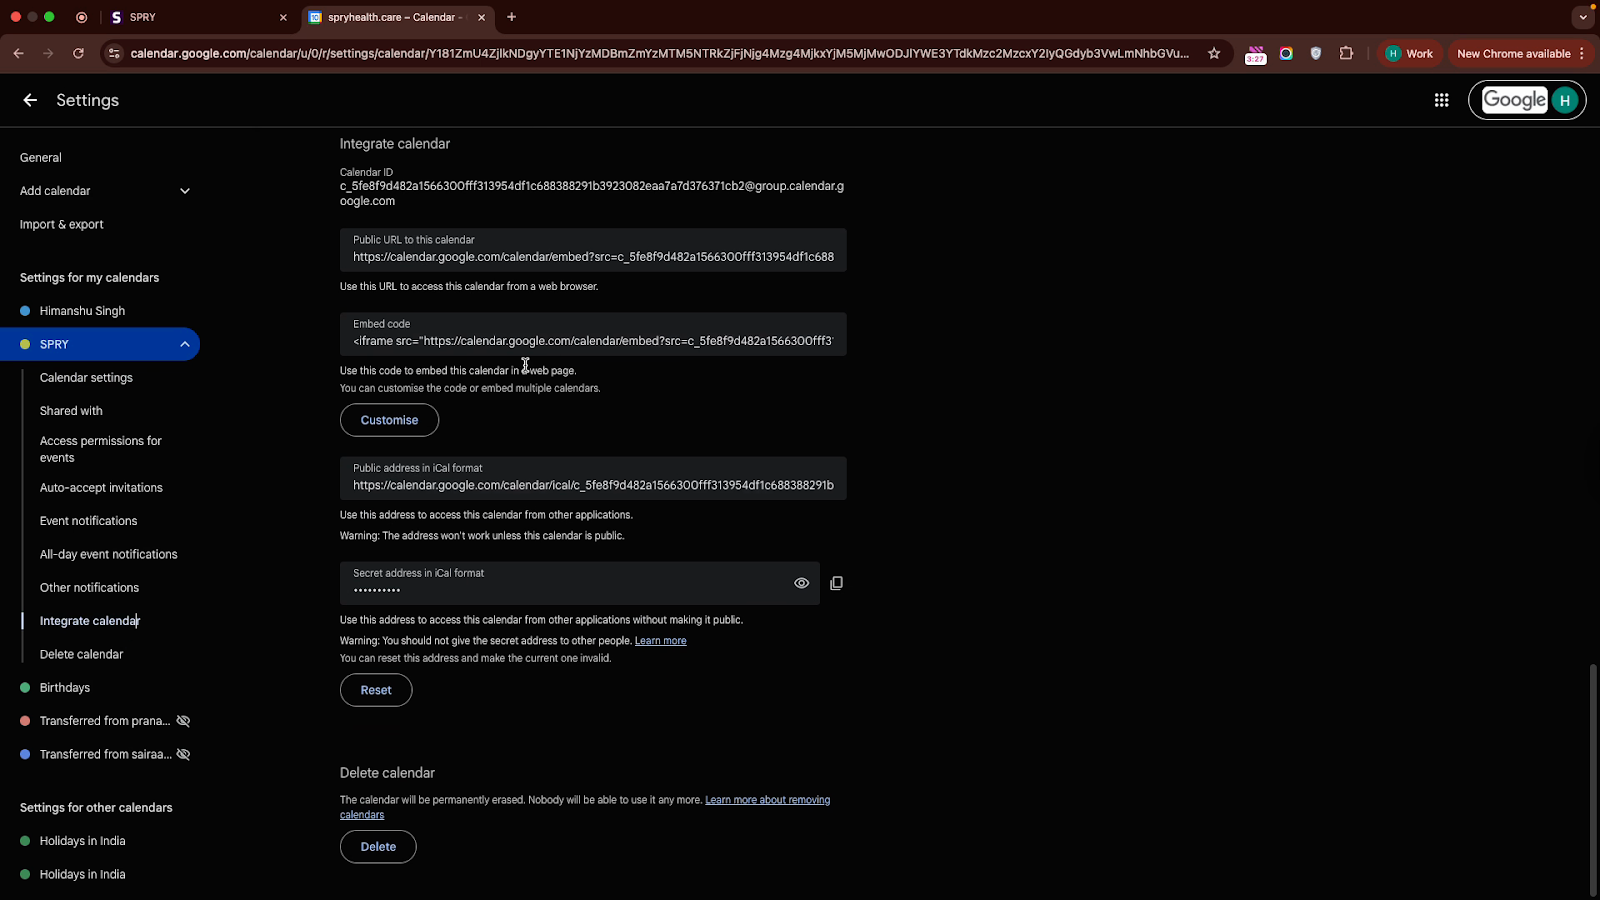
Step 4: Go to Integrate Calendar and copy the Calendar ID.
Step 5: Return to Spry and paste this Calendar ID into the Google Calendar integration field.
Click Save.
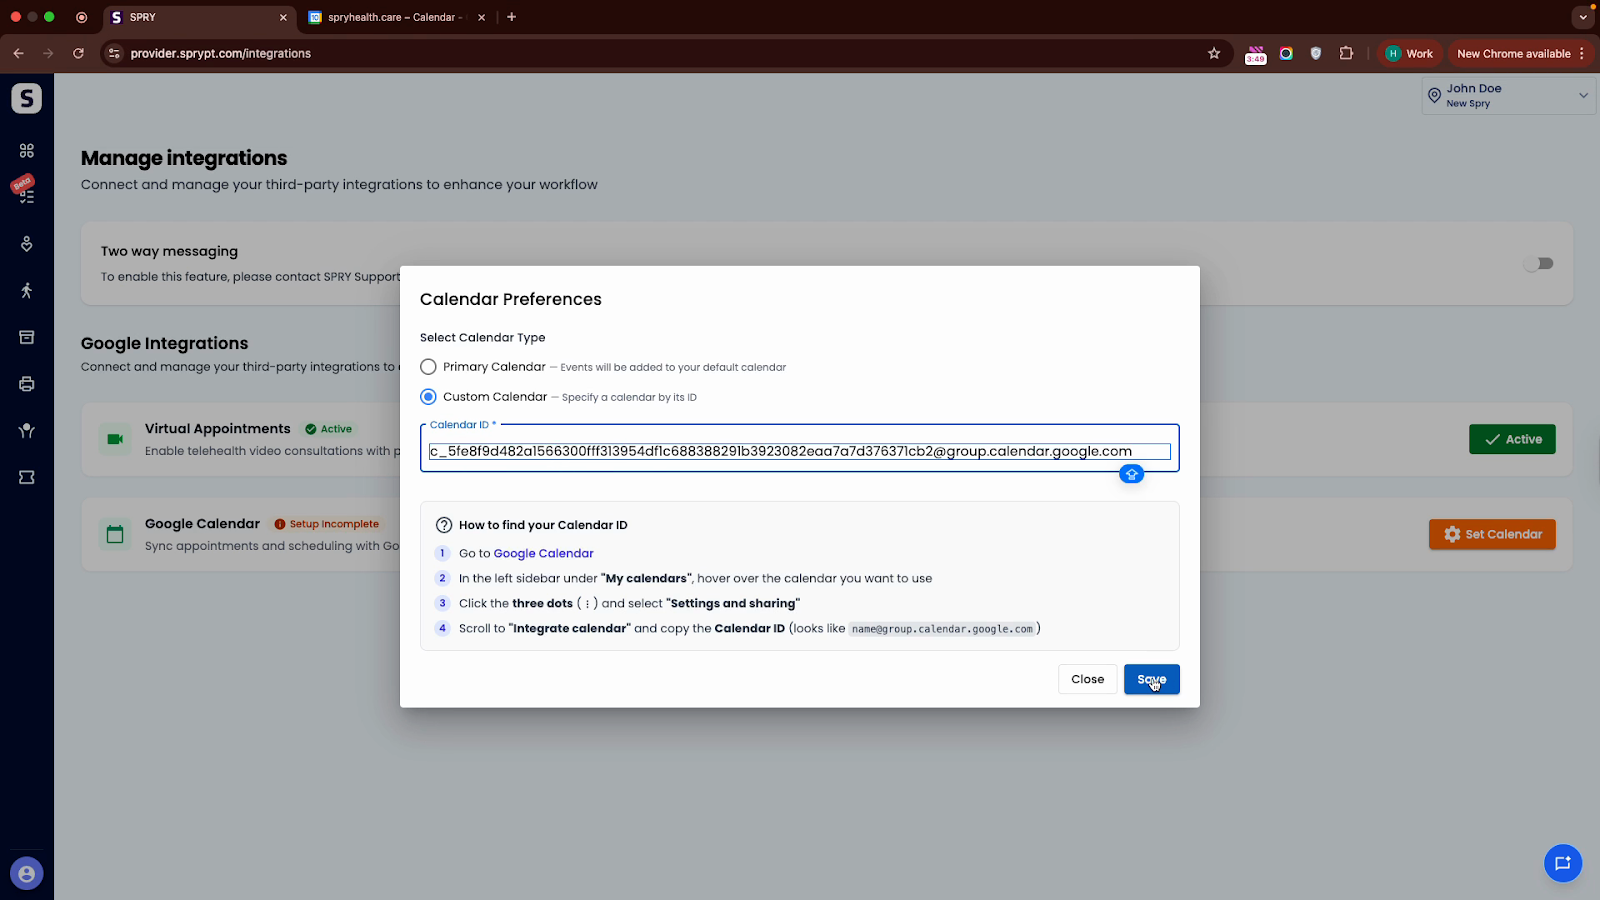
Step 6: Done! Appointments in Spry now automatically sync to your chosen Google Calendar.
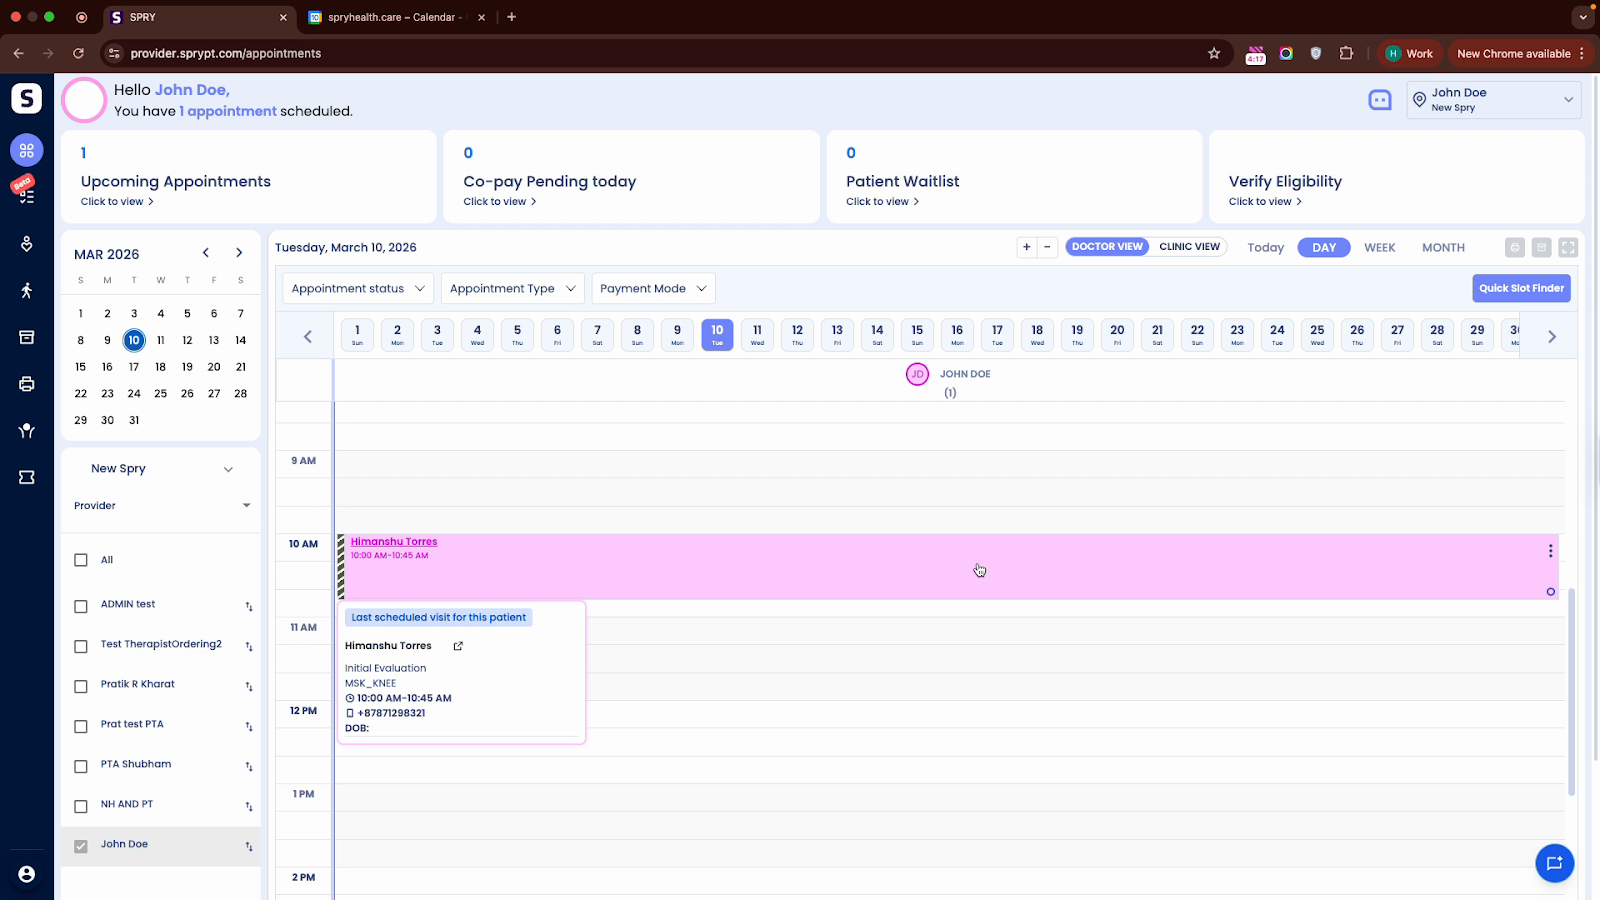
Tips and Notifications
- Spry syncs appointments from the past two weeks and up to three months ahead.
- Email notifications are off by default to prevent a flood of alerts. Want notifications? Just enable them from your Google Calendar Notification settings.
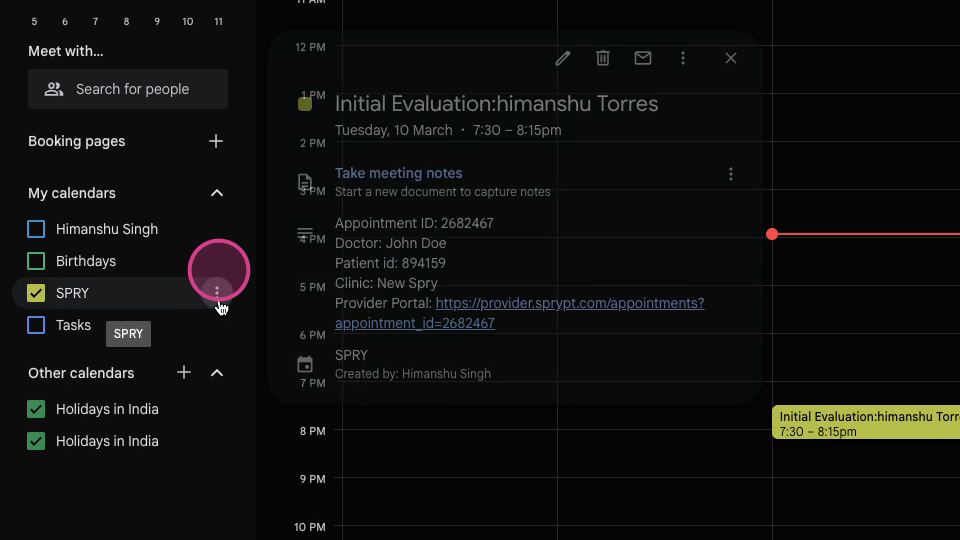
Stay organized and focused with your schedule unified in Google Calendar—no more double-booking, missed appointments, or split attention.