
Add and Track Tax on Non-Visit Payments
How to Add and Track Tax on Non-Visit Payments
Managing taxes on non-visit payments is seamless with the tax collection feature. Easily select products, decide whether to apply tax, and see the totals reflected in your reports. Here’s how the process works from start to finish.
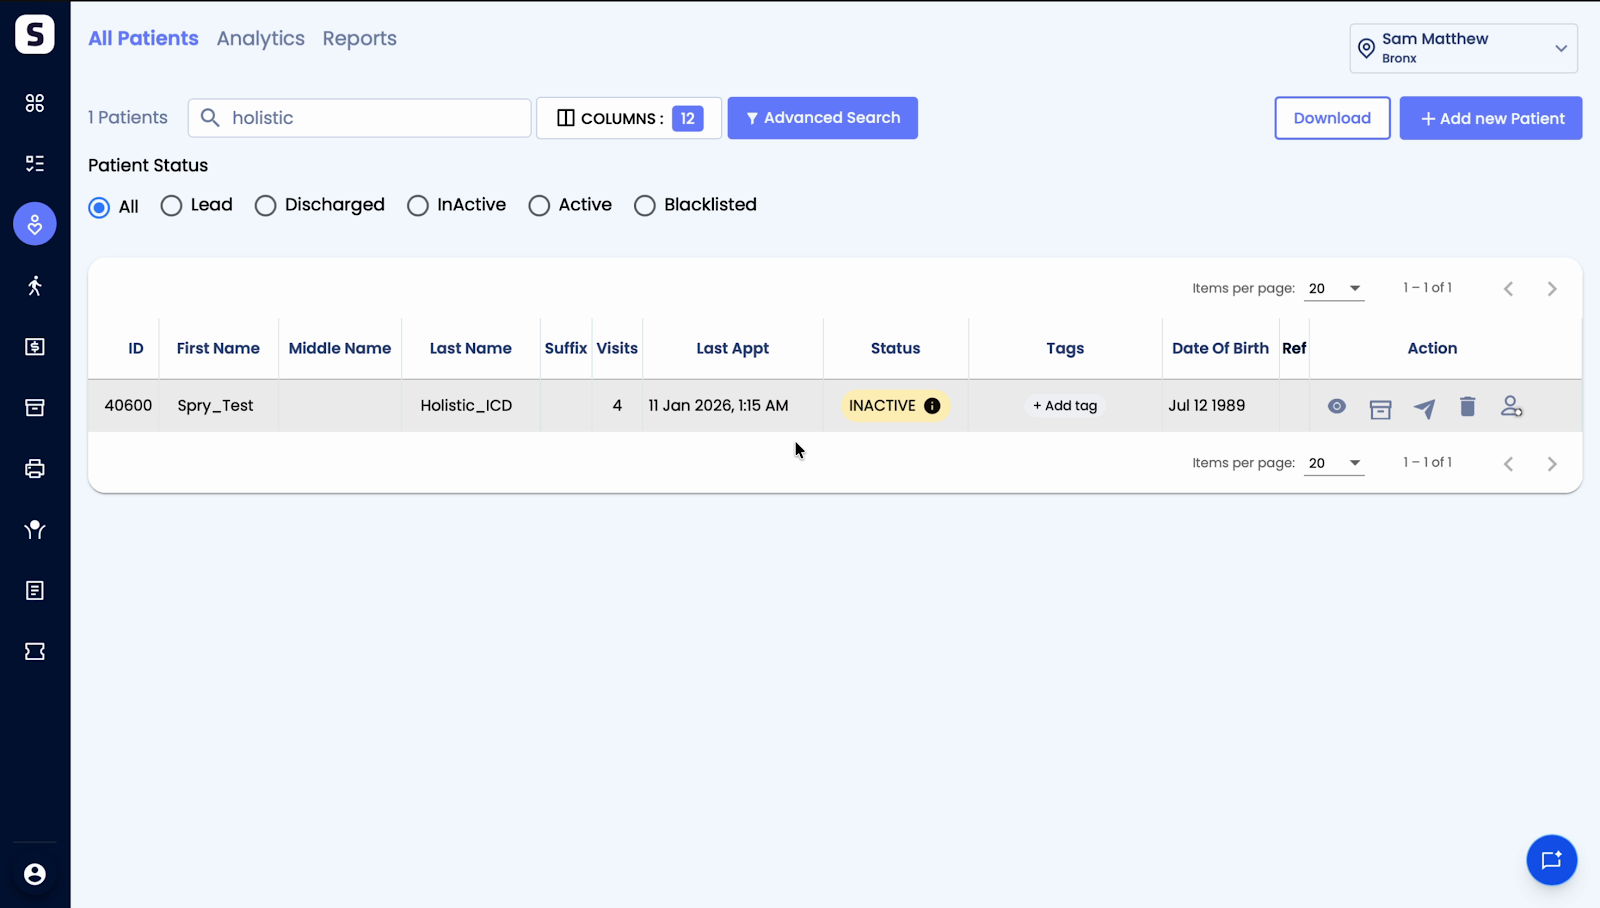
Step 1: Open a patient's profile and navigate to Non Visit Payments.
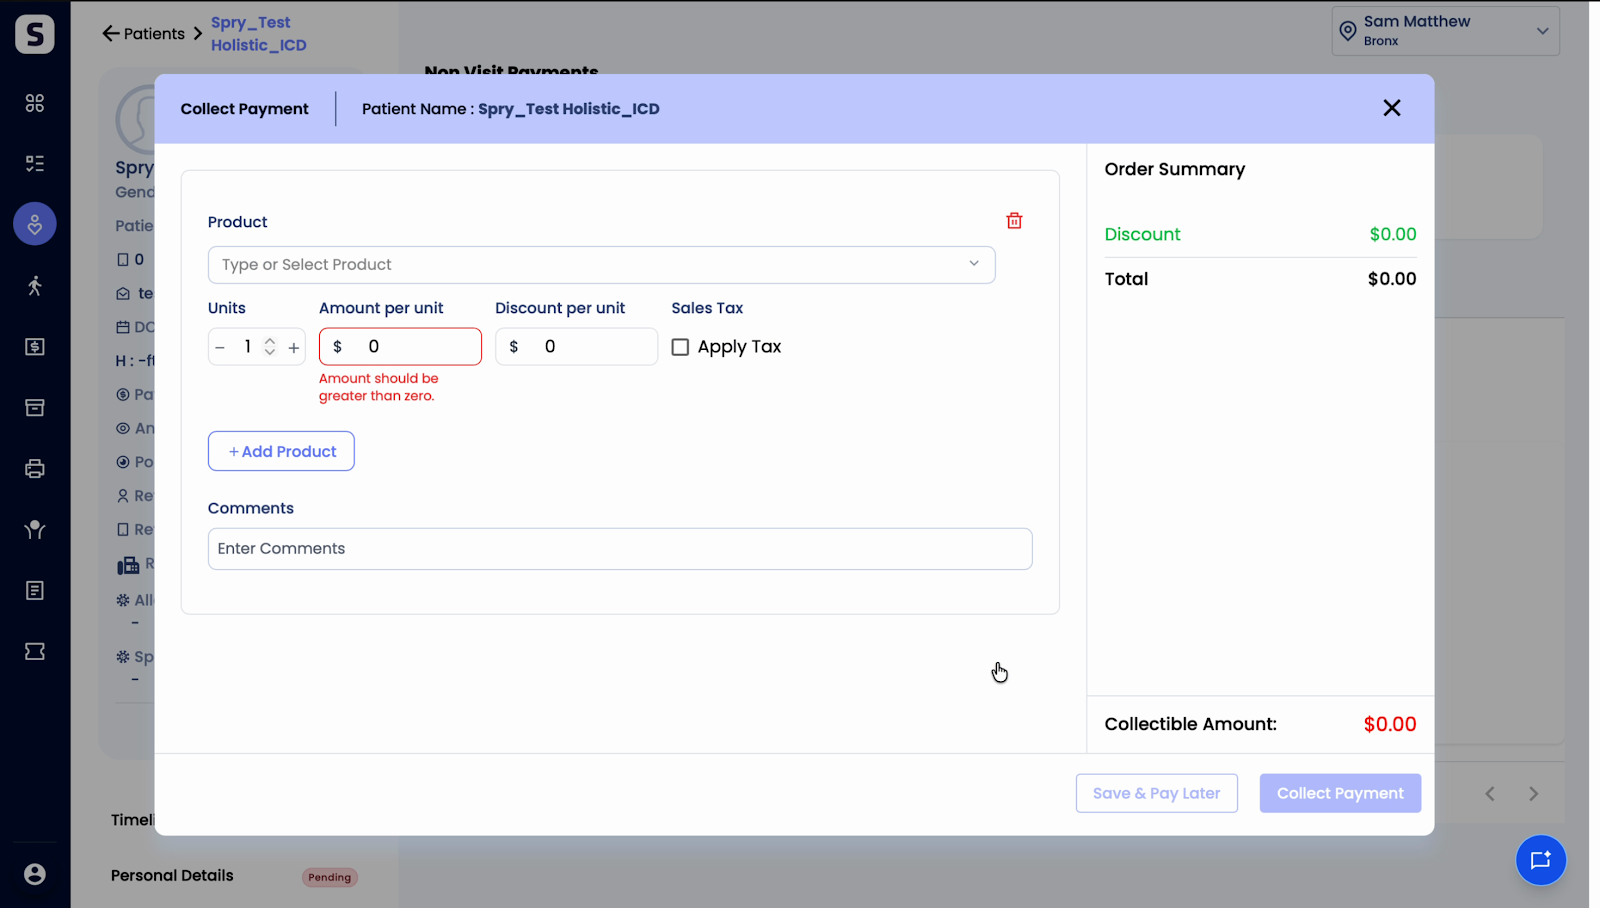
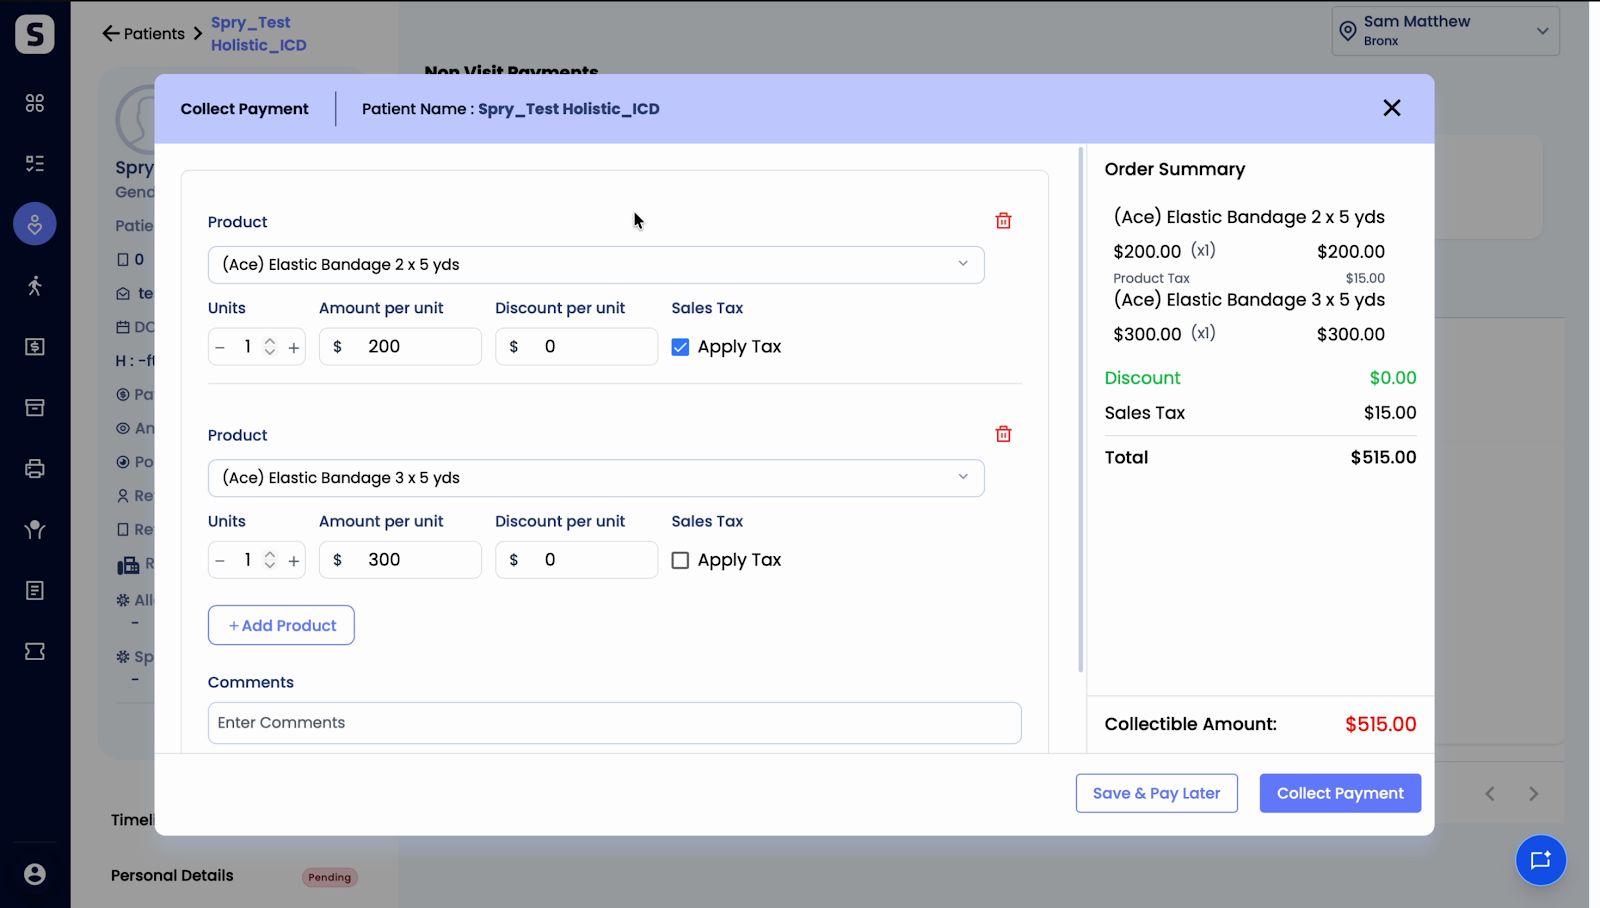
Step 2: Click to add a new non-visit payment. Select the desired product from the list.
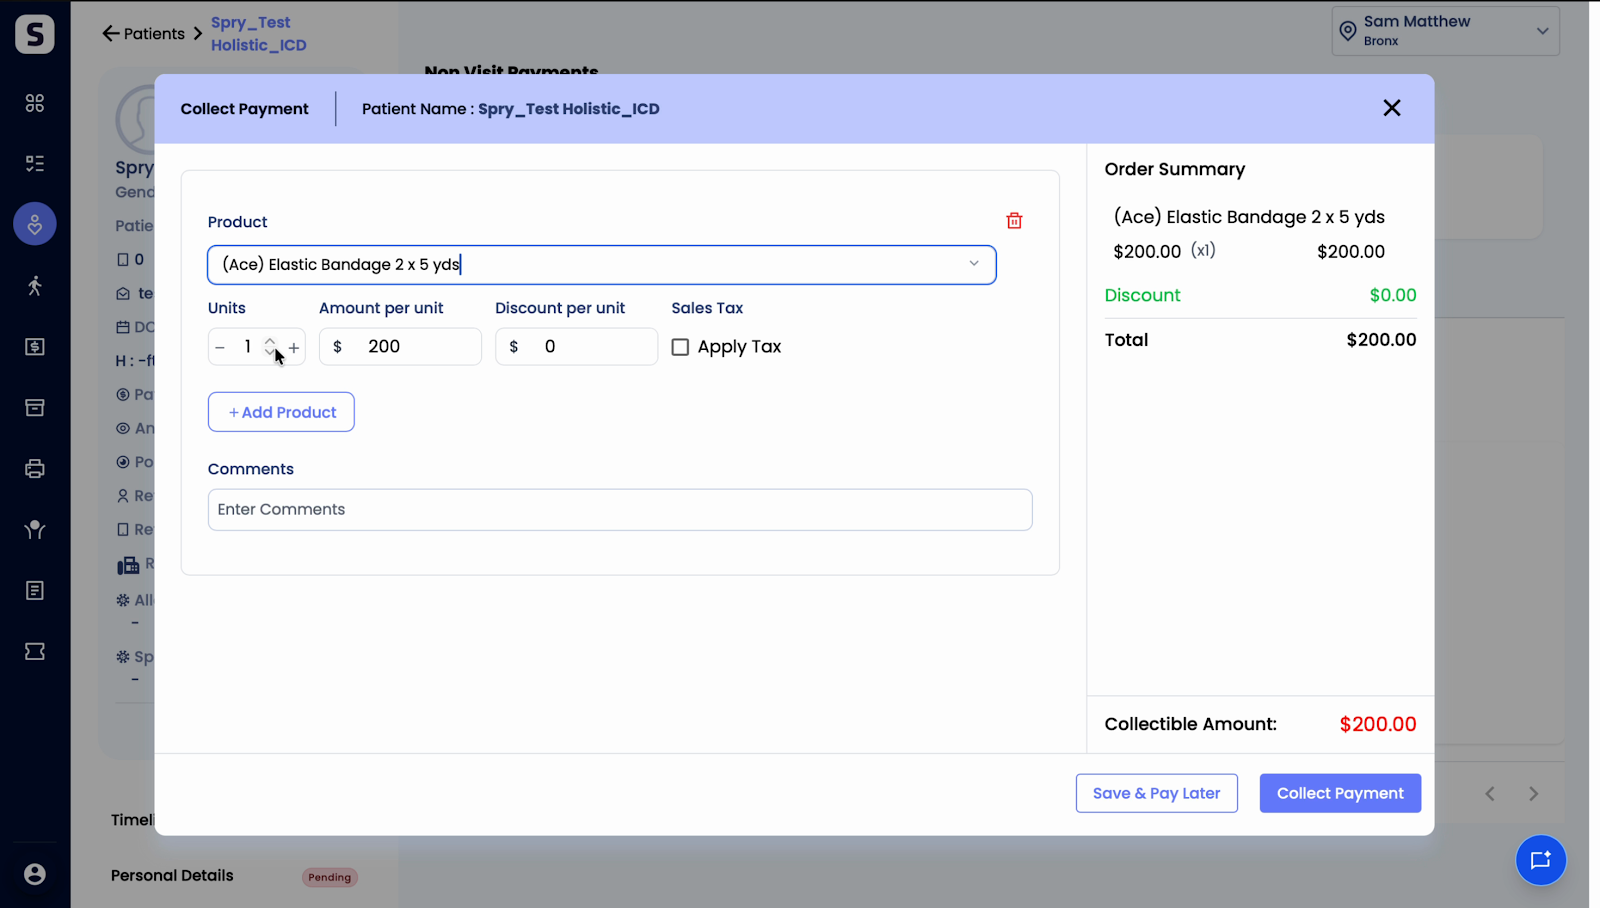
Step 3: Check the unit quantity and amount per unit displayed for your product.
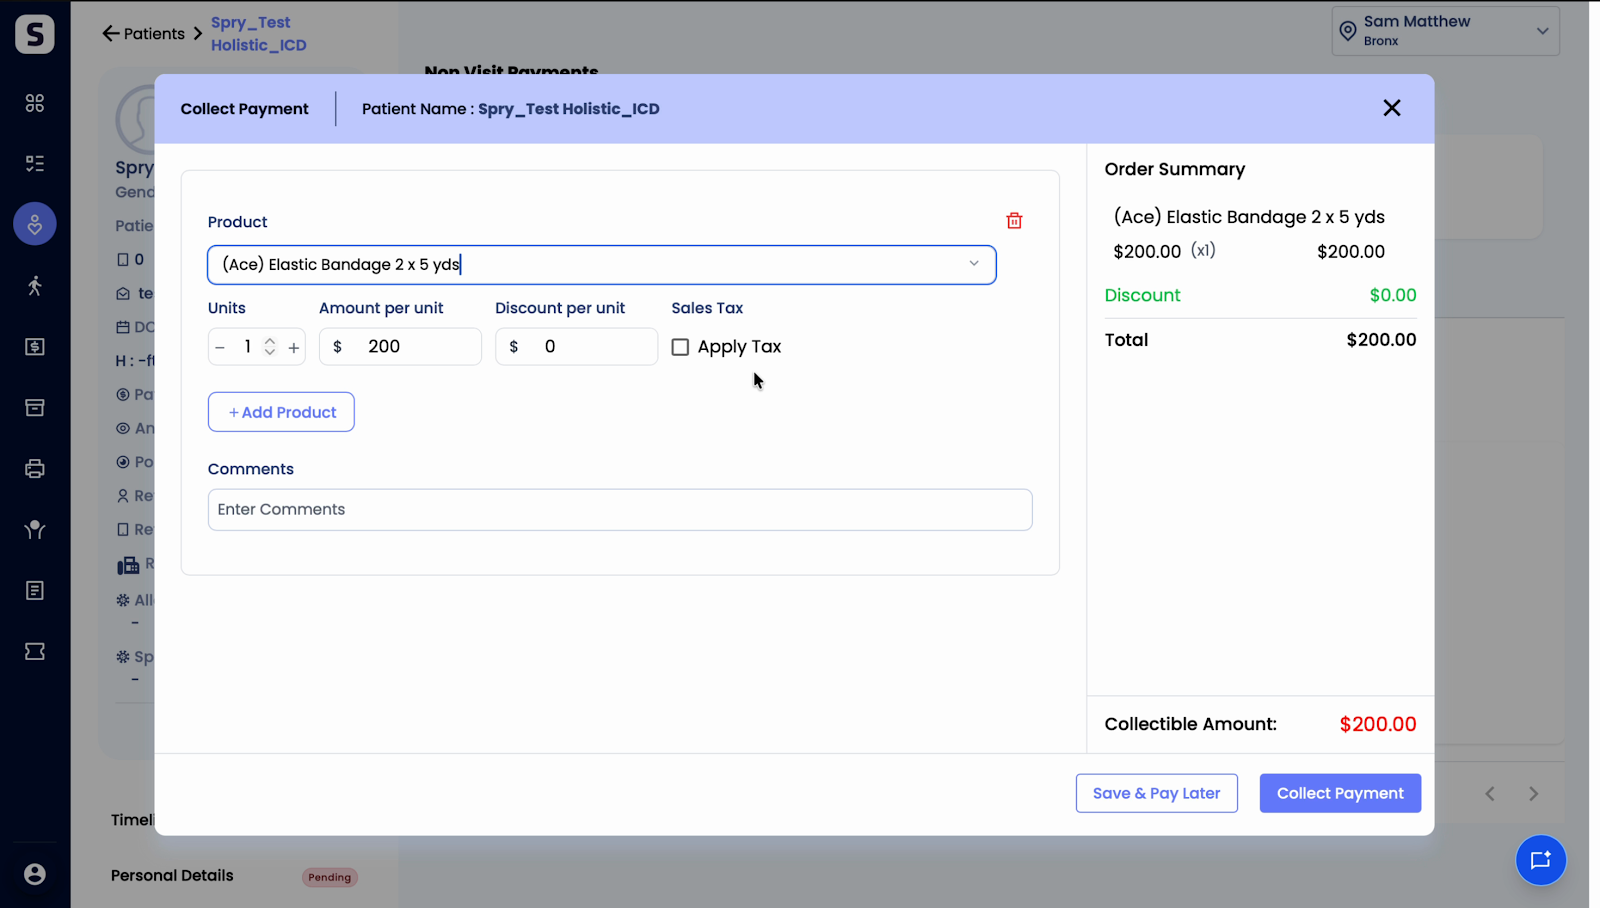
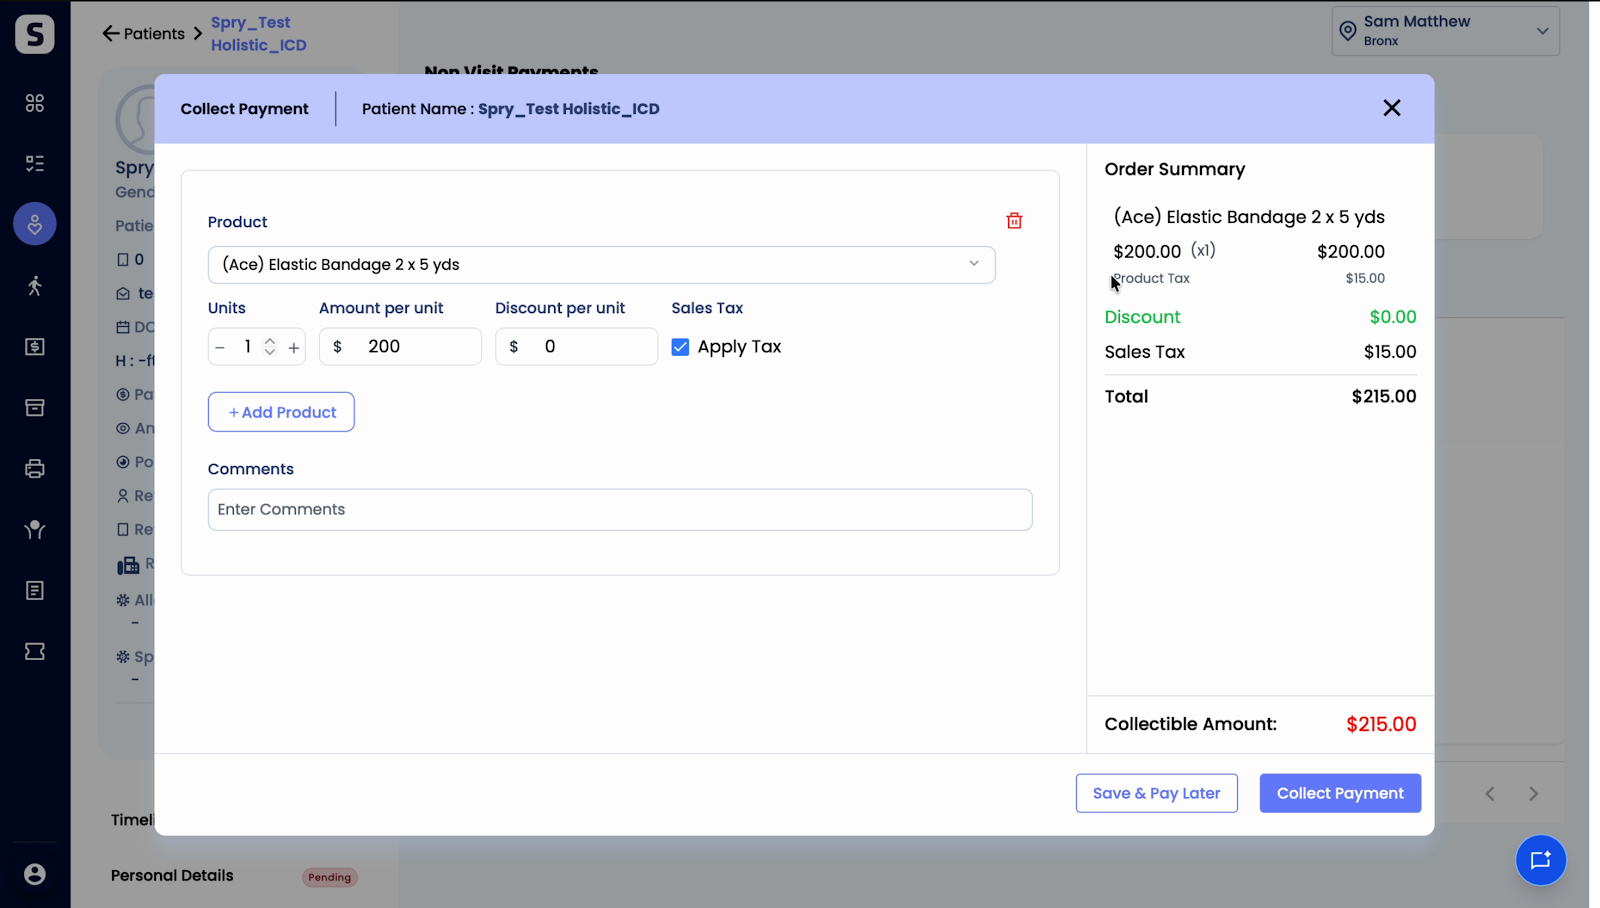
Step 4: Decide if you want tax applied. Tick the Tax checkbox to add tax. The tax amount, based on the rate set in the backend, appears automatically.
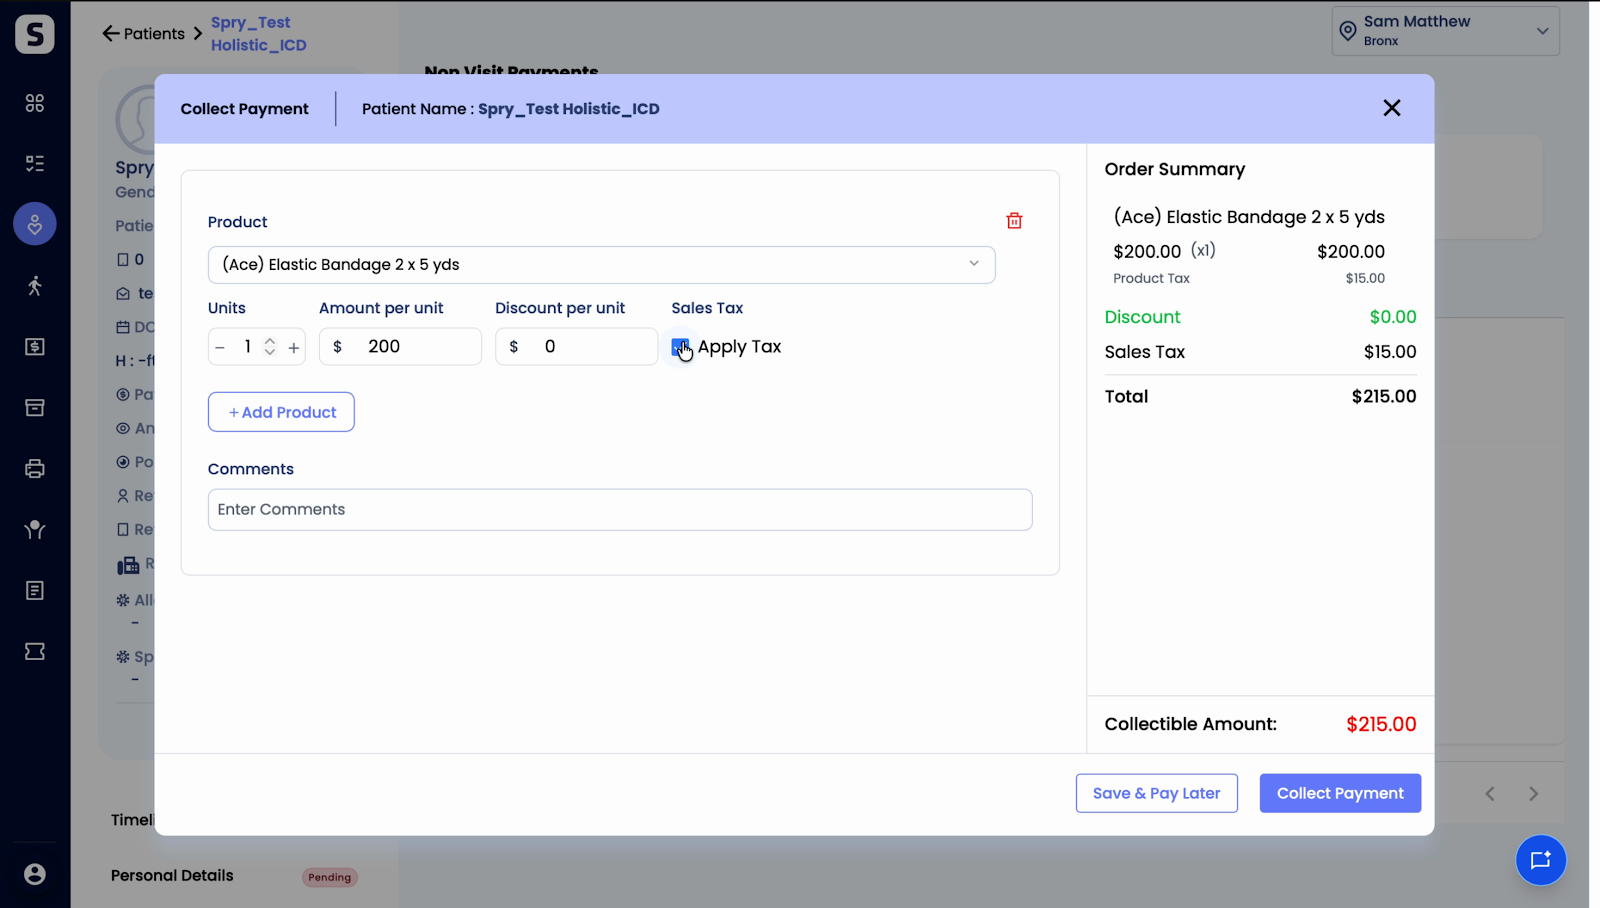
Step 5: If your organization’s tax rate needs adjustments, contact the support team on Slack. They’ll update it in the backend.
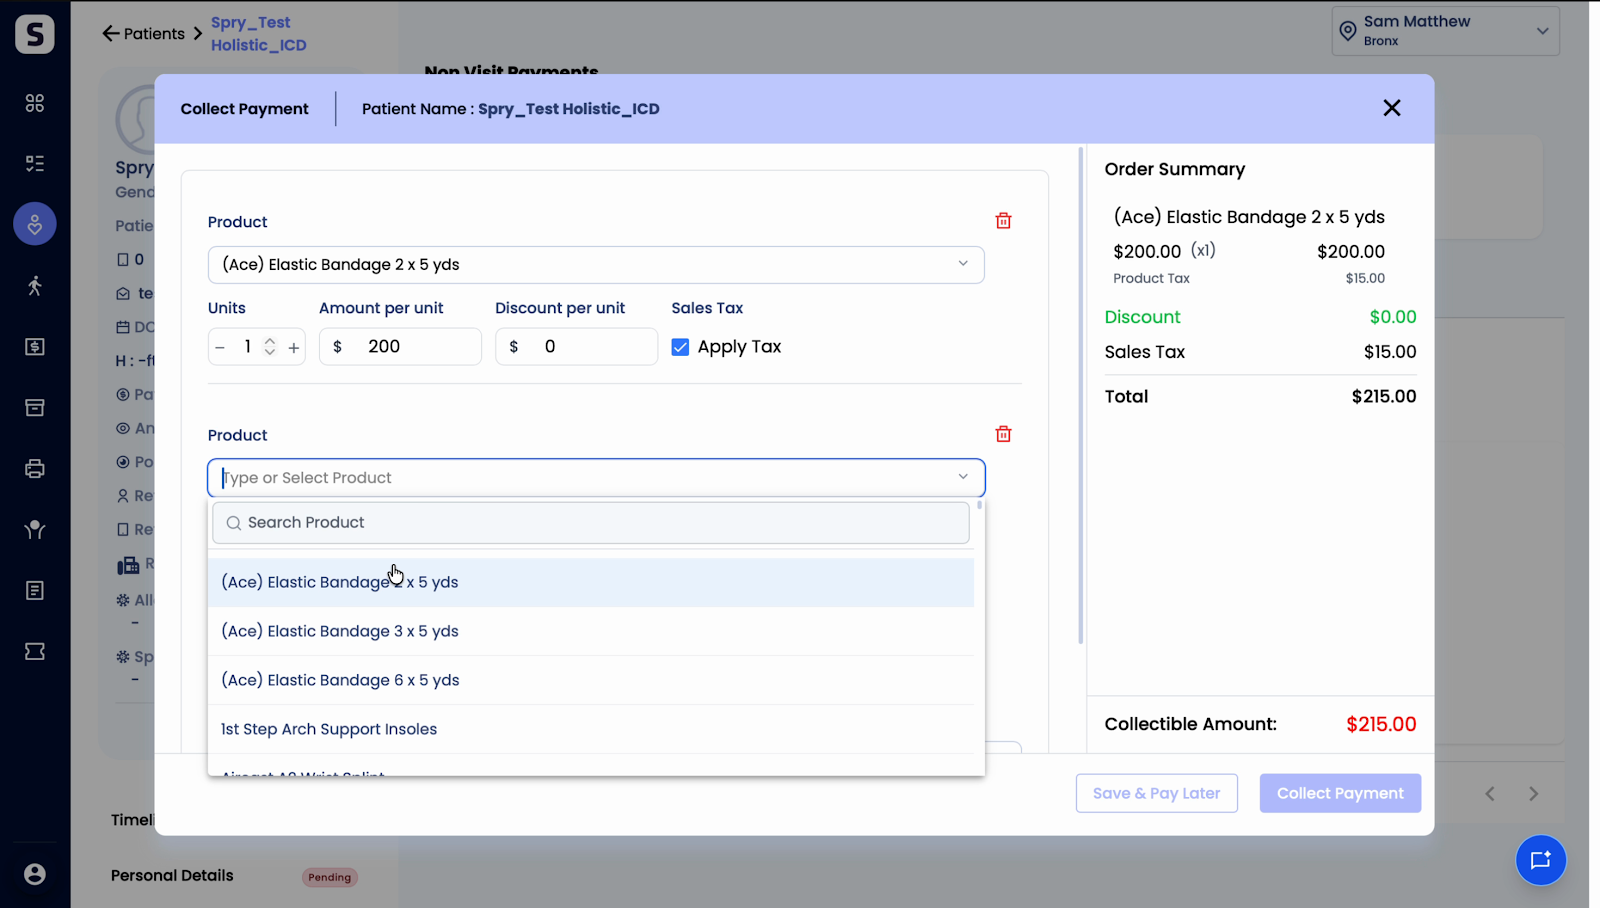
Step 6: Add additional products as needed. Each can have its own quantity and unit price. Choose whether to apply tax to each product.
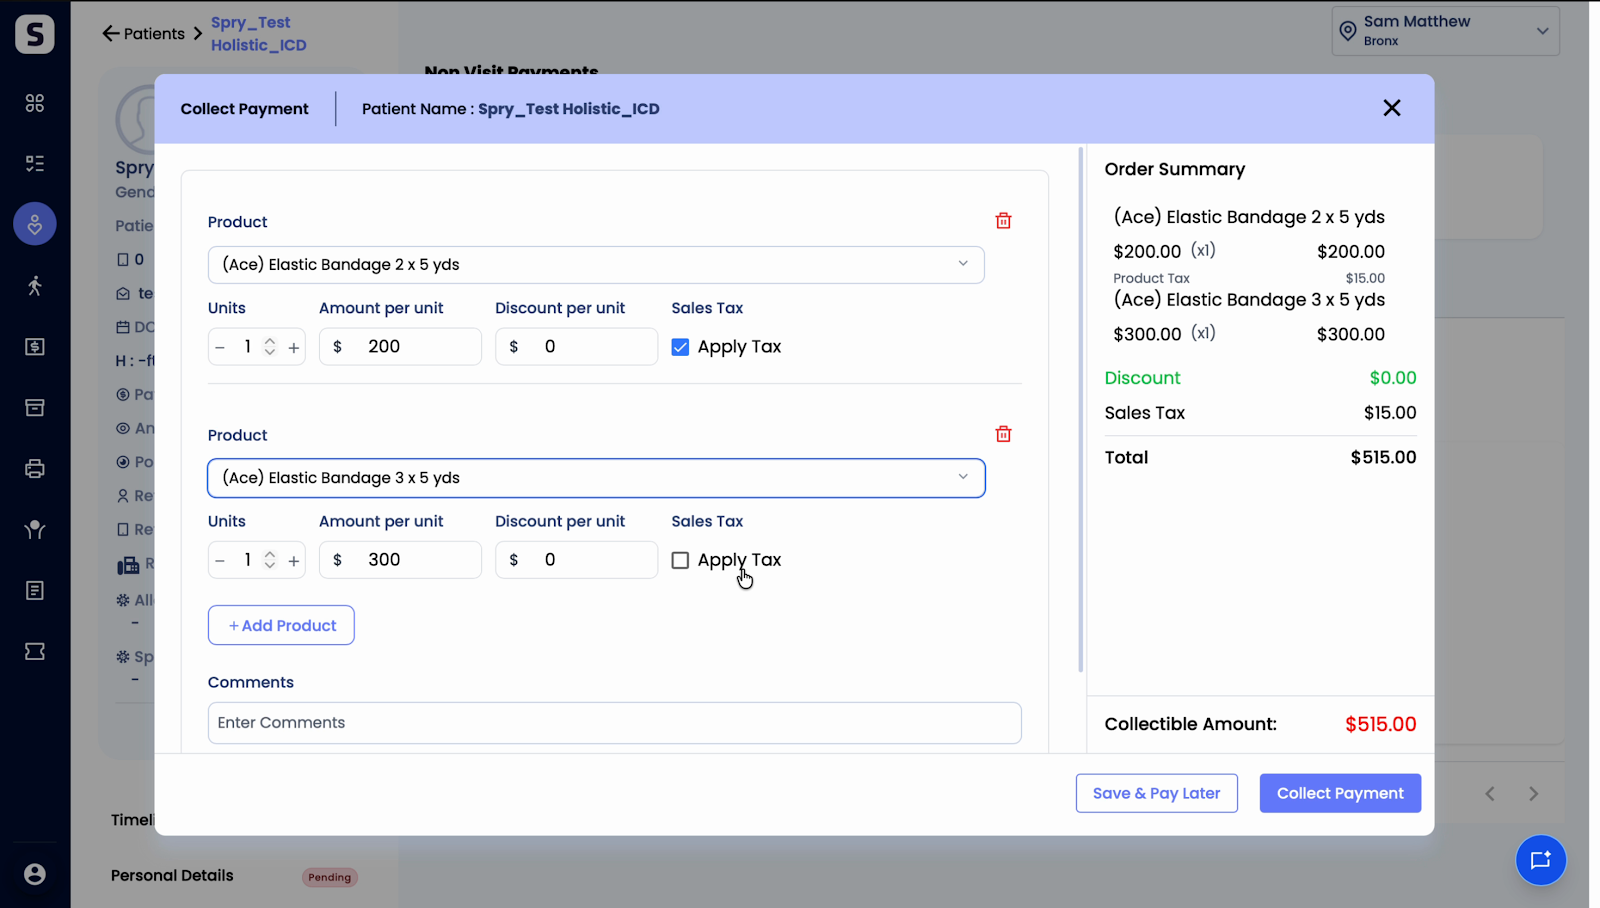
Step 7: If you want tax to always apply to entire orders by default, request this configuration from the support team—they’ll set it up in the backend.
Step 1: After selecting which products include tax, proceed to collect the payment. Choose the payment method (e.g., Cash).
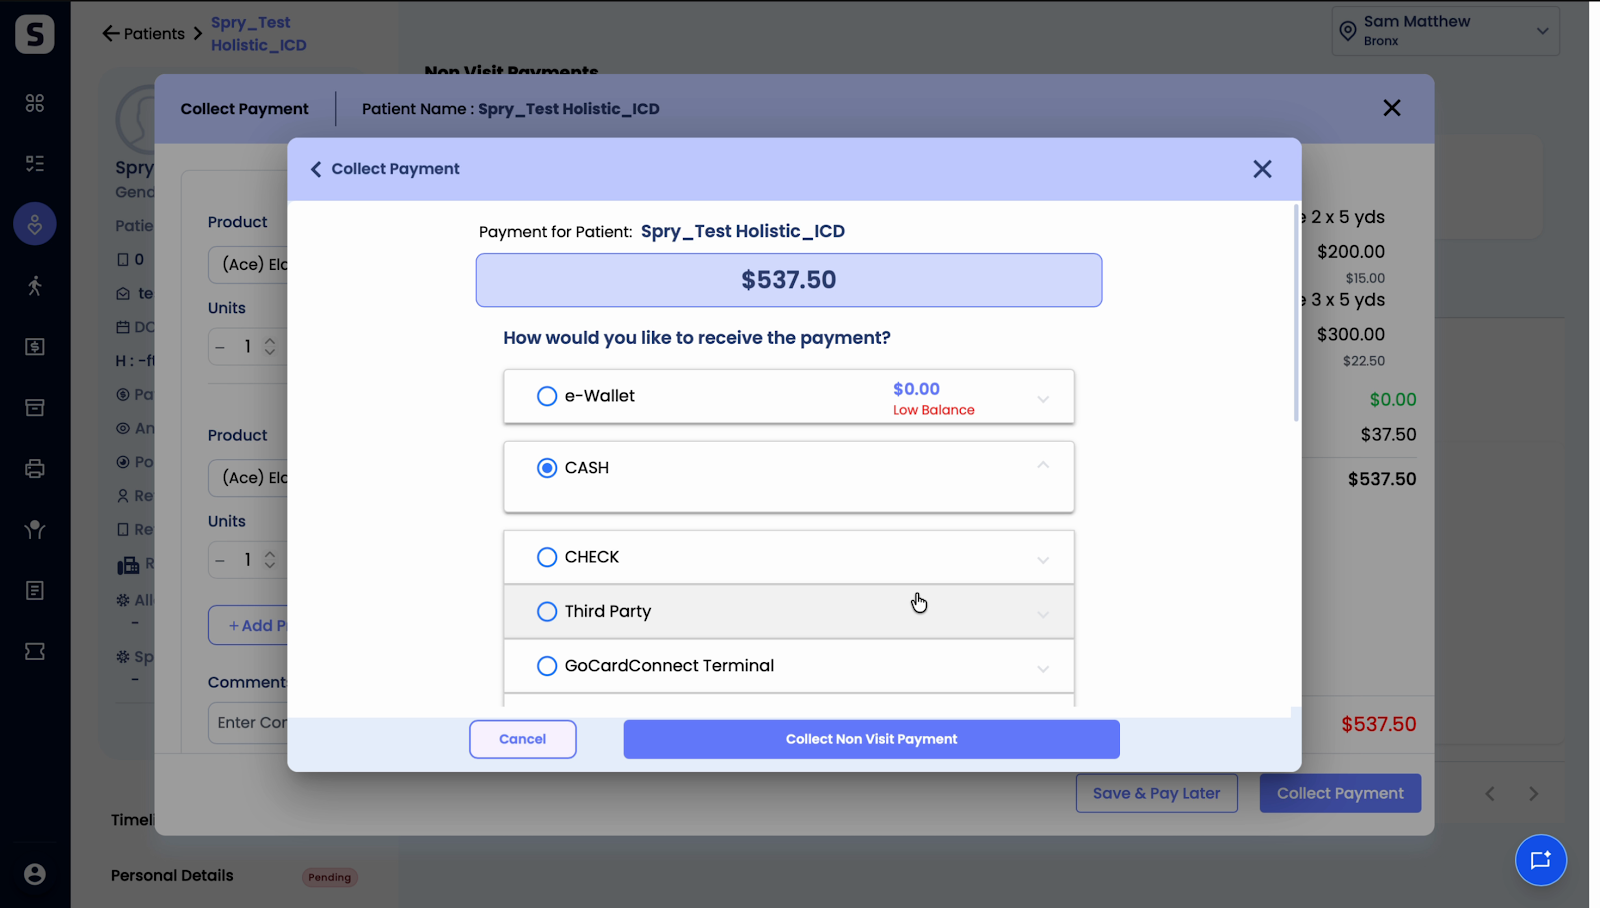
Step 2: Click Collect Non Visit Payment. The total, including the sales tax, displays in the summary.
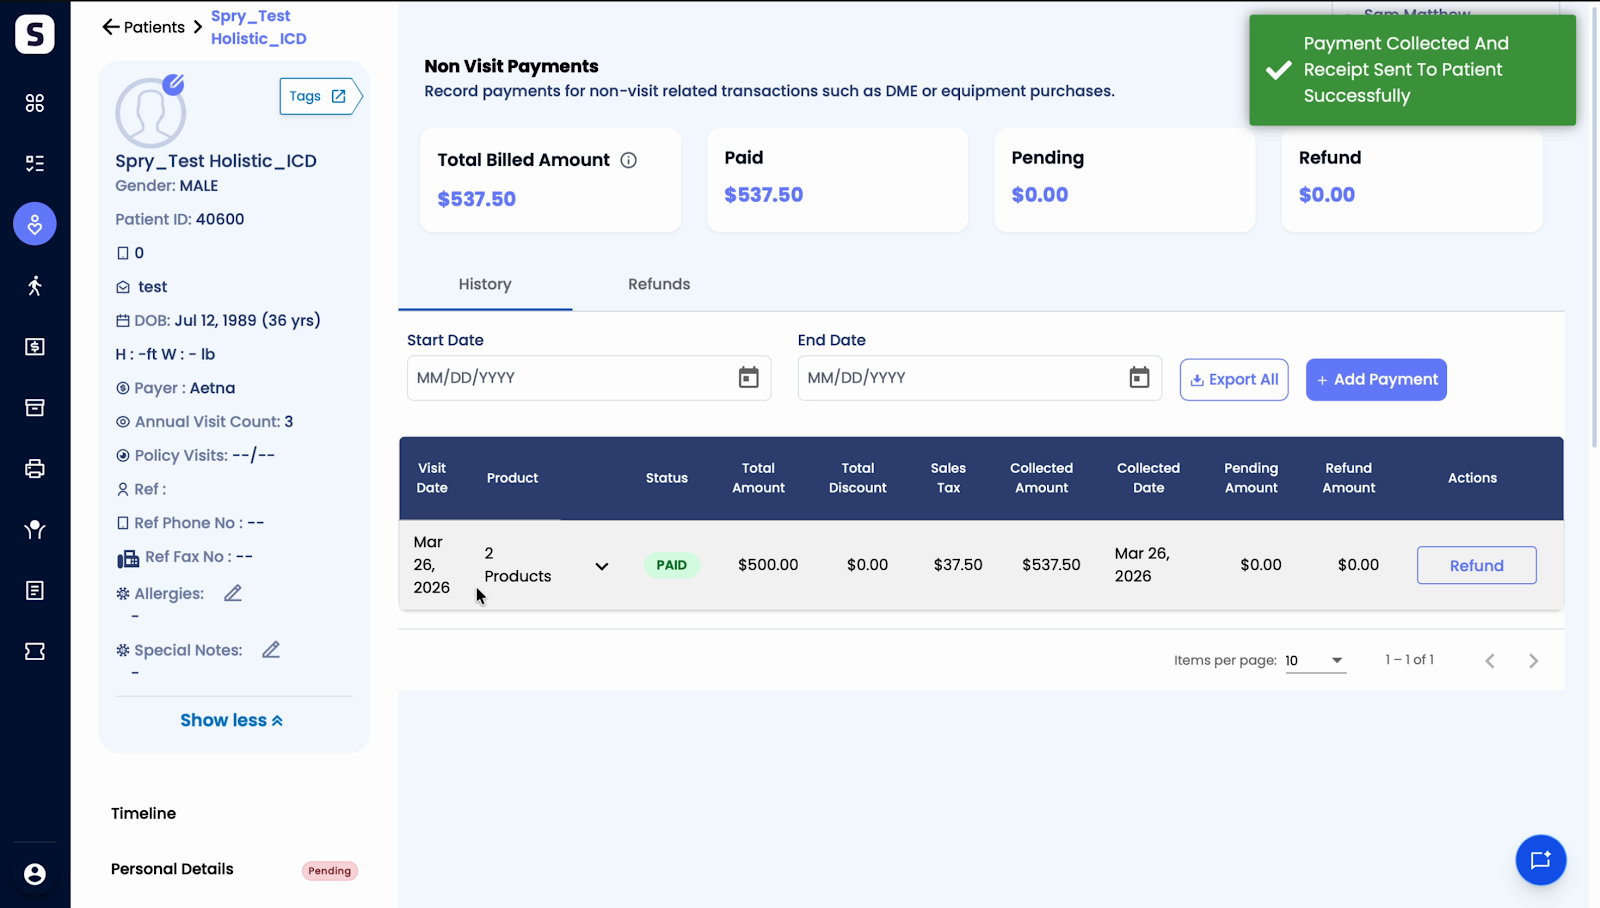
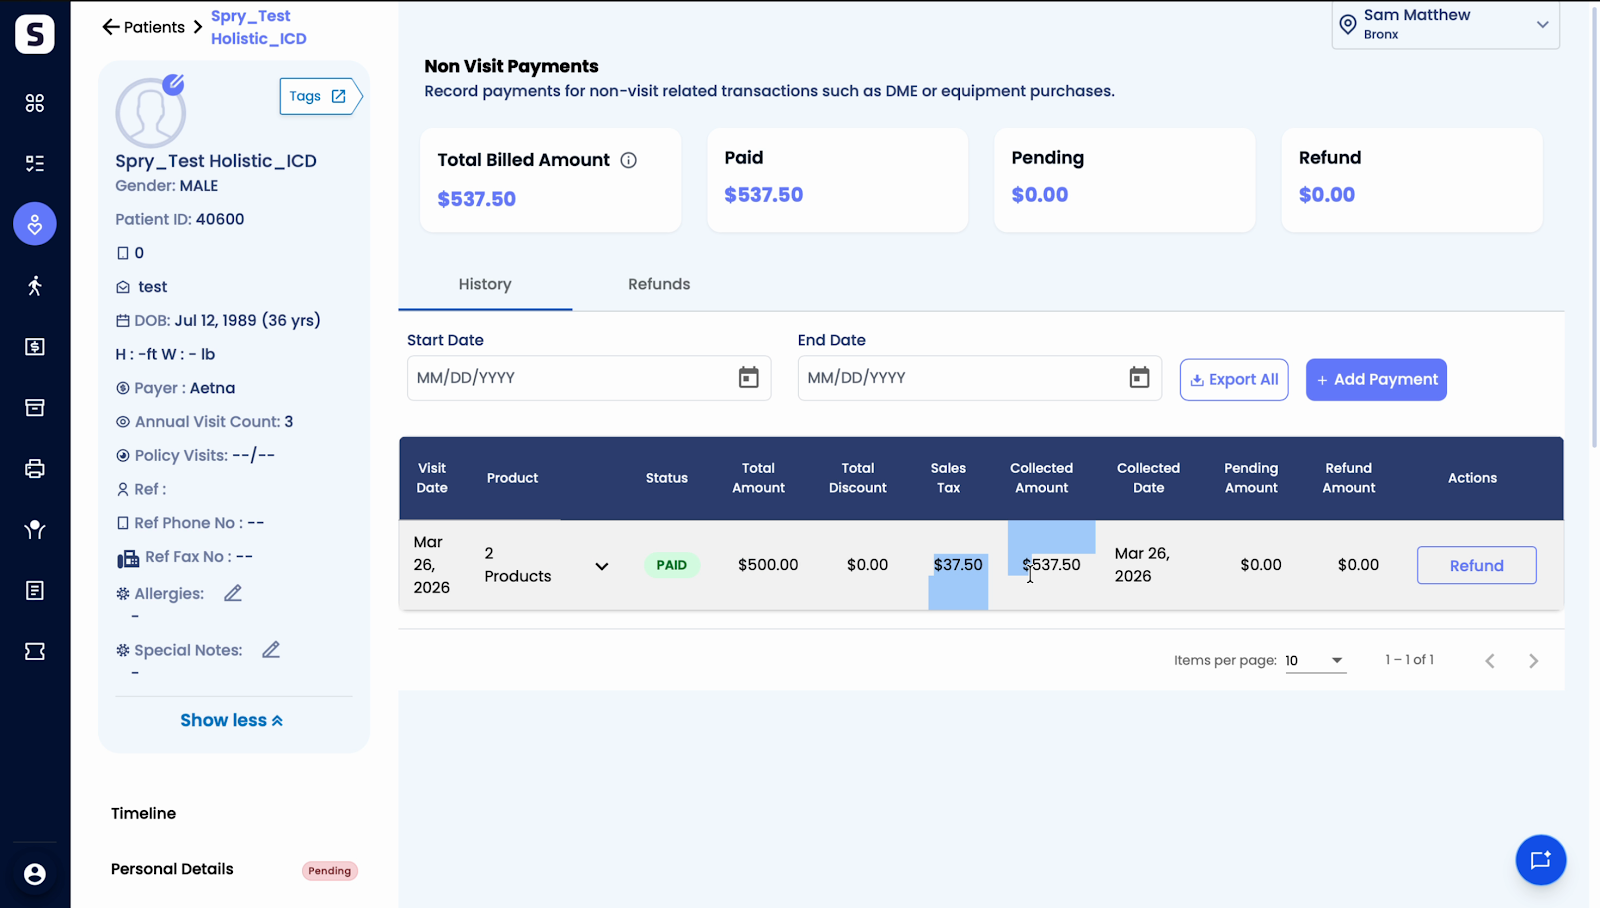
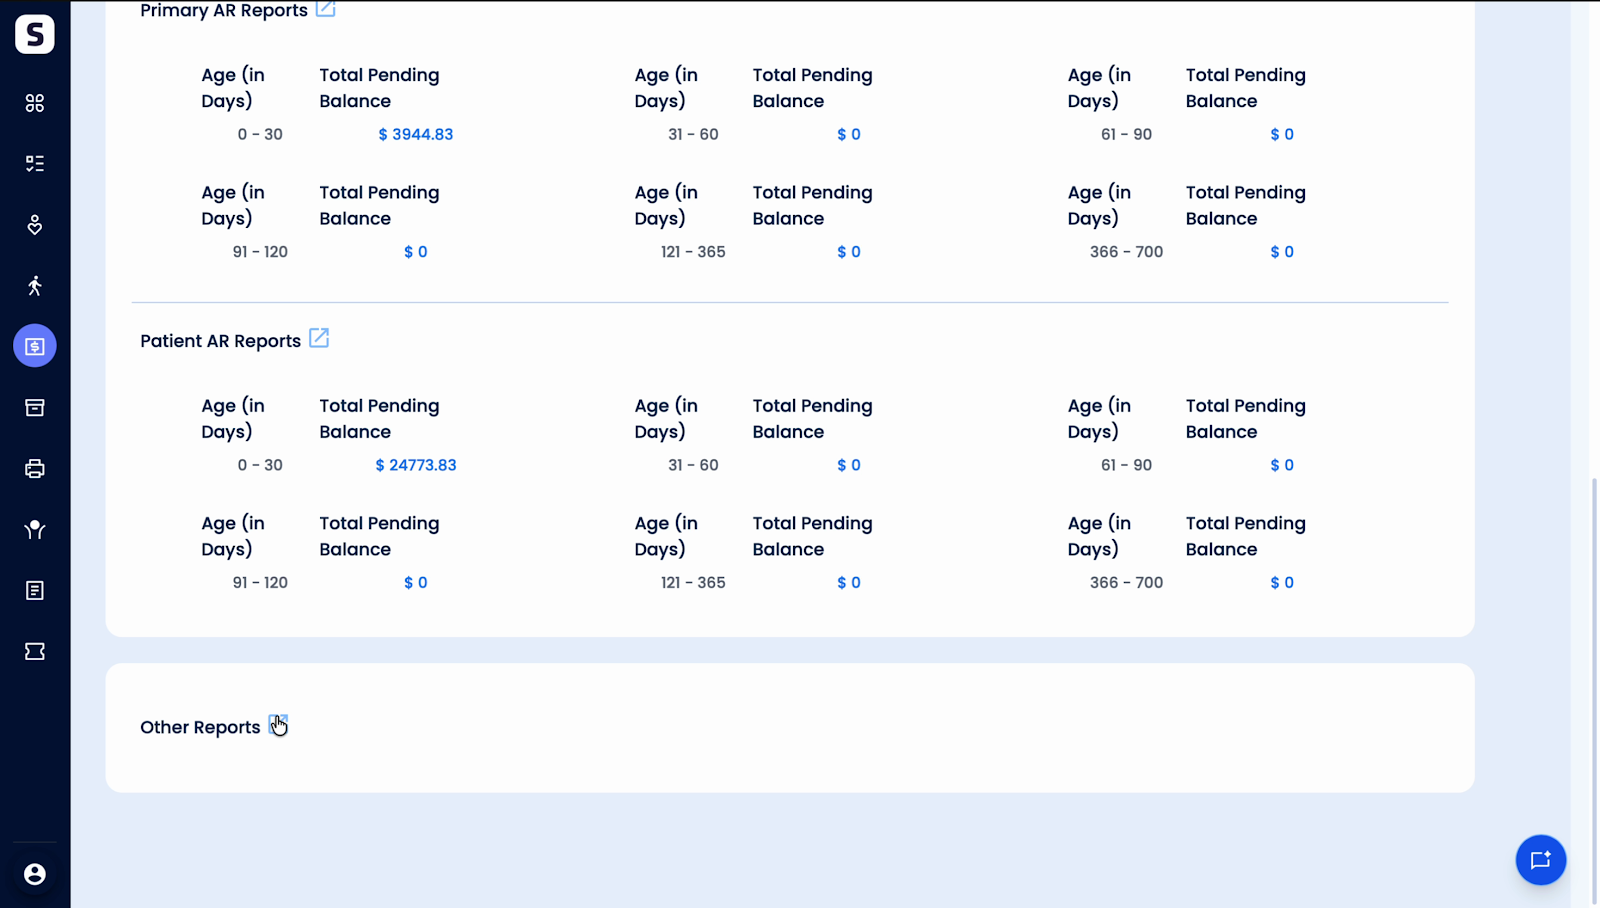
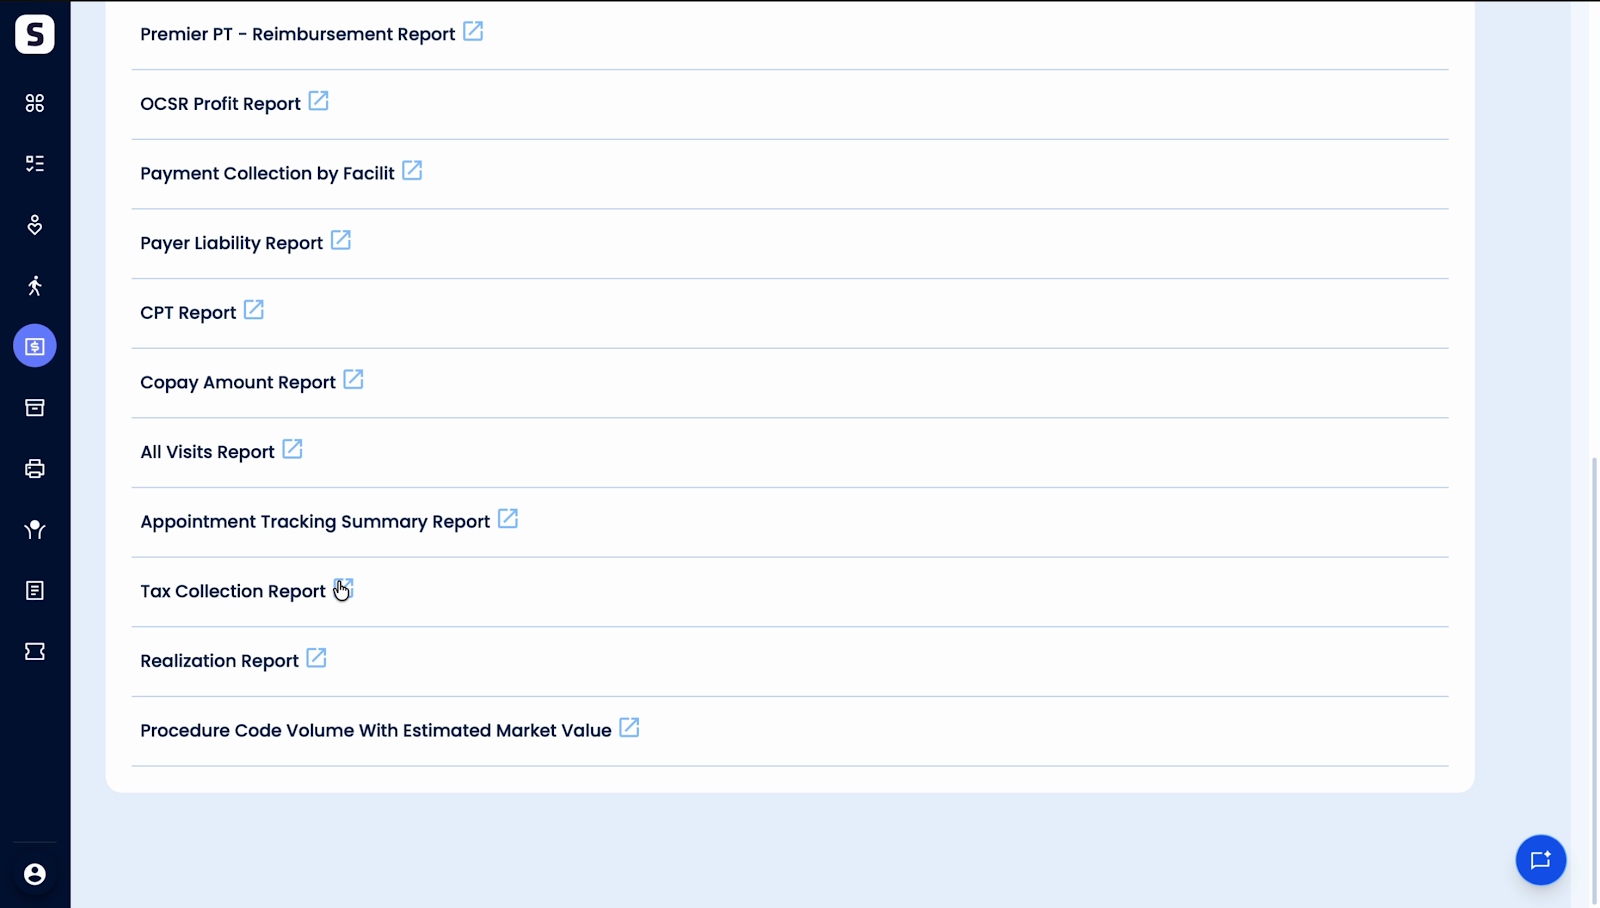
Step 3: To review tax details in a report, go to Billing > Reports New > Other Reports.
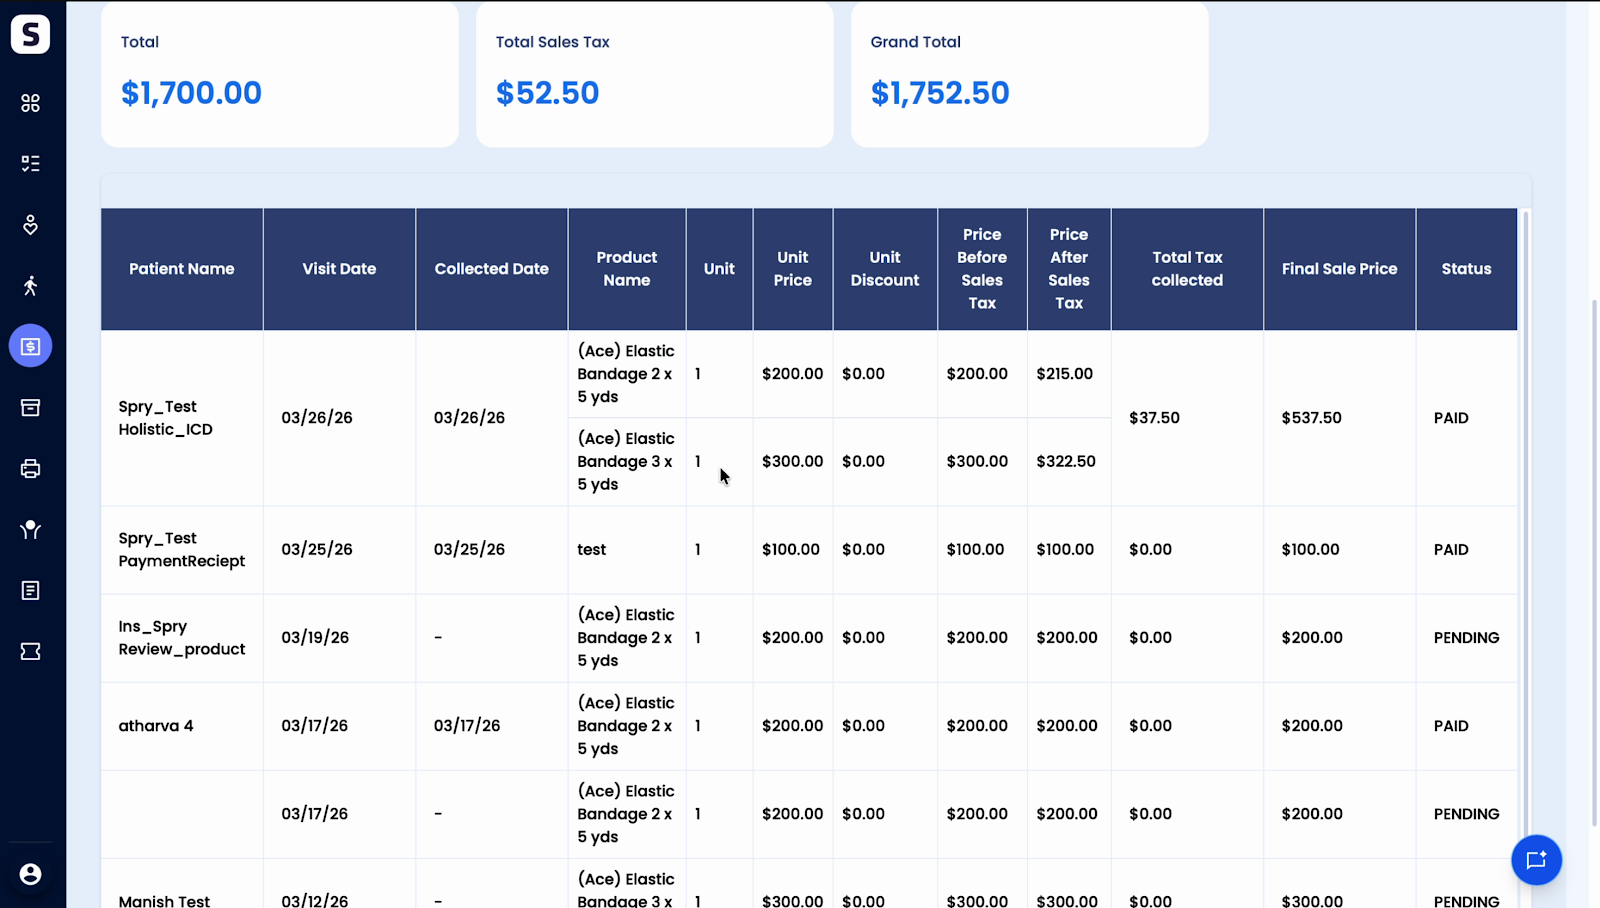
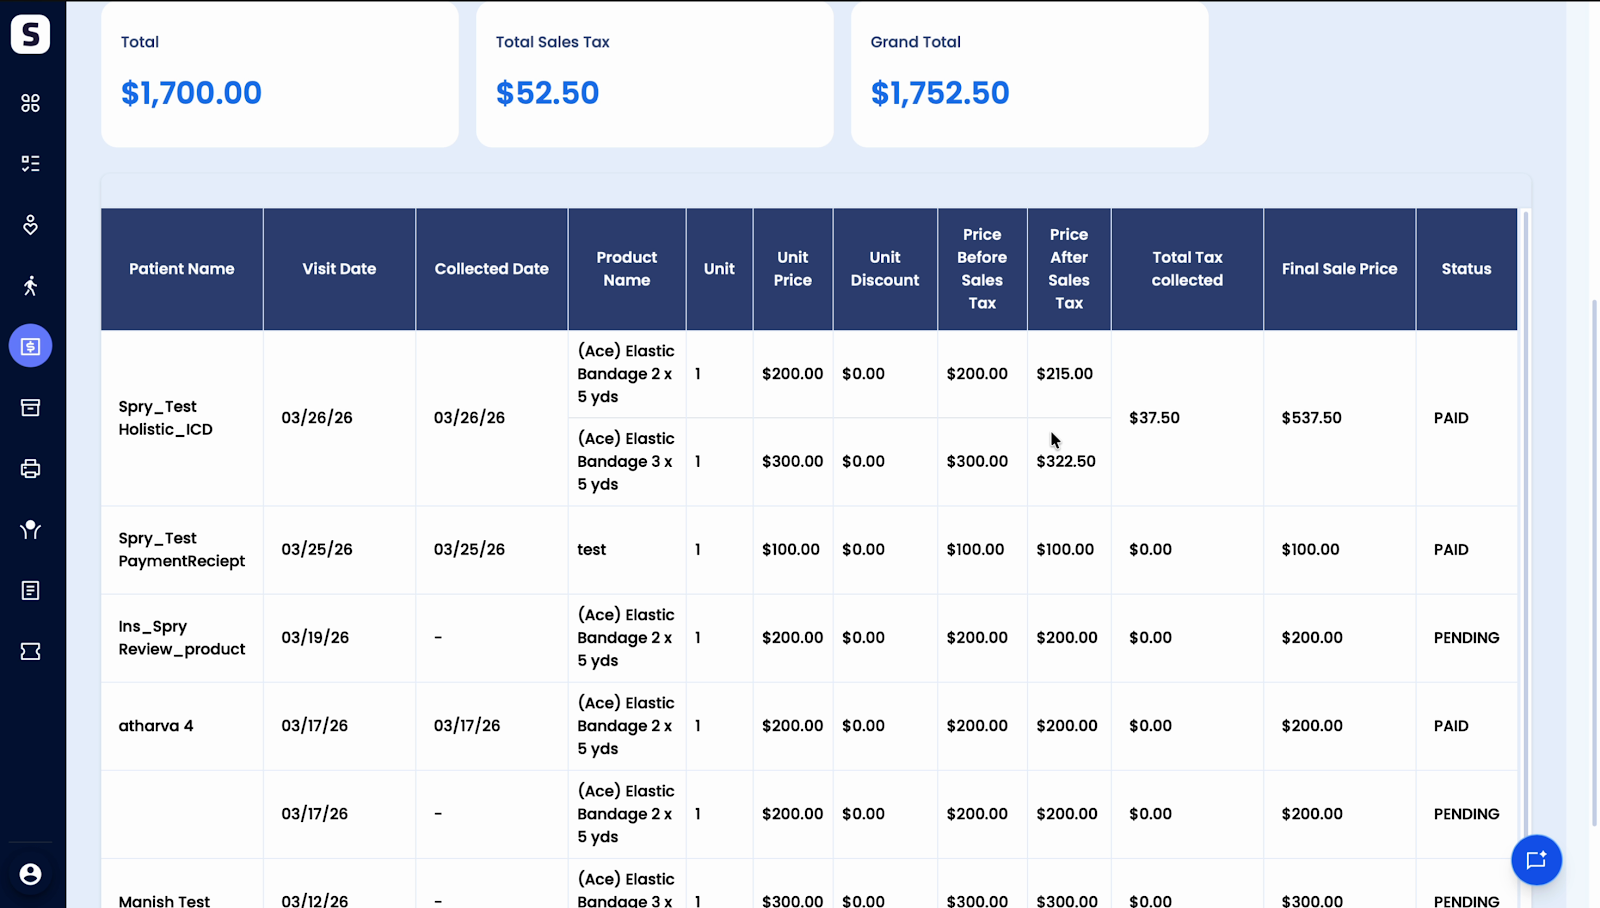
Step 4: Open the Tax Collection Report. See each payment, units, prices (with and without tax), and total tax collected.
Applying and tracking sales tax on non-visit payments is now straightforward. Adjust tax application per product, process payments, and review comprehensive tax collection reports whenever you need them. Reach out to support for backend settings or default options—making tax management simple and effective.