Posting Bulk ERA
This guide provides a step-by-step process for posting bulk ERS.
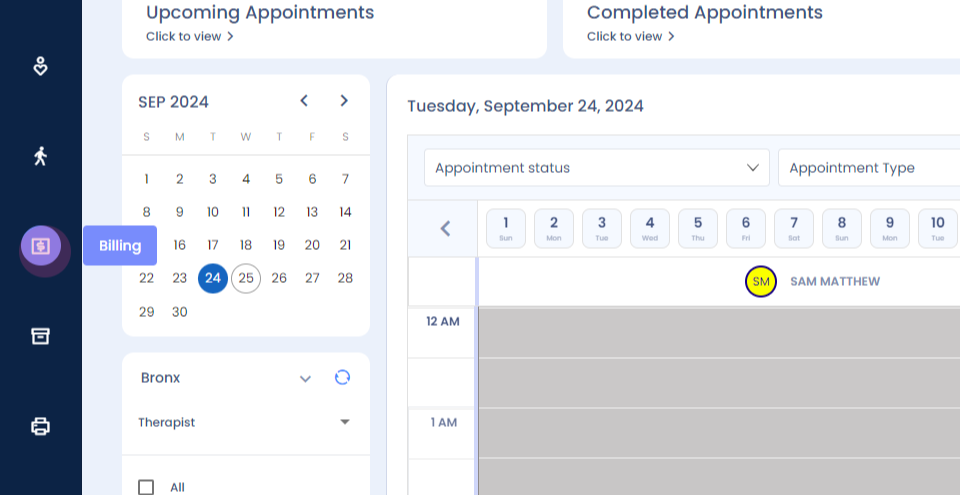
Step 1: Navigate to the billing dashboard.
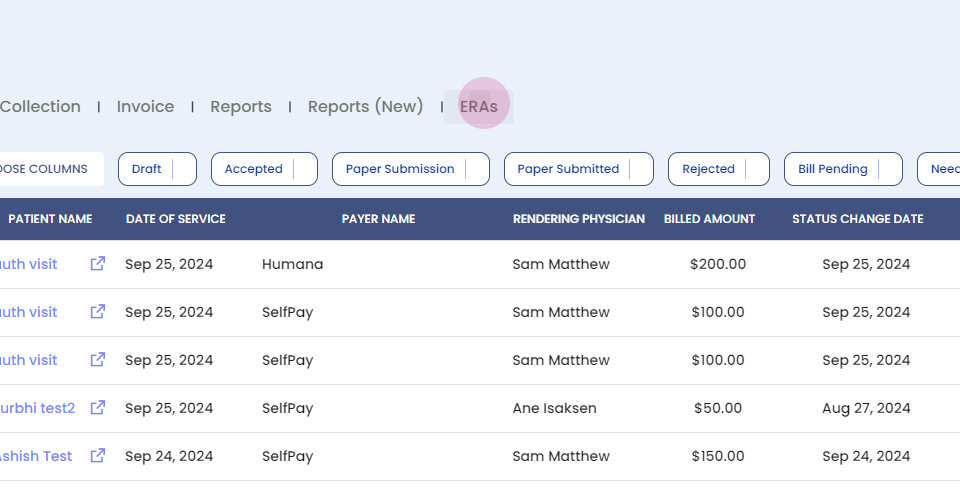
Step 2: Proceed to the ERS section.
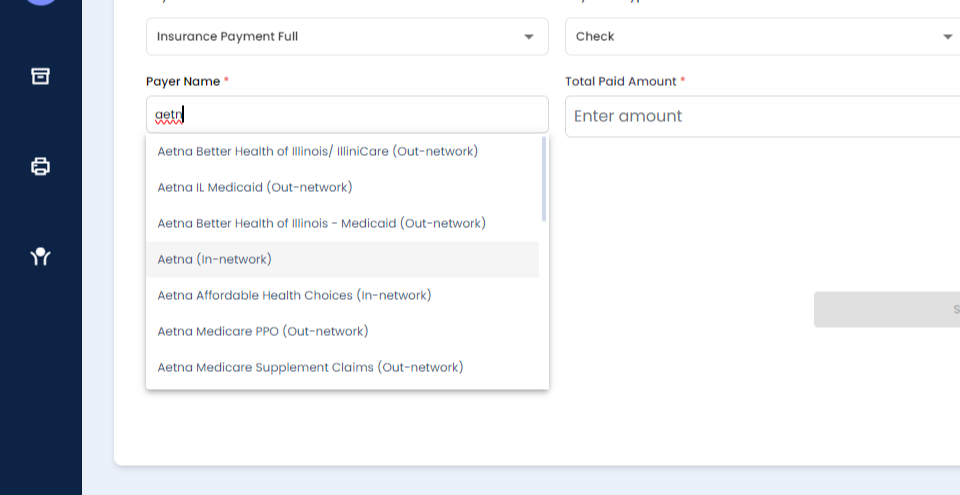
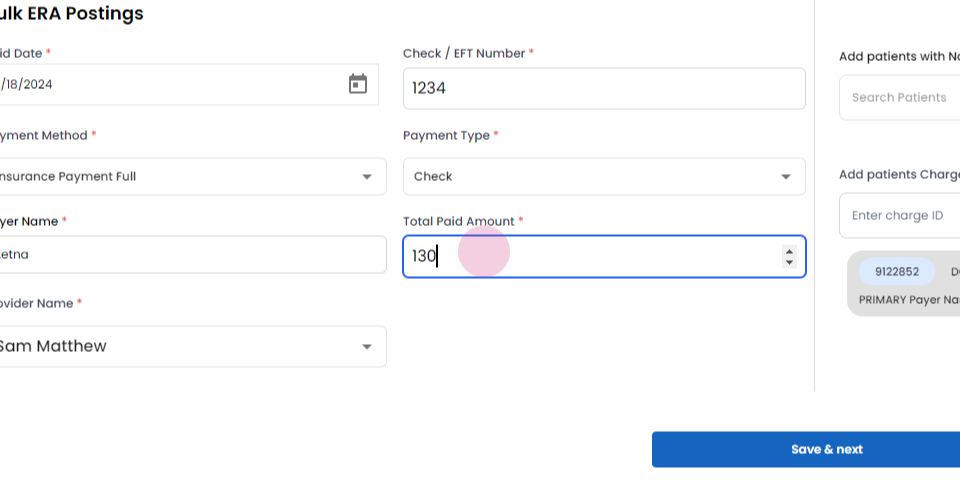
Step 3: Fill in all the mandatory fields from the ERA check.


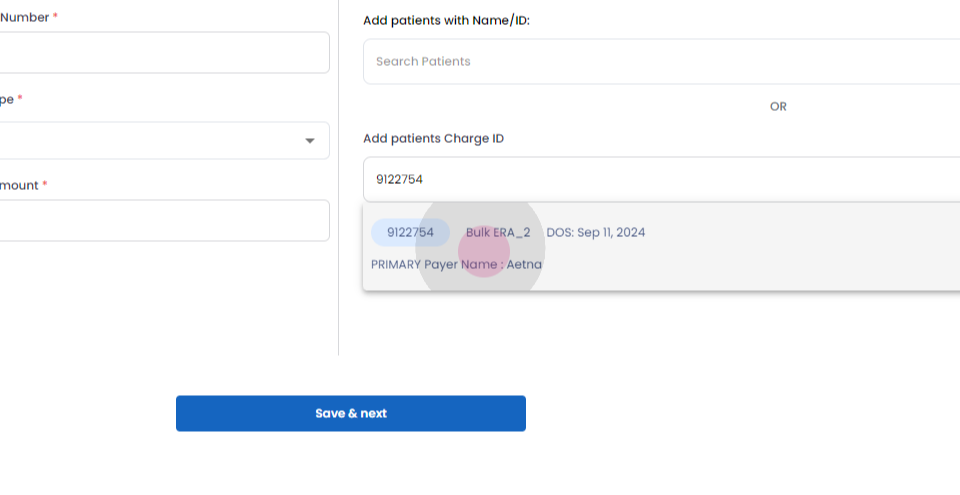
Step 4: Use the search function to find the pair.

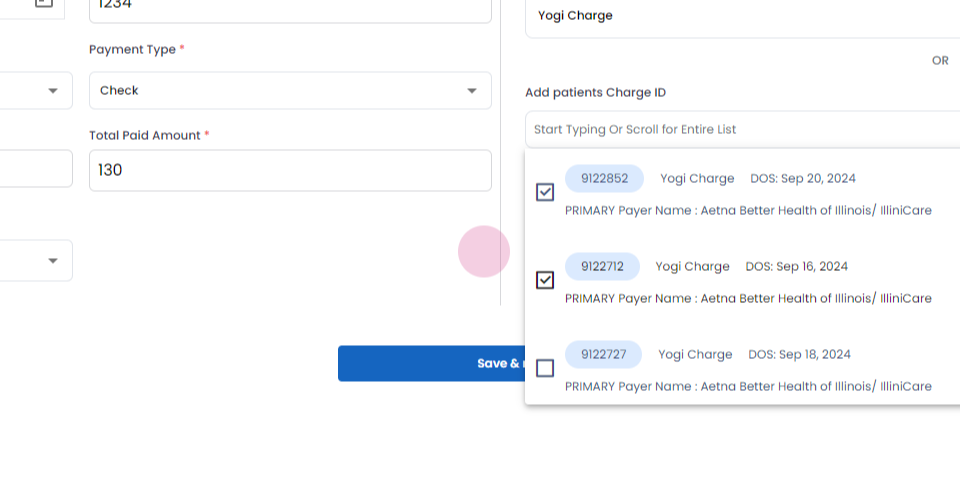
Step 5: After filling in all mandatory details, search for child IDs by the patient.


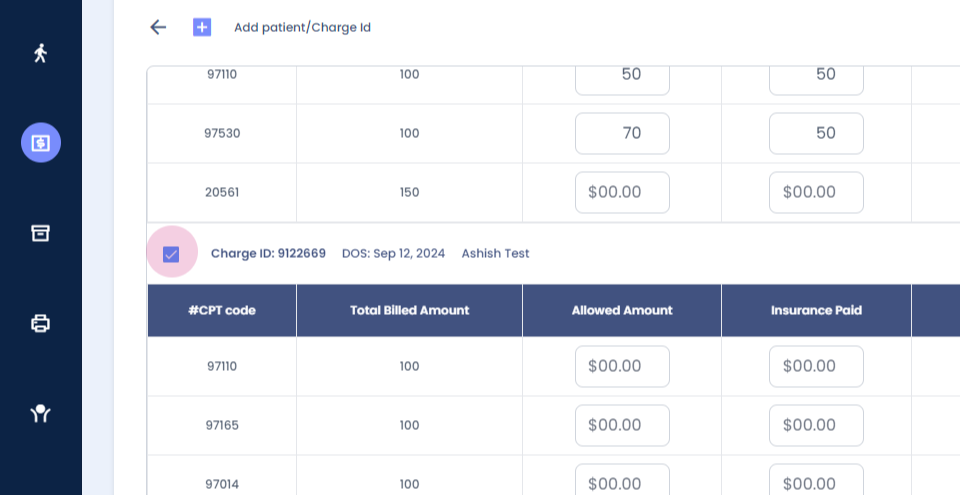
Step 6: Once a patient is selected, all the charge IDs of that patient will appear in a dropdown menu. Select multiple charge IDs as needed.
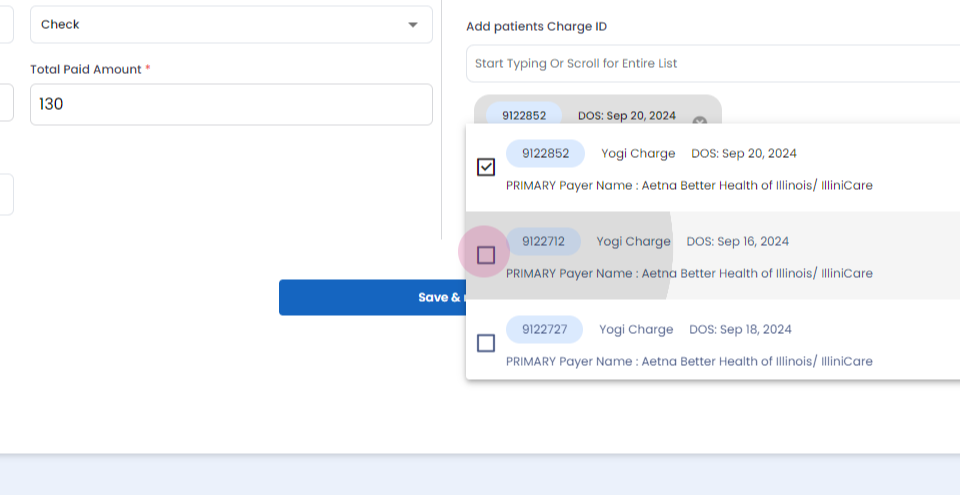

Step 7: If a charge ID is selected by mistake, it's possible to remove it.


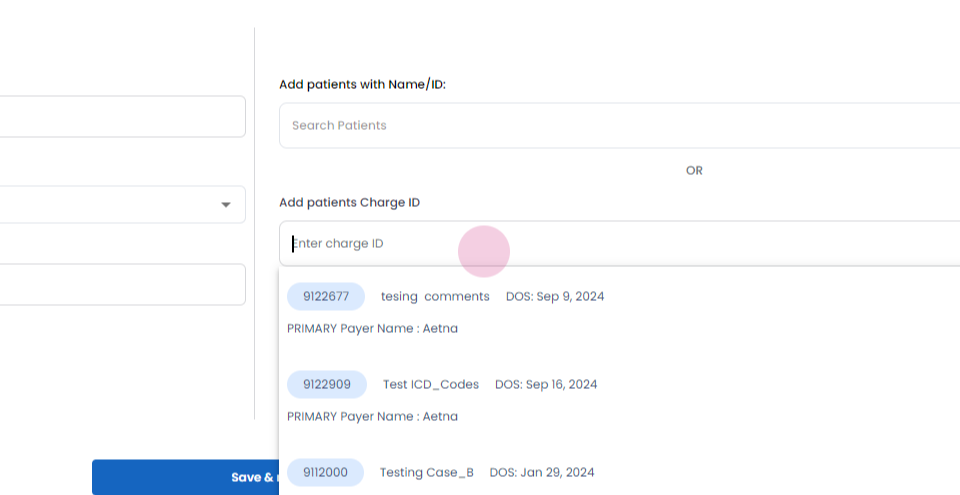
Step 8: Search by typing the charge ID.

Step 9: After typing the charge ID, it will appear in the dropdown menu.

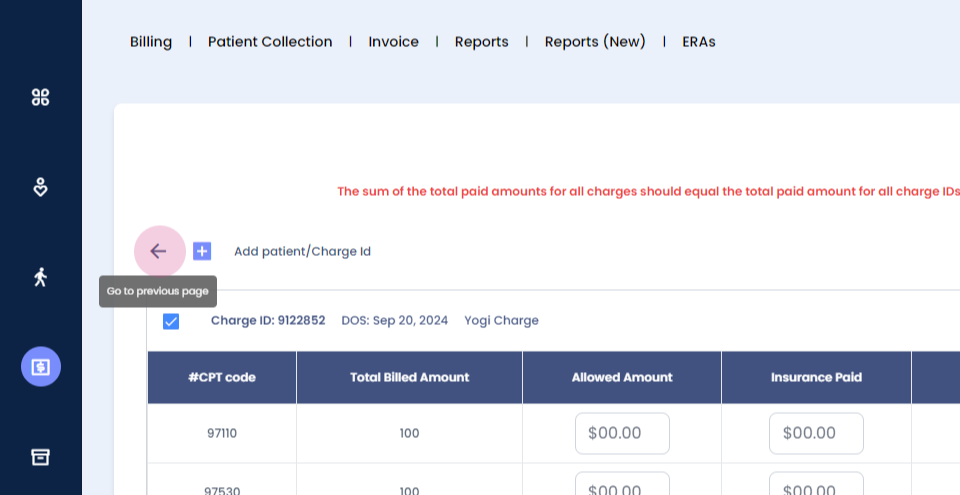
Step 10: Proceed to the next screen.

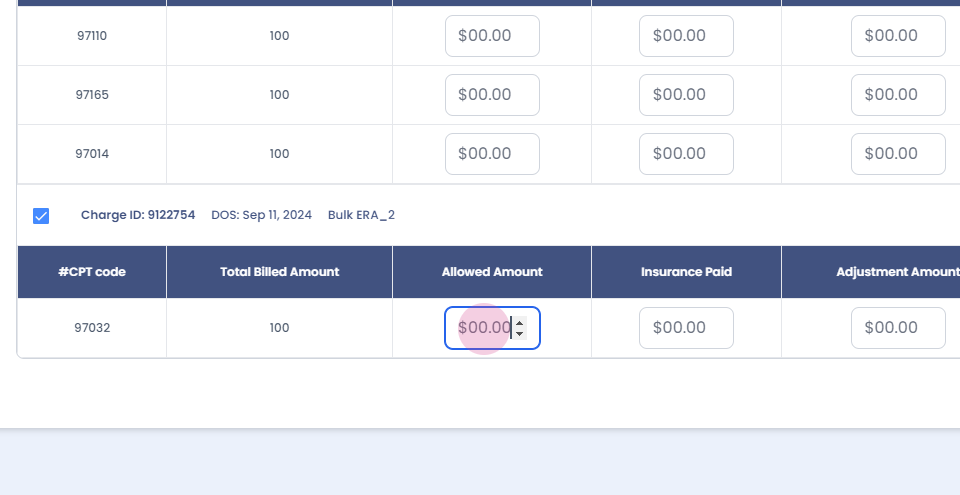
Step 11: On this screen, view all the CPT details of the selected charge ID. It's also possible to add a charge ID from this screen.

Step 12: If necessary, return to the previous screen to edit details.
Step 13: Add the charge ID again, if needed.
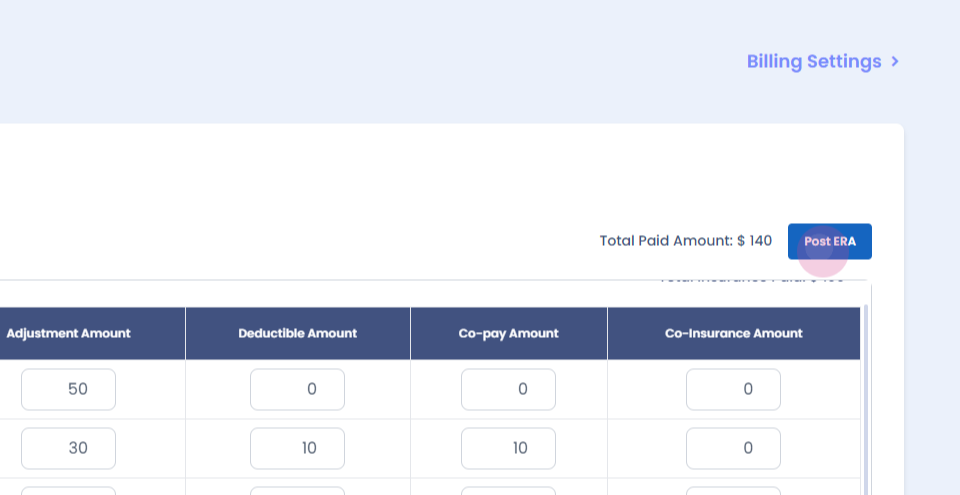
Step 14: Fill in all the required fields.
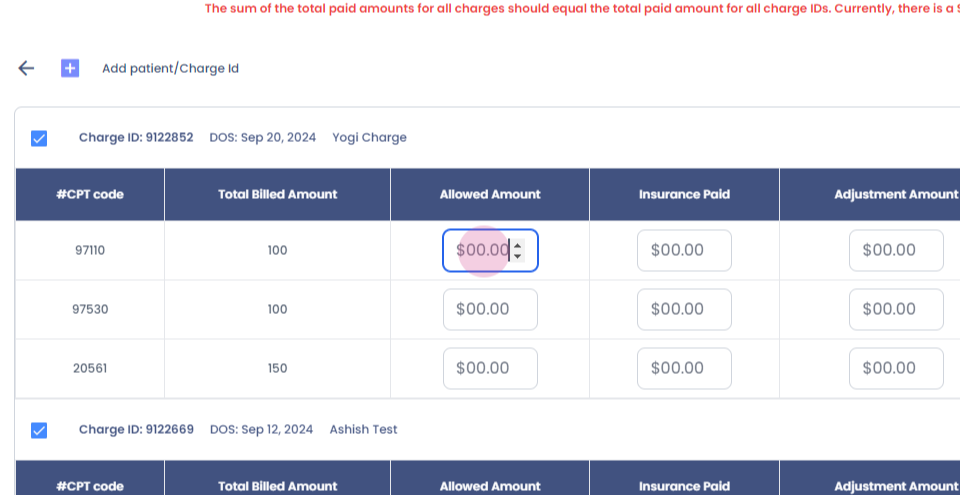
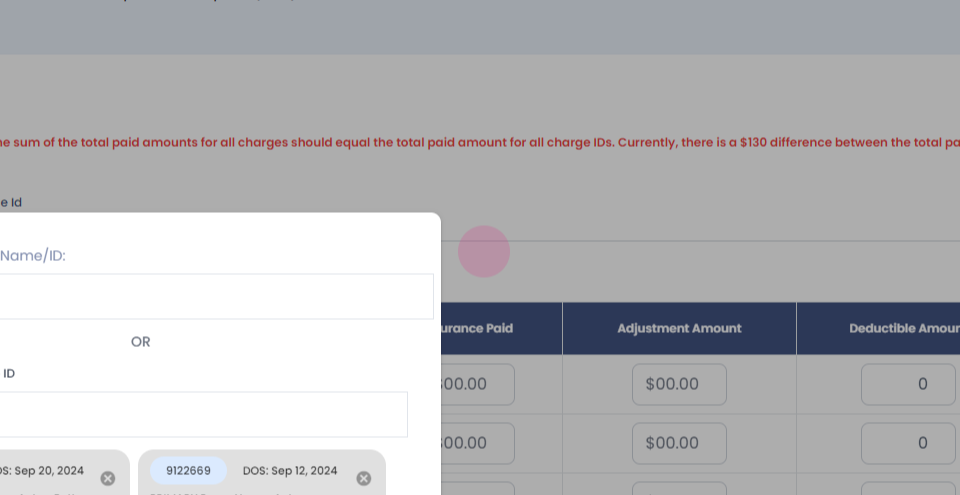
Step 15: Review all validation errors. It's necessary to resolve all validation errors before pushing the array. If needed, unselect the charge ID.
Step 16: Once all errors are resolved, click on the "Post ERA" button. If nothing is entered for a specific CPT code, the entire billed amount will be adjusted.