Billing Dashboard Overview
Explore the Spry billing dashboard and its features. This guide provides a detailed walkthrough of the dashboard, its sections, and functionalities.Start by accessing the billing dashboard. On the left-hand side, click on the money sign labeled Billing.
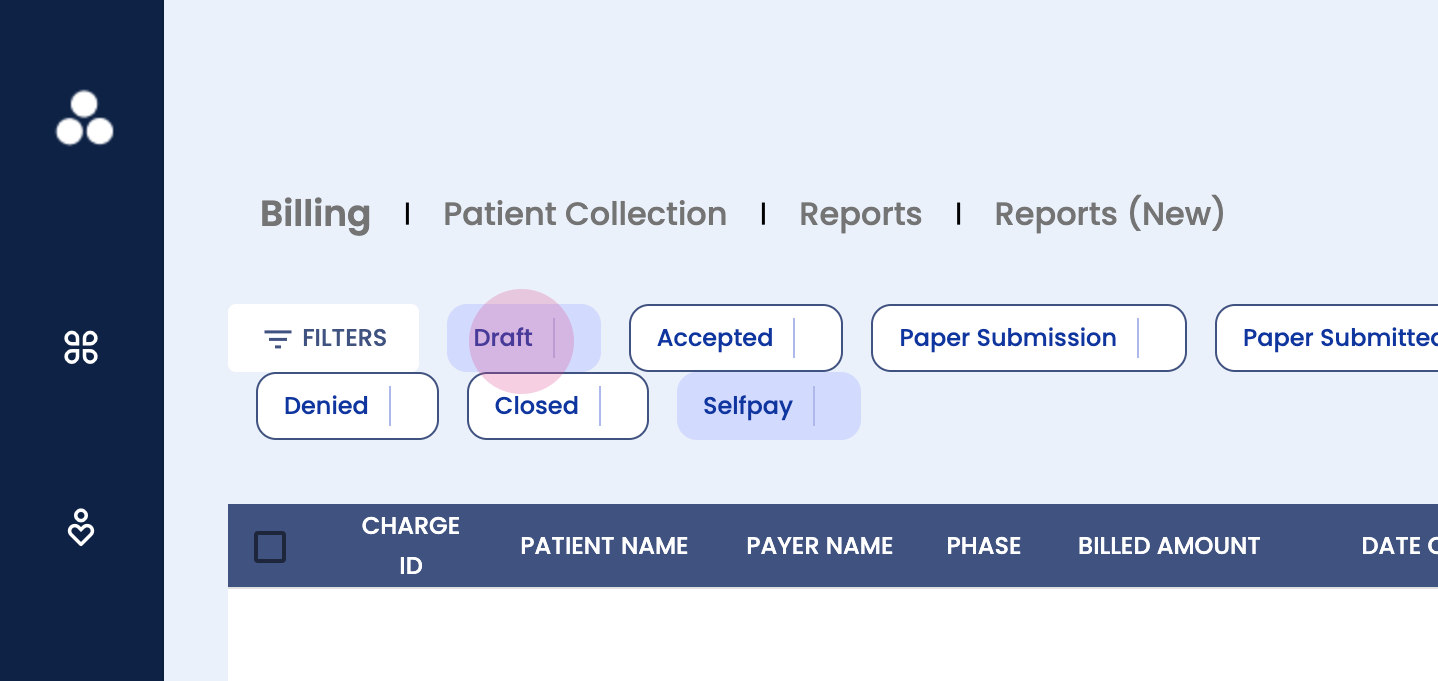
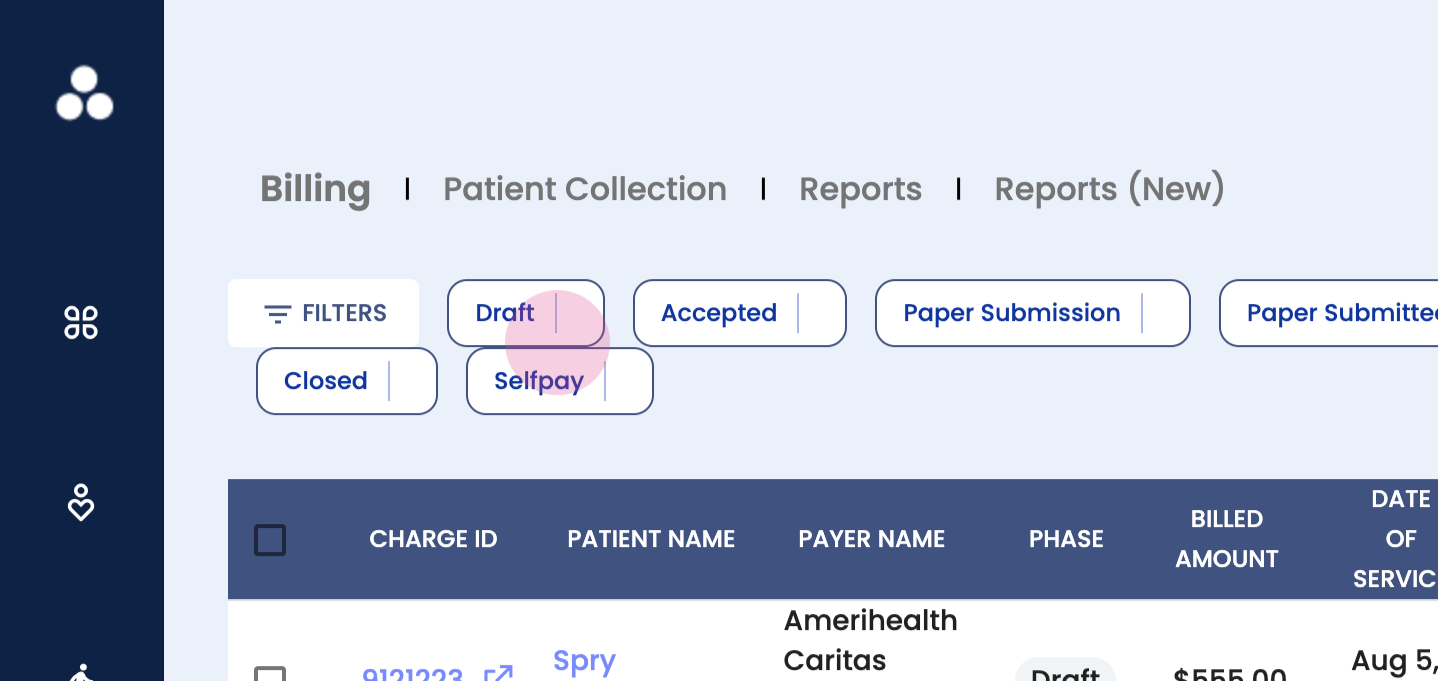
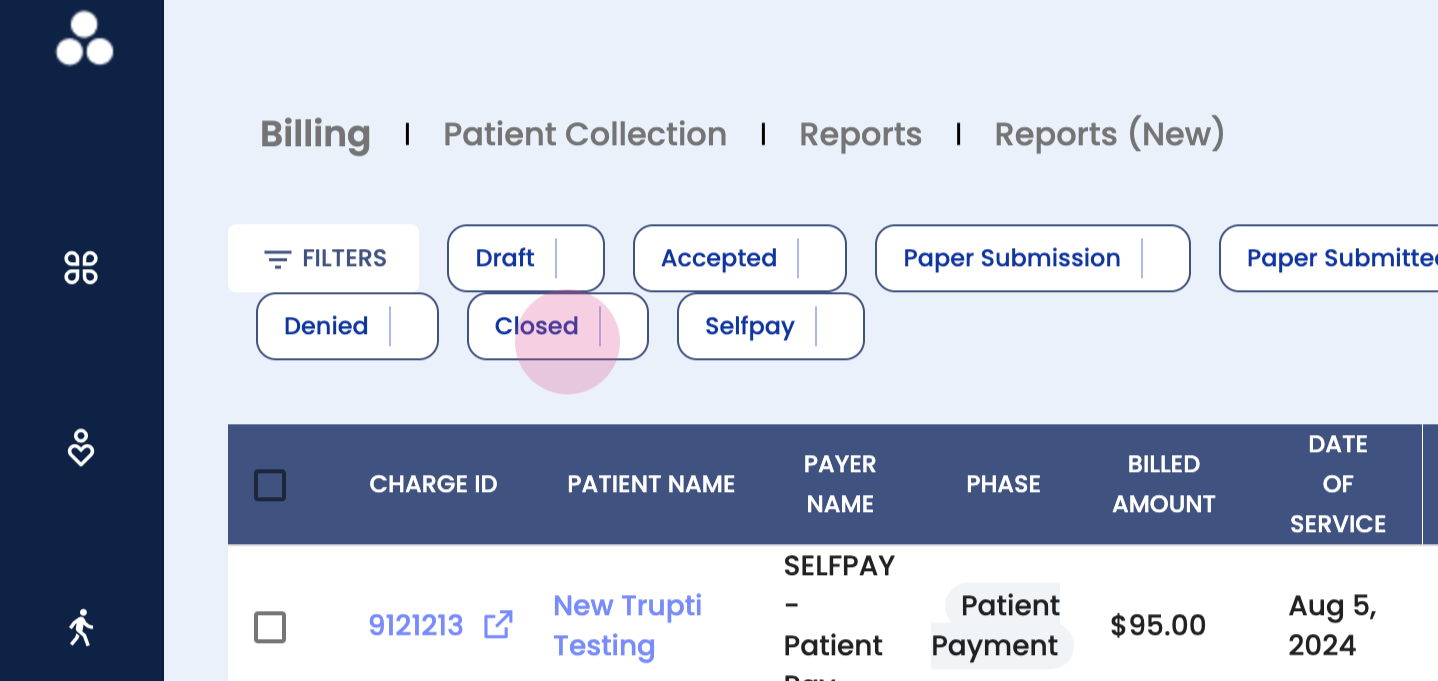
Step 1: Familiarize with the dashboard layout. Notice the different sections at the top: overall billing tab, patient collection tab, reports, and the newly added reports section. These provide a comprehensive overview of the clinic and detailed reports.
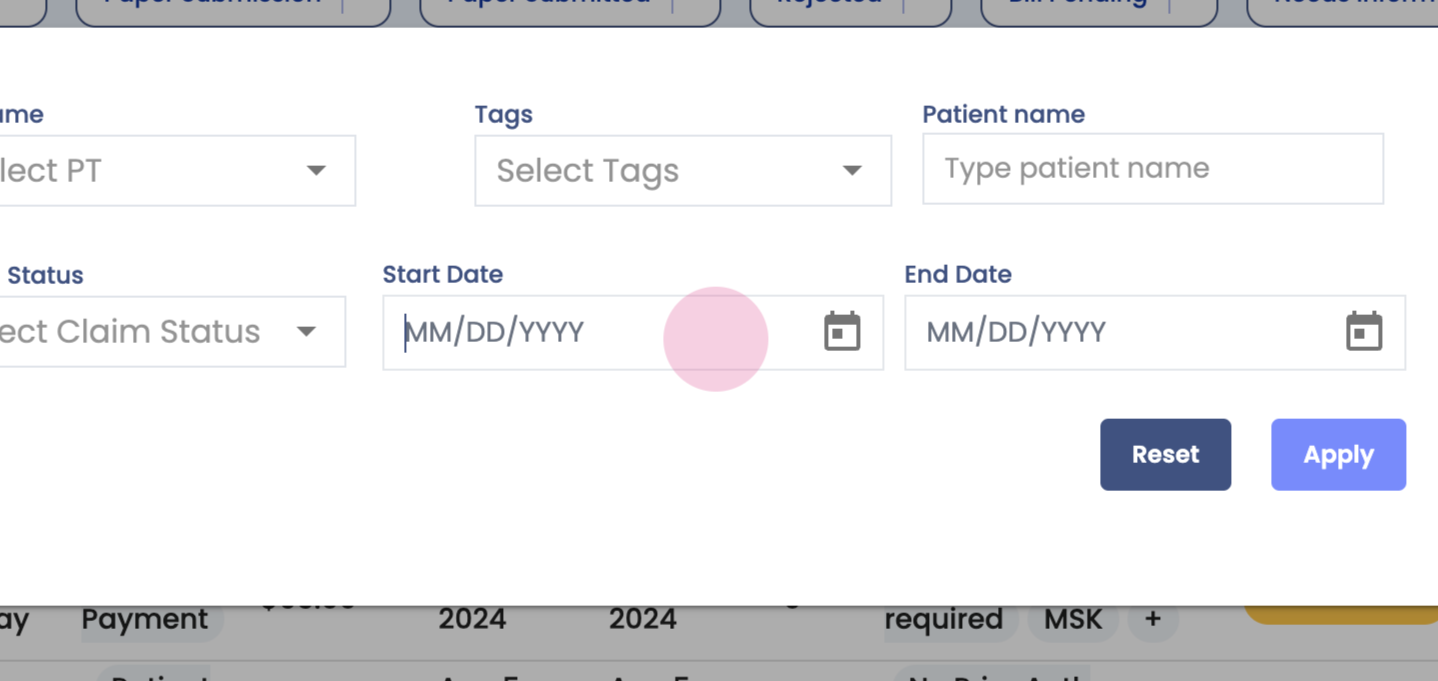
Step 2: Use the filters. Filter data by payer name, PP, tags, patient names, charge ID, claim statuses, or set a date range. For this guide, leave these filters empty.

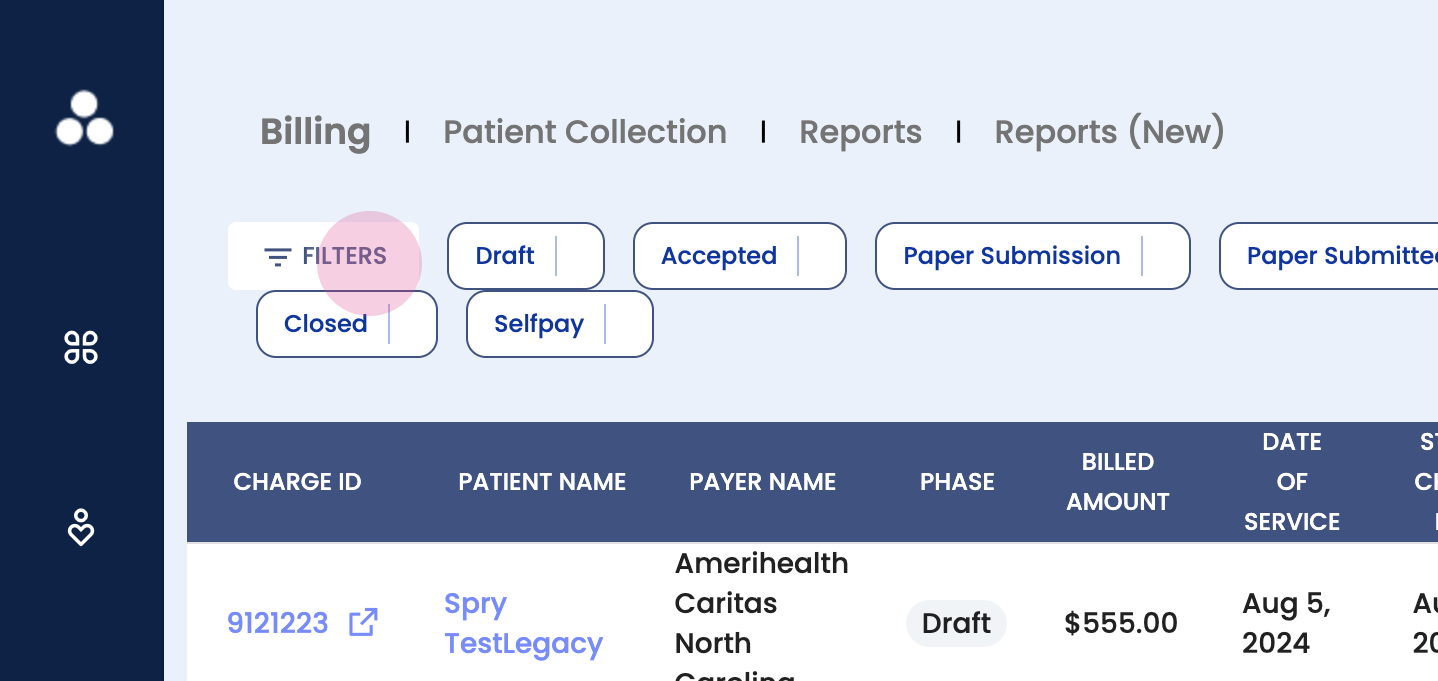
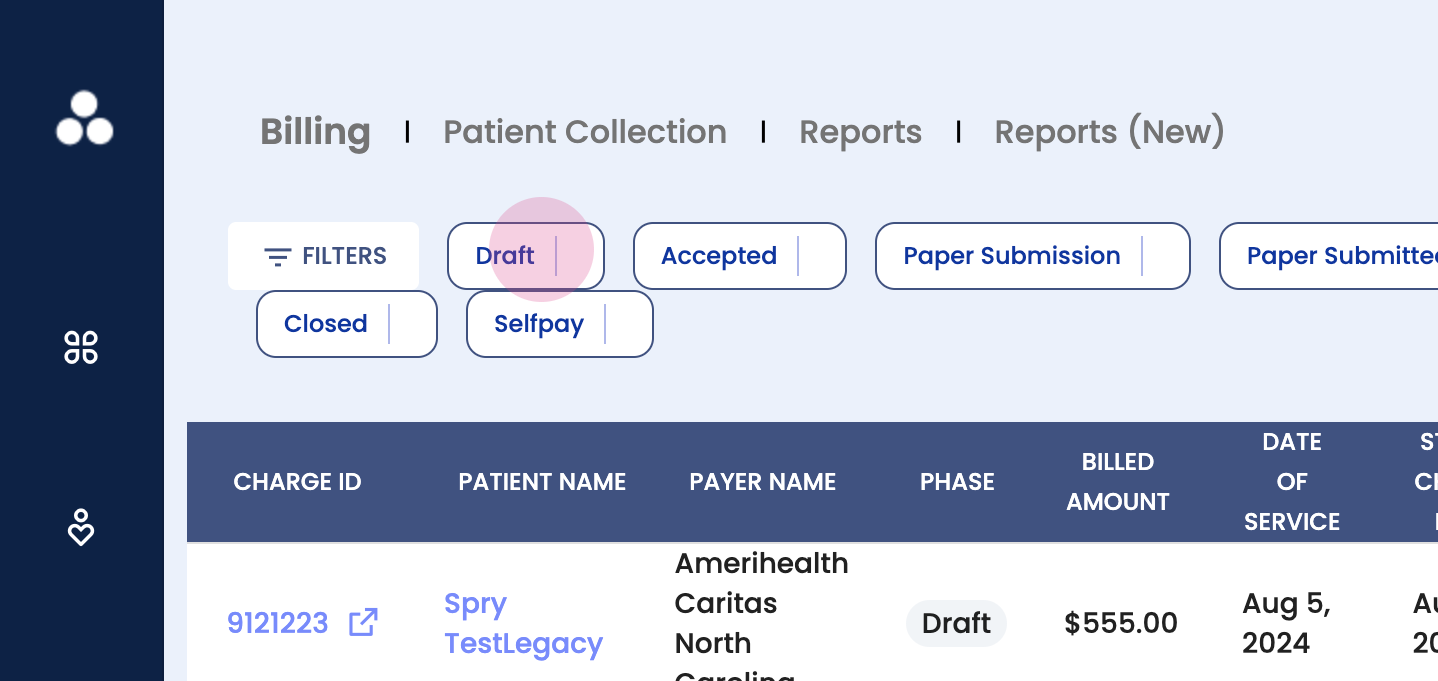
Step 3: Understand the claim buckets. The dashboard displays different buckets where claims can sit. The first one is Draft.
Step 4: Explore the Draft section. This is where claims are prepared before submission. Here, view all claims ready for submission, make edits or changes as needed, update the overall status, submit the claim, write it off, or edit it.
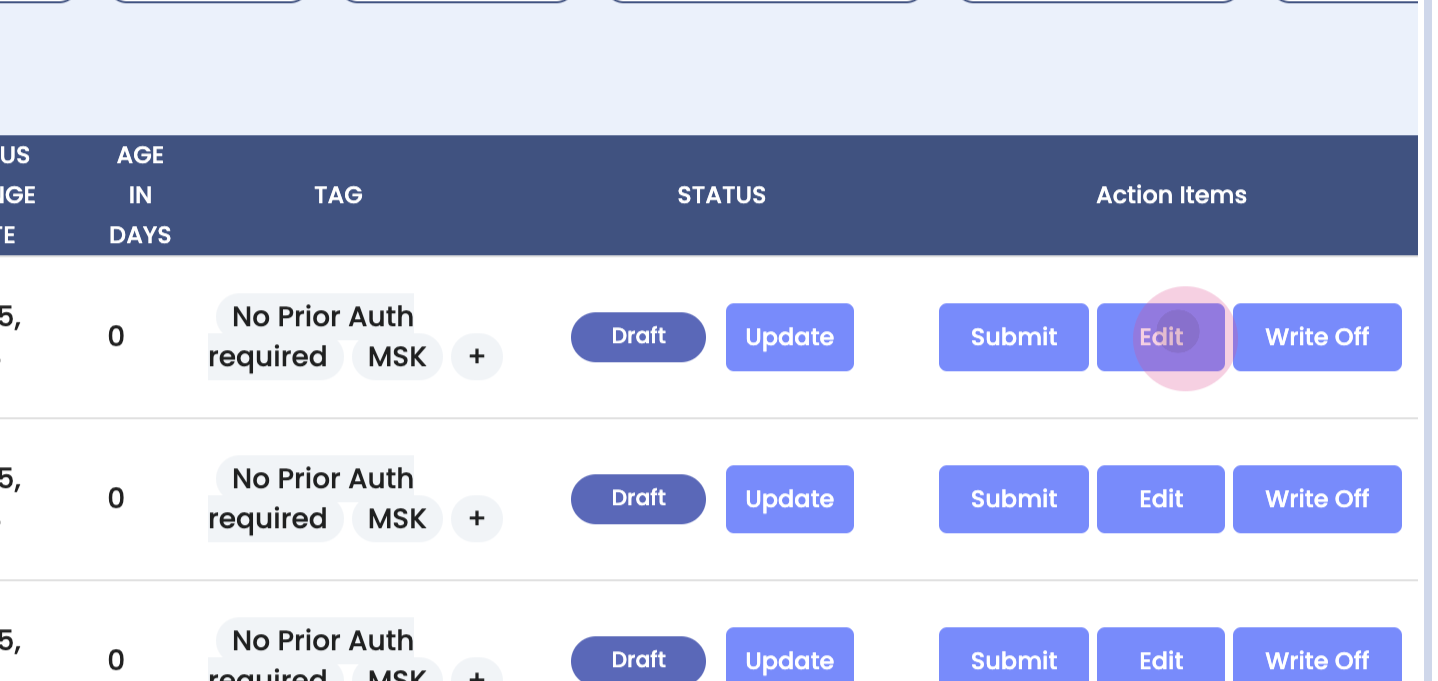
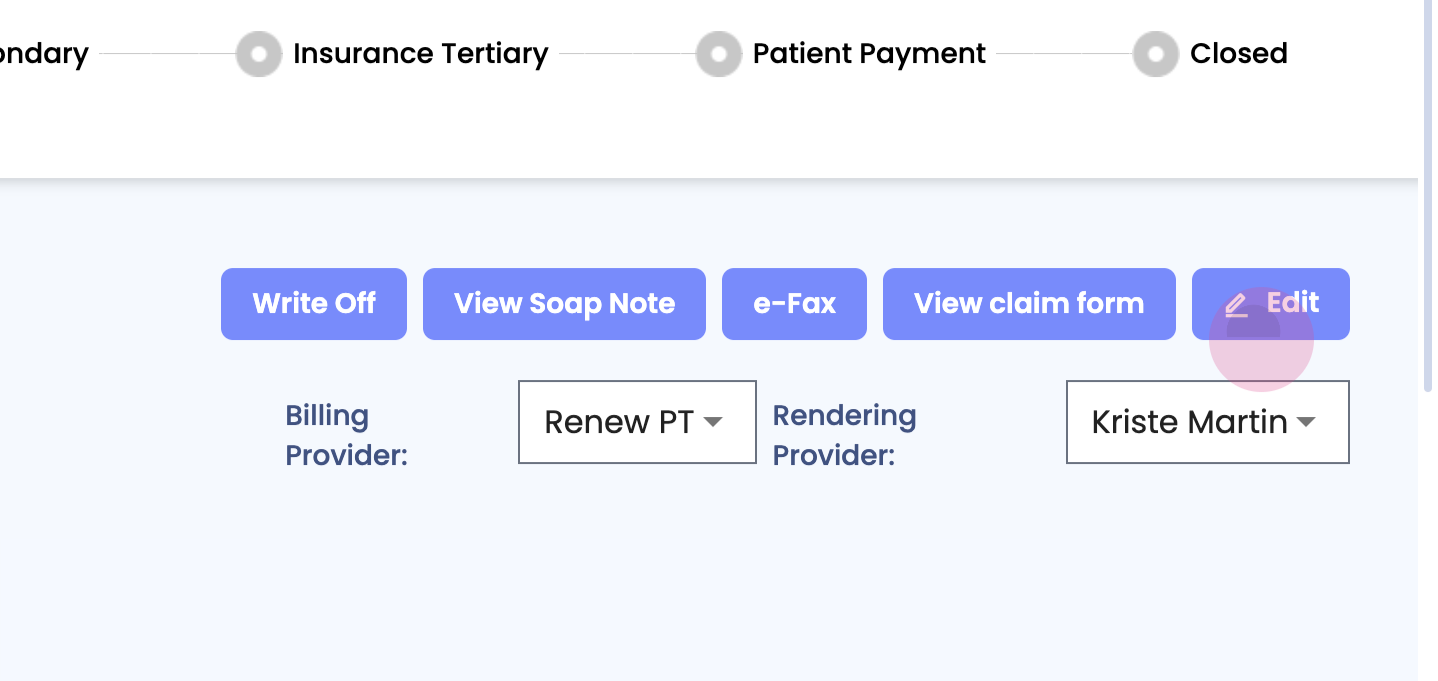
Step 5: Edit a claim. Clicking on edit takes into the actual claim. Click on the edit button at the top.
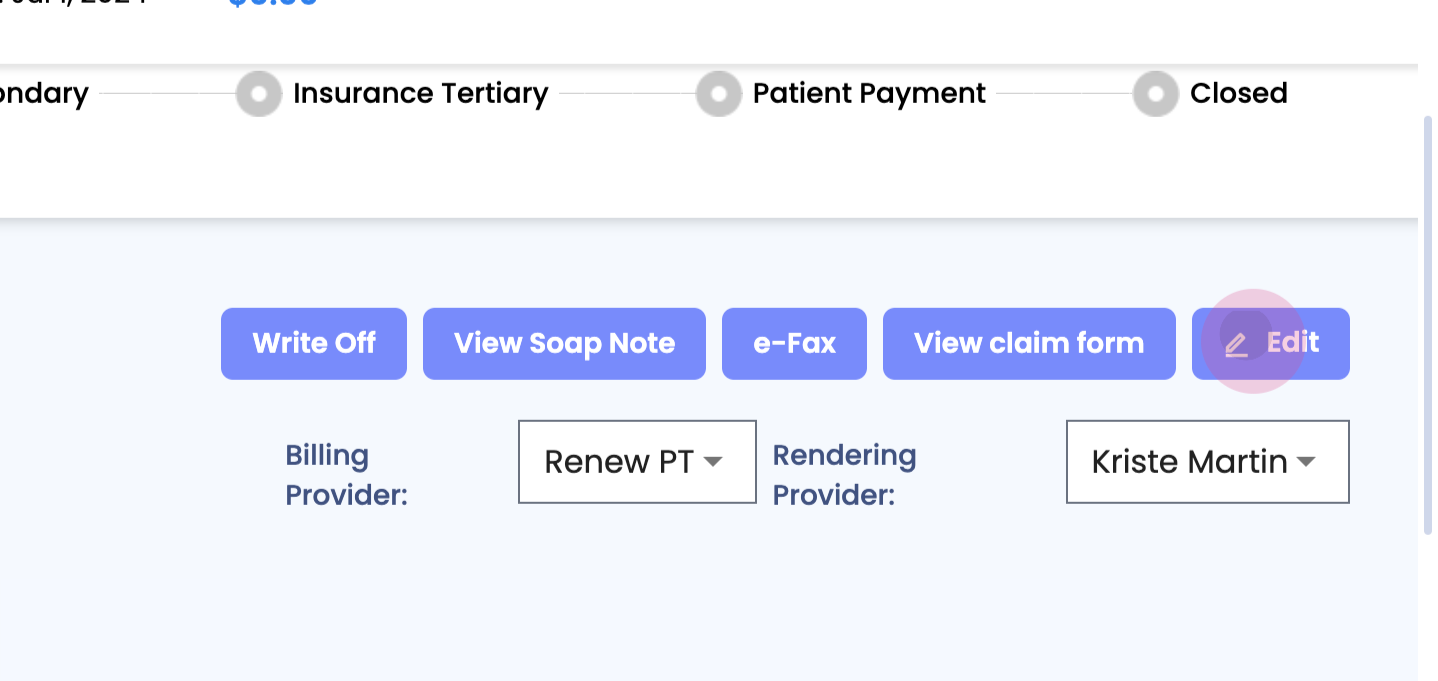
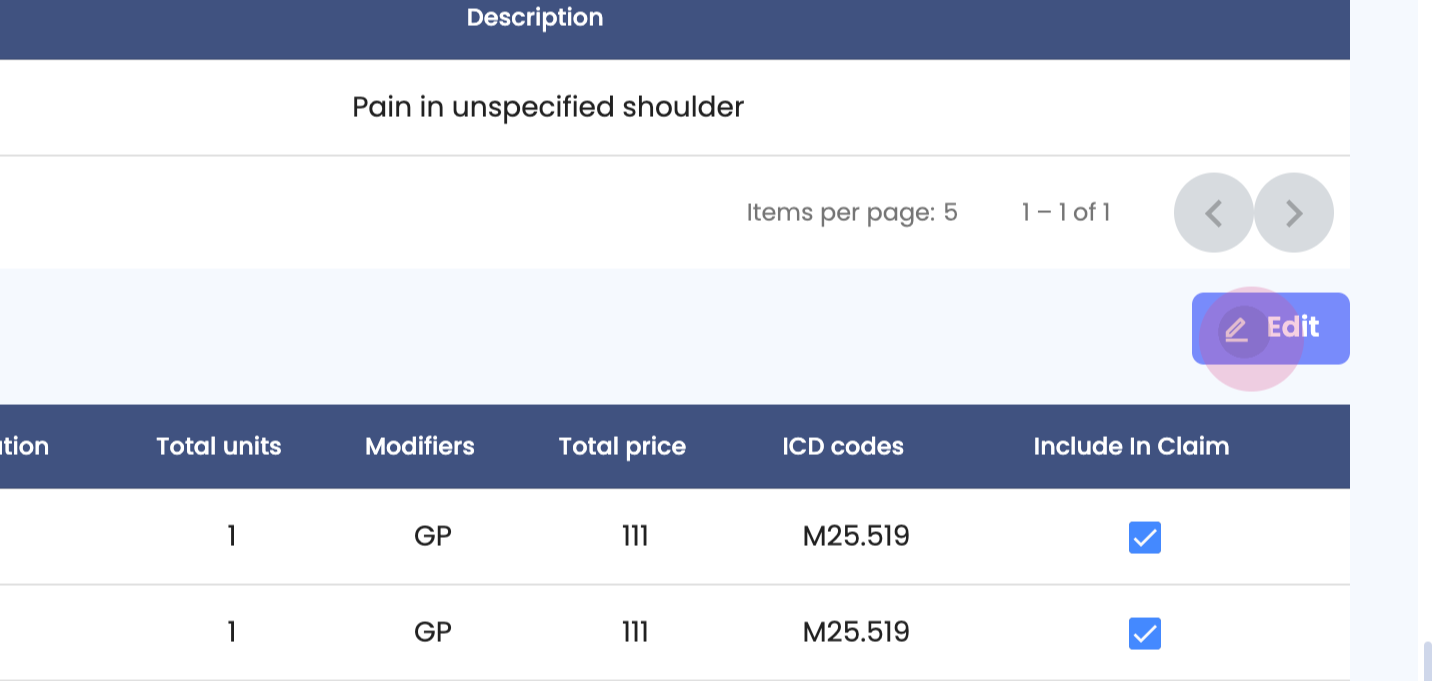
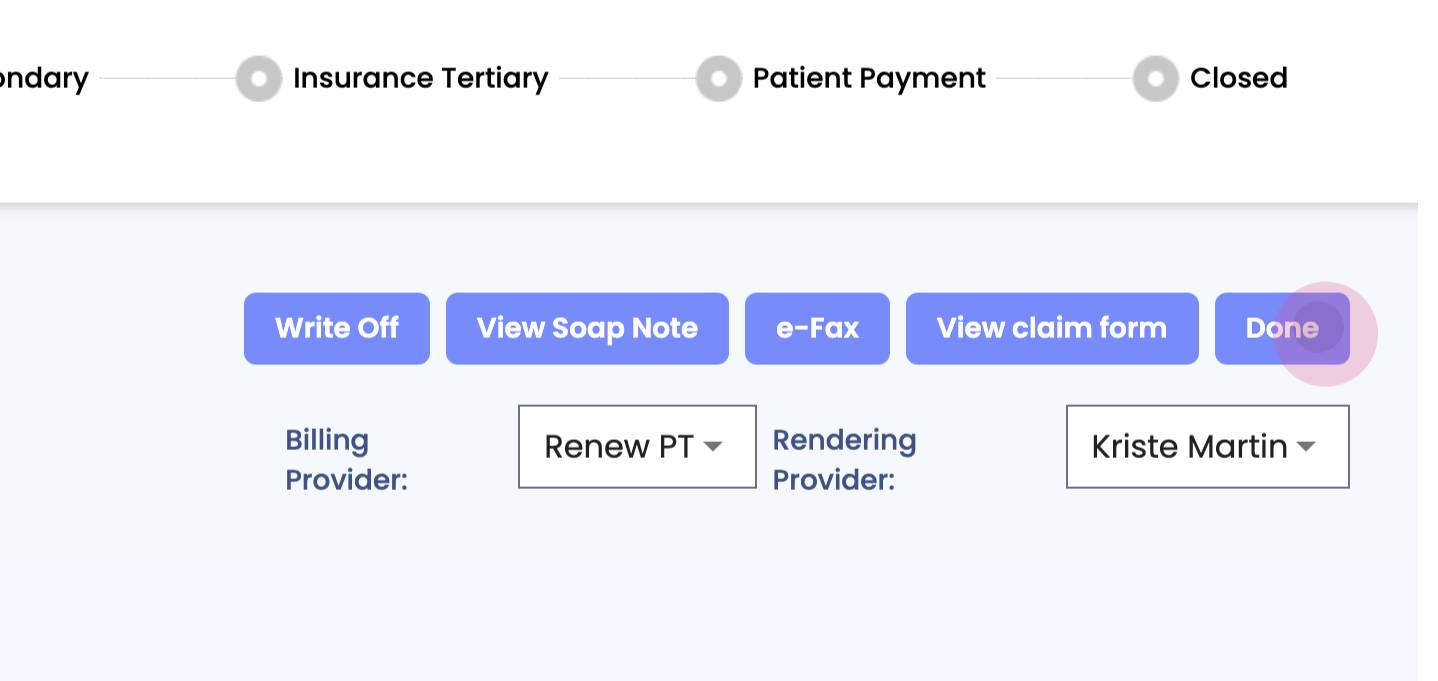
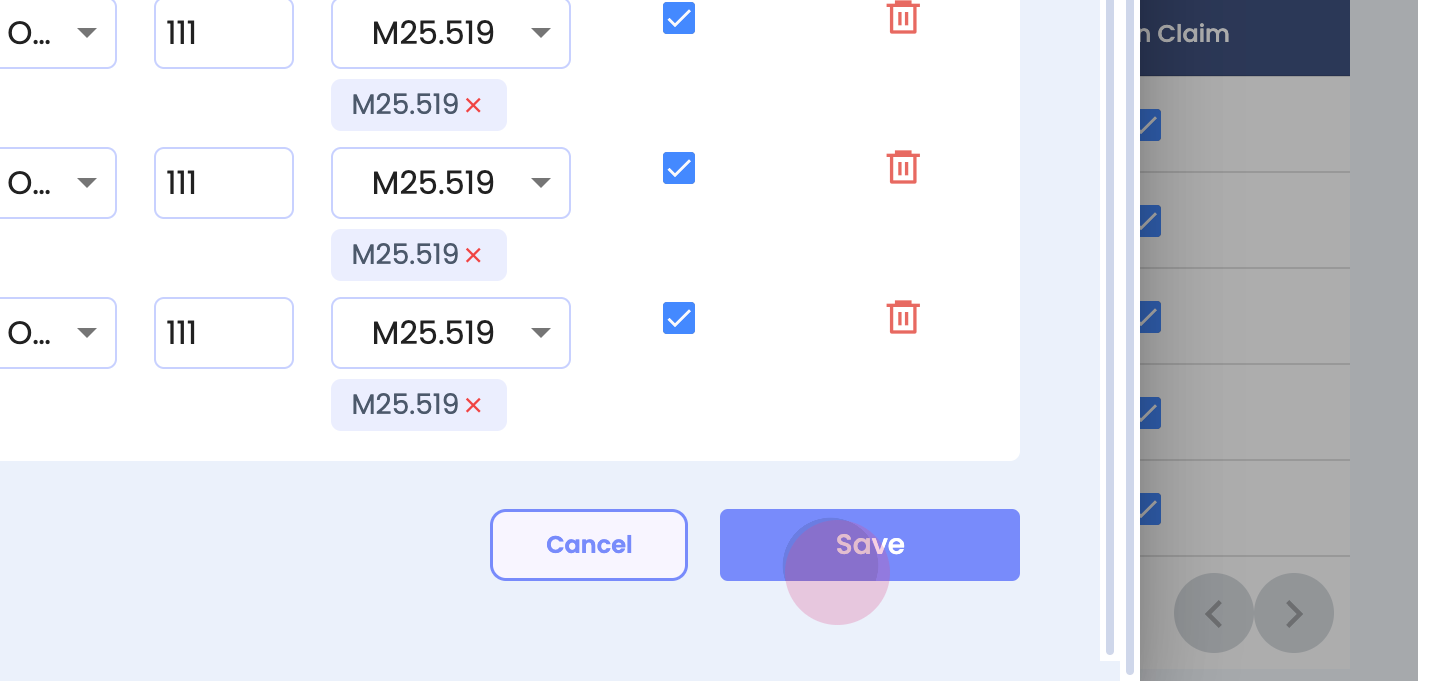
Step 6: Edit details such as the ICD code or the CPT code. Ensure these are correct before sending them out. Once done, click on done to save changes.
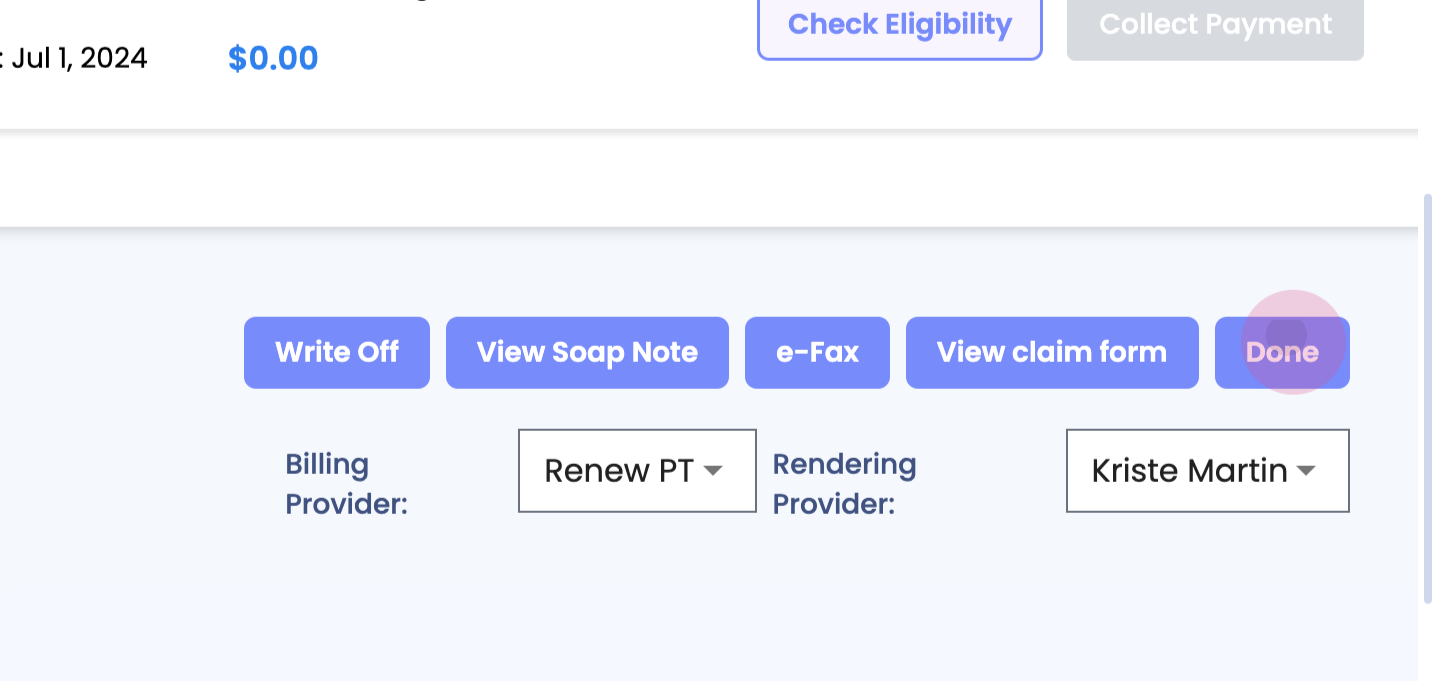
Step 7: To save the changes. Click on save.
Step 8: Return to the dashboard. Click on Draft again. If desired, submit the claim.

Step 9: Understand the Accepted bucket. These are claims that have been accepted by the clearinghouse. Once paid by the insurance payer, they move to the Bill Pending section.

Step 10: Understand the bill pending section. This is where the patient responsibility lies. Once the patient pays their portion, closing the claim, it moves to the Close section.
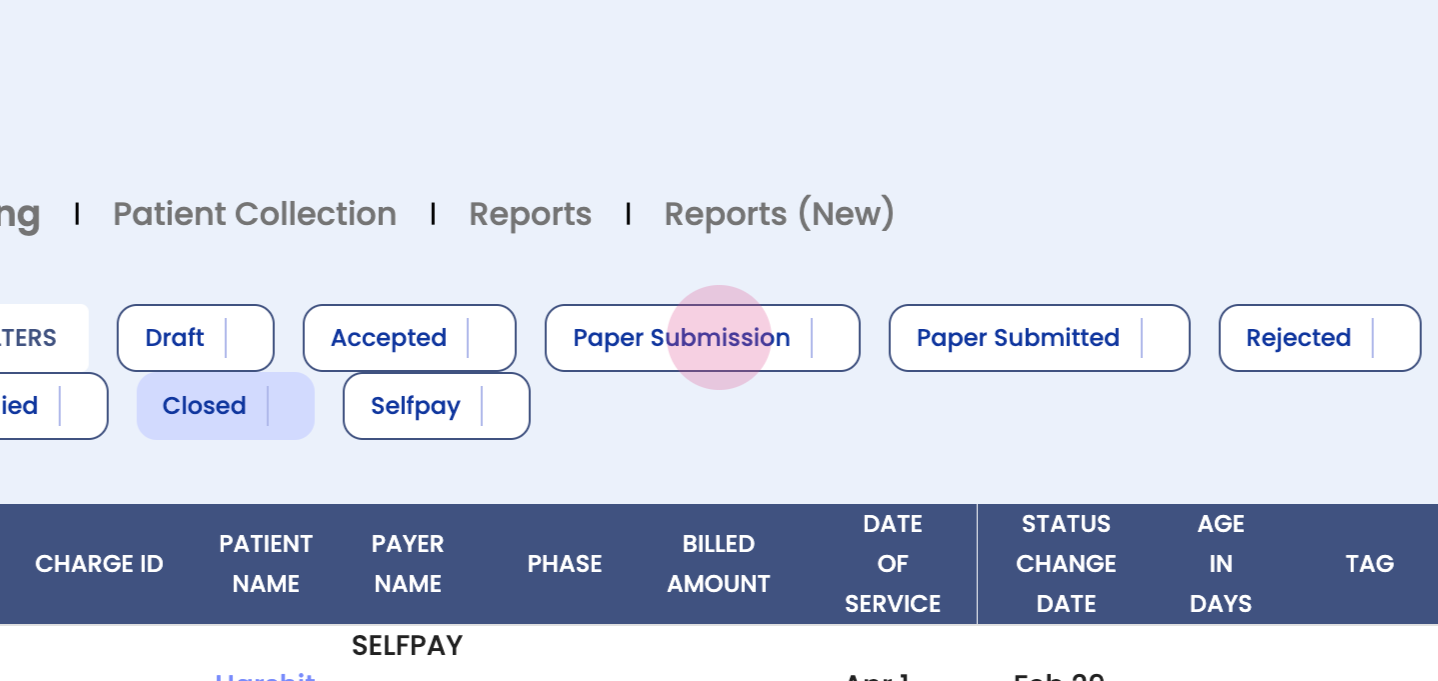
Step 11: Understand the paper submission buckets. Some payers require a paper submission. These claims are tracked in the Paper Submission and Paper Submitted sections.

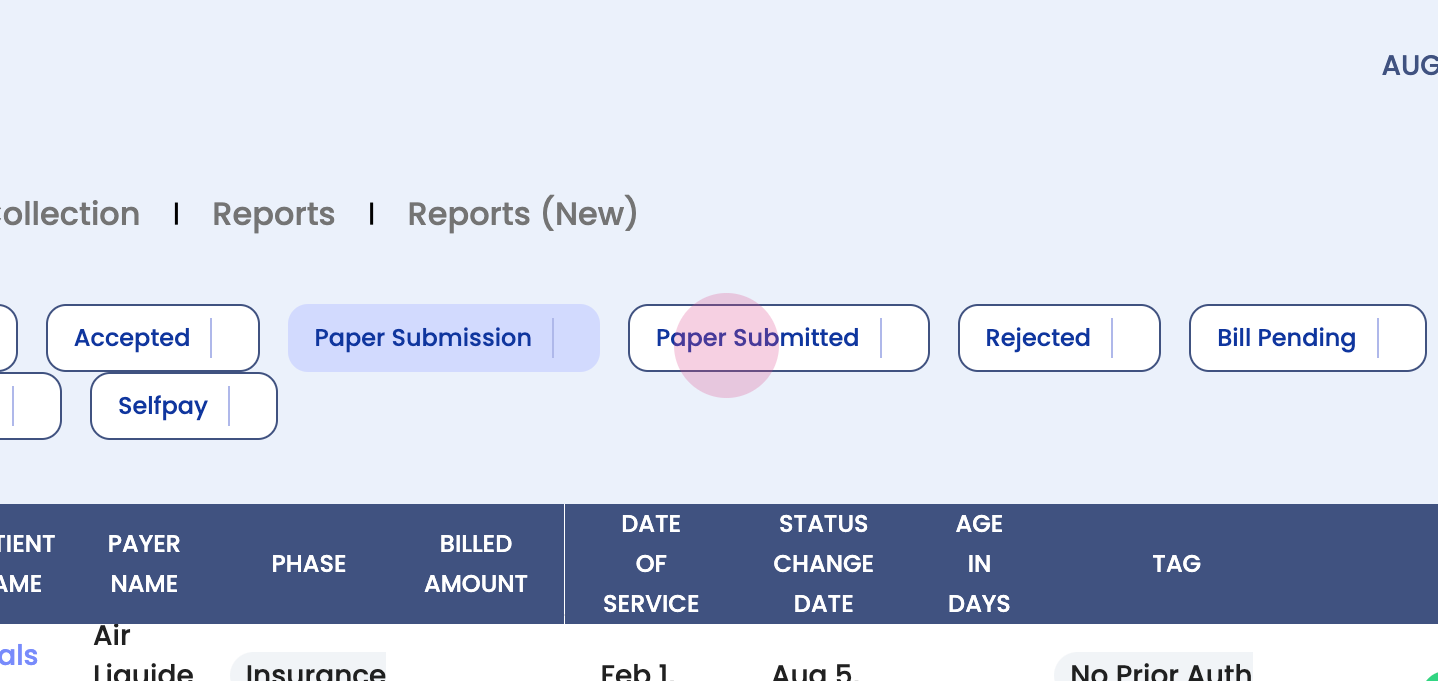
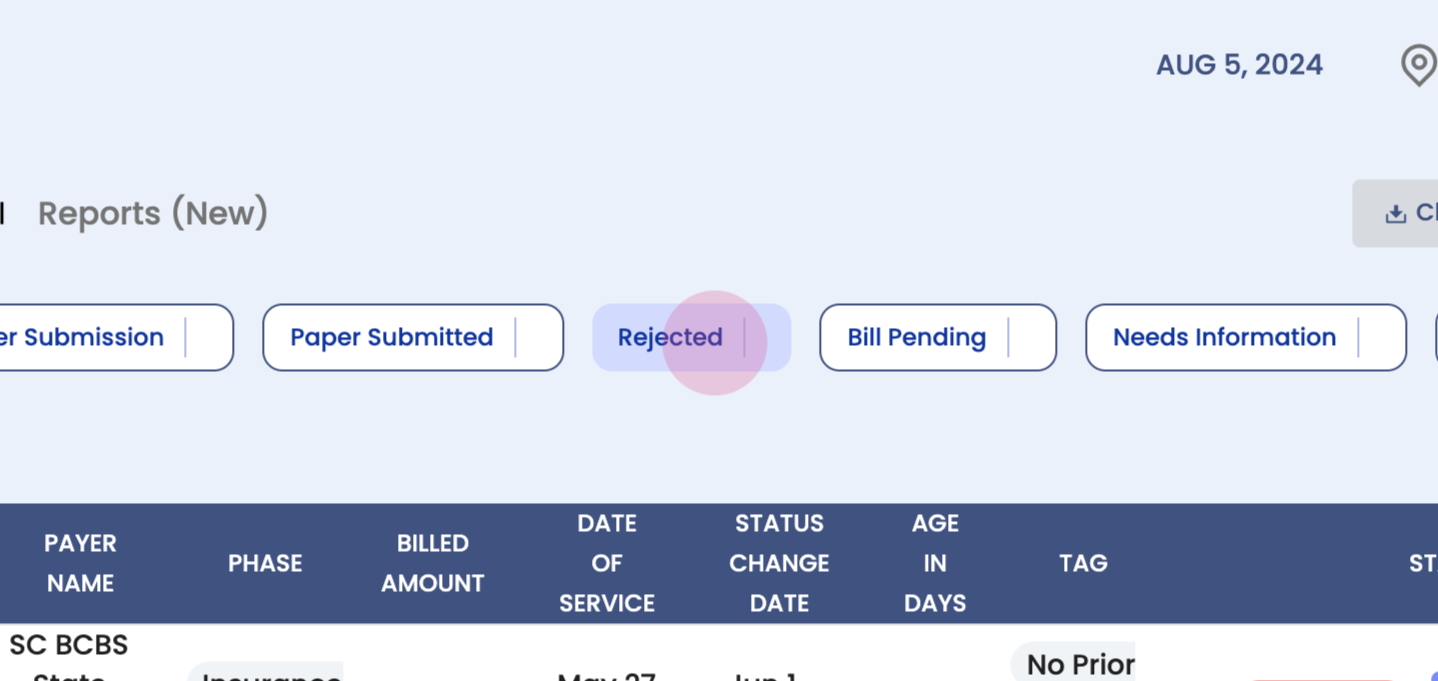
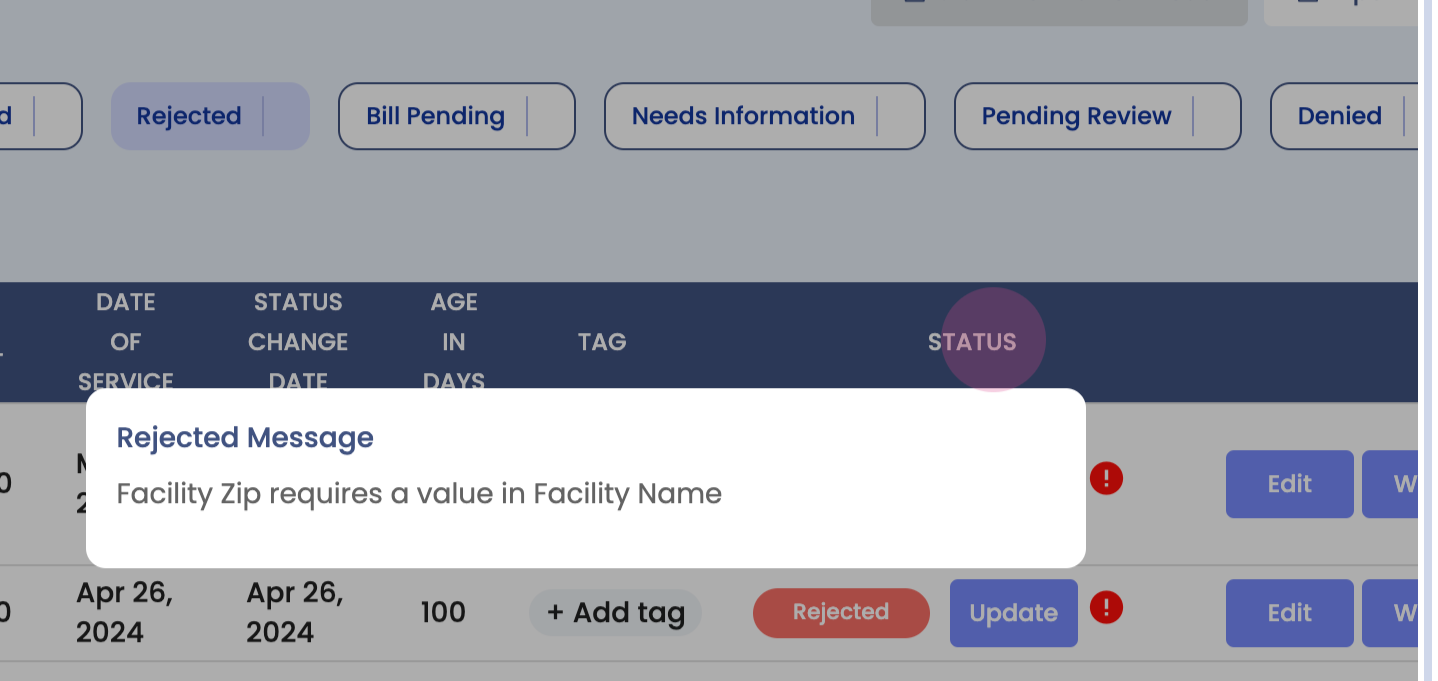
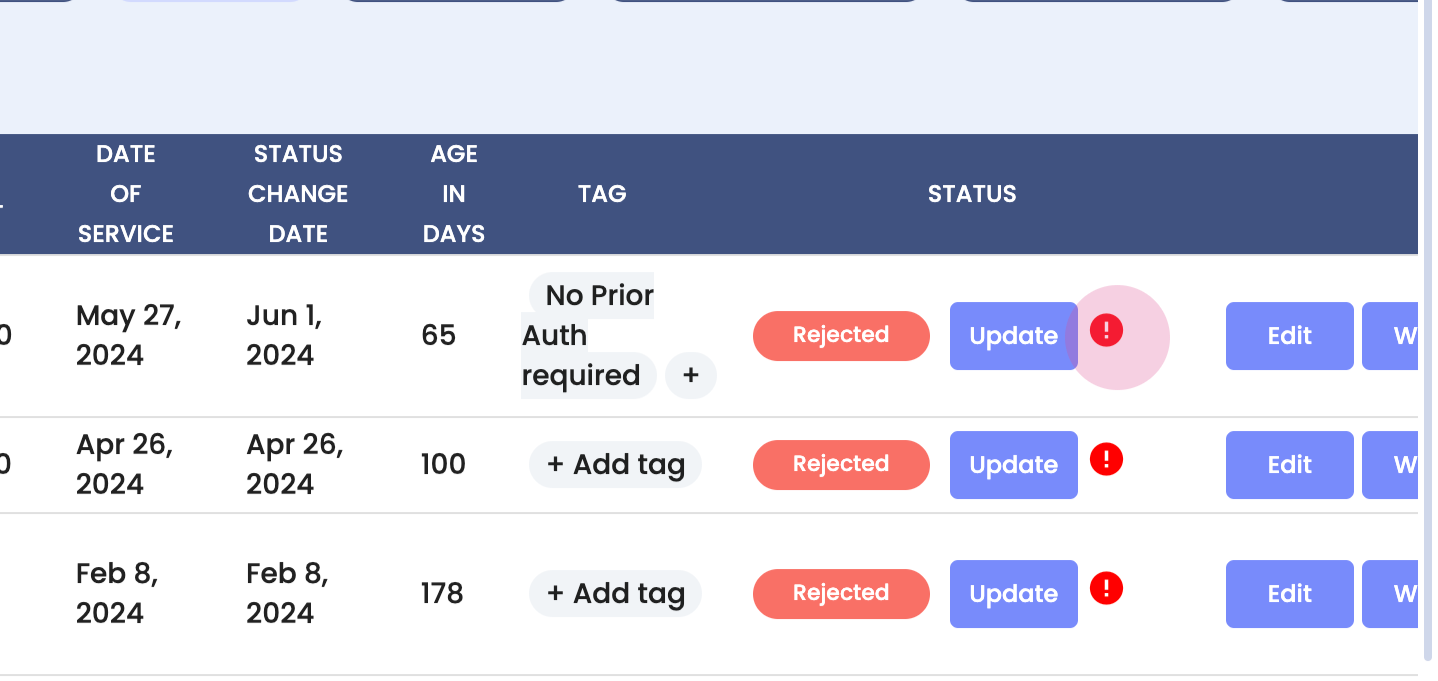
Step 12: Understand the Rejected bucket. These are claims that have been rejected by the clearinghouse. The reasons for rejection are provided for review and correction before resubmission.
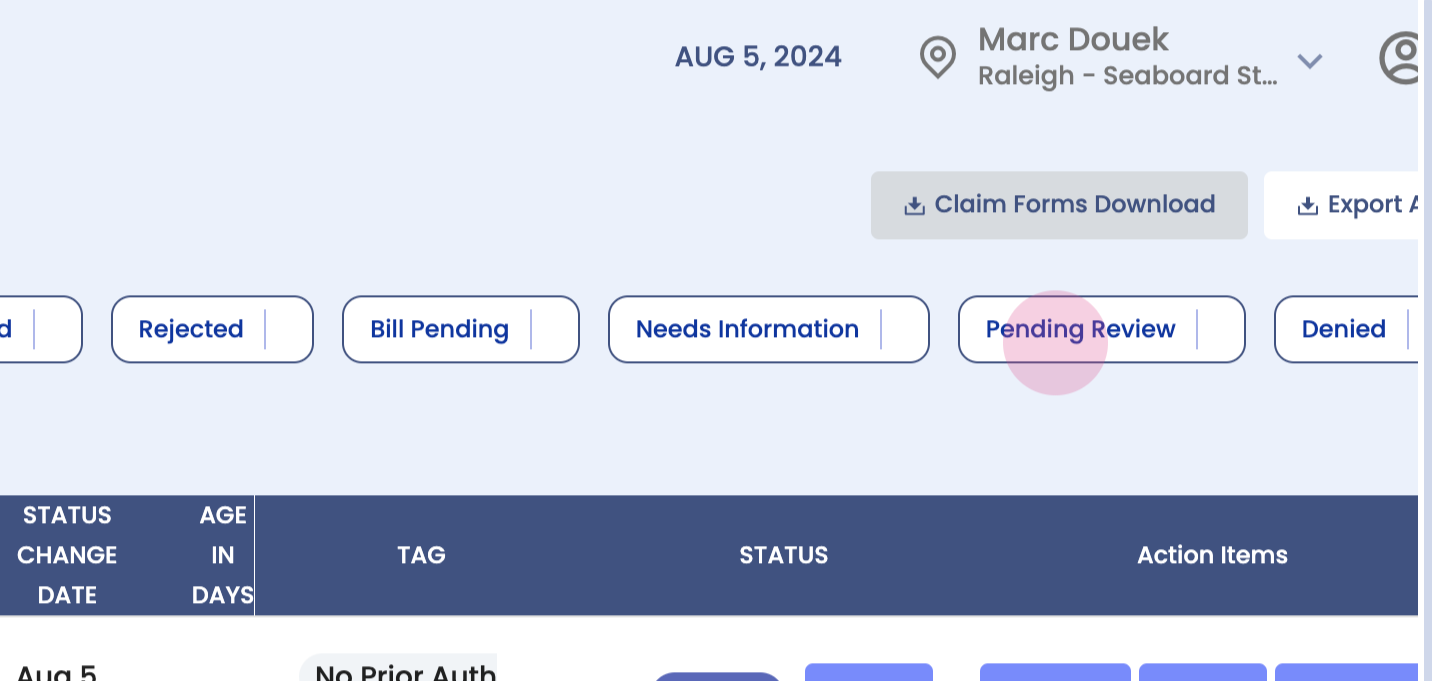
Step 13: Understand the Pending Review section. This is where claims with partial payments are reviewed to ensure full payment.

Step 14: Understand the Denied section. These are claims denied by the payer, not the clearinghouse. The reasons for denial are provided.
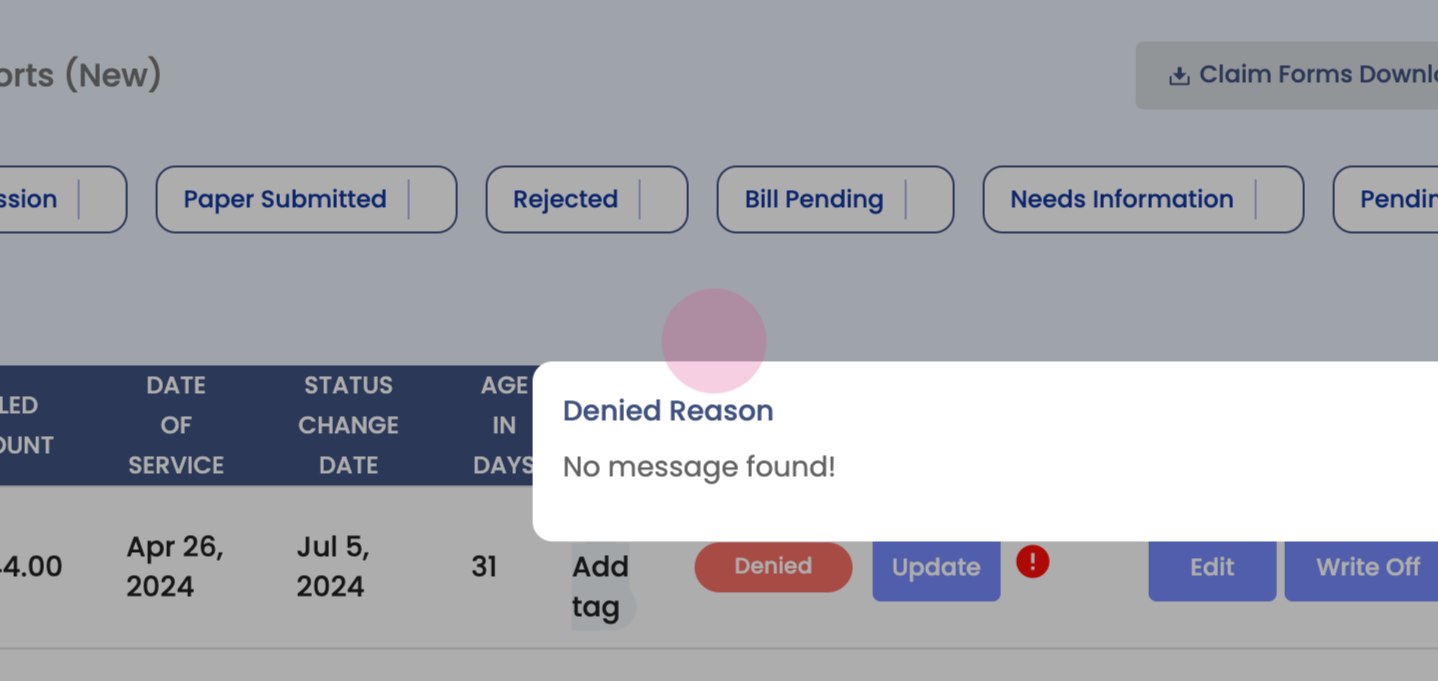

Step 15: Edit a denied claim. Make necessary changes and resubmit the claim.
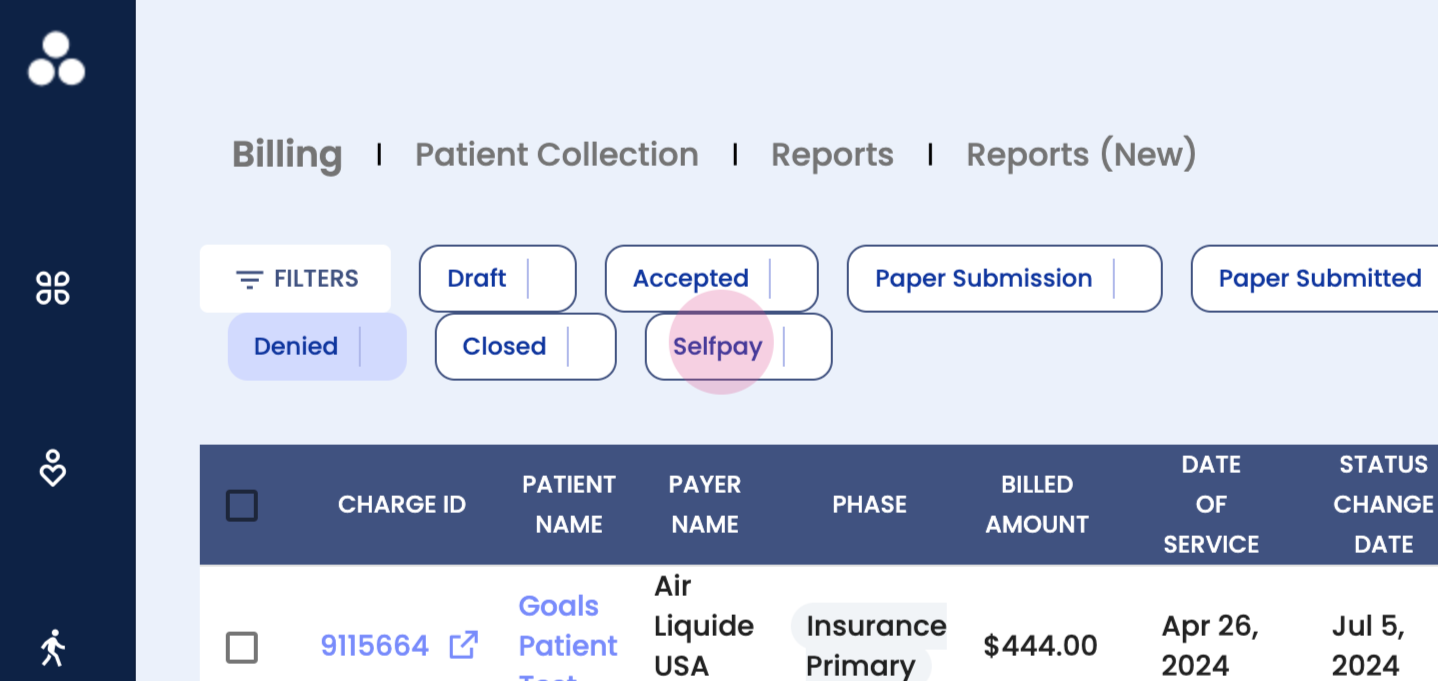
Step 16: Understand the Self Pay bucket. This is where all self pay claims are tracked.