
Lead Management Feature Overview
How to Use the New Lead Management Feature in the Task Dashboard
This guide walks you through the new Lead Management feature, designed to help you track and manage patient leads directly within your Task Dashboard. Learn how to view, update, and act on leads efficiently — all in one place.
Step 1: Open the Task Dashboard from the main menu.
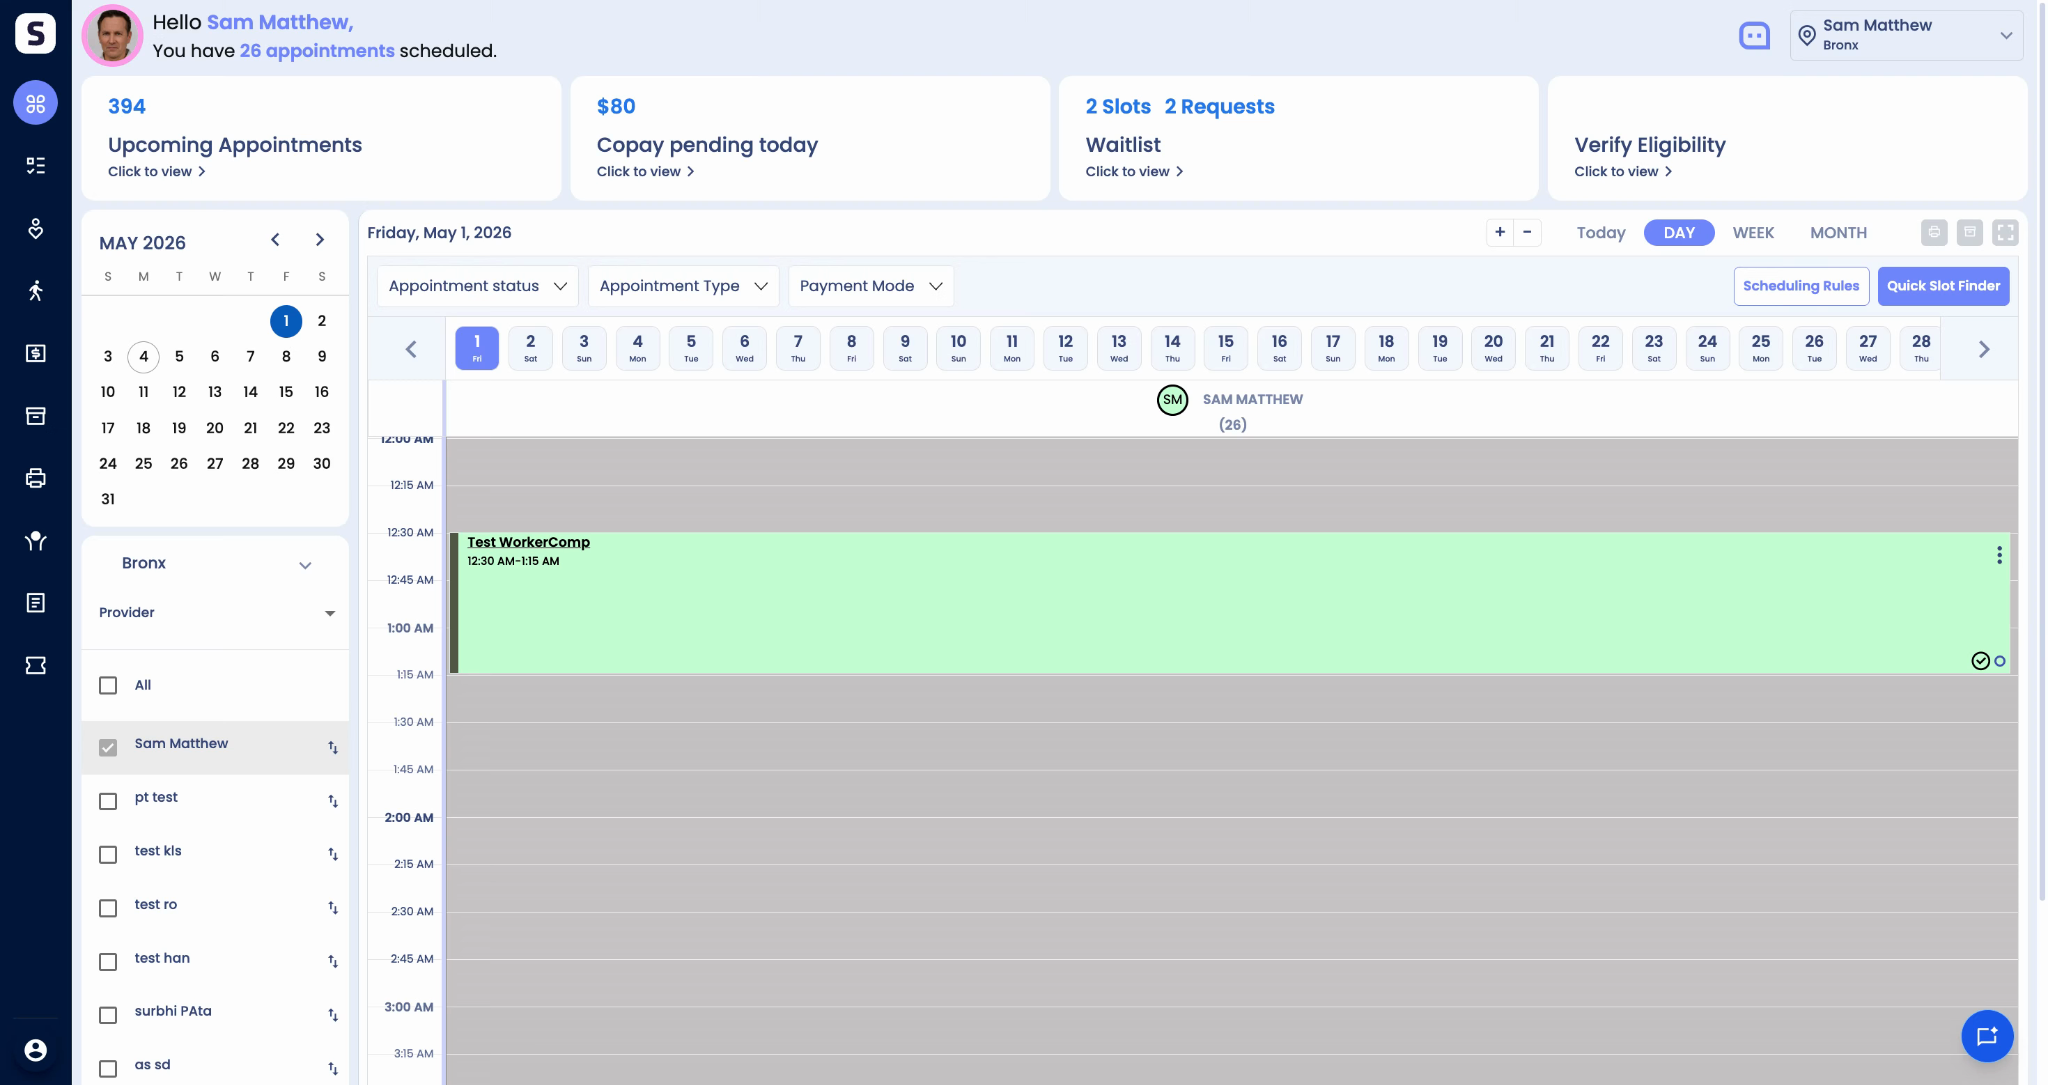
Step 2: Navigate to the new Lead Management tab.
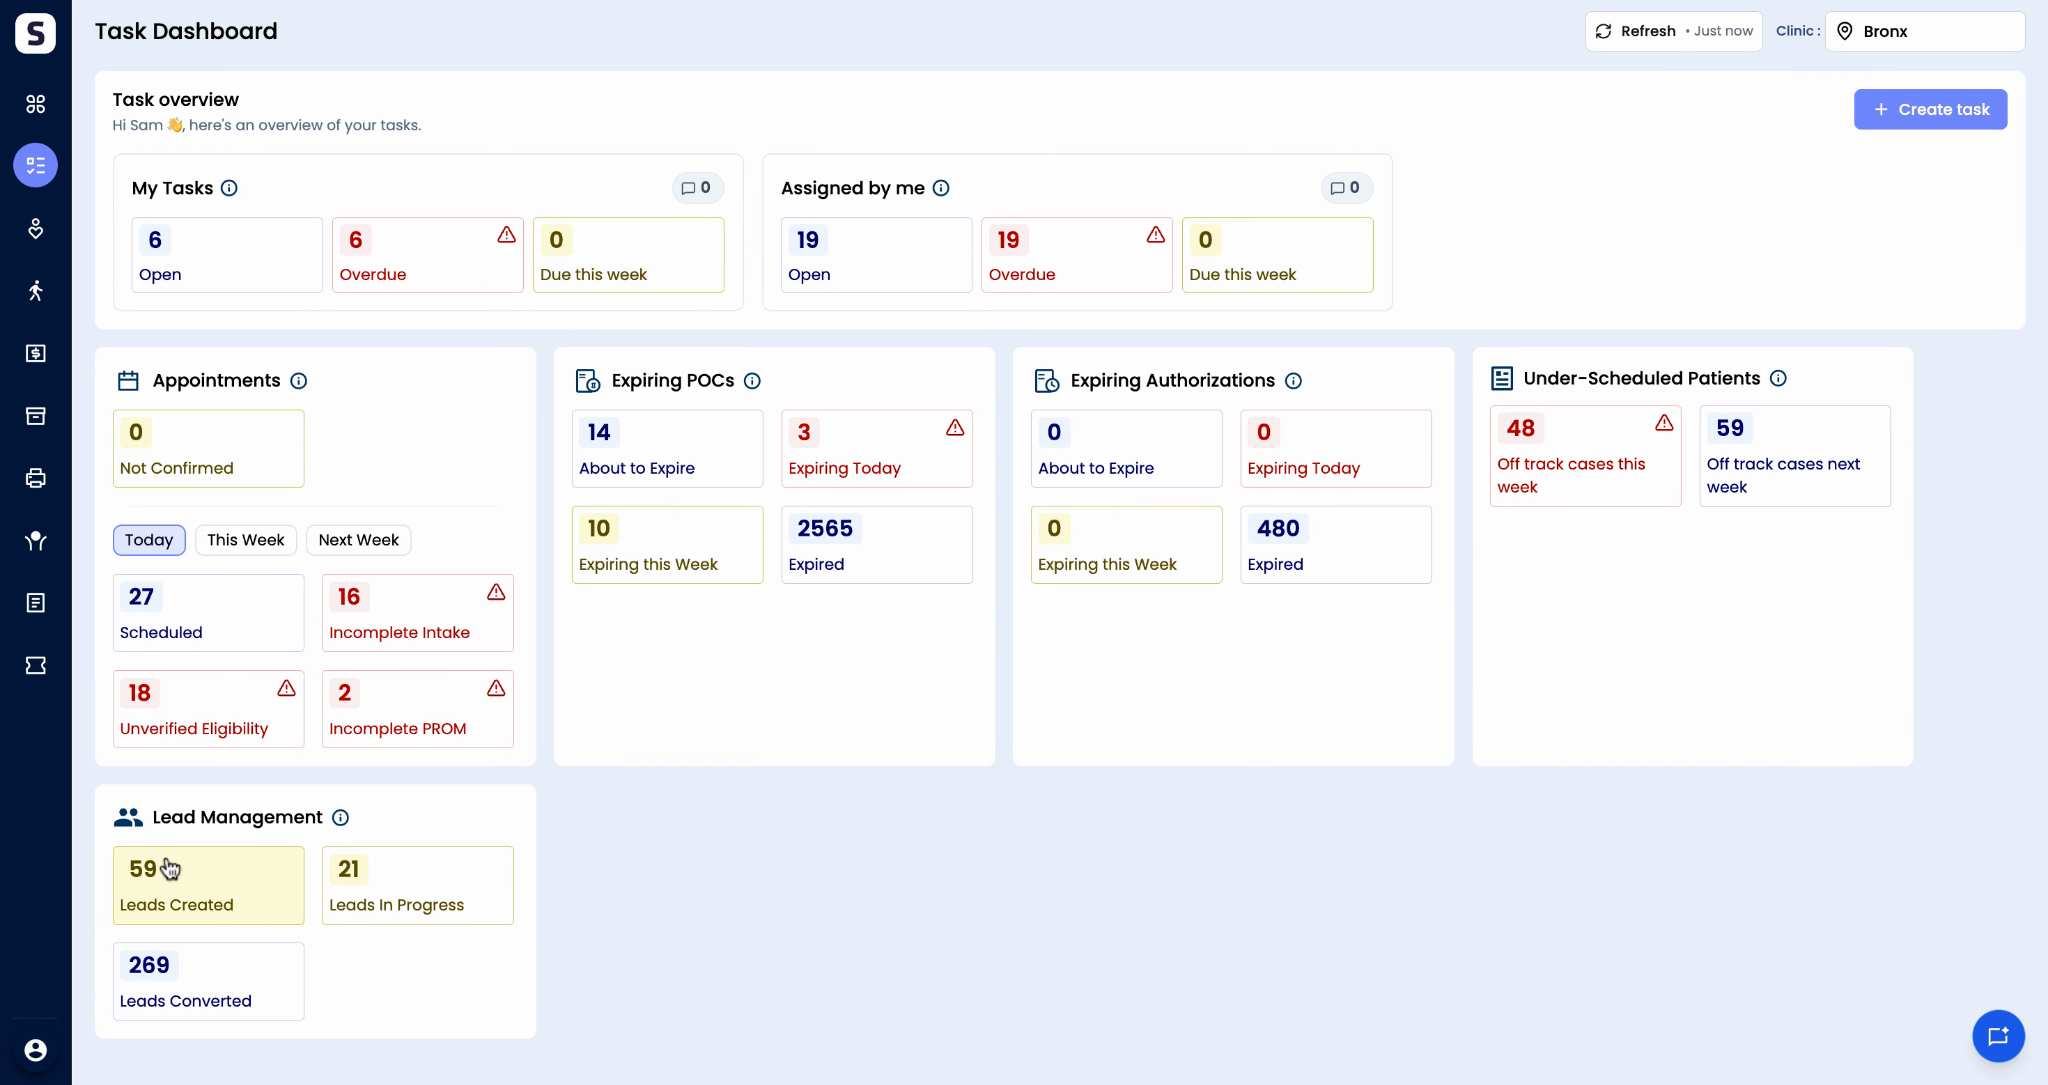
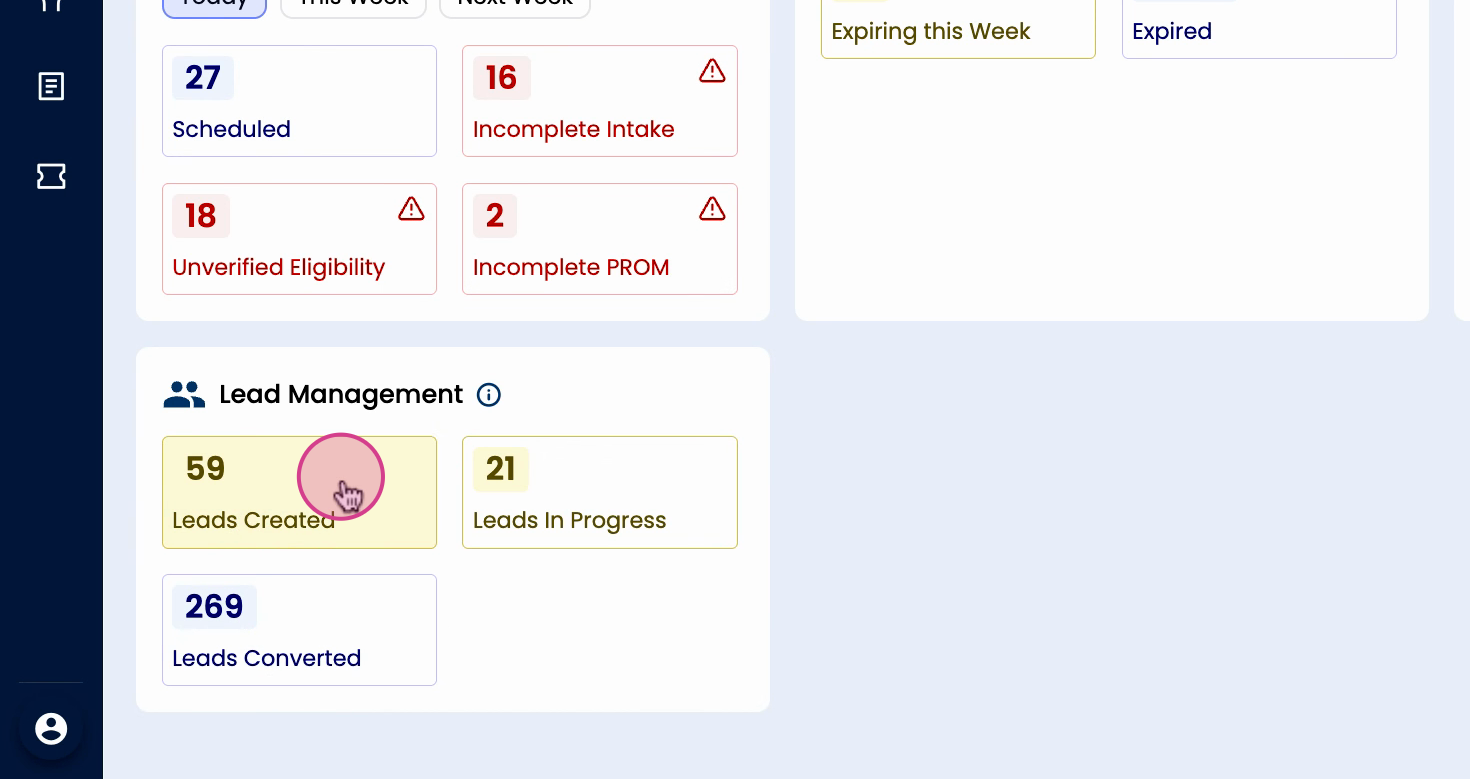
Step 3: Review the three main lead categories: Leads Created, In Progress, and Converted. These show which stage each patient lead is in.
Step 4: In the Leads Created tab, see all patients in your system who don’t have scheduled appointments yet.
Step 5: Check patient details in the first column: name, patient ID, contact number, and email.
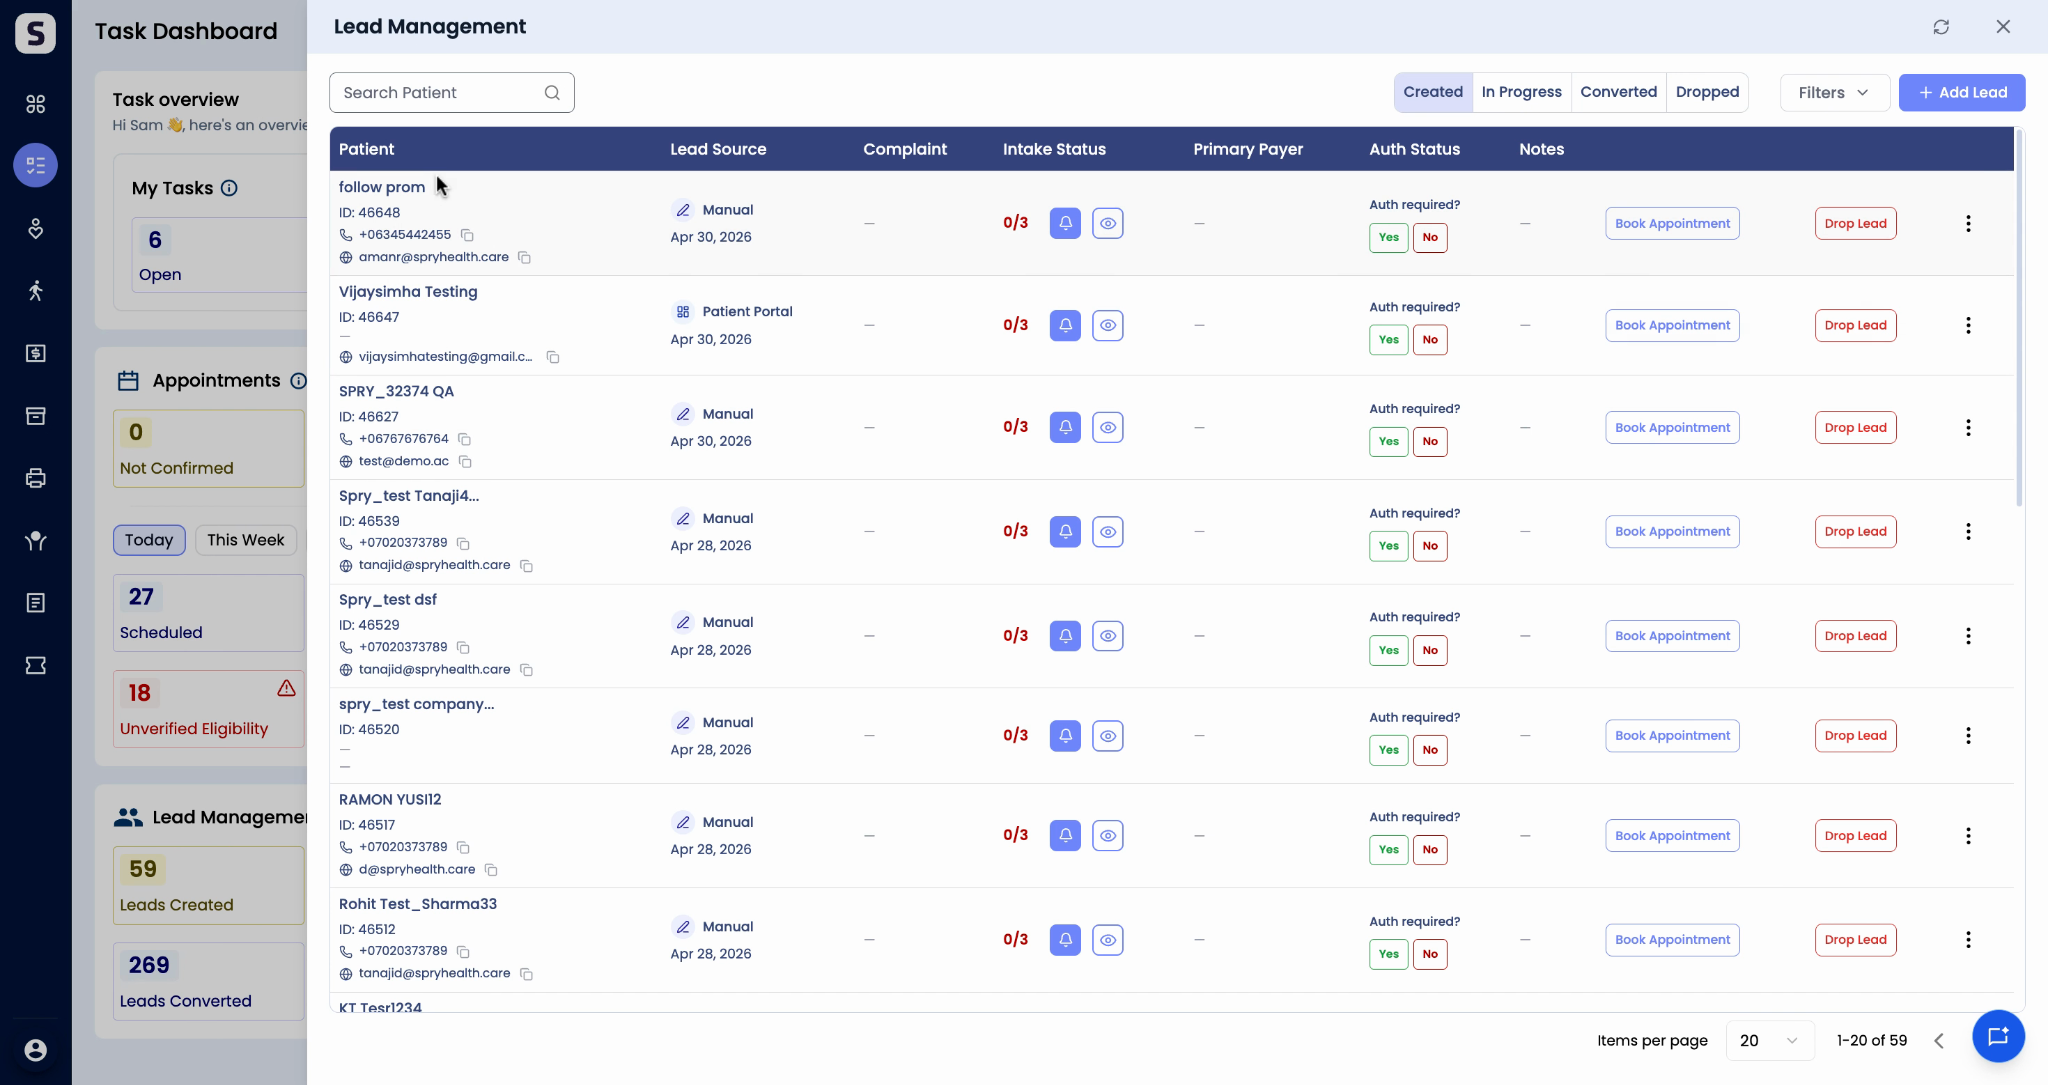
Step 6: Review the Lead Source column to see how the lead was added — manually, via eFax, or from the patient portal.
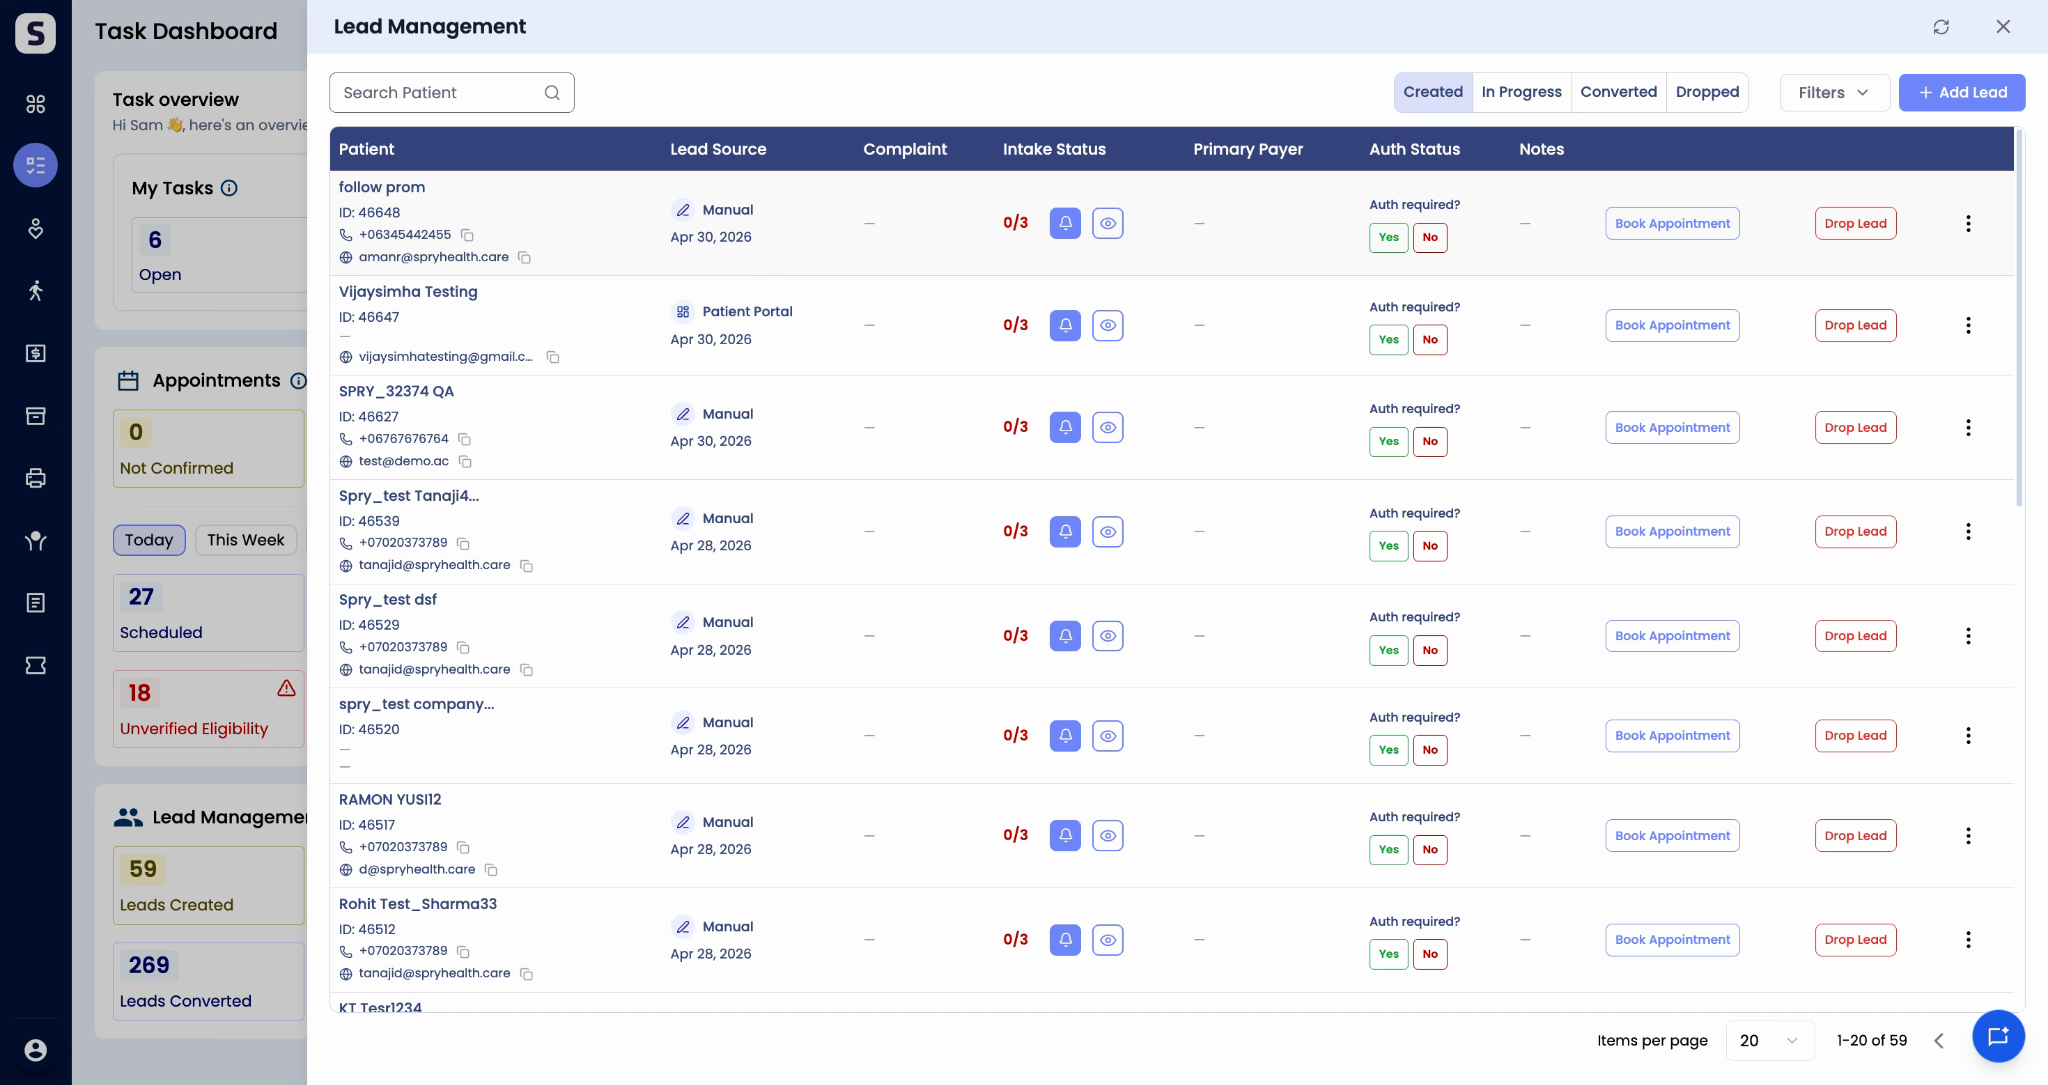
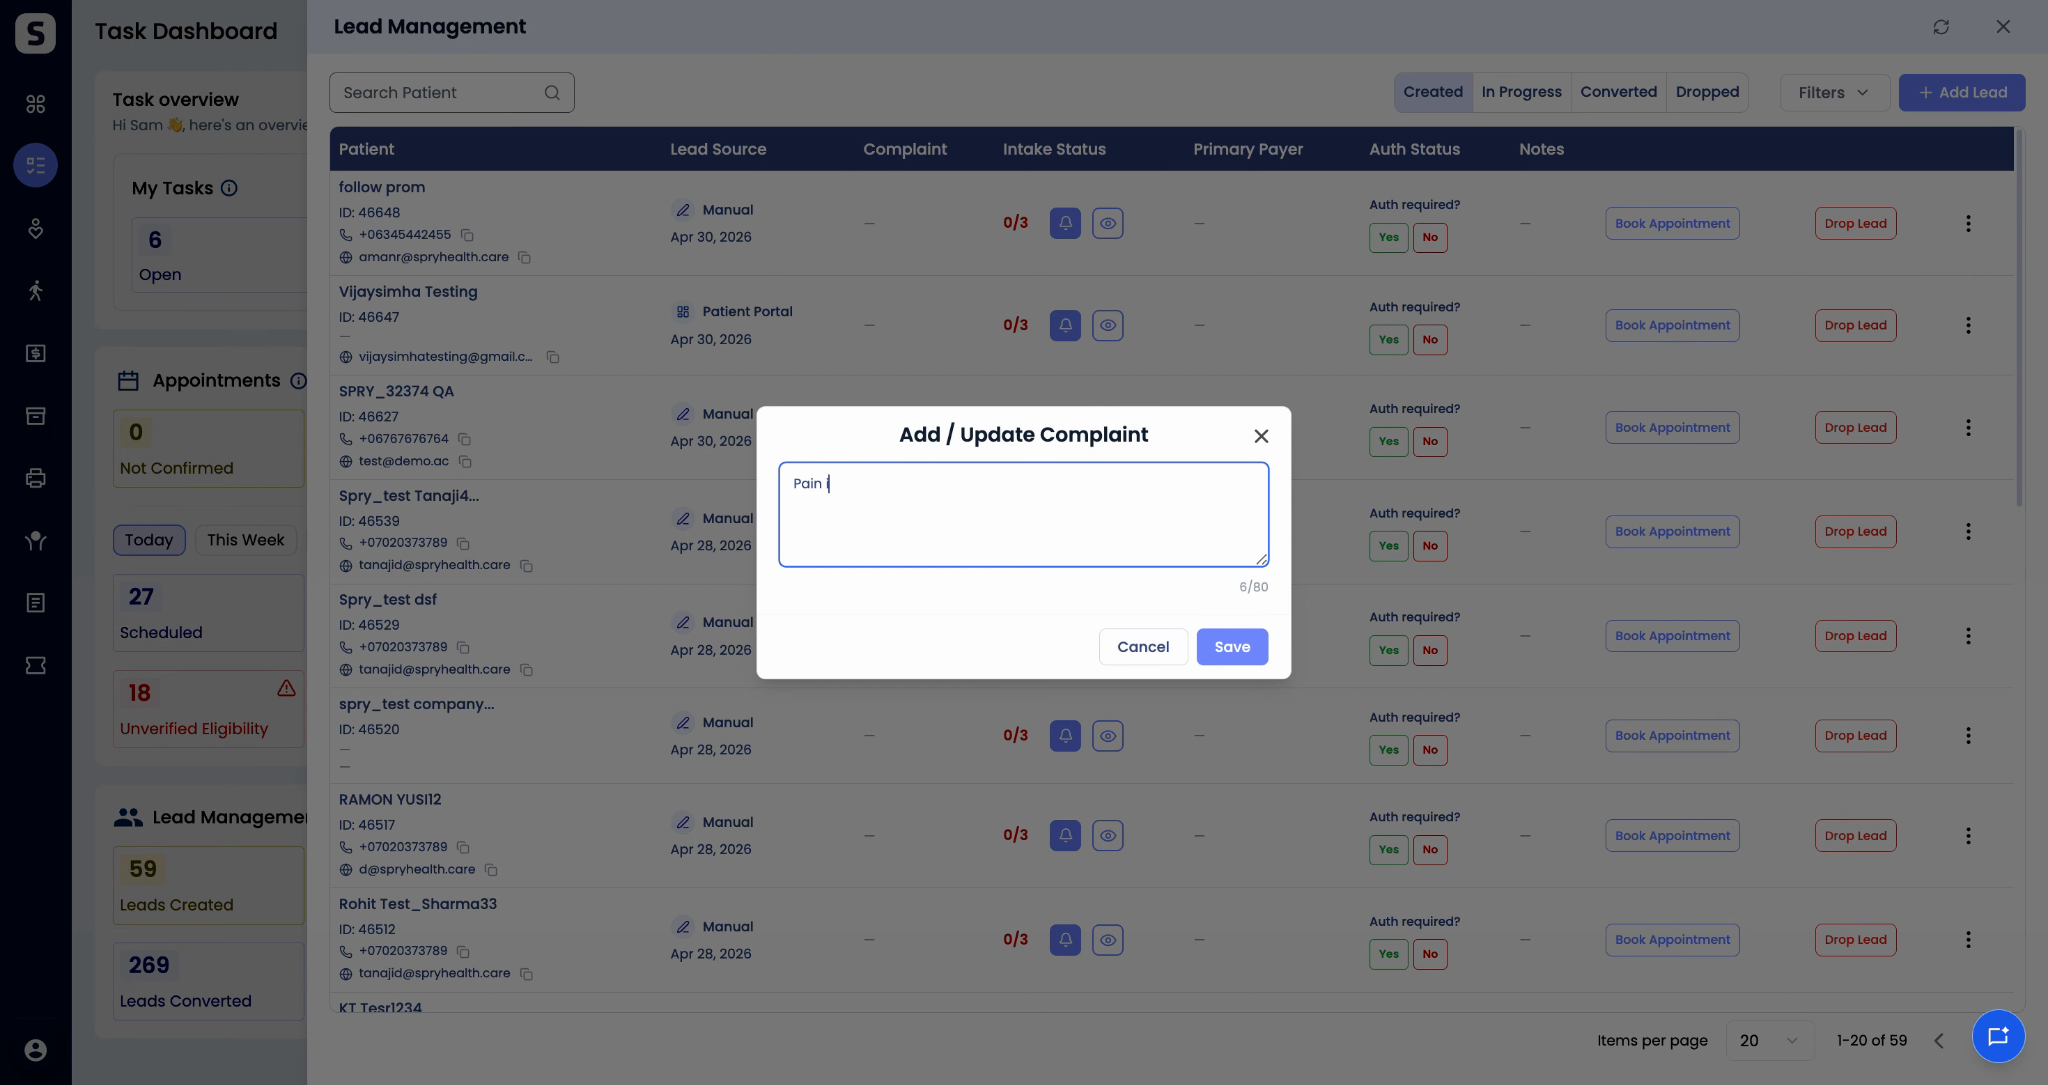
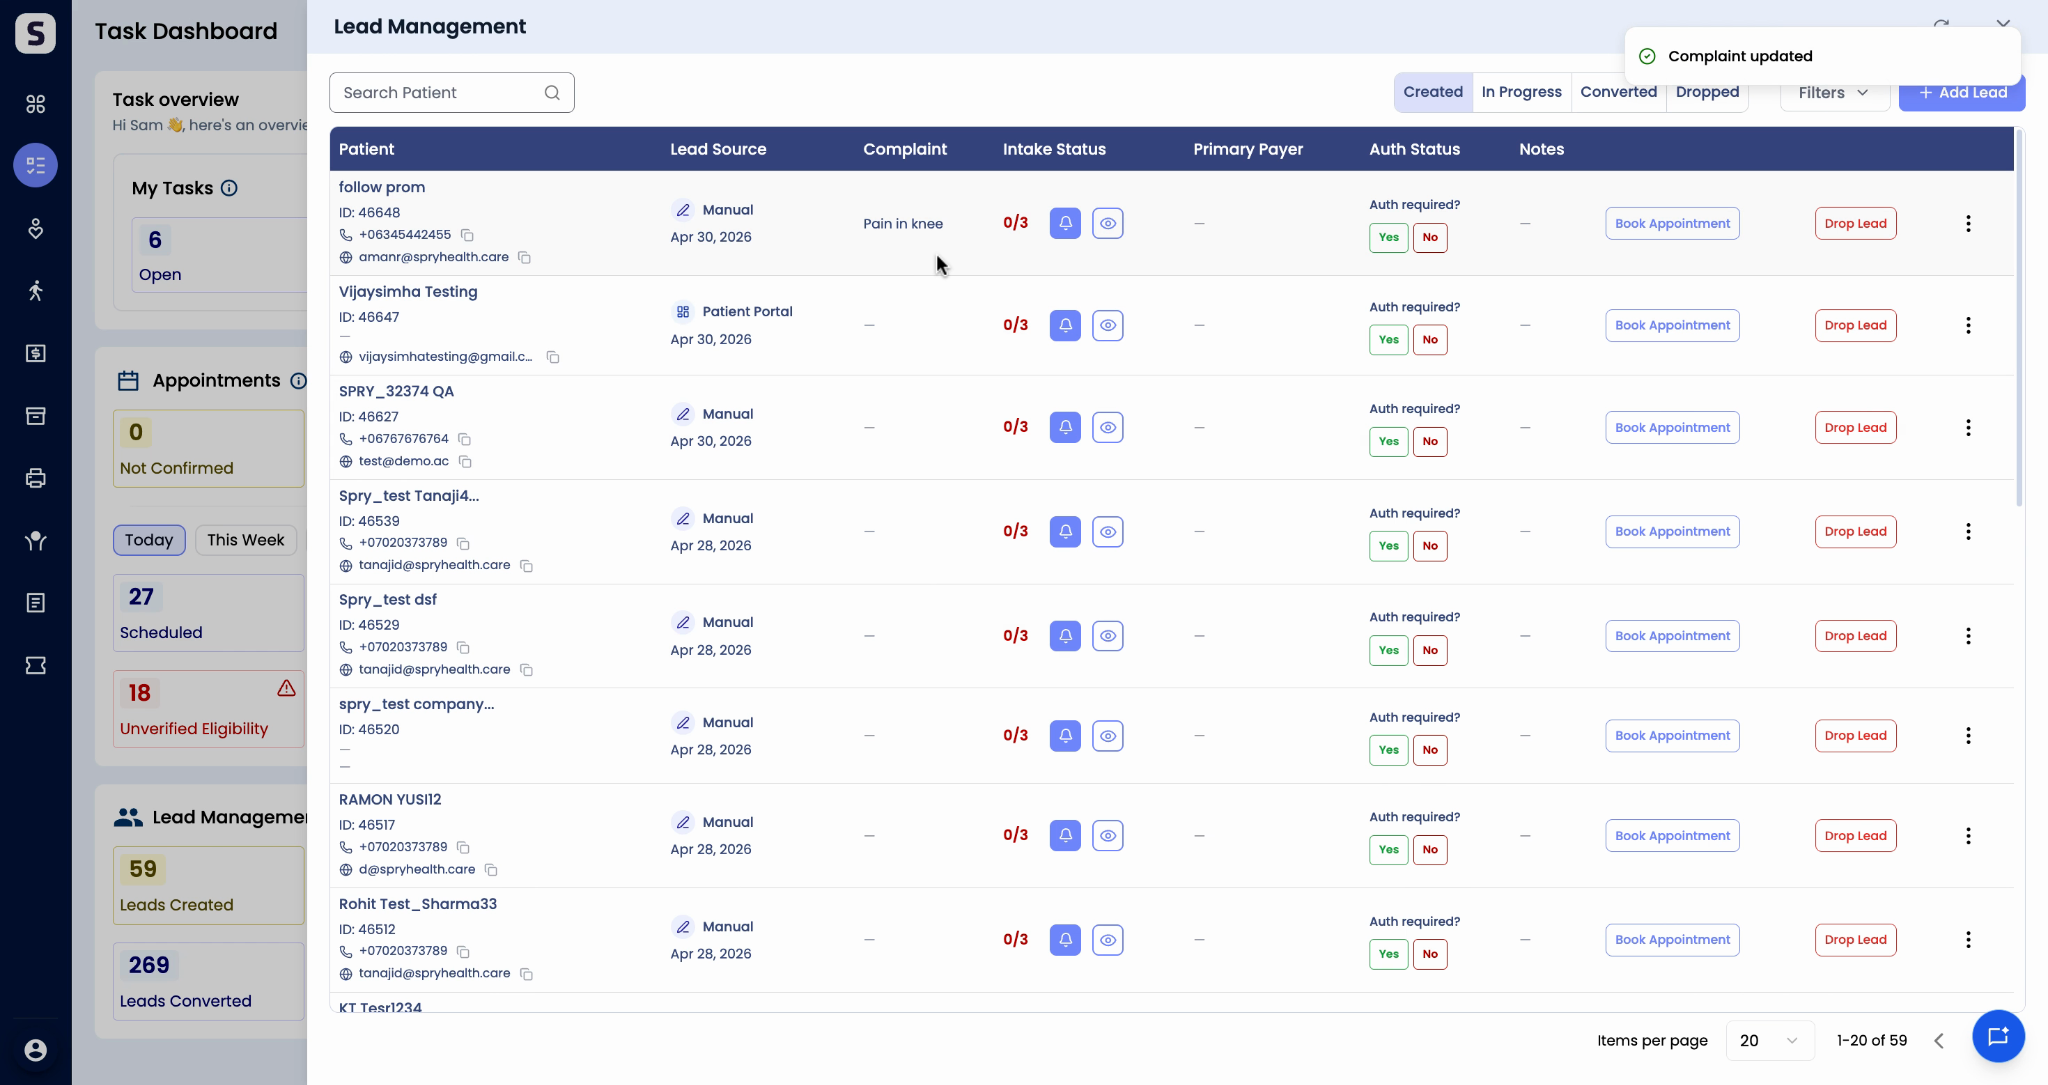
Step 7: Check the Complaints column for the reason a patient wants to visit. Add a new complaint by clicking the add button, typing in details (like “pain in knee”), and clicking Save.
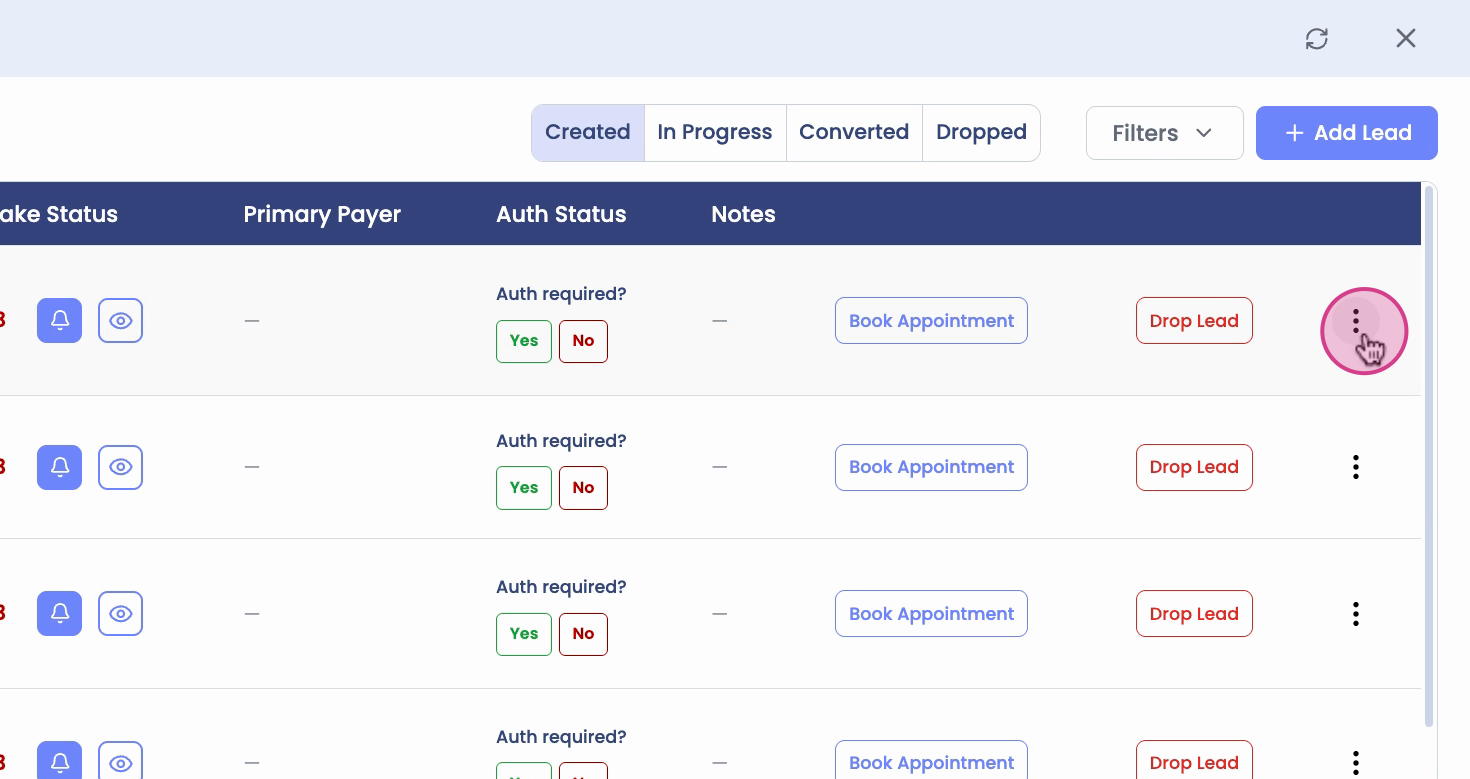
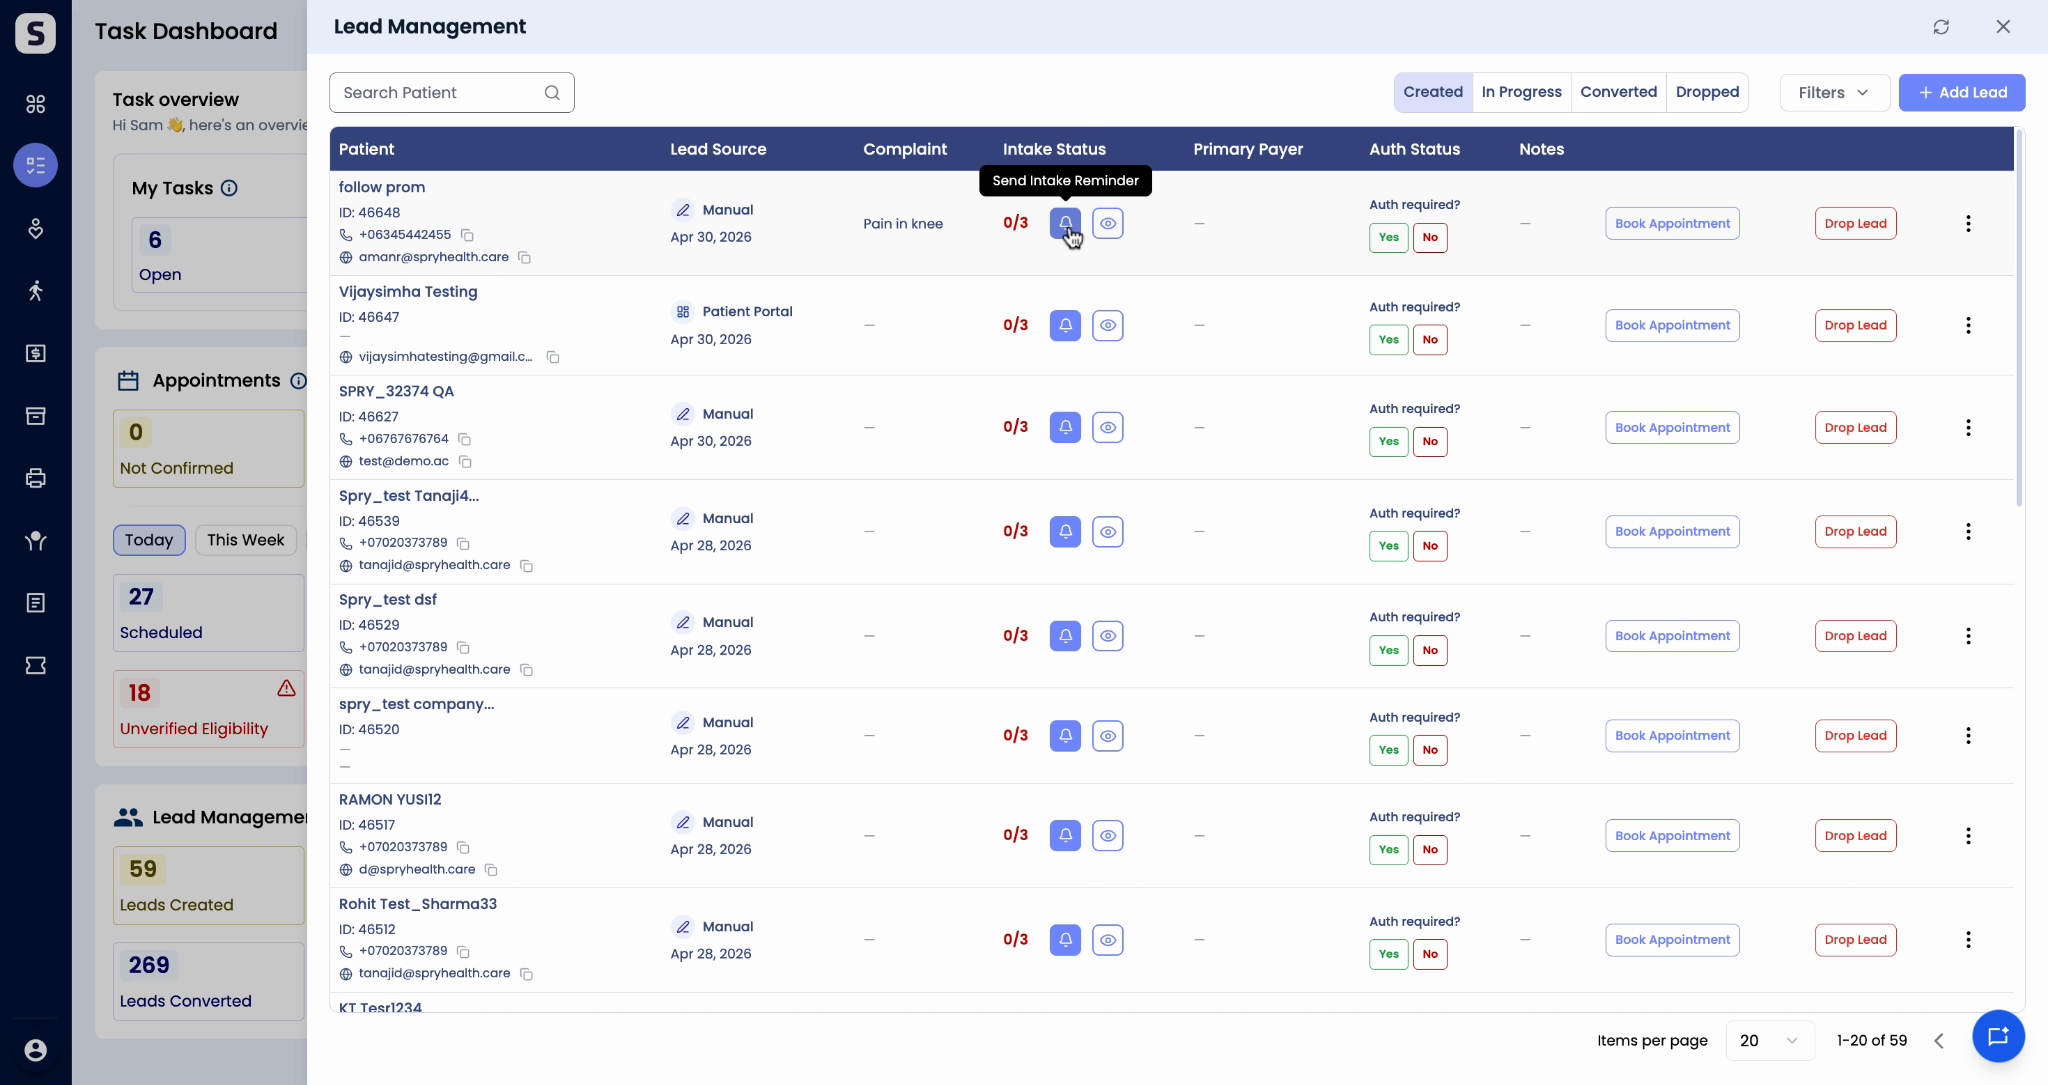
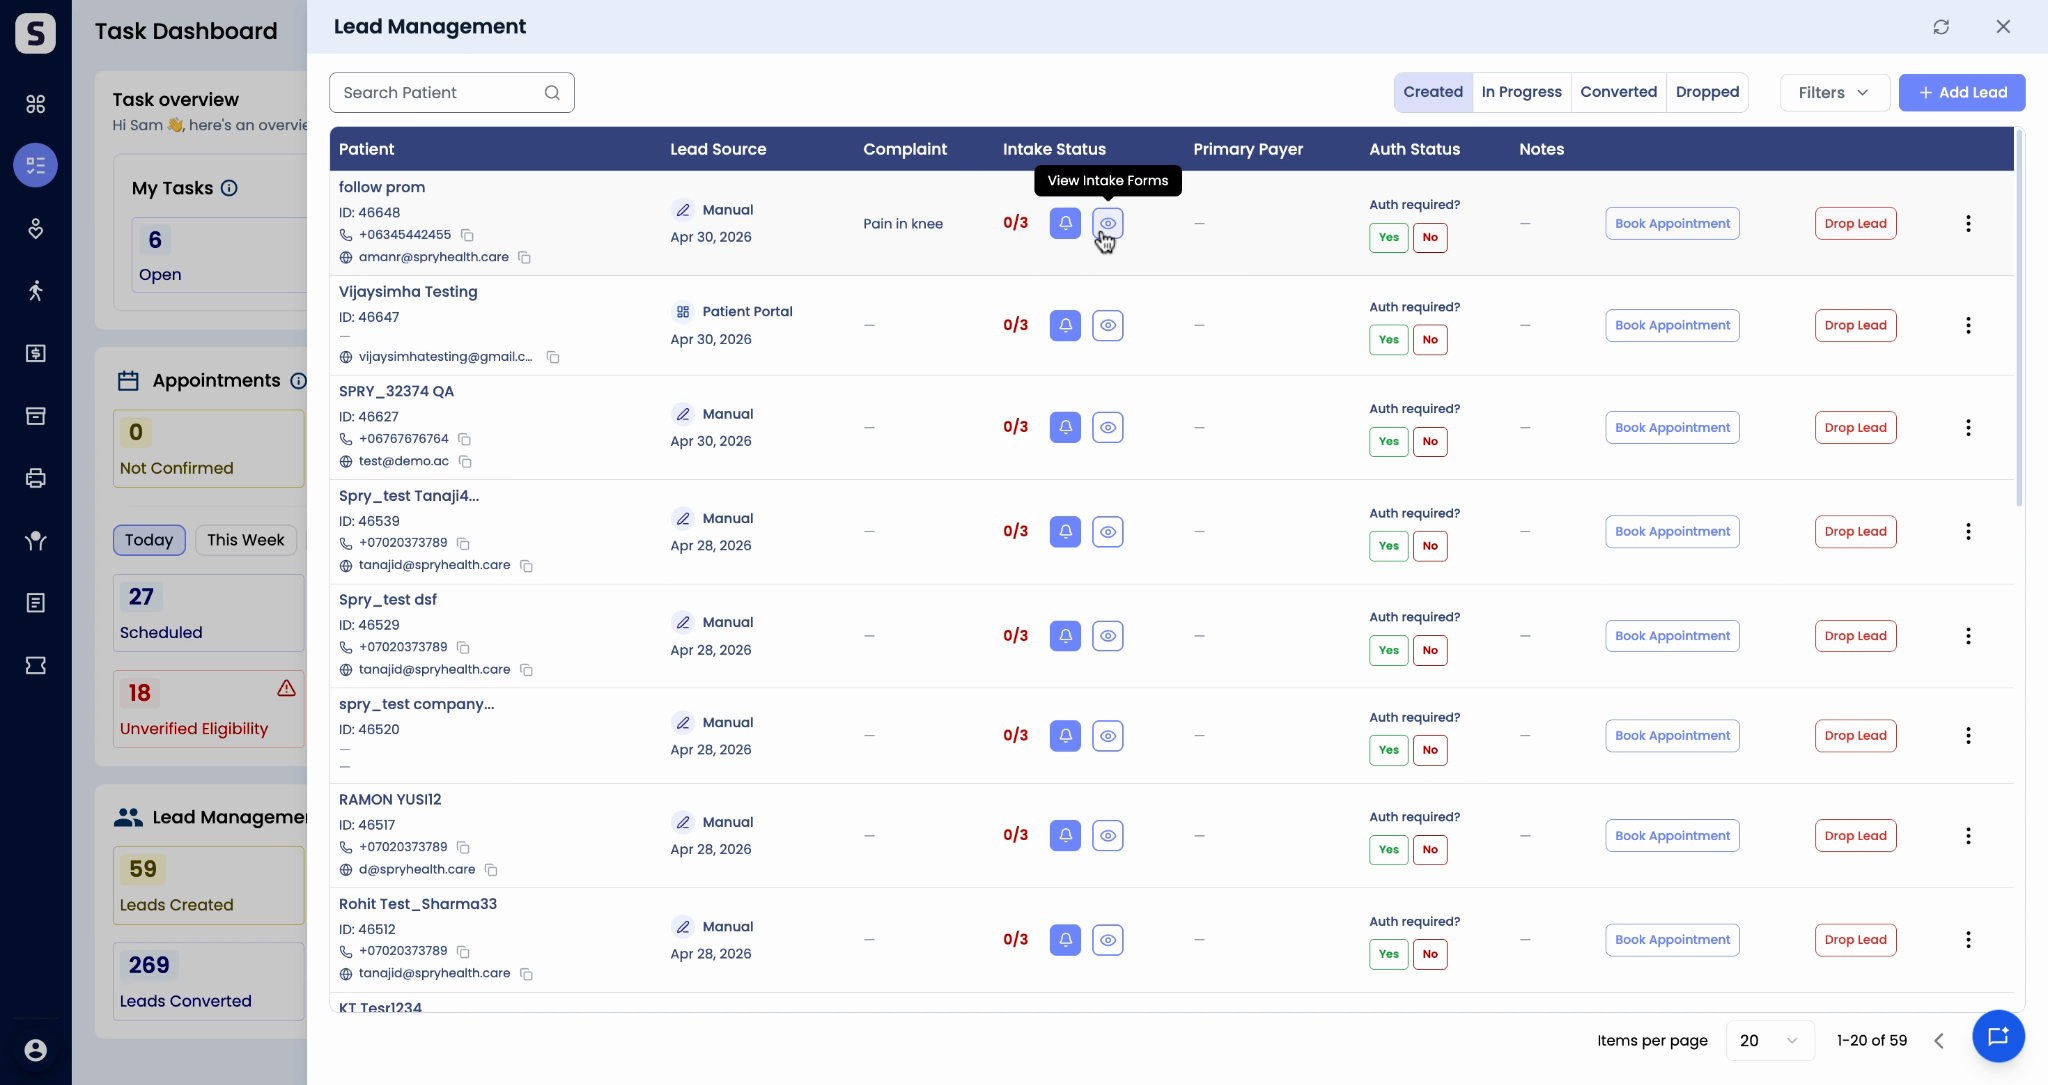
Step 8: Monitor the Intake Status column to track each patient’s intake form. To send an intake form, click the Send Intake button. View completed forms as PDFs by clicking the view icon.
Step 9: See insurance details in the Primary Payer column for patients who have filled this section.
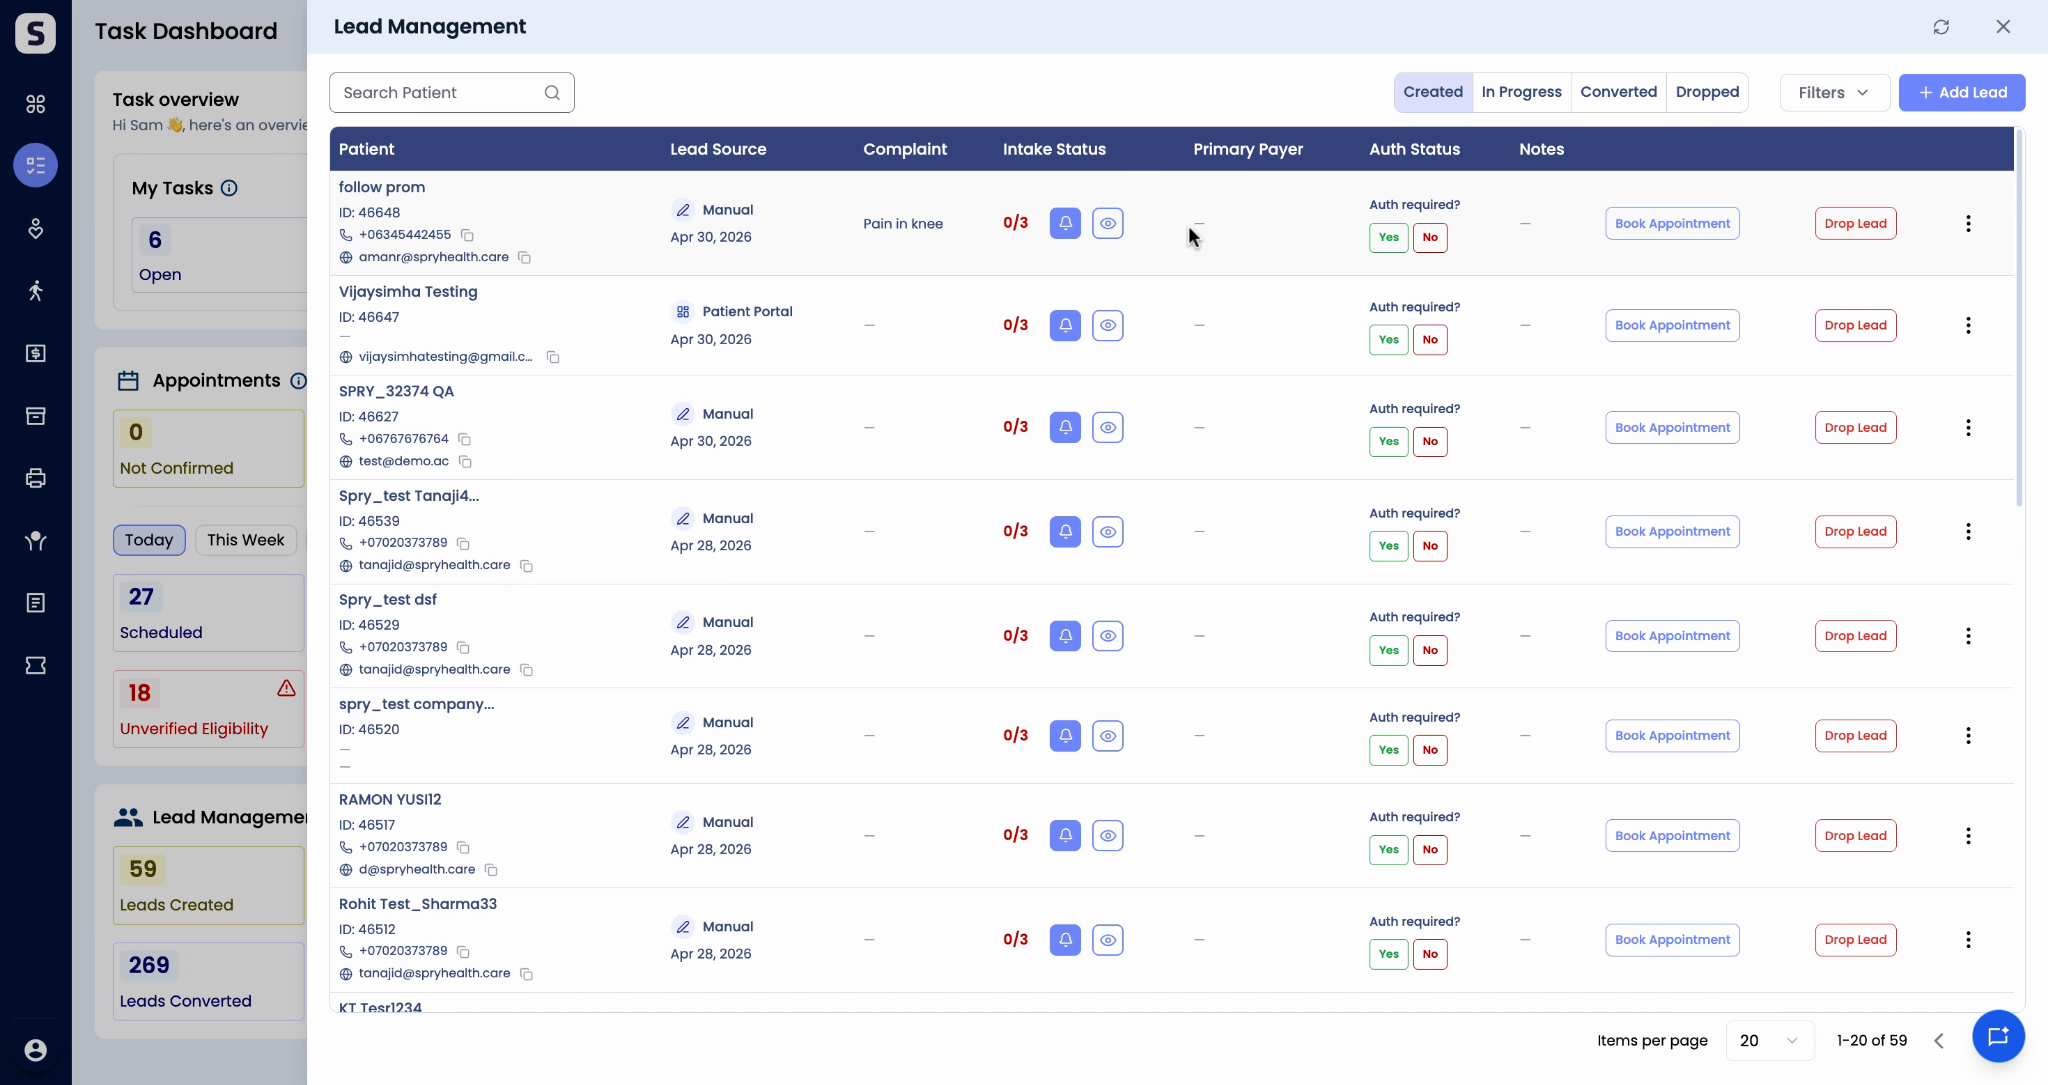
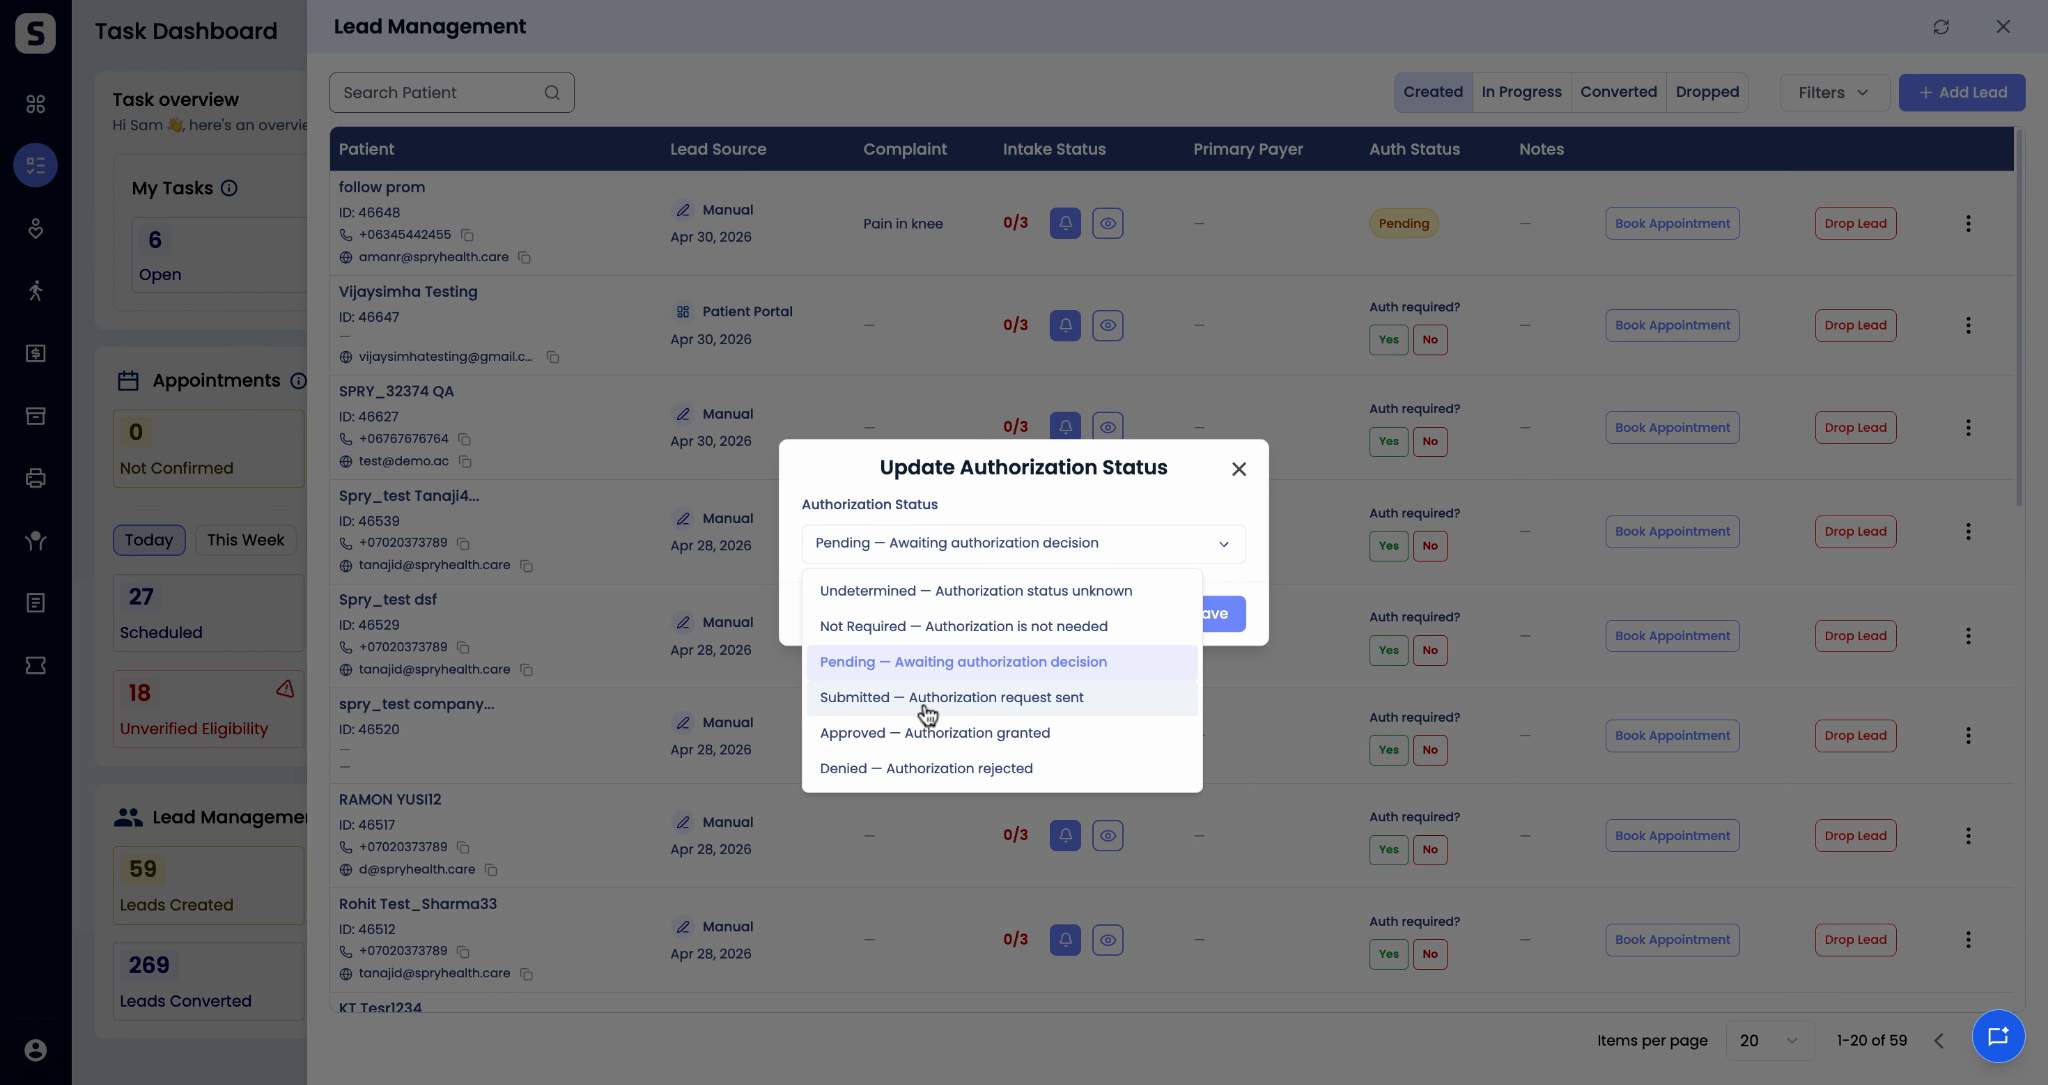
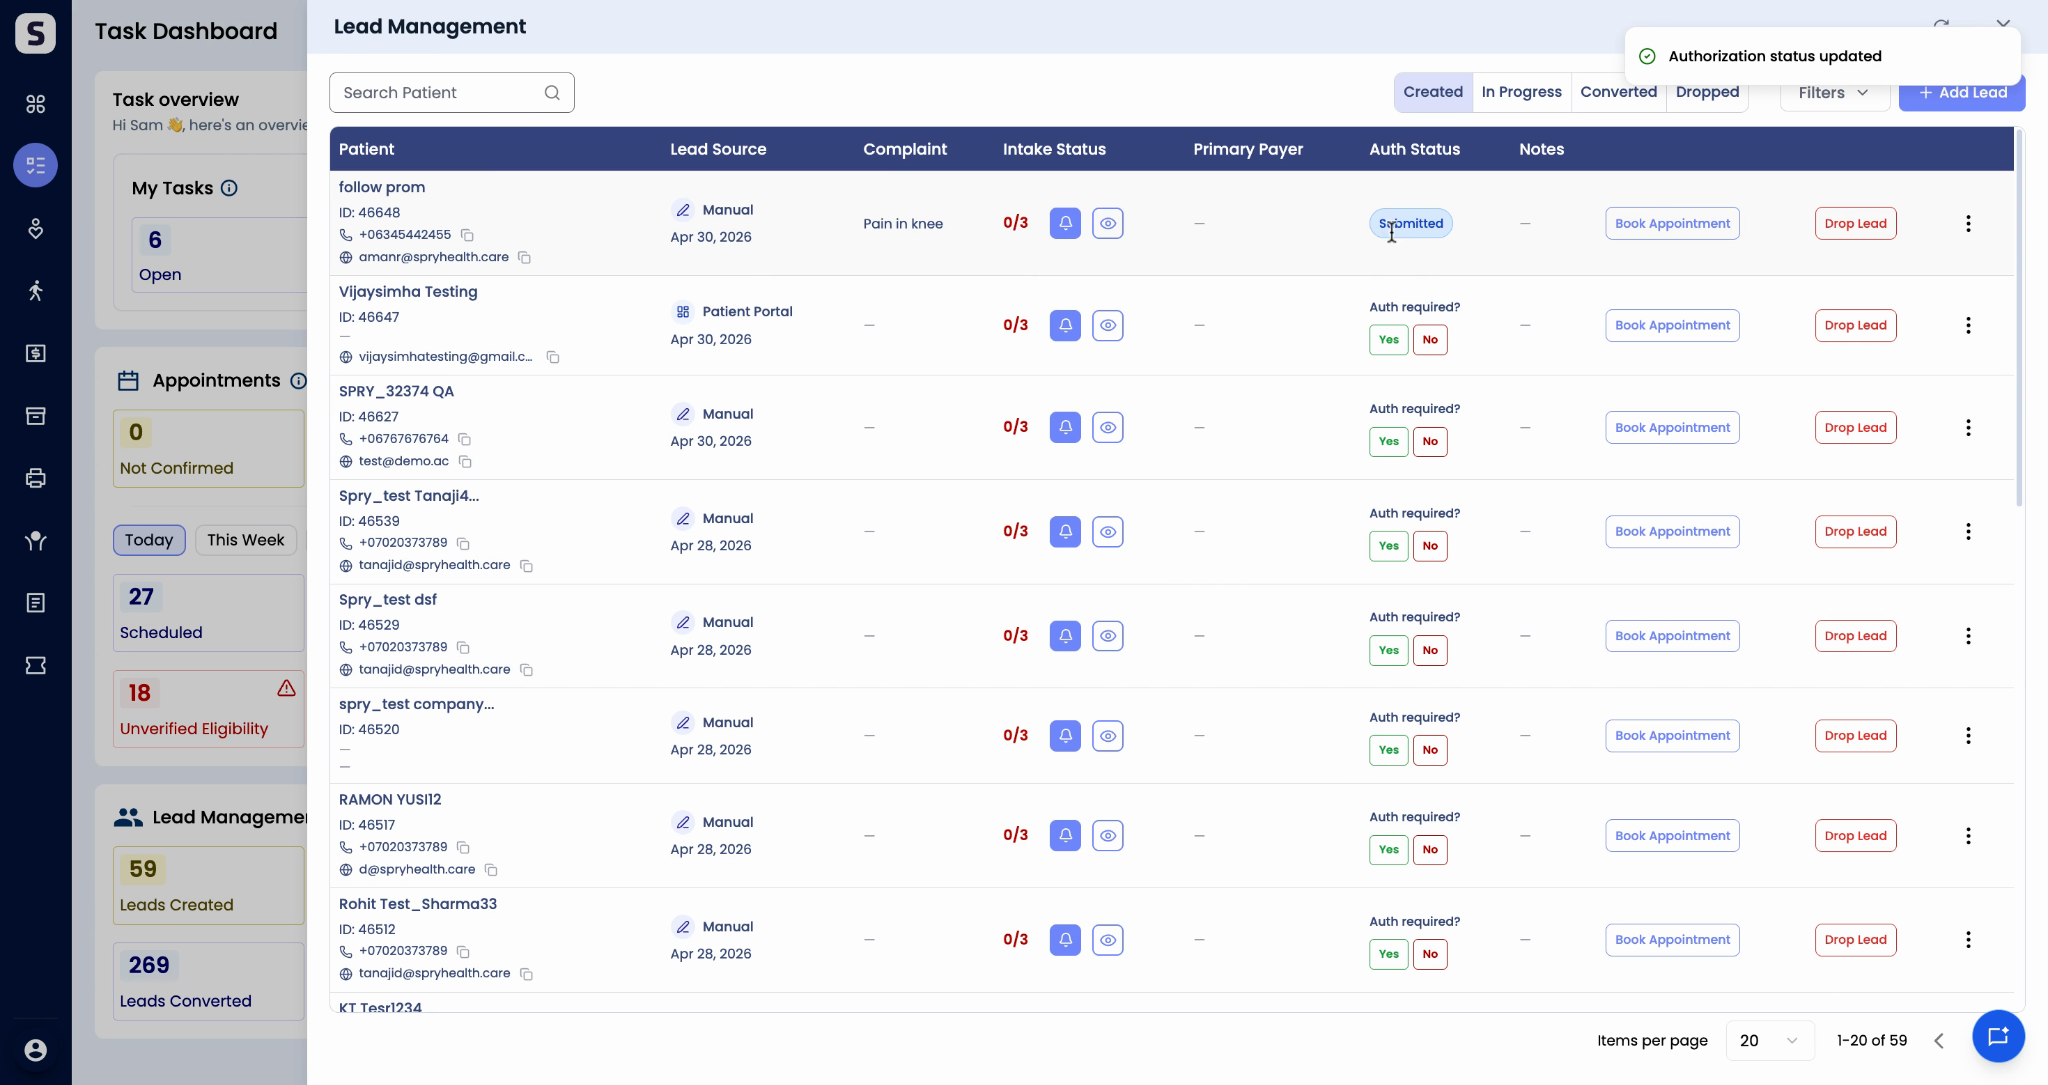
Step 10: Track authorization needs in the Auth Status column. If a patient needs authorization, click Yes. Update the status by clicking the three dots, selecting Submitted, Approved, or Denied, and clicking Save.
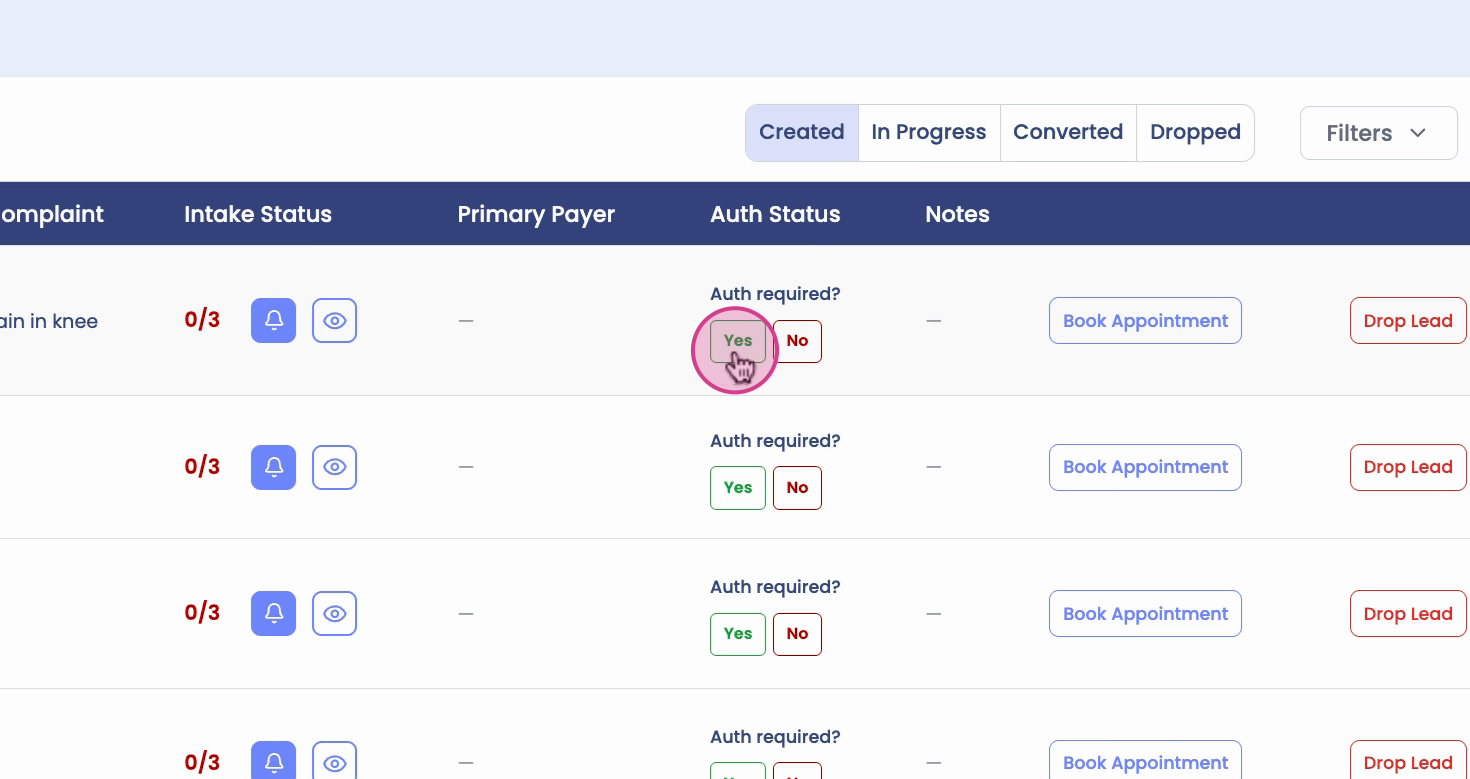
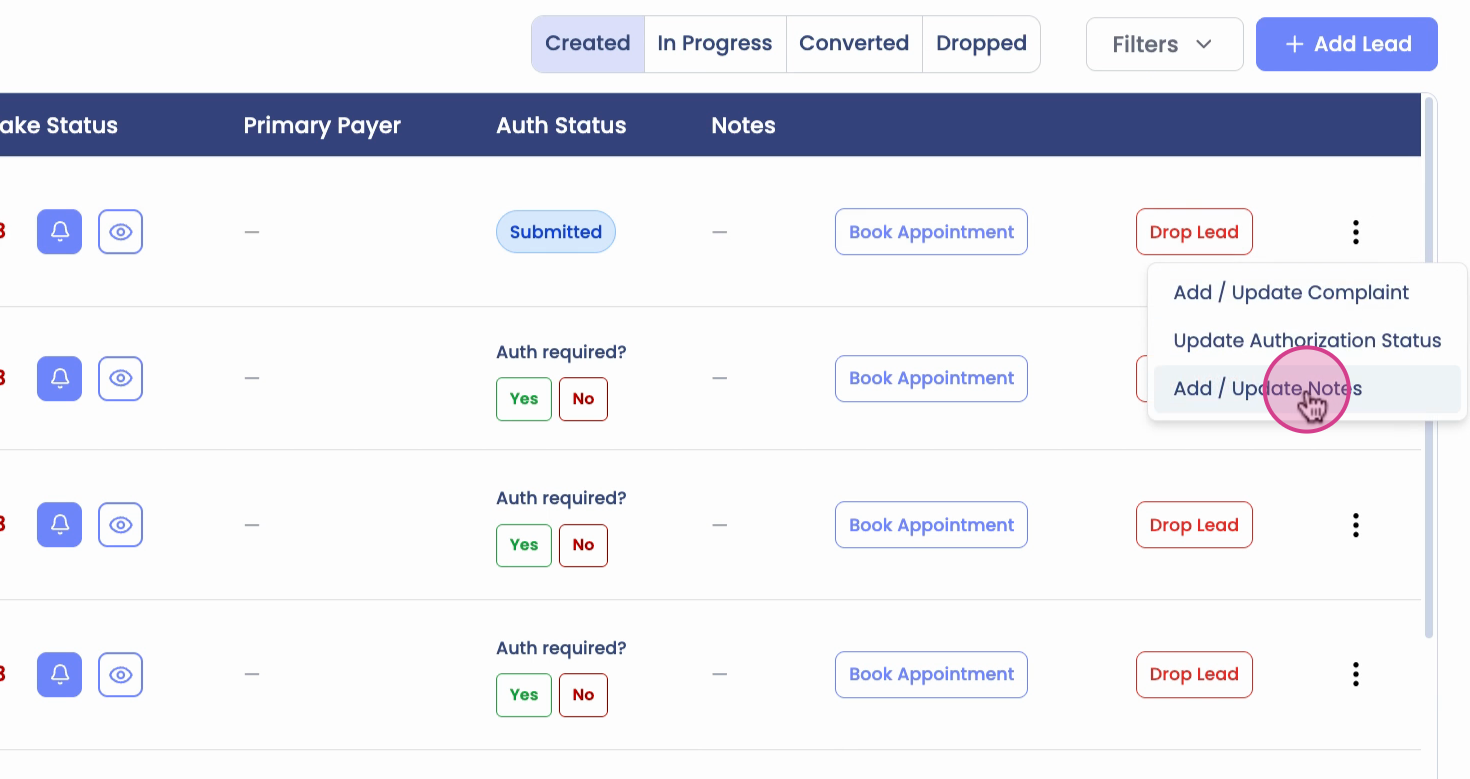
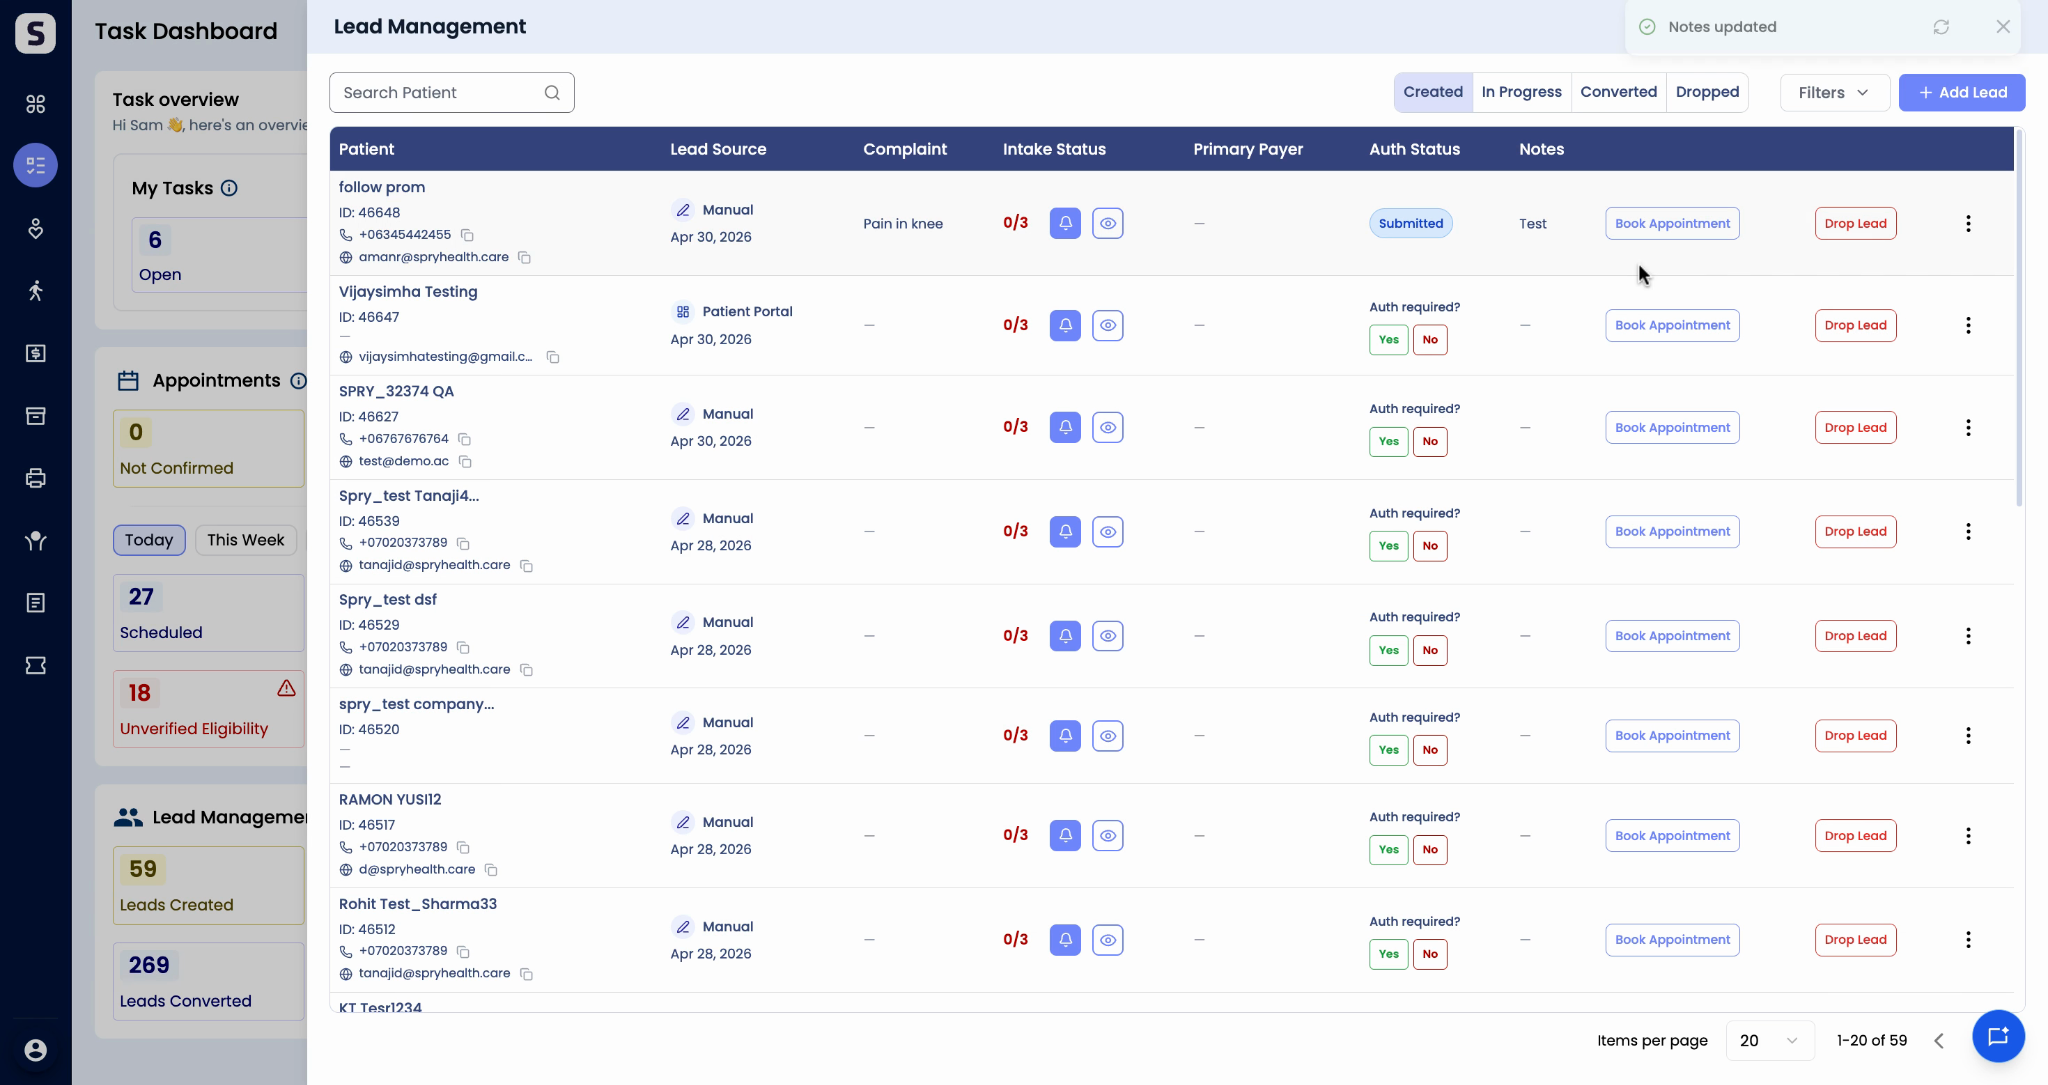
Step 11: Document any important details using the Notes section. Type your note and click Save — it’ll be visible for reference.
Step 12: Ready to move a patient forward? Use the Schedule Appointment button to book directly from this screen. If the lead won’t continue, choose Drop Lead.
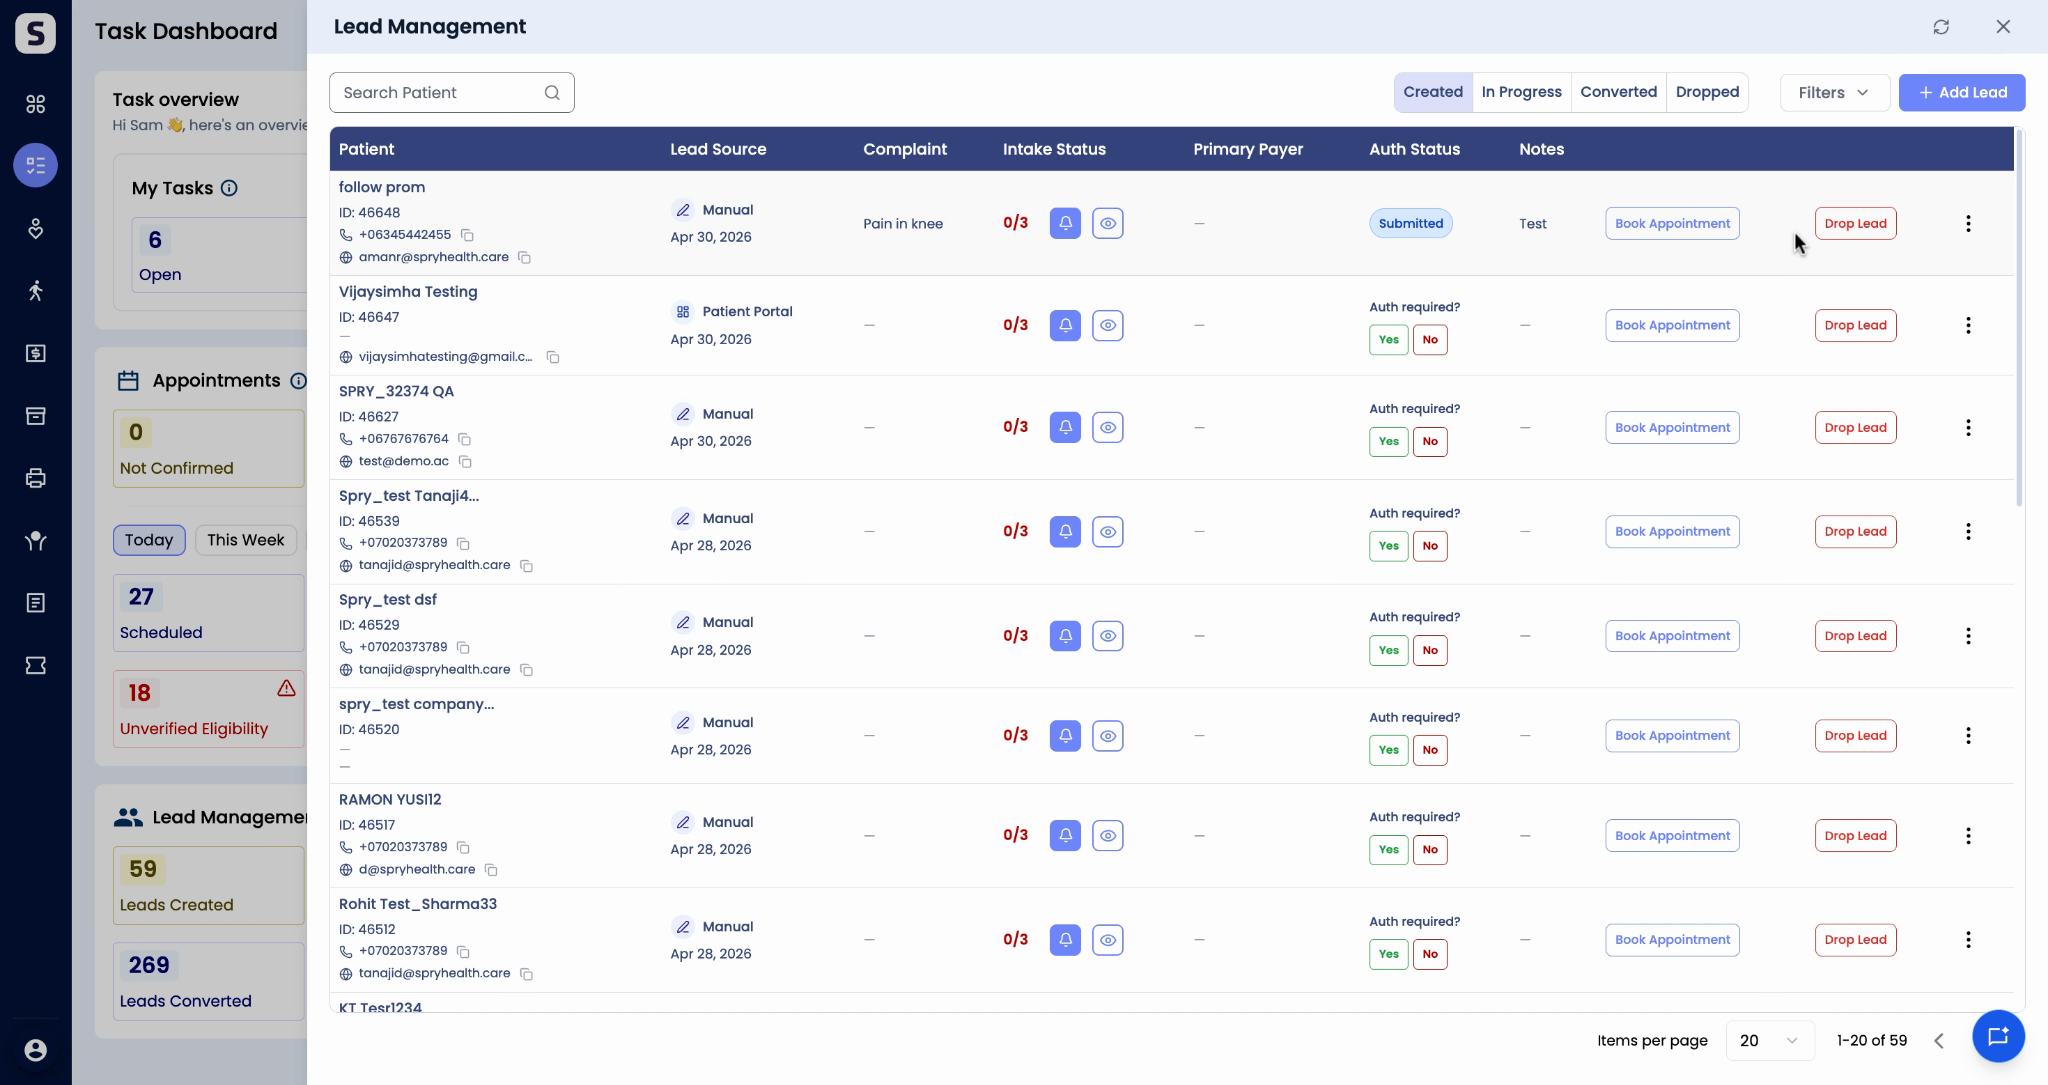
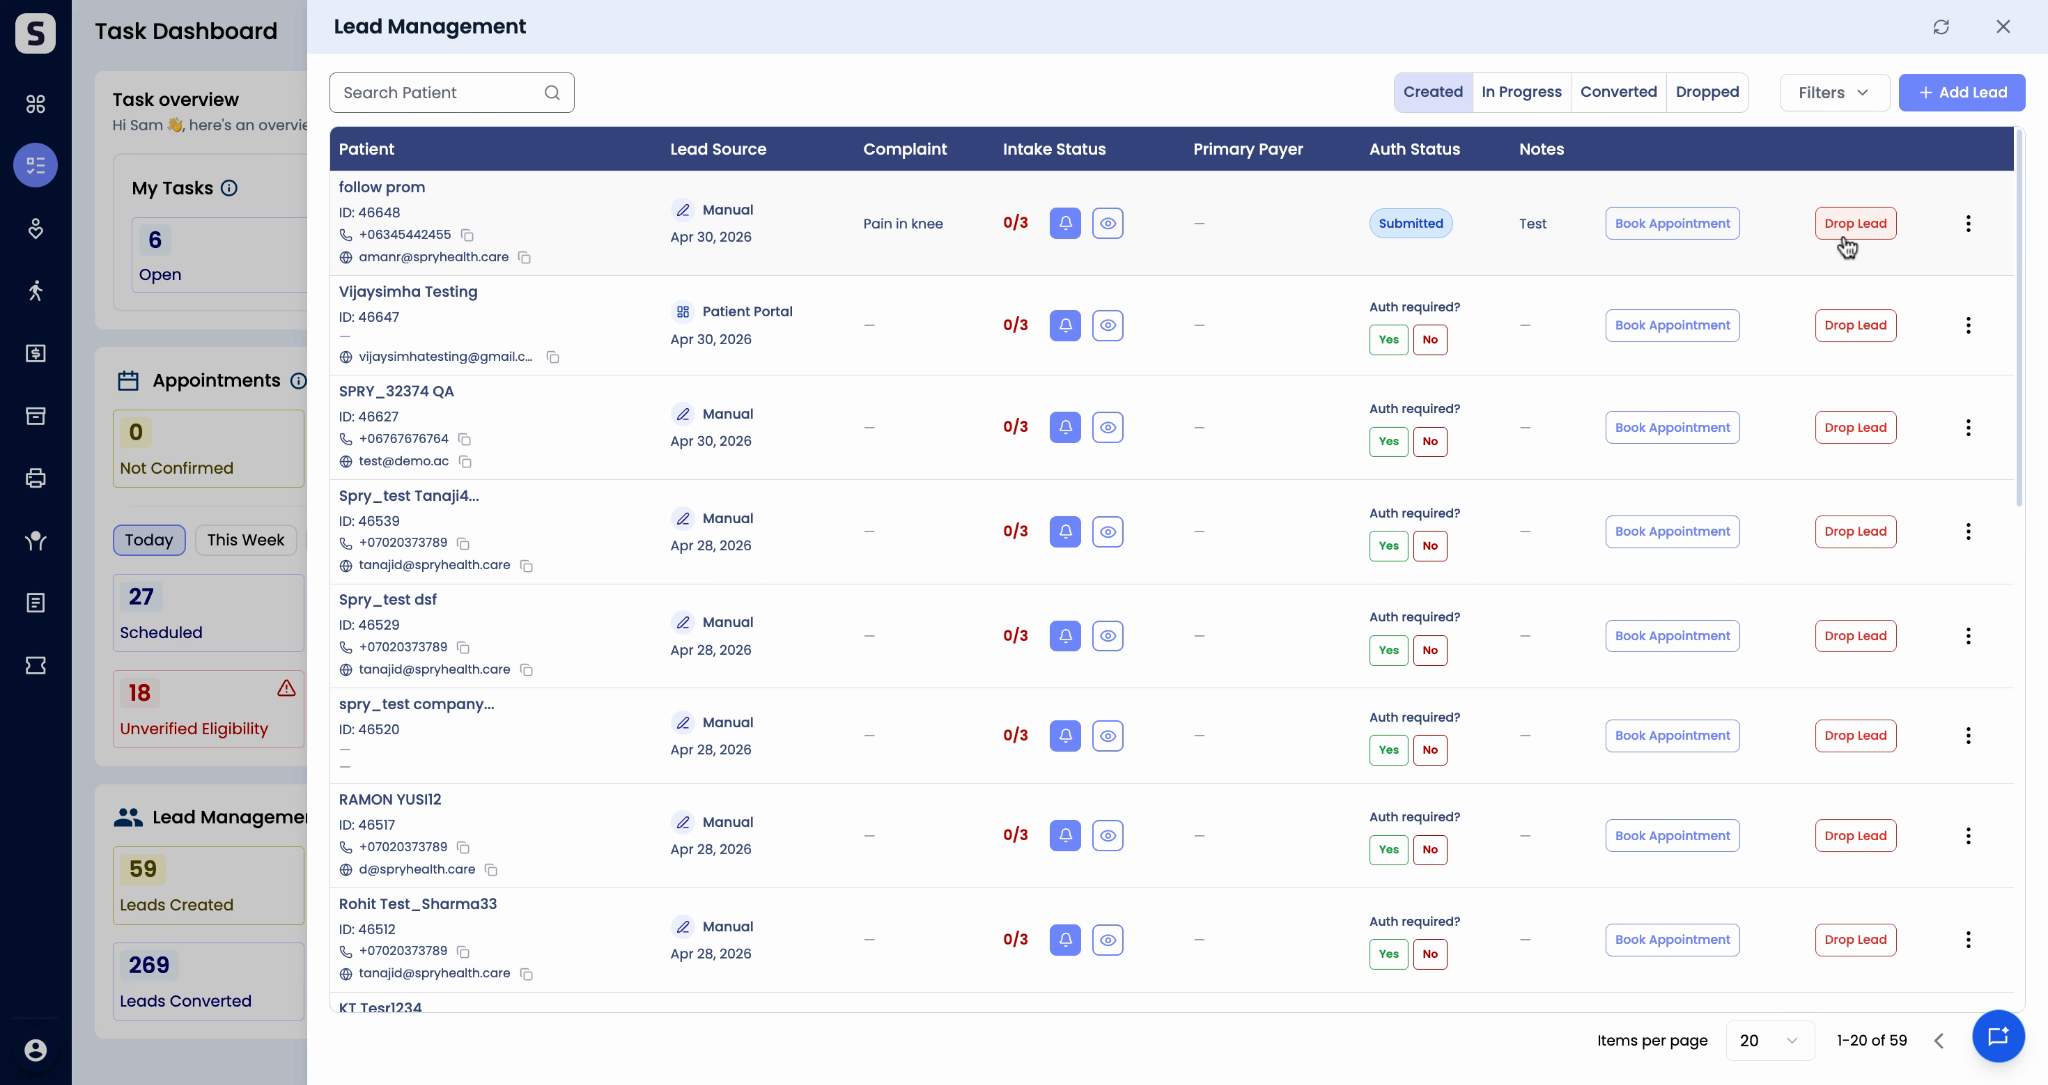
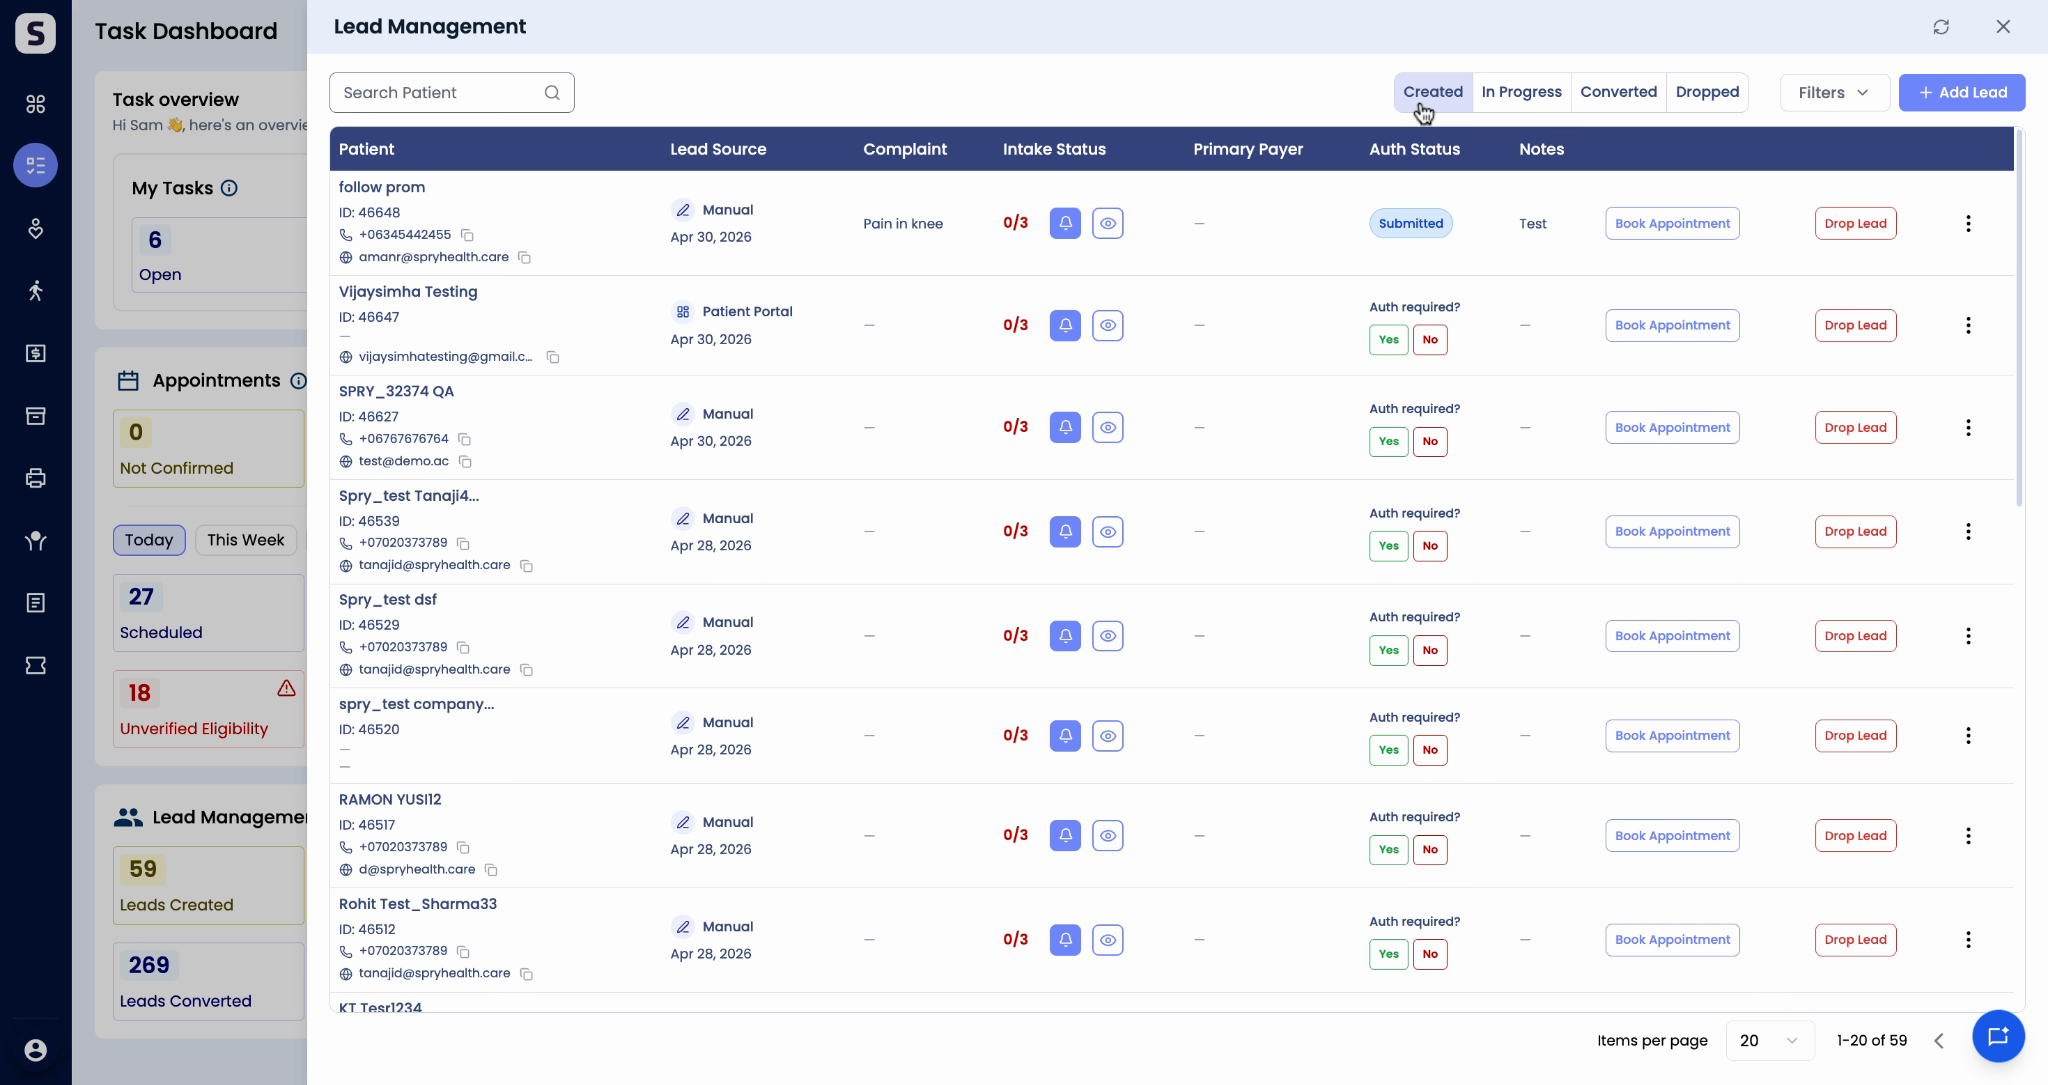
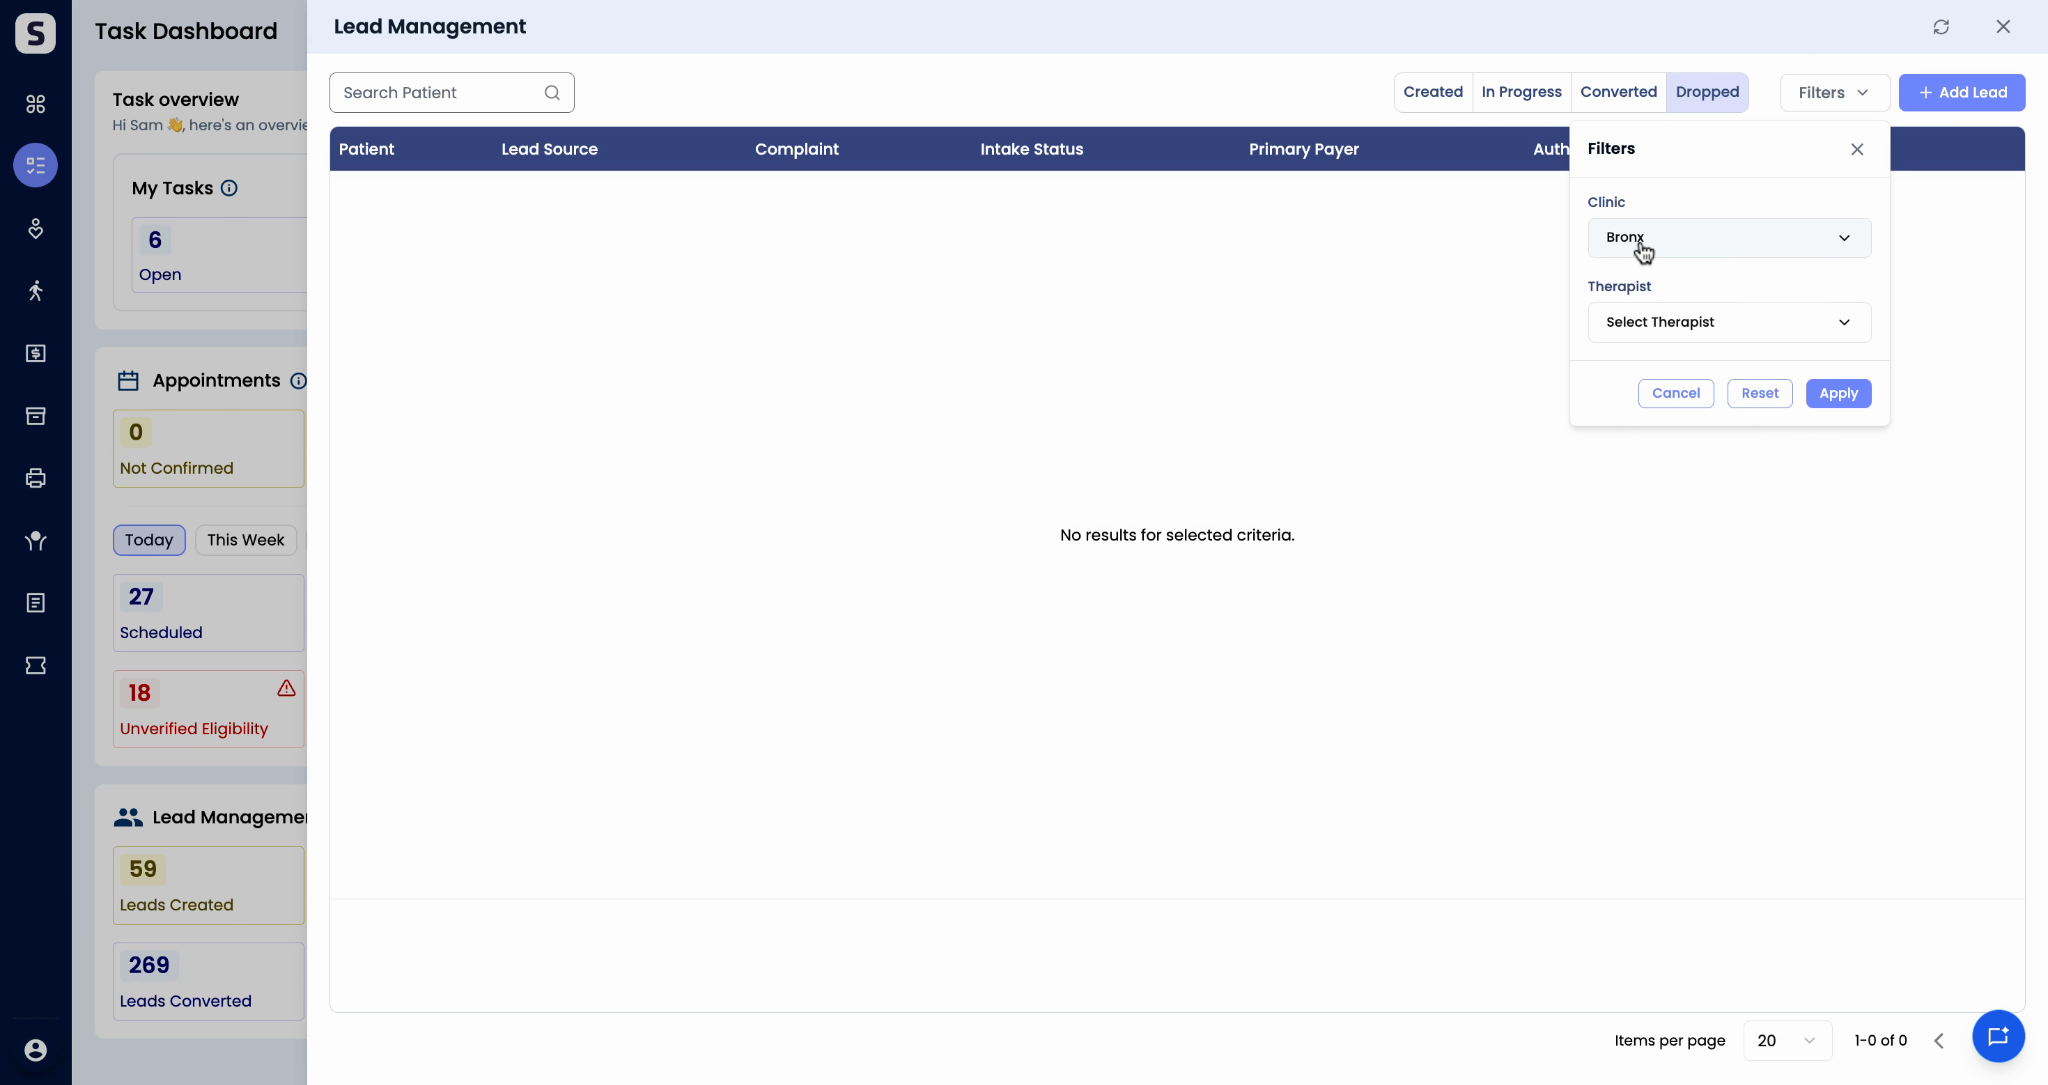
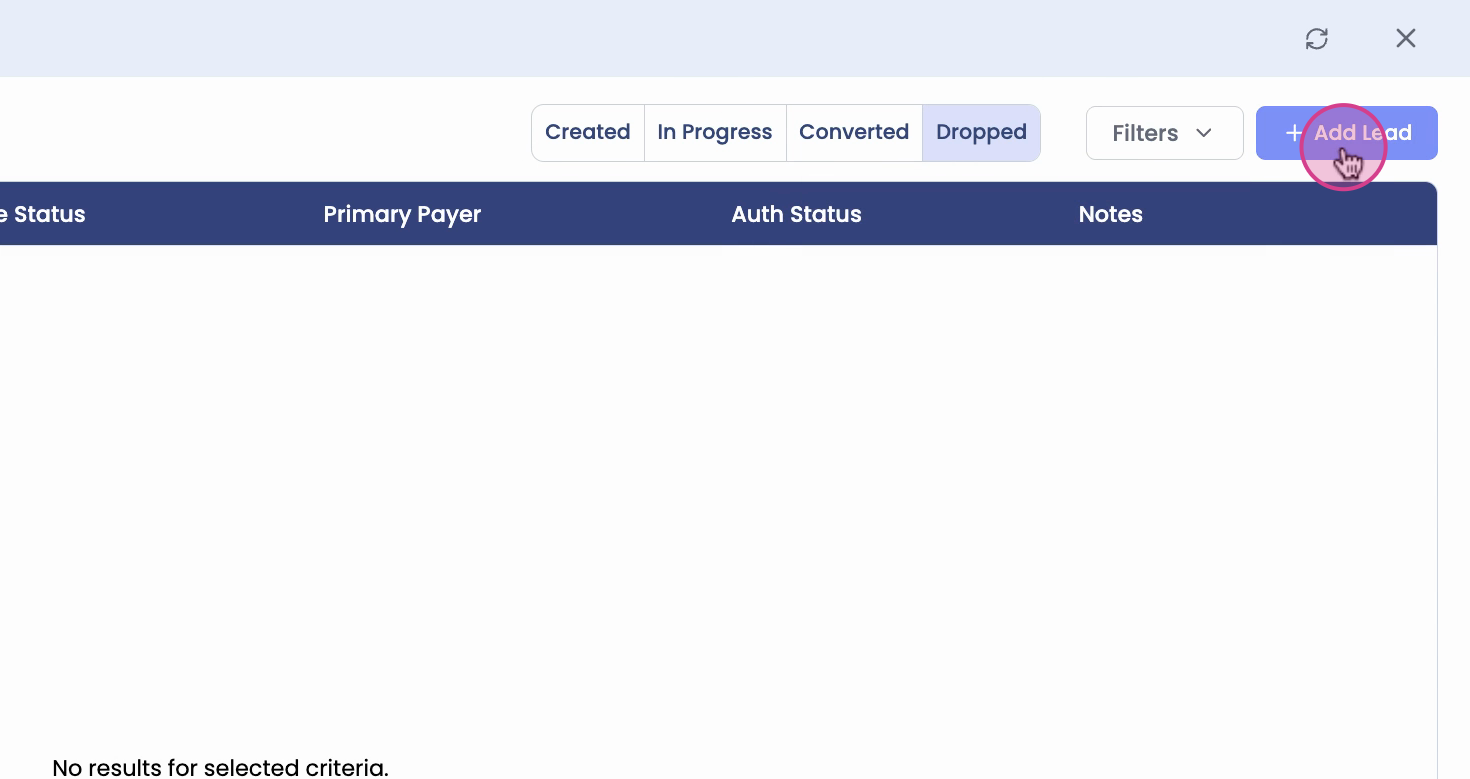
Step 13: Use the filters at the top of the screen to see leads by status: Created, In Progress, Converted, or Dropped. Additional filters let you narrow results by clinic location or therapist.
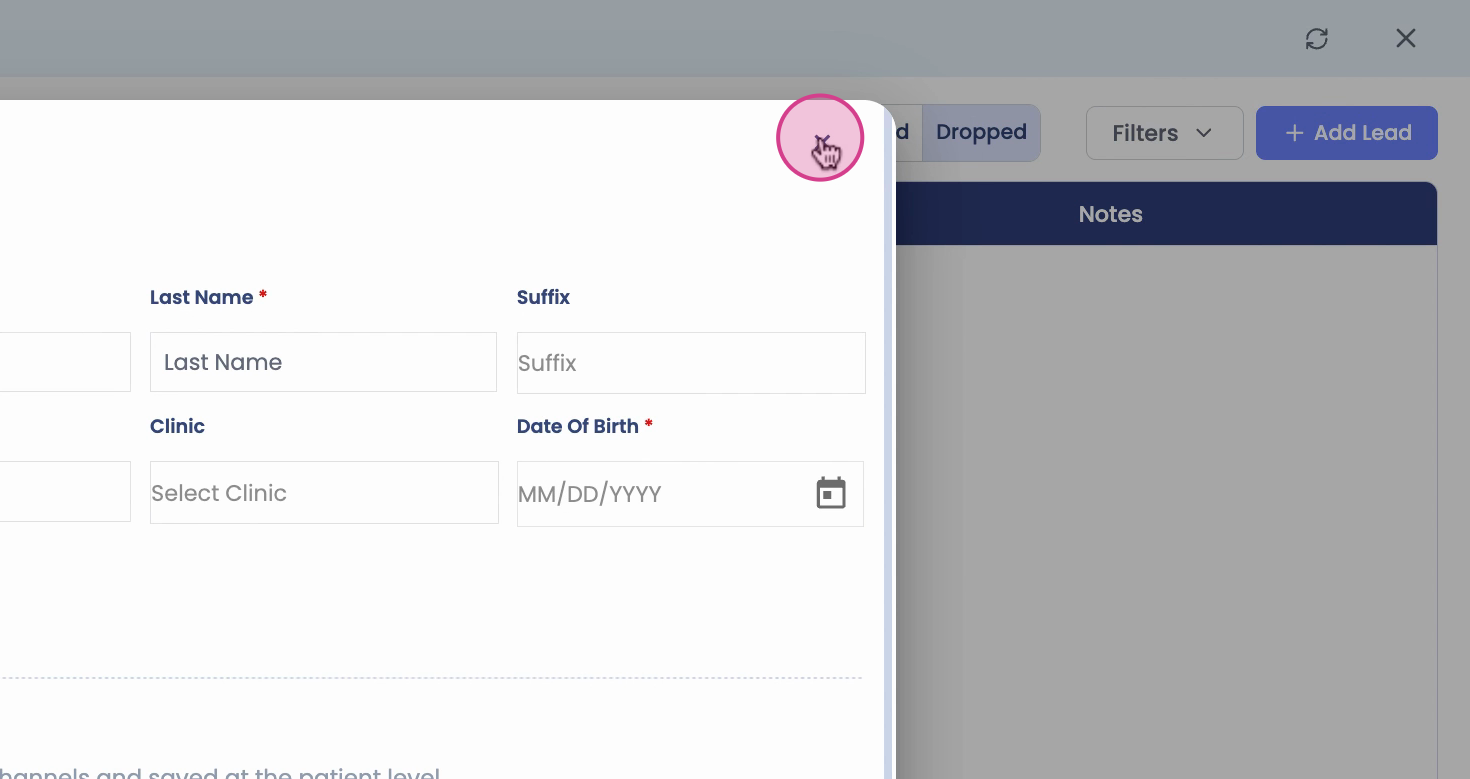
Step 14: To add a new lead manually, click Add Lead, then enter the patient’s first name, last name, and date of birth. Click Add to create the lead in the system.
The new Lead Management tab keeps all patient leads organized in one place, making it easier to track progress, update statuses, and keep your team aligned. Start using these tools to streamline your lead tracking and boost patient engagement.