How to Add Notes in Appointment Cards
Adding notes to appointment cards lets you capture important details and keep everything organized. Follow these steps to add regular and special notes to your appointment cards and easily view them later.
Step 1: Open the relevant appointment card.
Step 2: In the card, find the Basic info section.
Step 3: Click Edit.
Step 4: Go to the Appointment info tab.
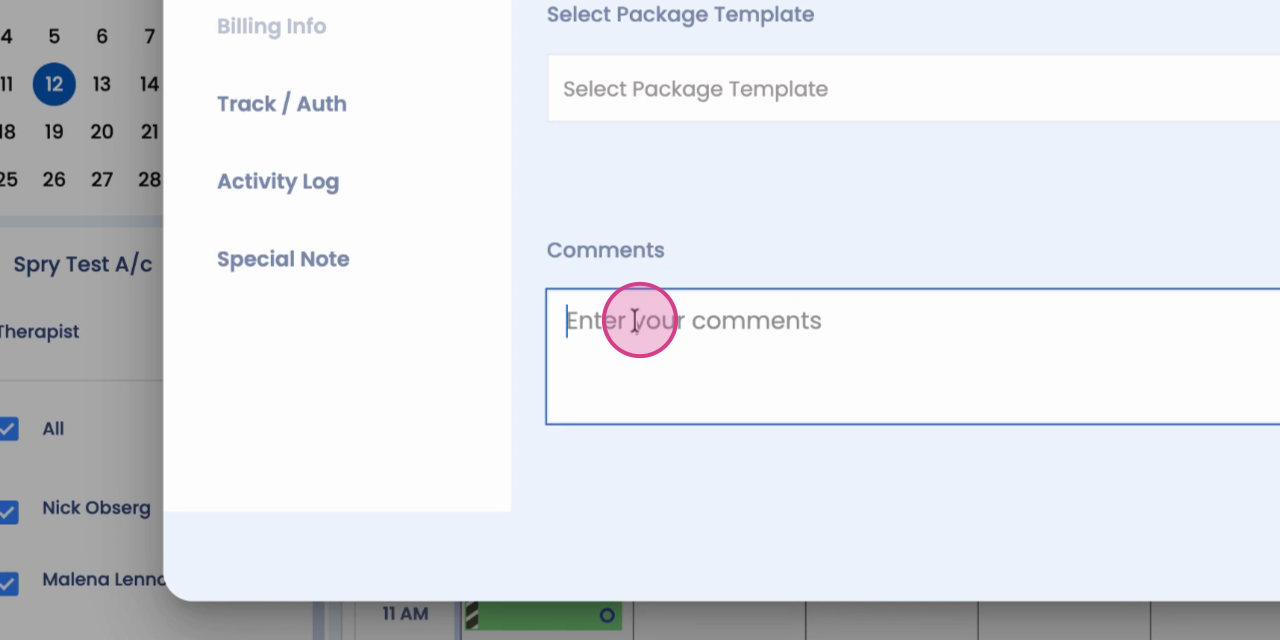
Step 5: Locate the Comment section.
Step 6: Add your note in the Comment section.
Step 7: Click Update appointment to save your note.
Step 8: Hover over the appointment card to see your comment displayed.
Step 1: To add a special note, open the appointment card again.
Step 2: Scroll down to find the Special note option.
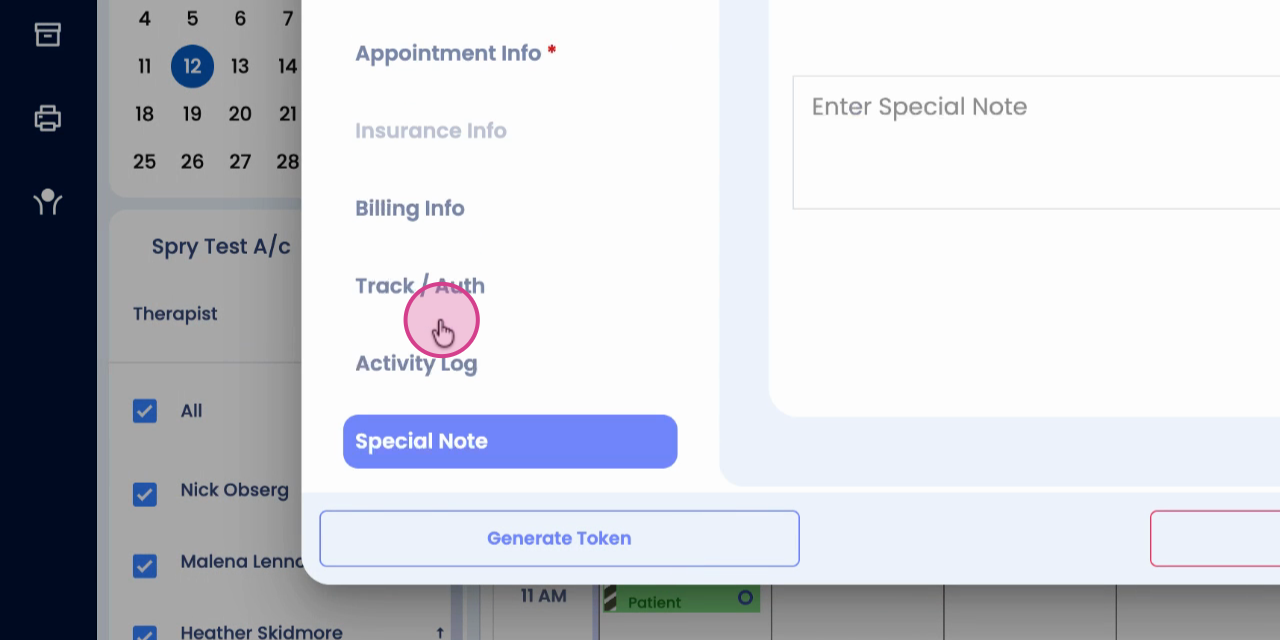
Step 3: Enter your special note in the field provided.
Step 4: Click Save to update your appointment with the special note.
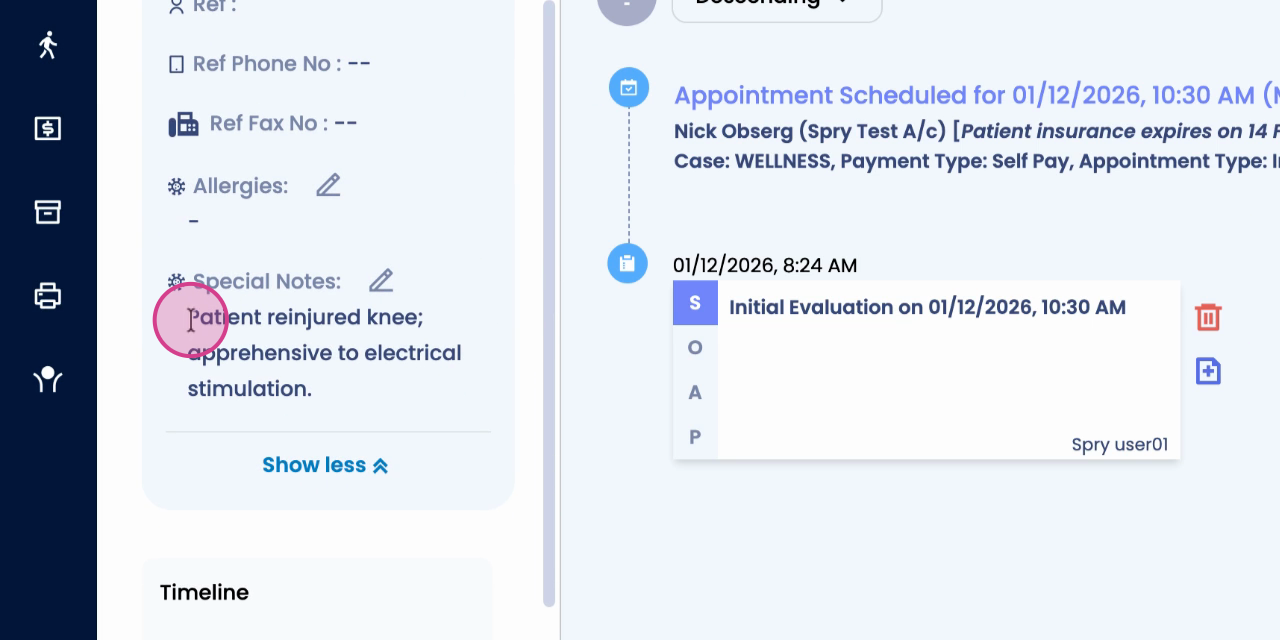
Step 5: To view the special note, go to the patient timeline, scroll down, and review your entry.
Notes and special notes make it easy to keep track of details during each appointment. Use them to remember key points and ensure everyone has the information they need.