
Chiropractic Documentation
Streamline your initial evaluation and SOAP note documentation using templates that auto-populate key fields and guide you through a comprehensive exam. This tutorial shows you how to apply, edit, and complete documentation efficiently, ensuring nothing important gets missed.
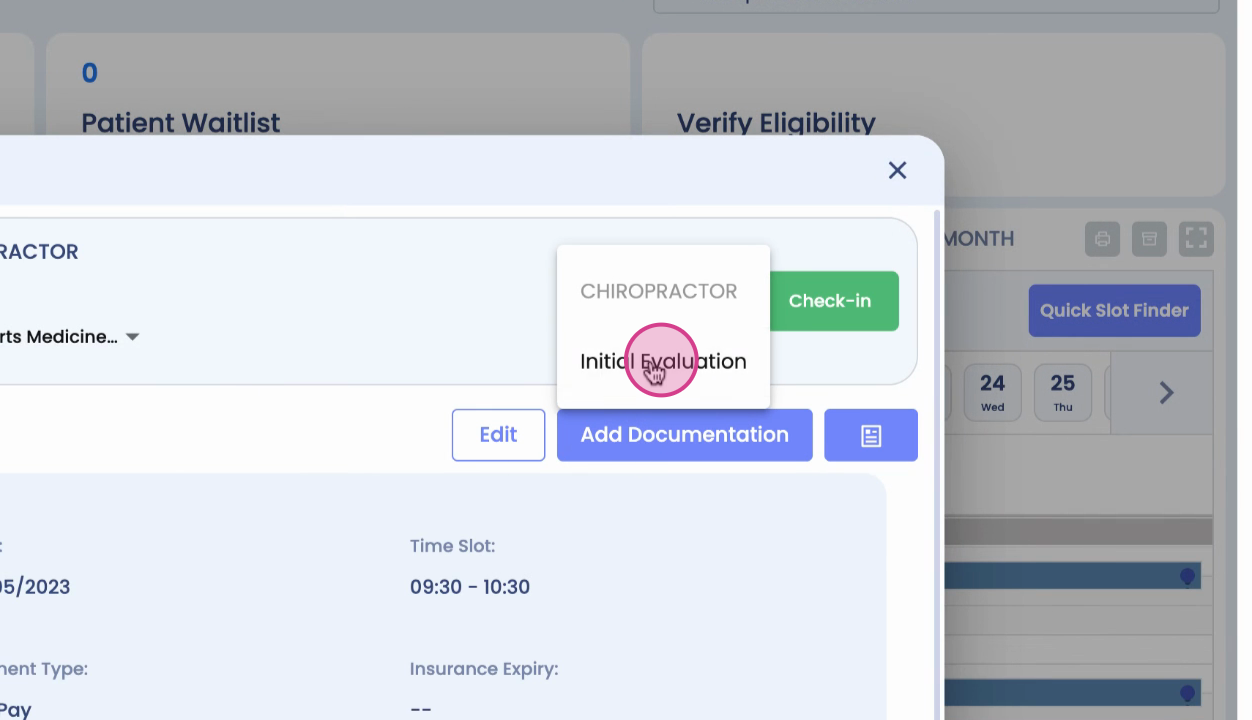
Step 1: Click Add Documentation and select Initial Evaluation from the menu.
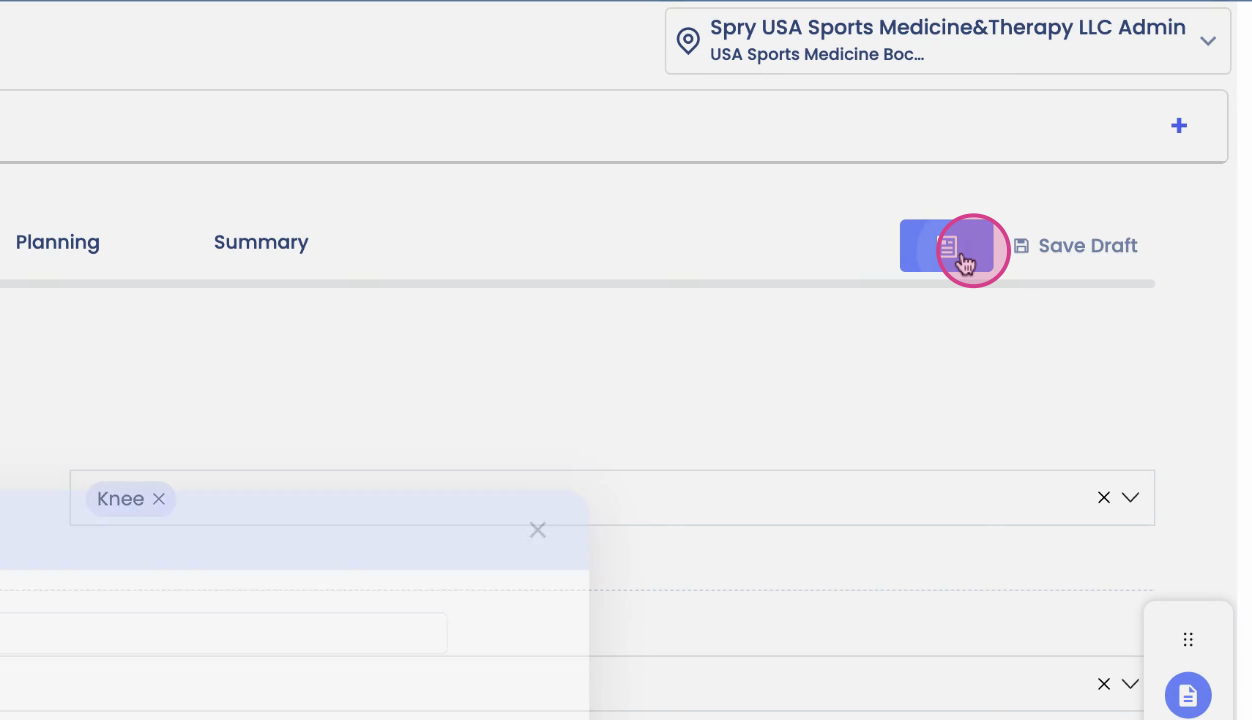
Step 2: Choose a documentation template to auto-fill core sections with standard data.
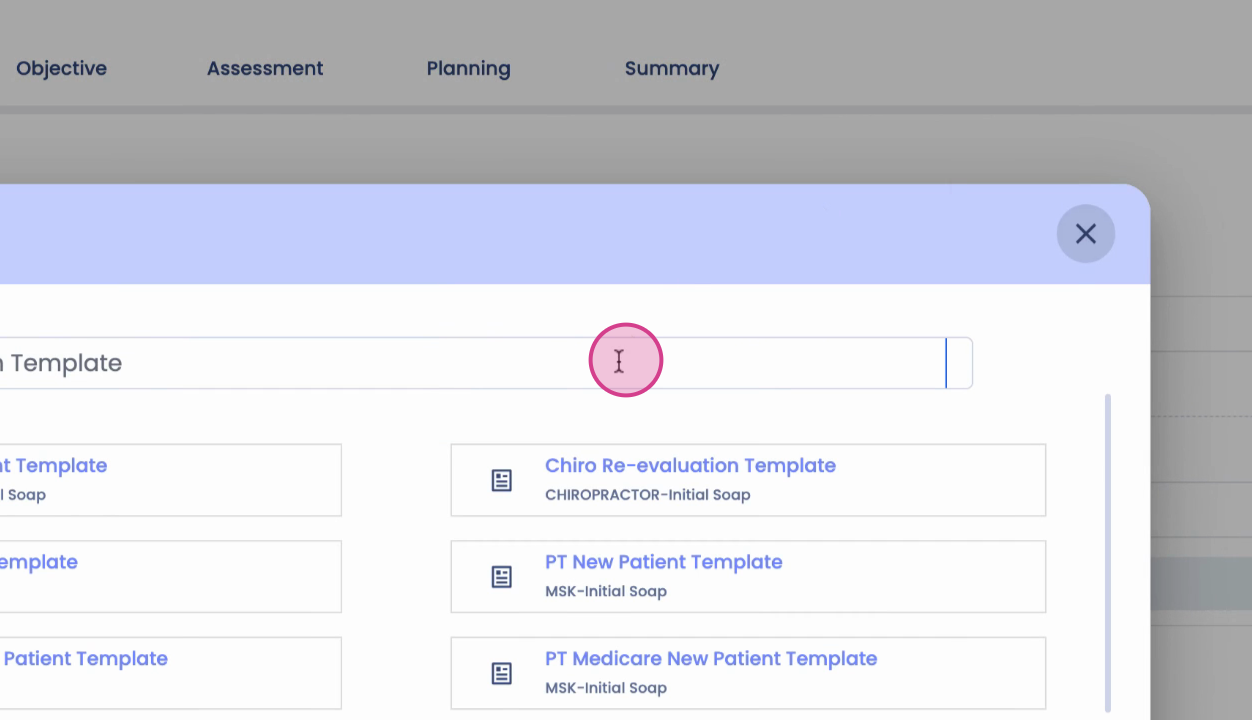
Step 3: Select your desired template. The system will populate fields like chief complaints, pain information, and functional status options.
Step 4: Review and update all auto-filled sections. Edit any field to match the patient’s specifics.
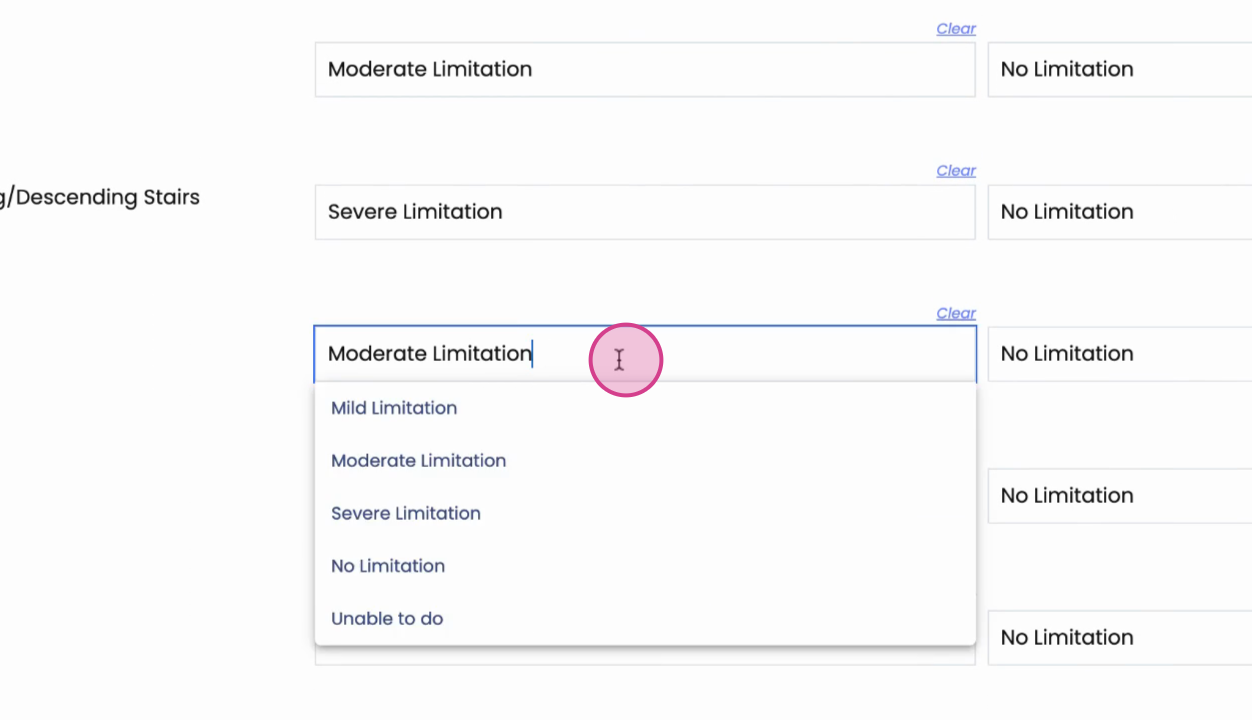
Step 5: If needed, clear all entries and start a new note.
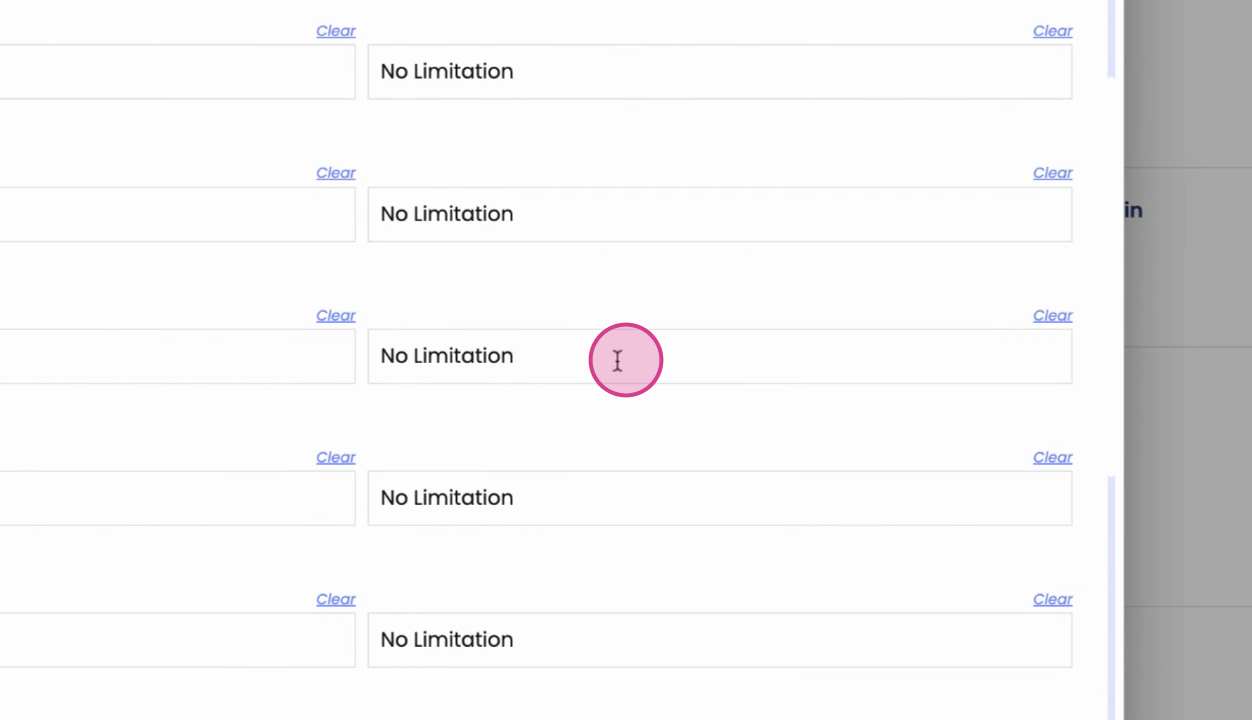
Step 6: Add additional functional activities that are limited for this patient.
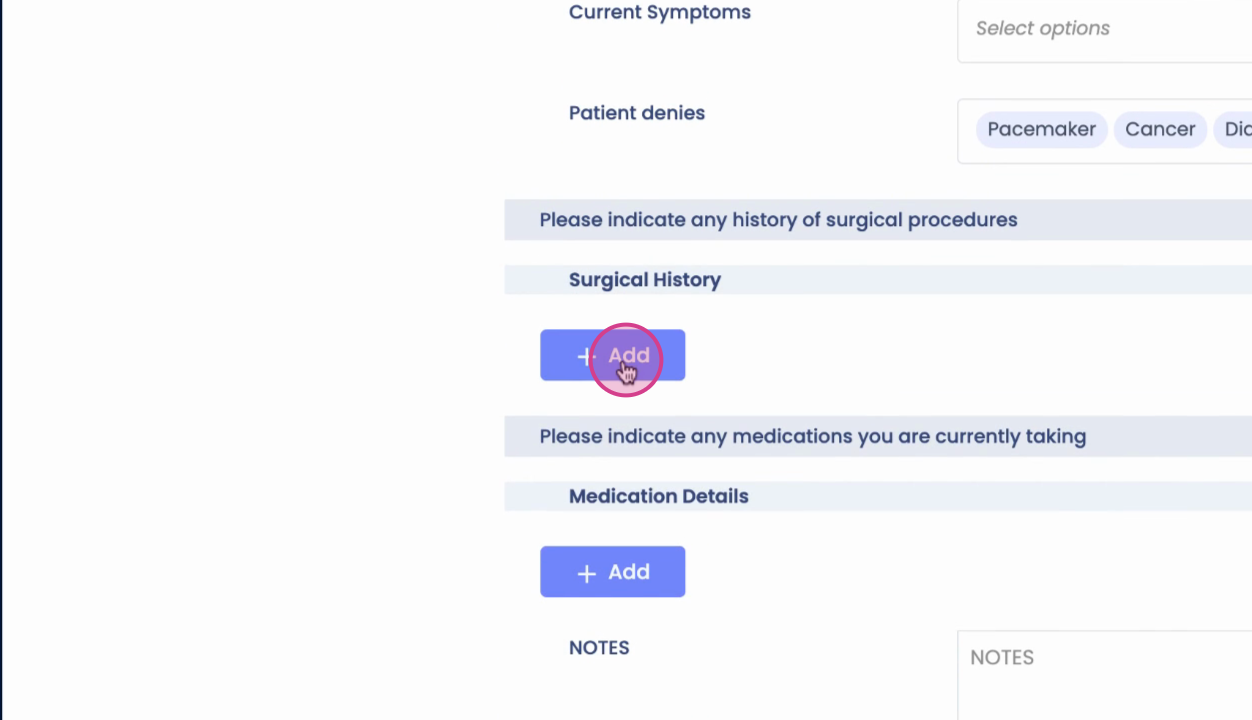
Step 7: Document medical conditions, symptoms, relevant surgical history, and case-specific details. Each section ends with a free text field for extra notes.
Step 8: In the objective section (especially for chiro templates), record observations like tenderness or muscle spasms, rating them as mild, moderate, or severe.
Step 9: Add information about adjacent joints if relevant, and flag any fixations you addressed.
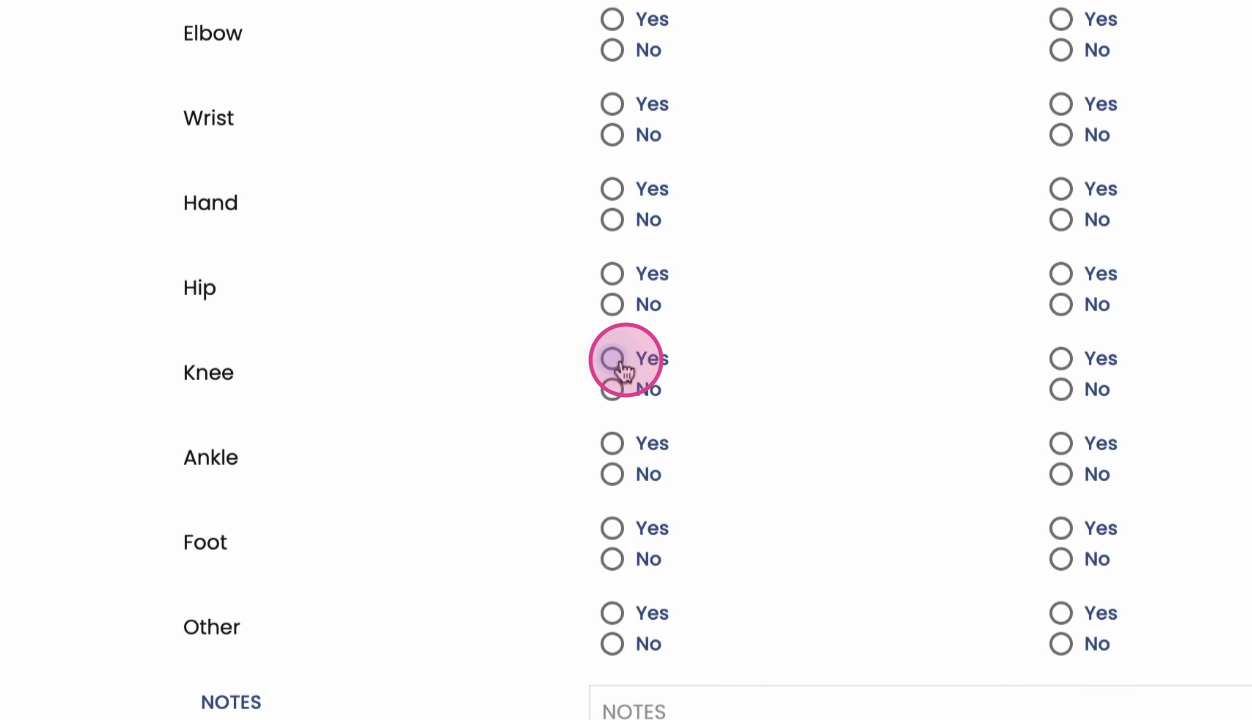
Step 10: Only answered questions and positive findings appear in your summary. The form adapts based on your inputs, so it stays concise.
Step 11: Complete posture, palpatory, range of motion, and strength assessments—these may be partially auto-populated by the template but can be edited.
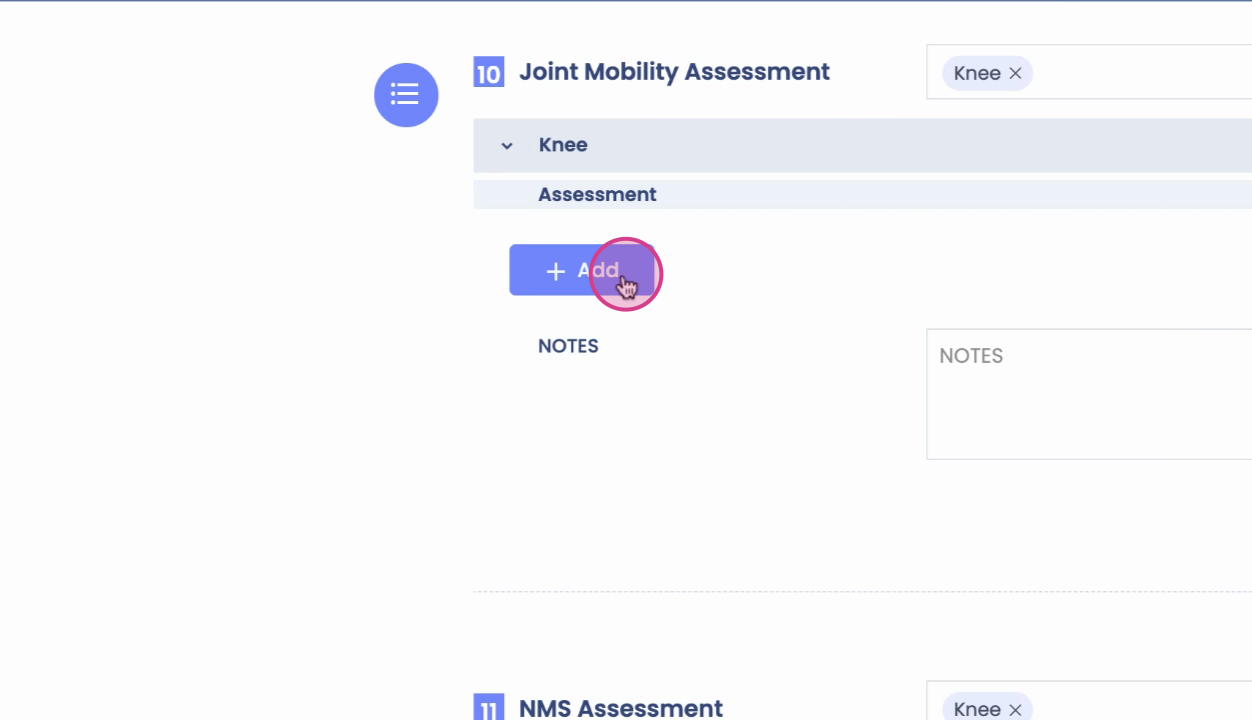
Step 12: Adjust joint mobility data by clicking the plus sign, then select the joint, laterality, glide performed, grade, and infield.
Step 13: In the neuromuscular section, review or update dermatomal, myotomal, and reflex details.
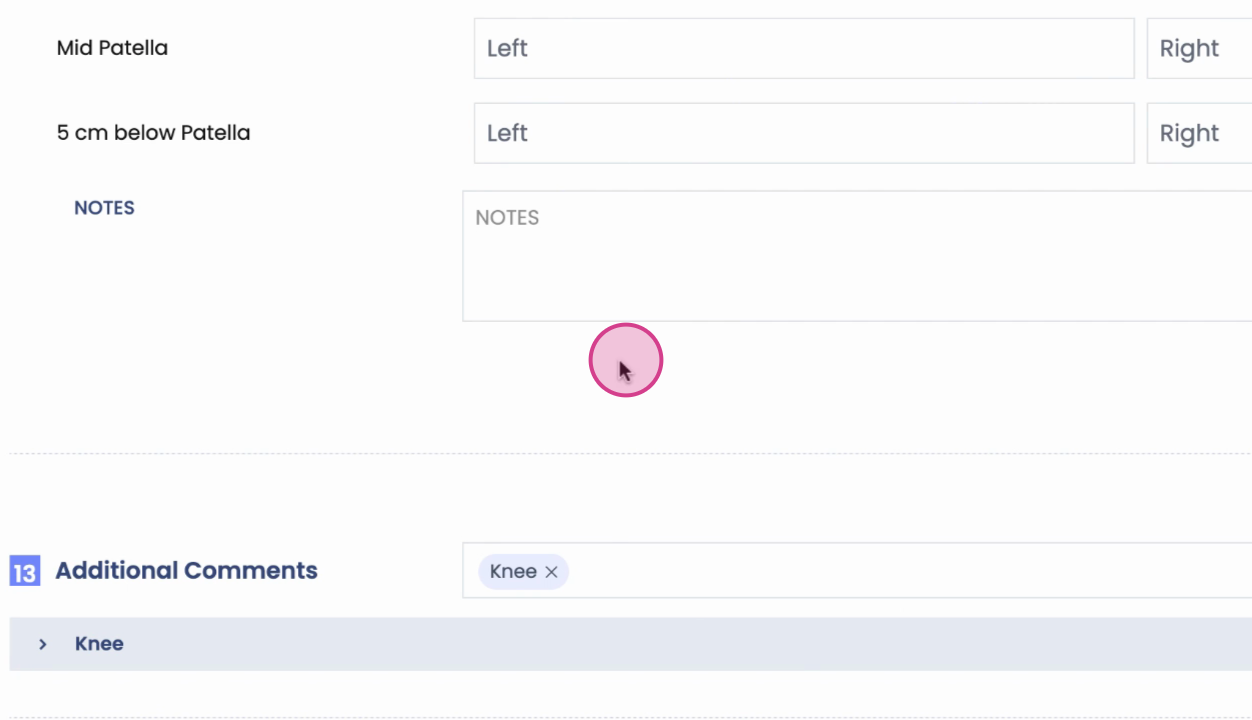
Step 14: Enter girth assessment findings and add comments as needed.
Assessment and Plan
Step 1: On the assessment page, review pre-populated ICD codes and the auto-generated clinical presentation summary. Change or regenerate AI-generated summaries if needed.
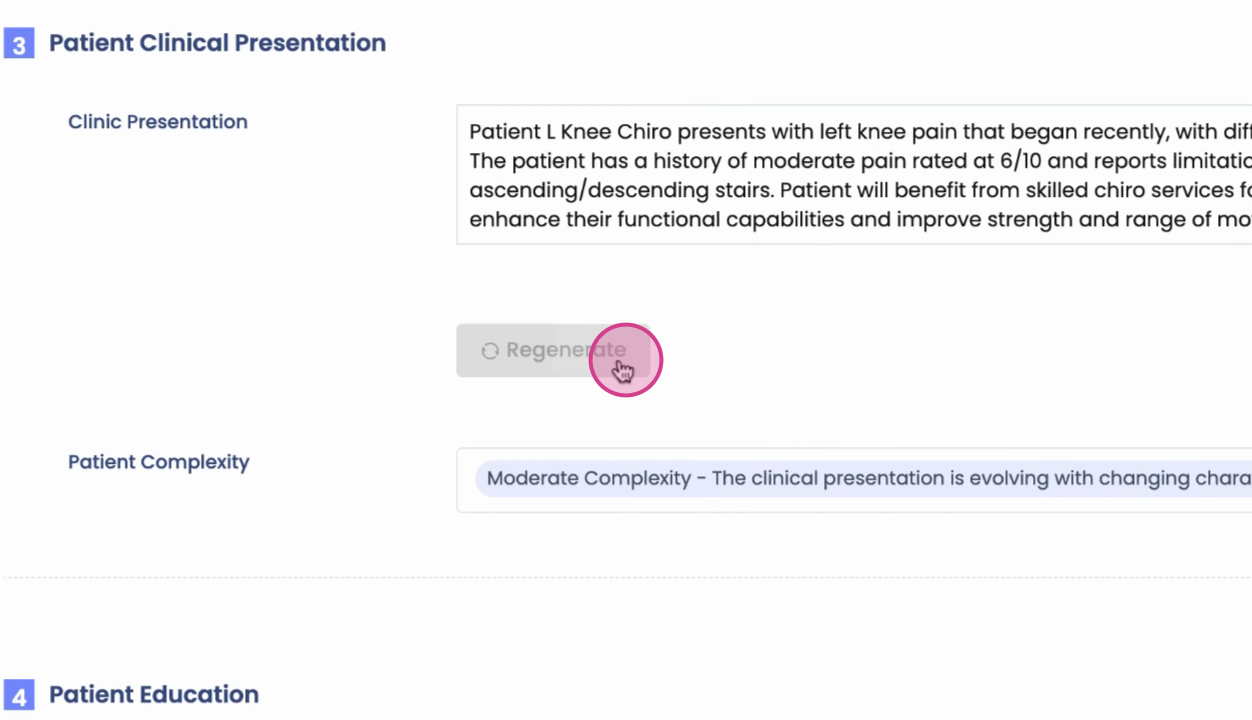
Step 2: If the summary doesn’t fit, deselect it and add your own details.
Step 3: Select the patient complexity level (low, moderate, high).
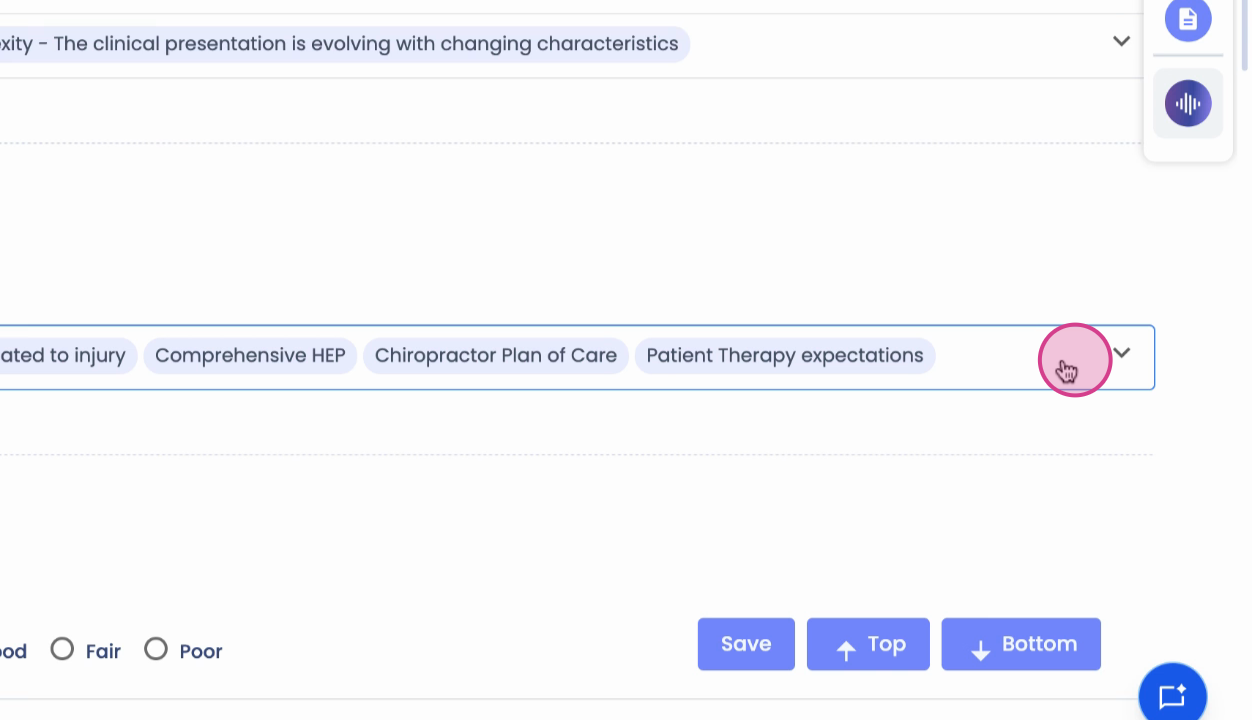
Step 4: Choose appropriate patient education options and note any contraindications to therapy.
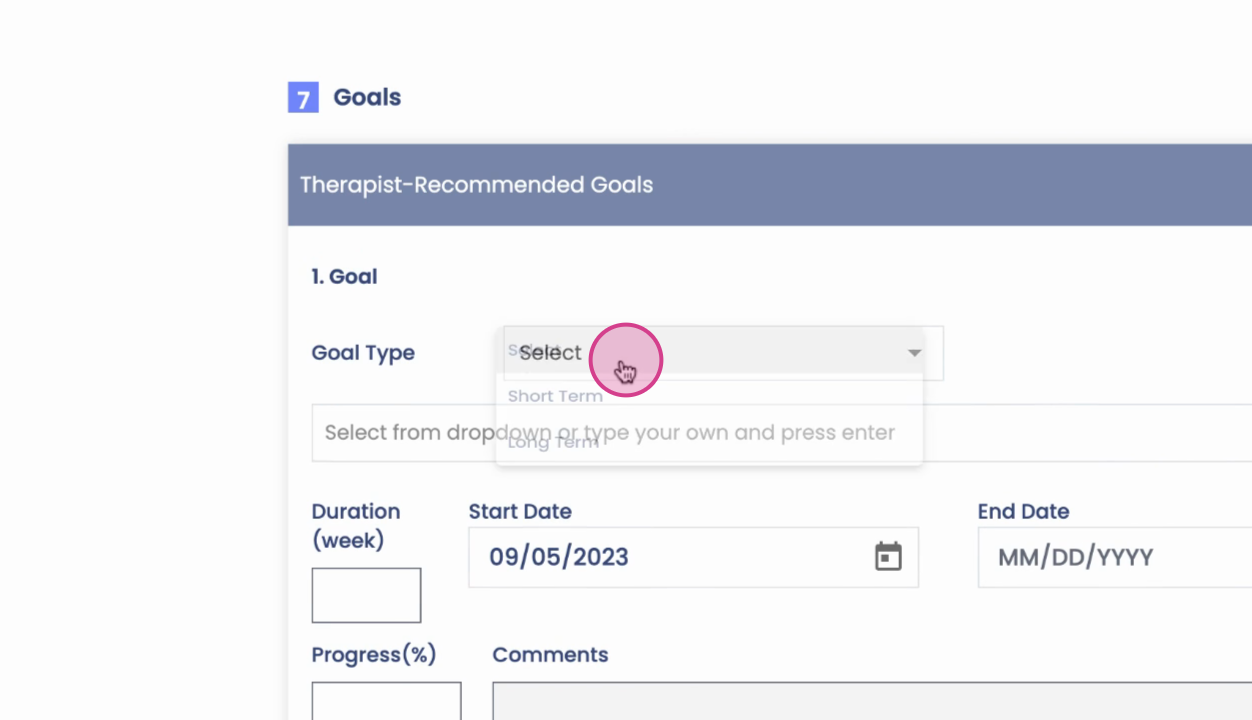
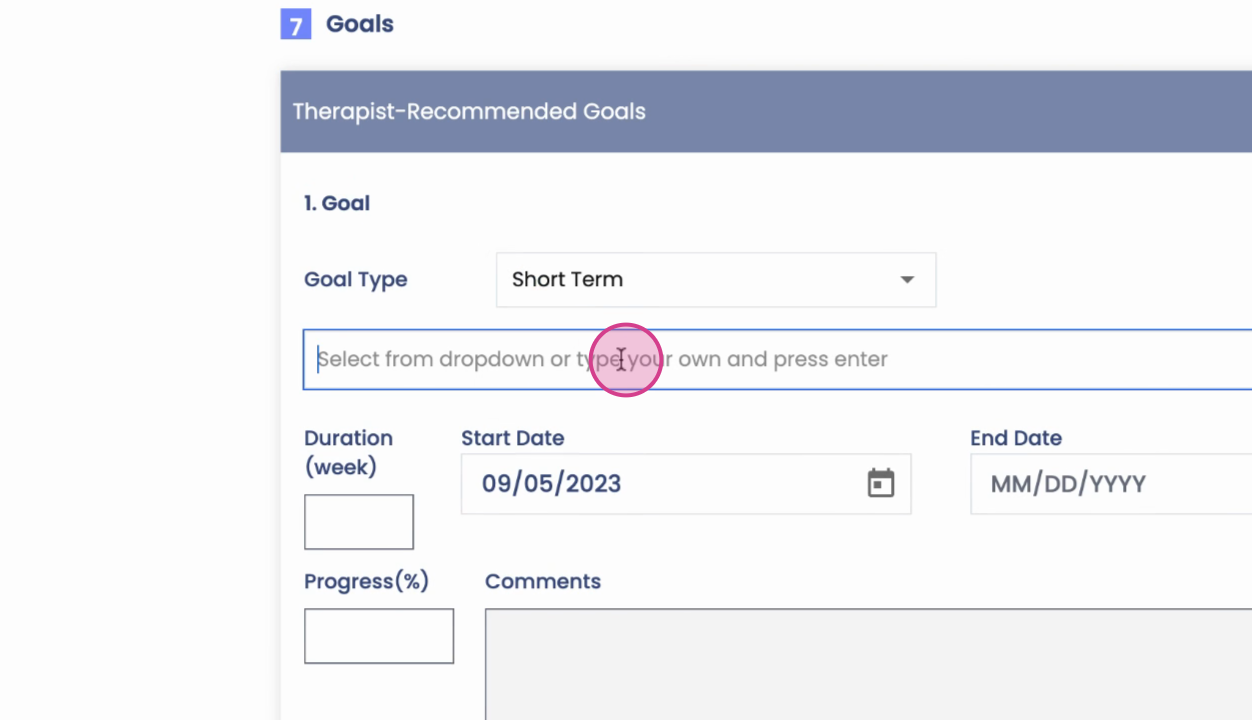
Step 5: Add patient goals. Click Add Goal, indicate if it’s short- or long-term, and select or type the goal. Setting the duration will calculate the end date.
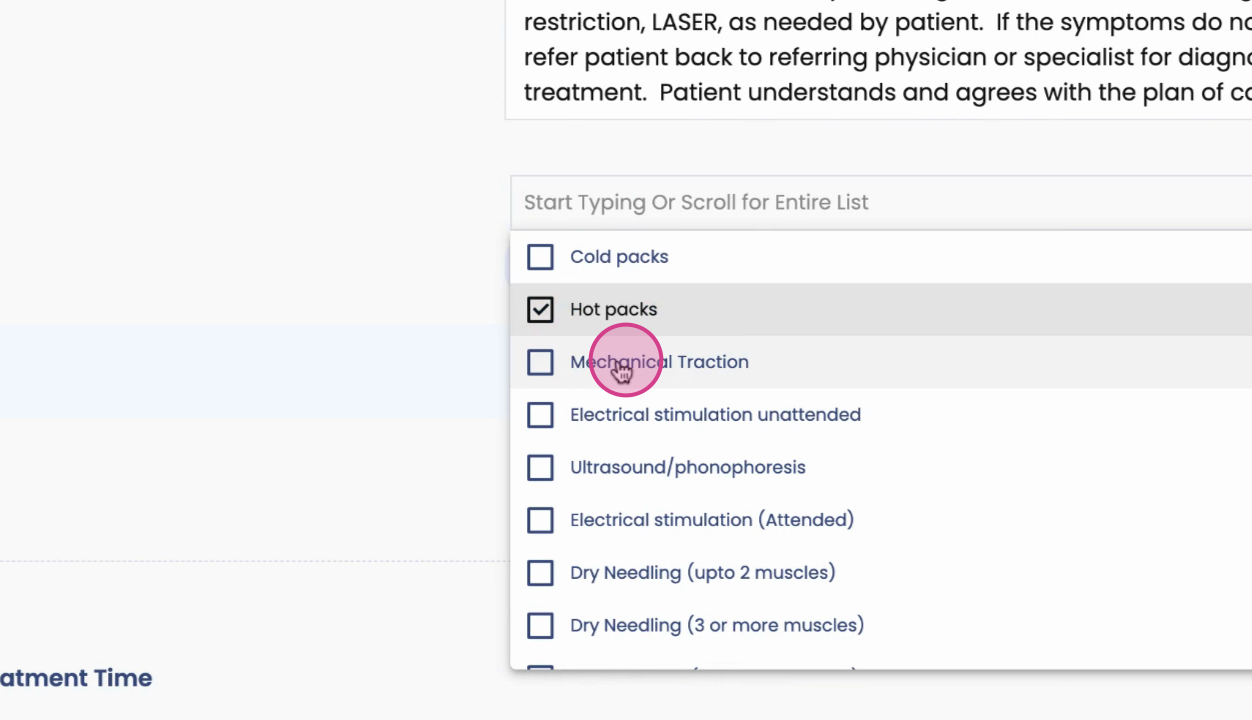
Step 6: In the planning section, input the plan of care and billing data. Select modalities and procedures (e.g., hot packs, mechanical traction) and associate them with treatment frequencies and durations. These selections build your care plan for the prescribed period.
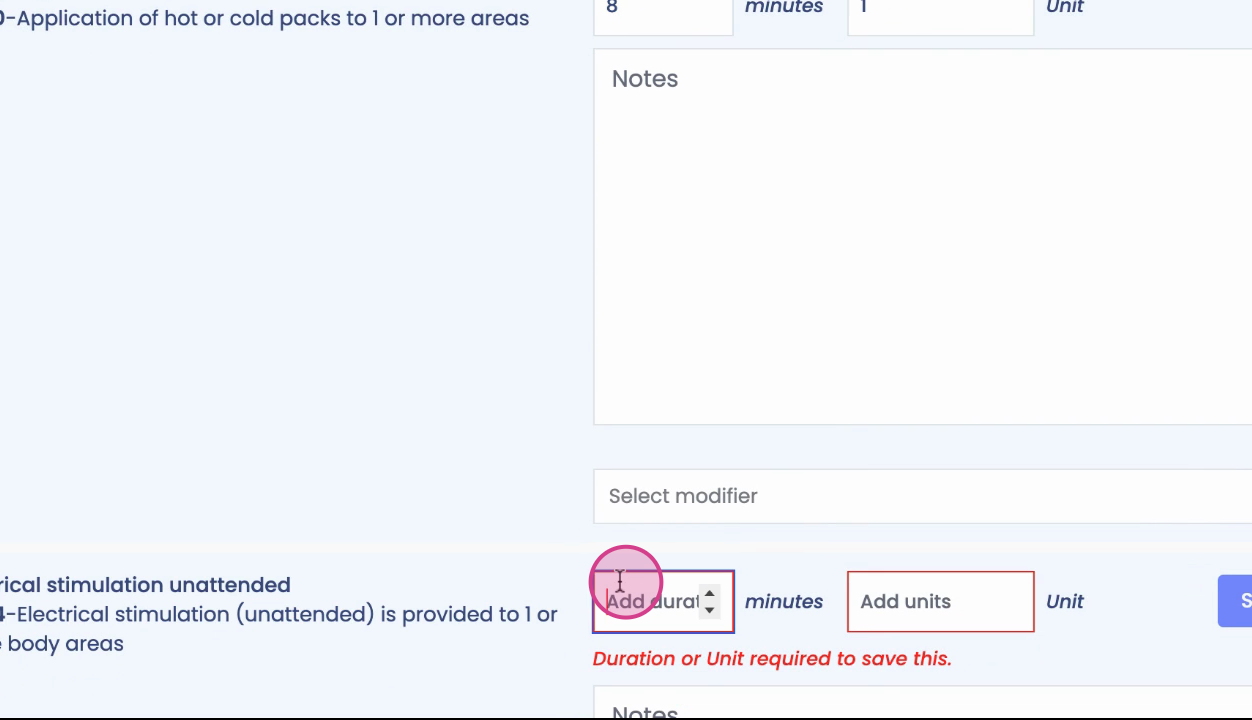
Step 7: For each therapy type, document the time spent. This feeds directly into your treatment logs, billing, and CPT code summaries.
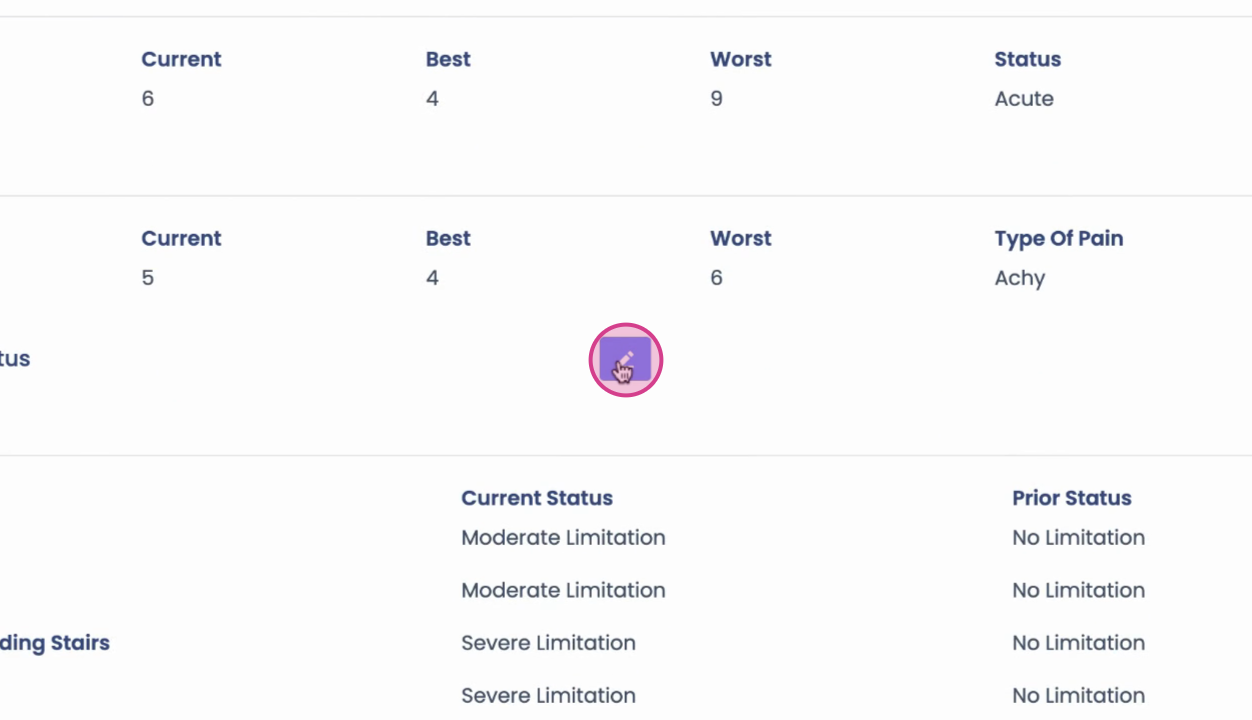
Step 8: Click Next for the summary page, where all collected information appears. Make section edits directly by clicking the pen or edit icon. Adjust body part details as needed, then close to update.
Step 9: When you’ve verified all entries, click Complete SOAP to sign and finalize the note.
Using templates speeds up documentation, ensures consistency, and reduces manual data entry. The flexible form structure lets you edit on the fly, keeping your workflow smooth and your notes accurate. After review, completing the SOAP note is just a click away.