
Group Appointments and Documentation
How to Use Group Appointments and Group Documentation for Patients
The new Groups feature lets you streamline scheduling and documentation for sets of patients who share appointments. This guide walks you through creating a group, scheduling a group appointment, and completing group documentation, making things simpler for both therapists and patients.
Step 1: Go to the Patients tab and select Groups.
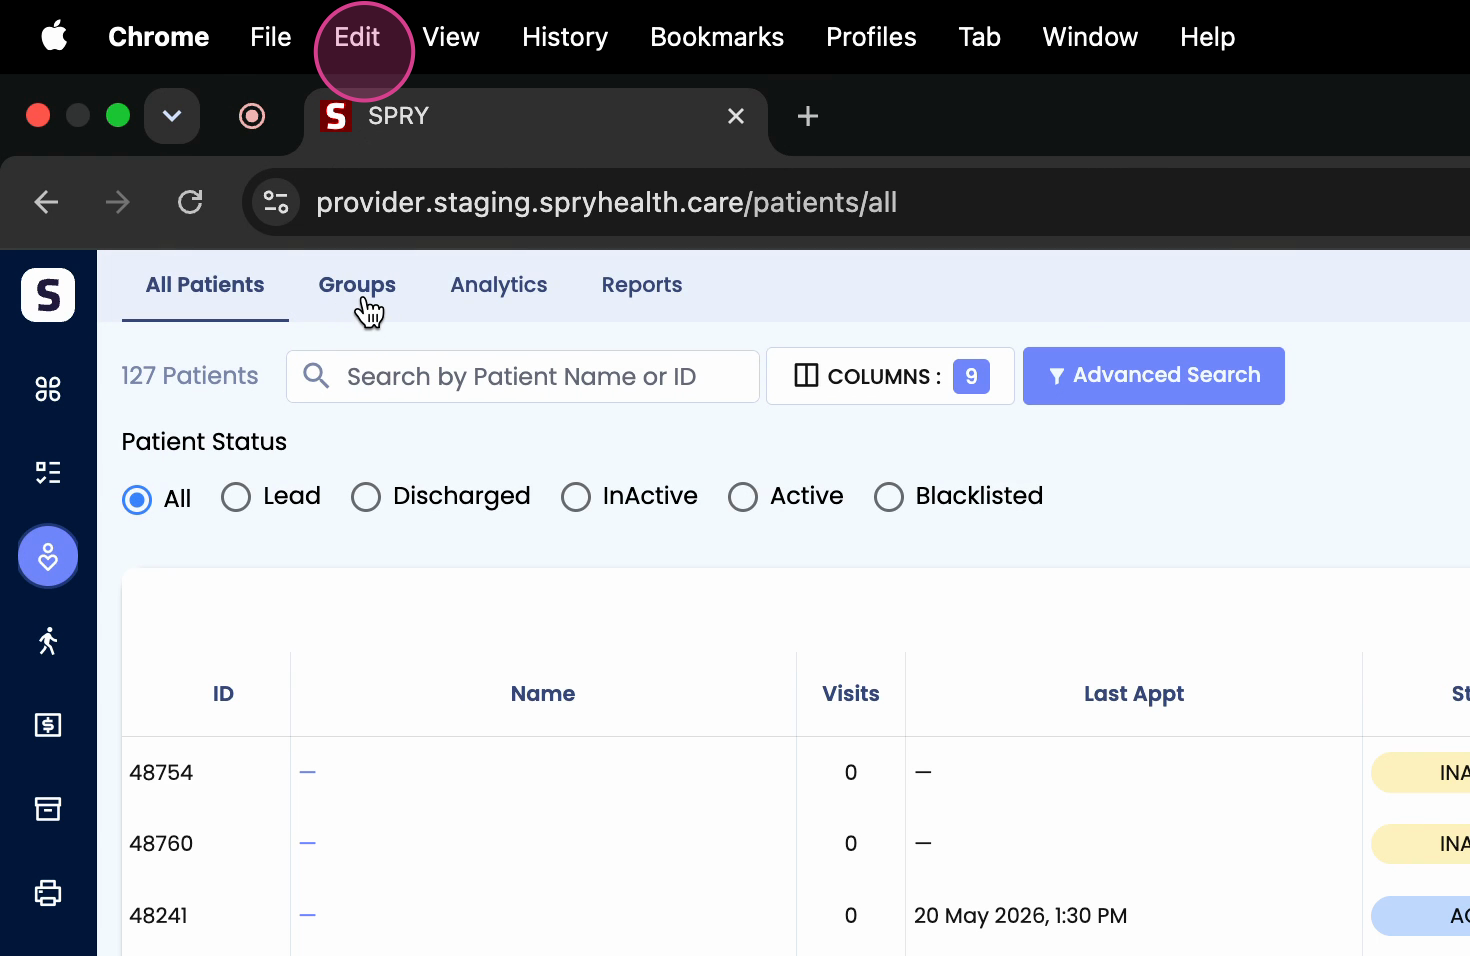
Step 2: View all your active and inactive groups in the group dashboard.
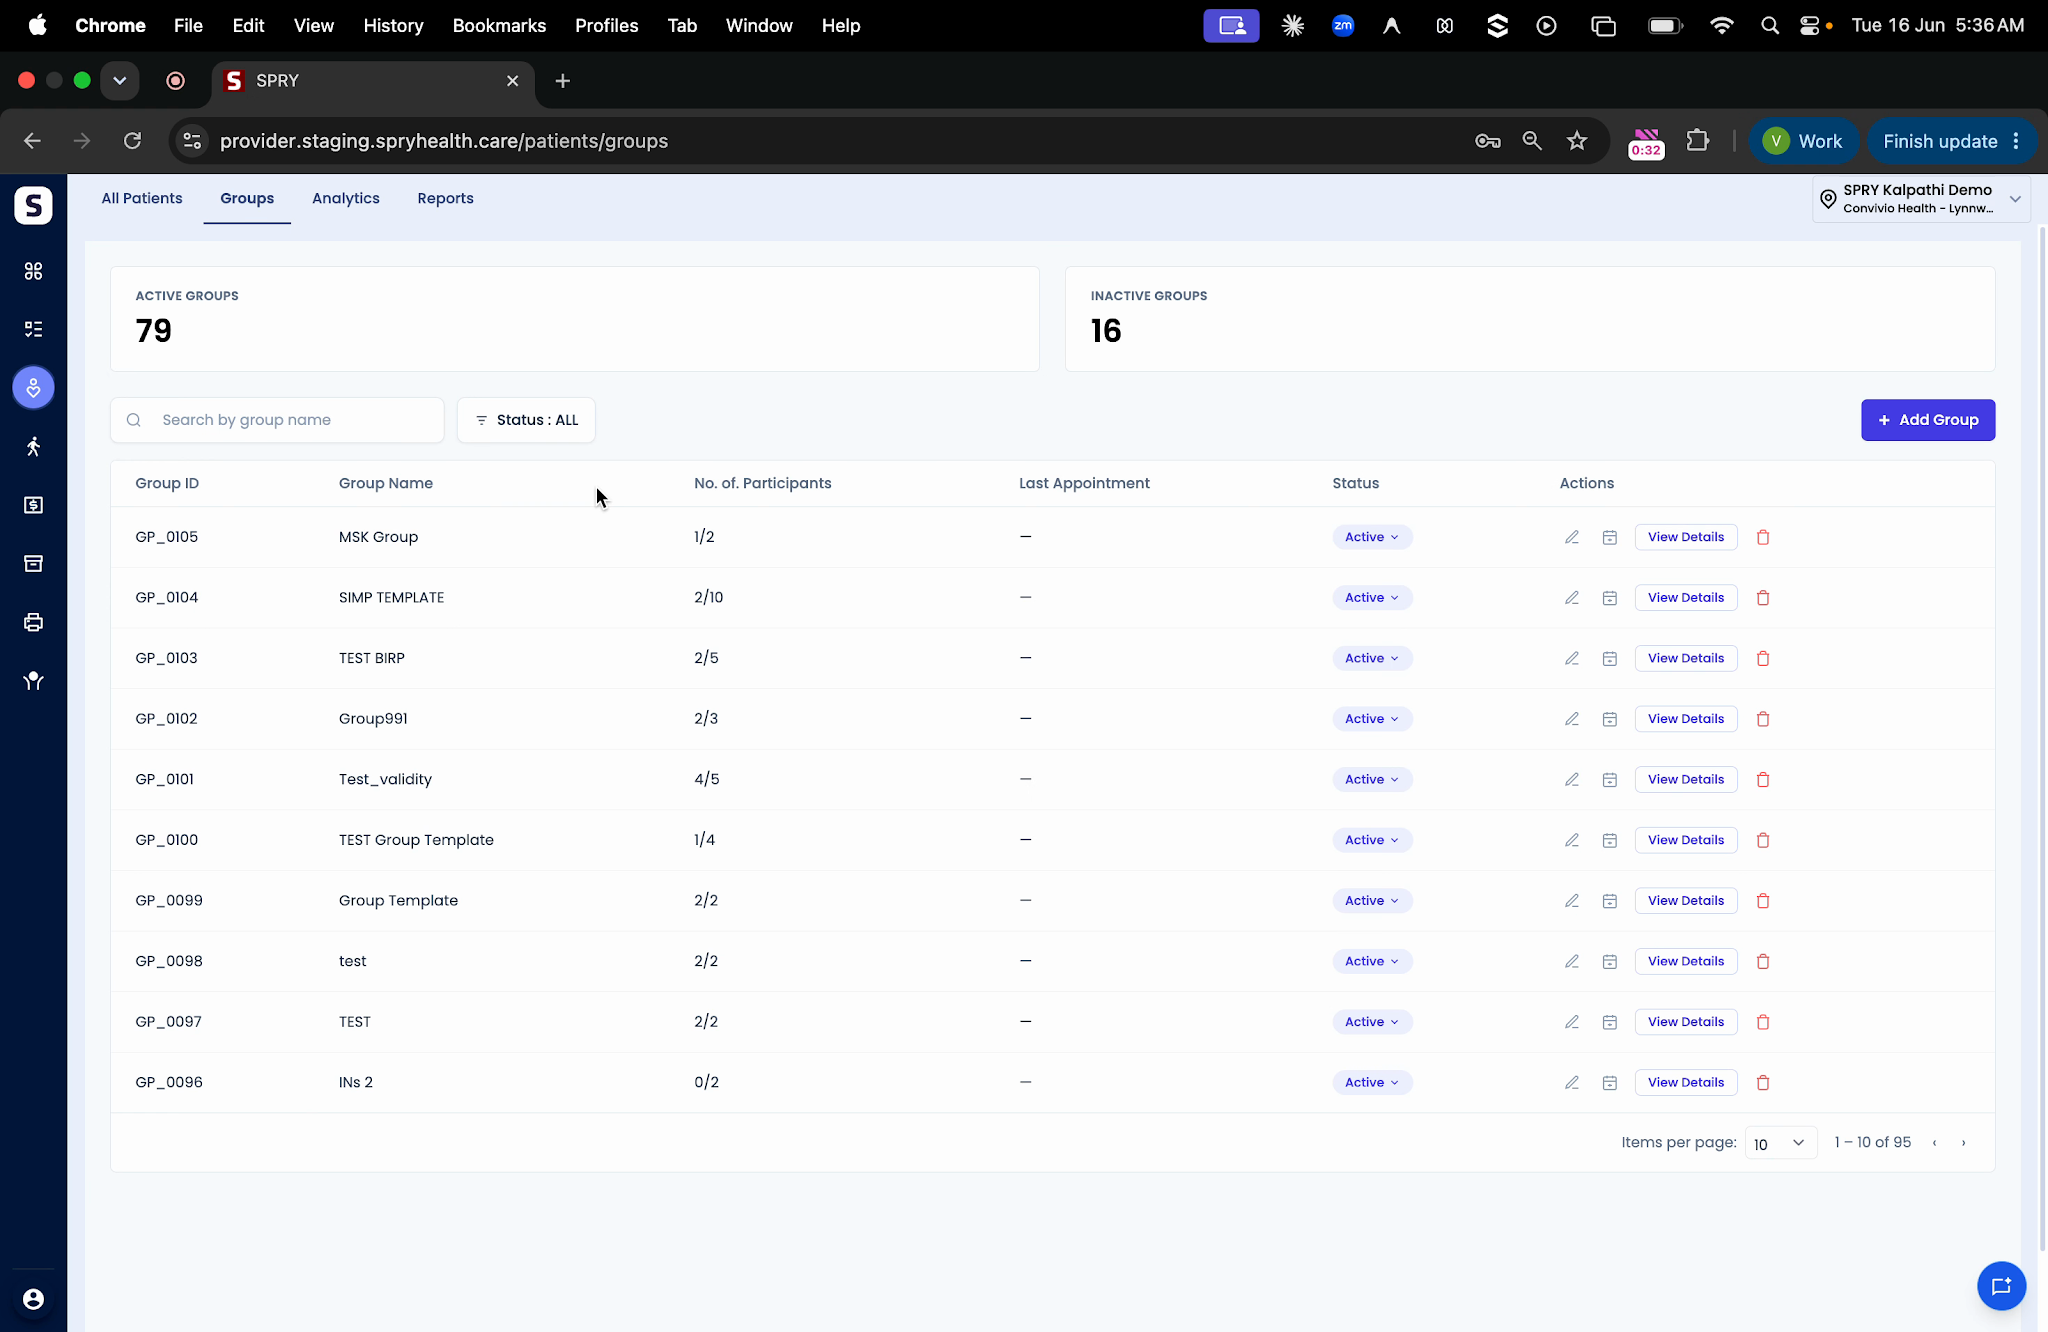
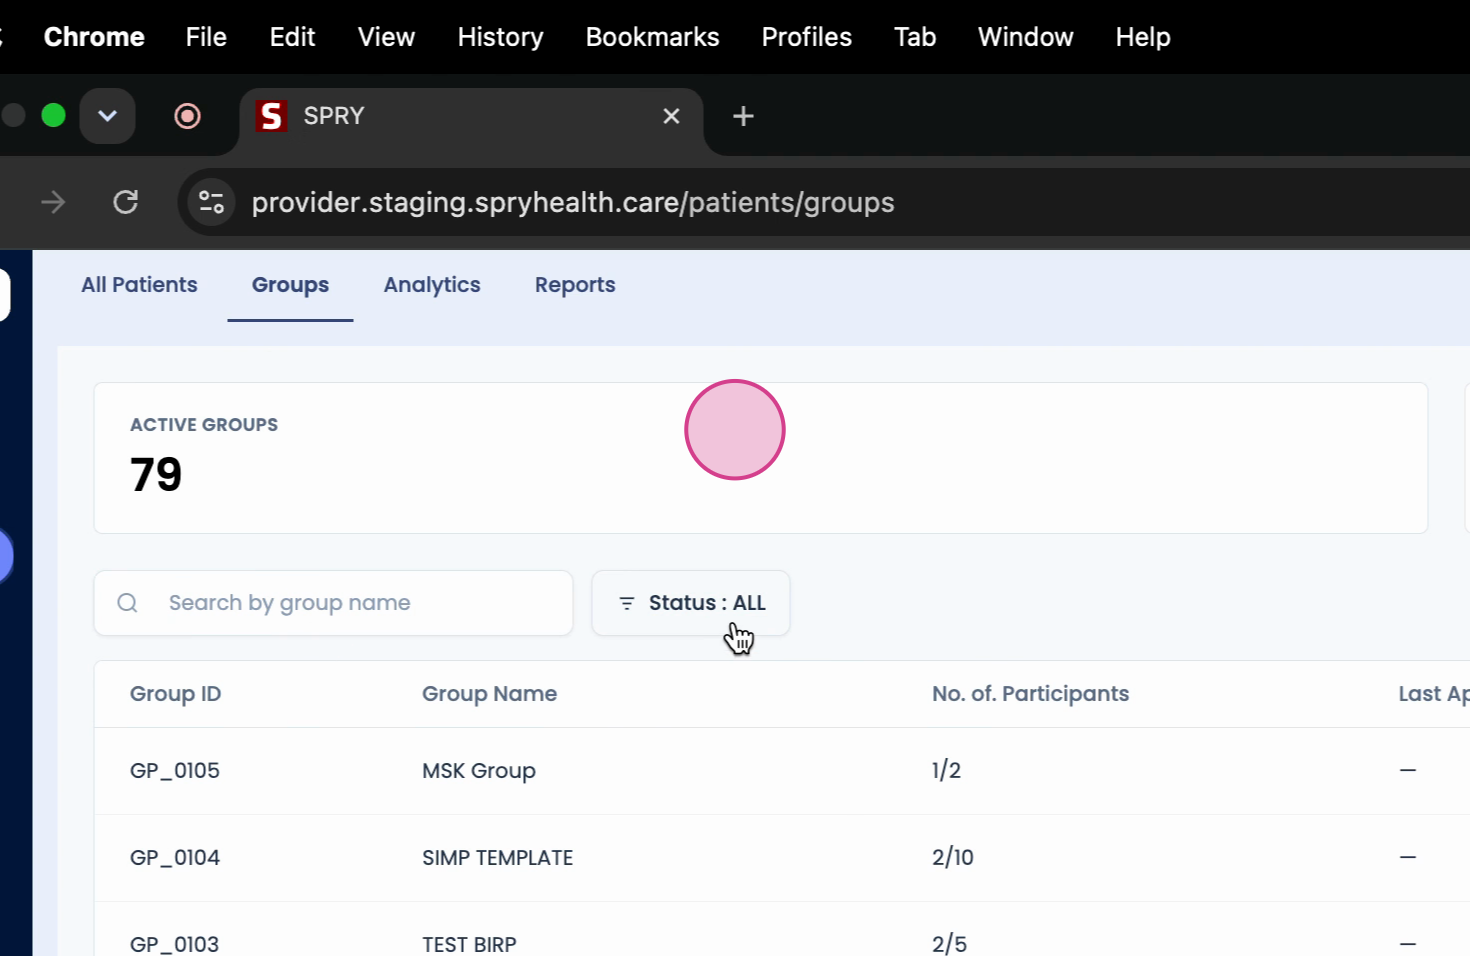
Step 3: Search for groups by name or apply filters based on group status to narrow down the list.
Step 4: Click Add Group to create a new group.
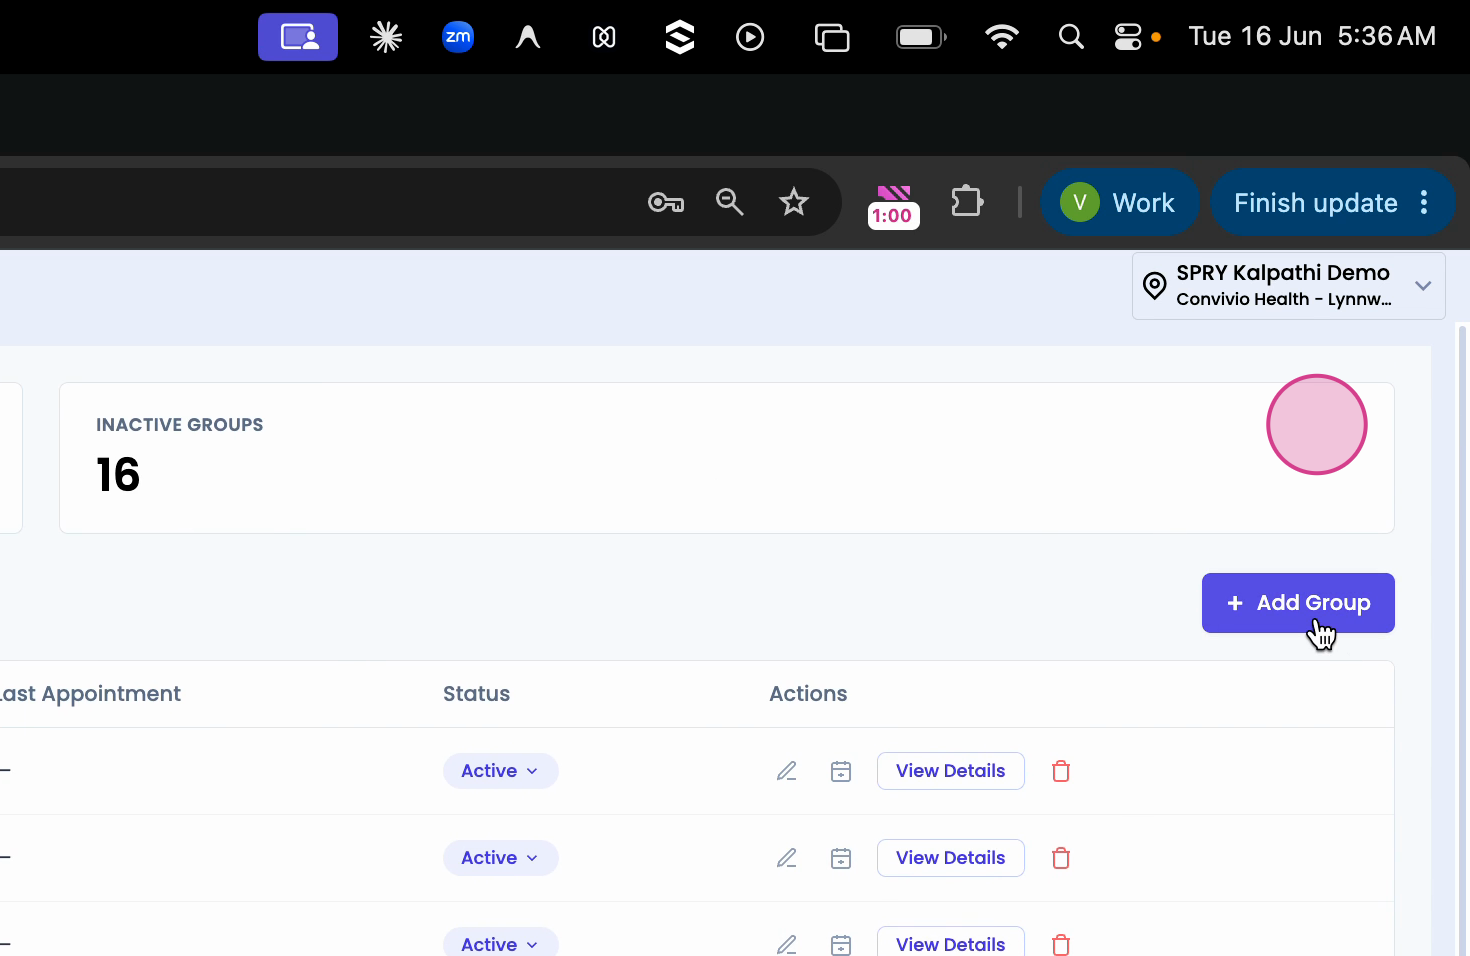
Step 5: Enter the group name and set the maximum patient count.
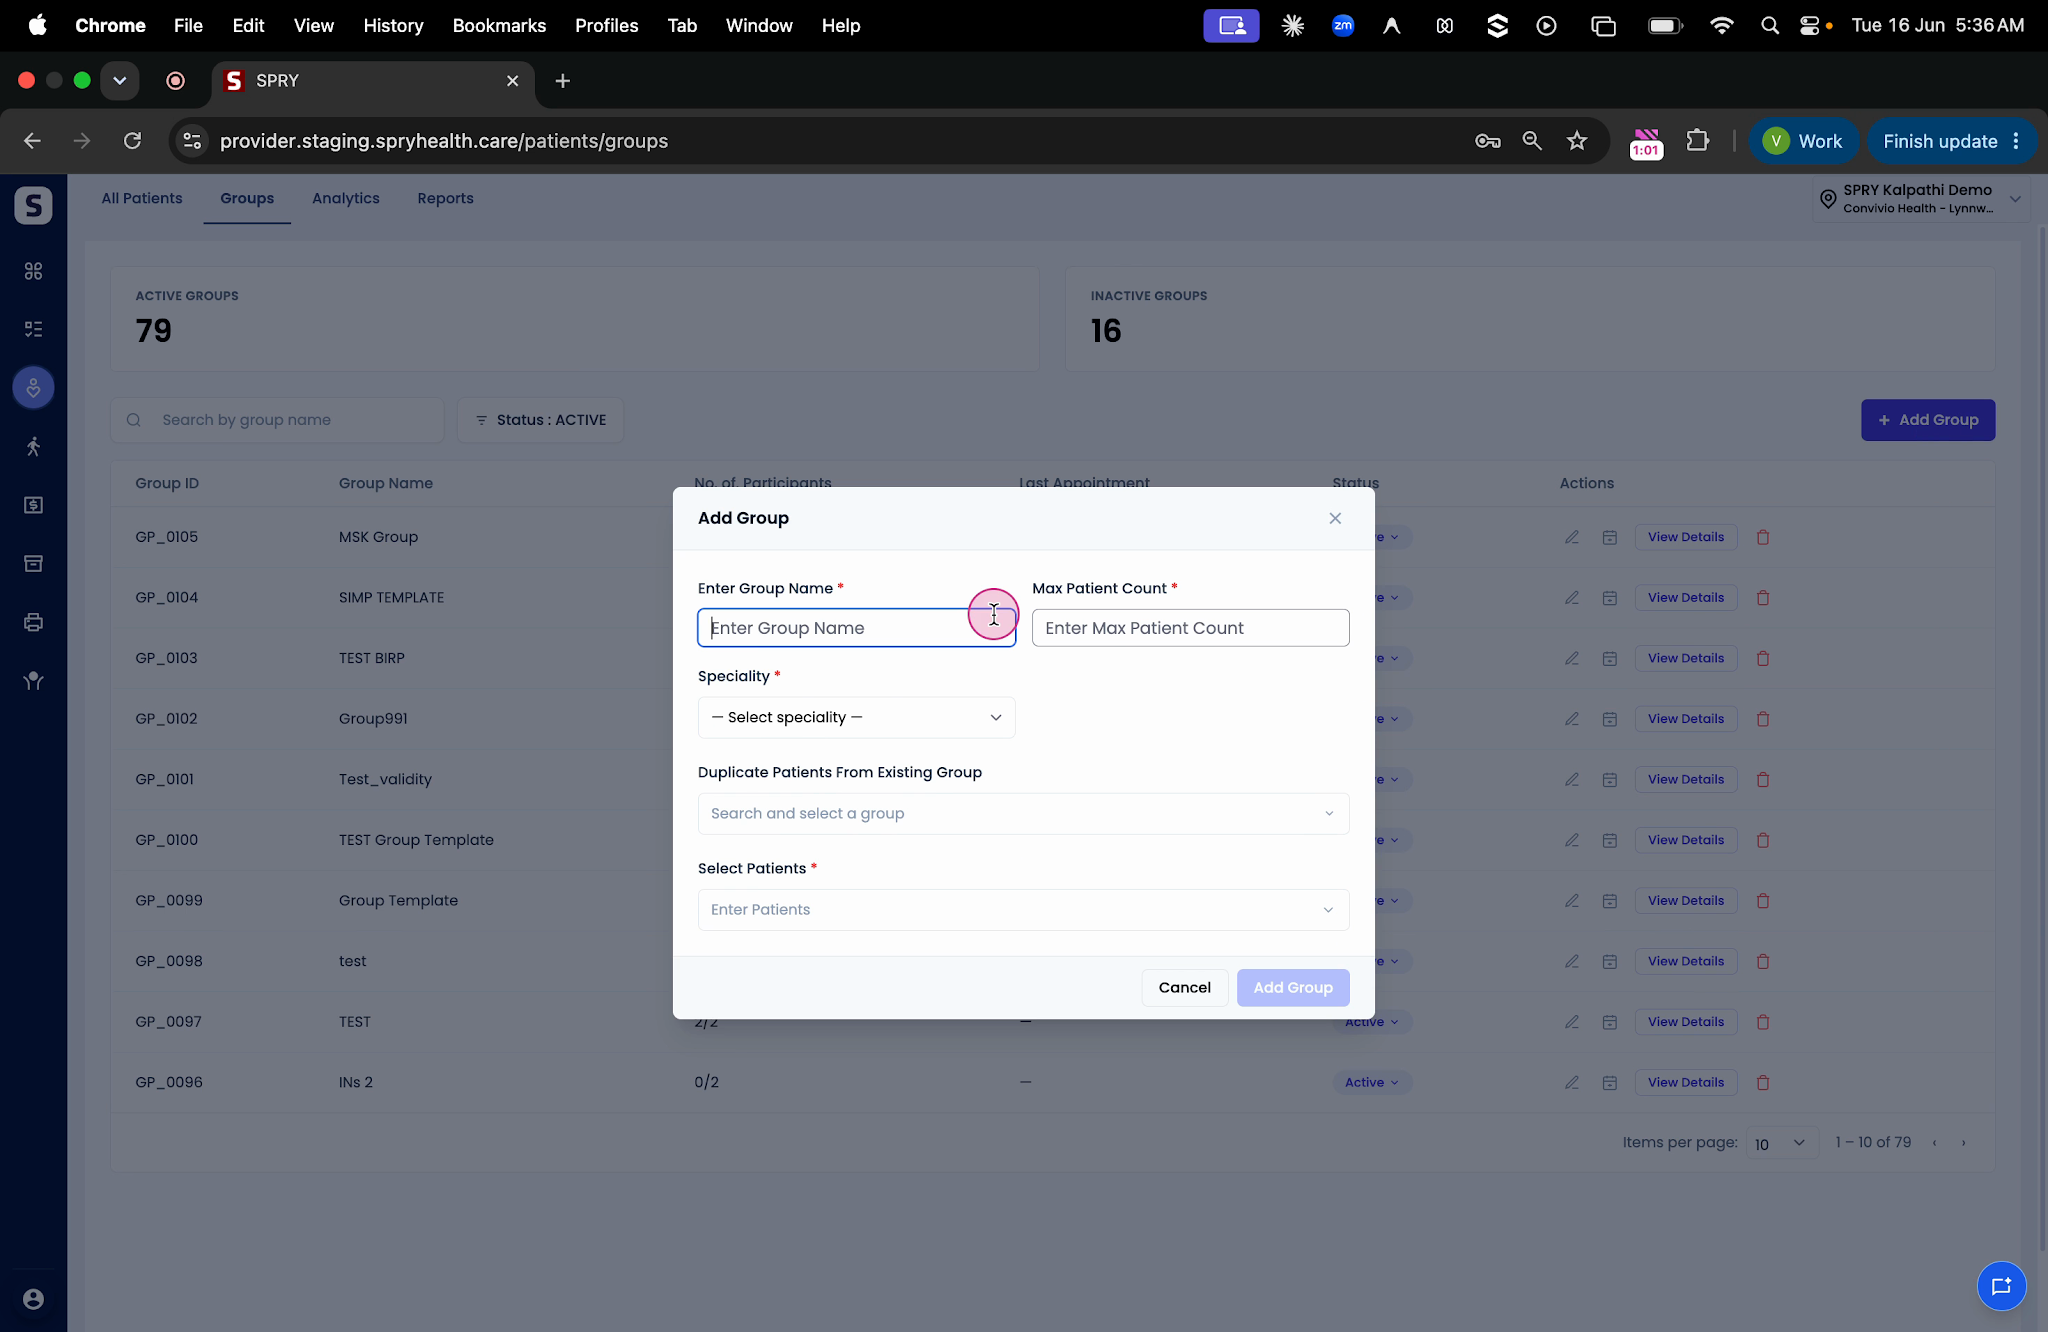
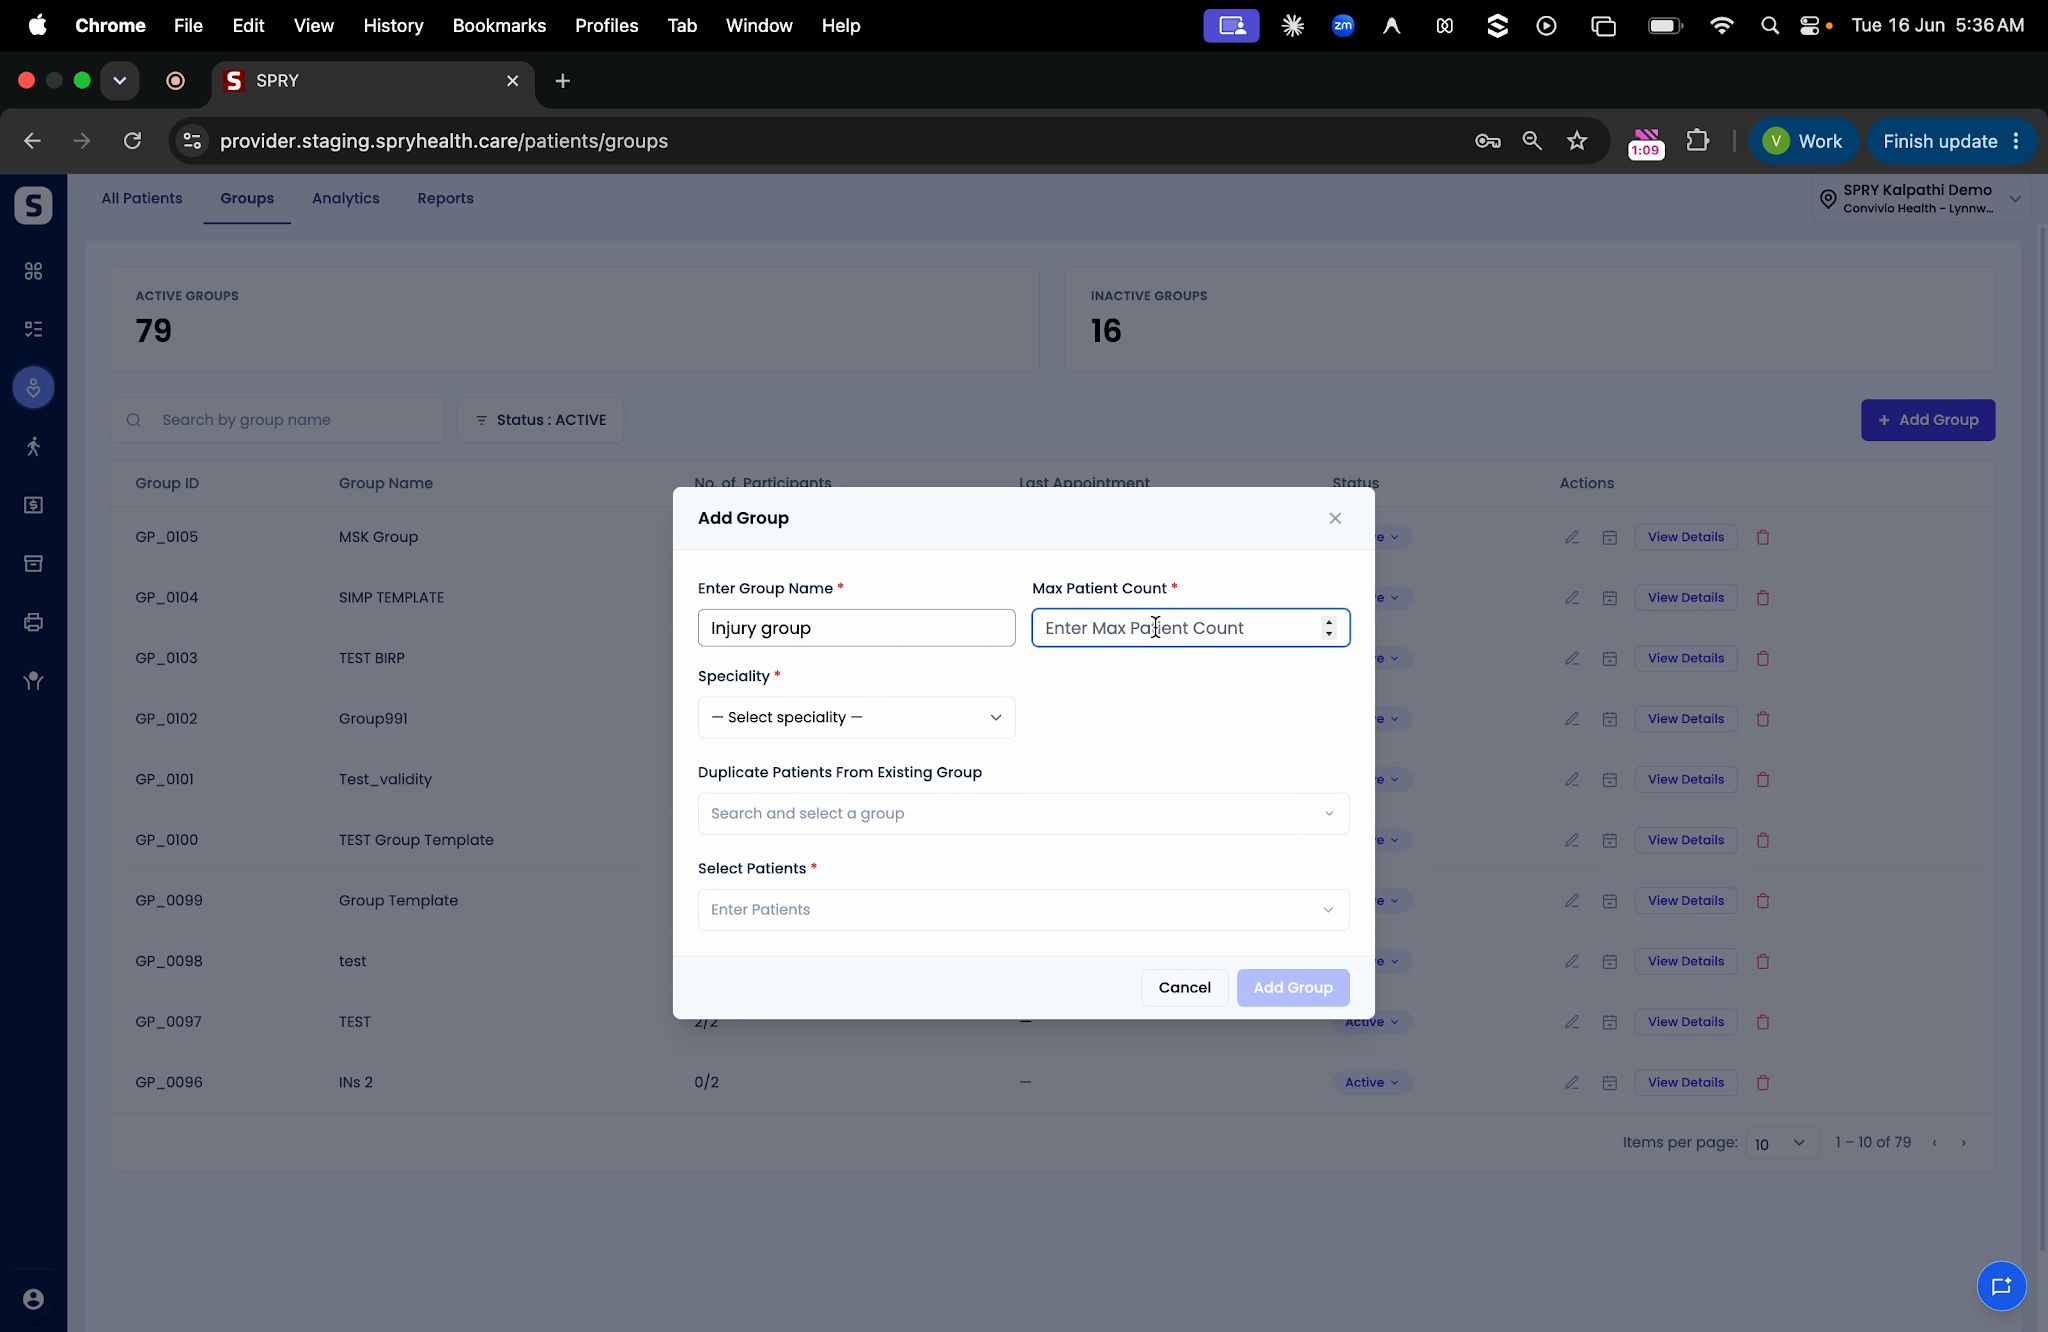
Step 6: Choose the specialty for the group.

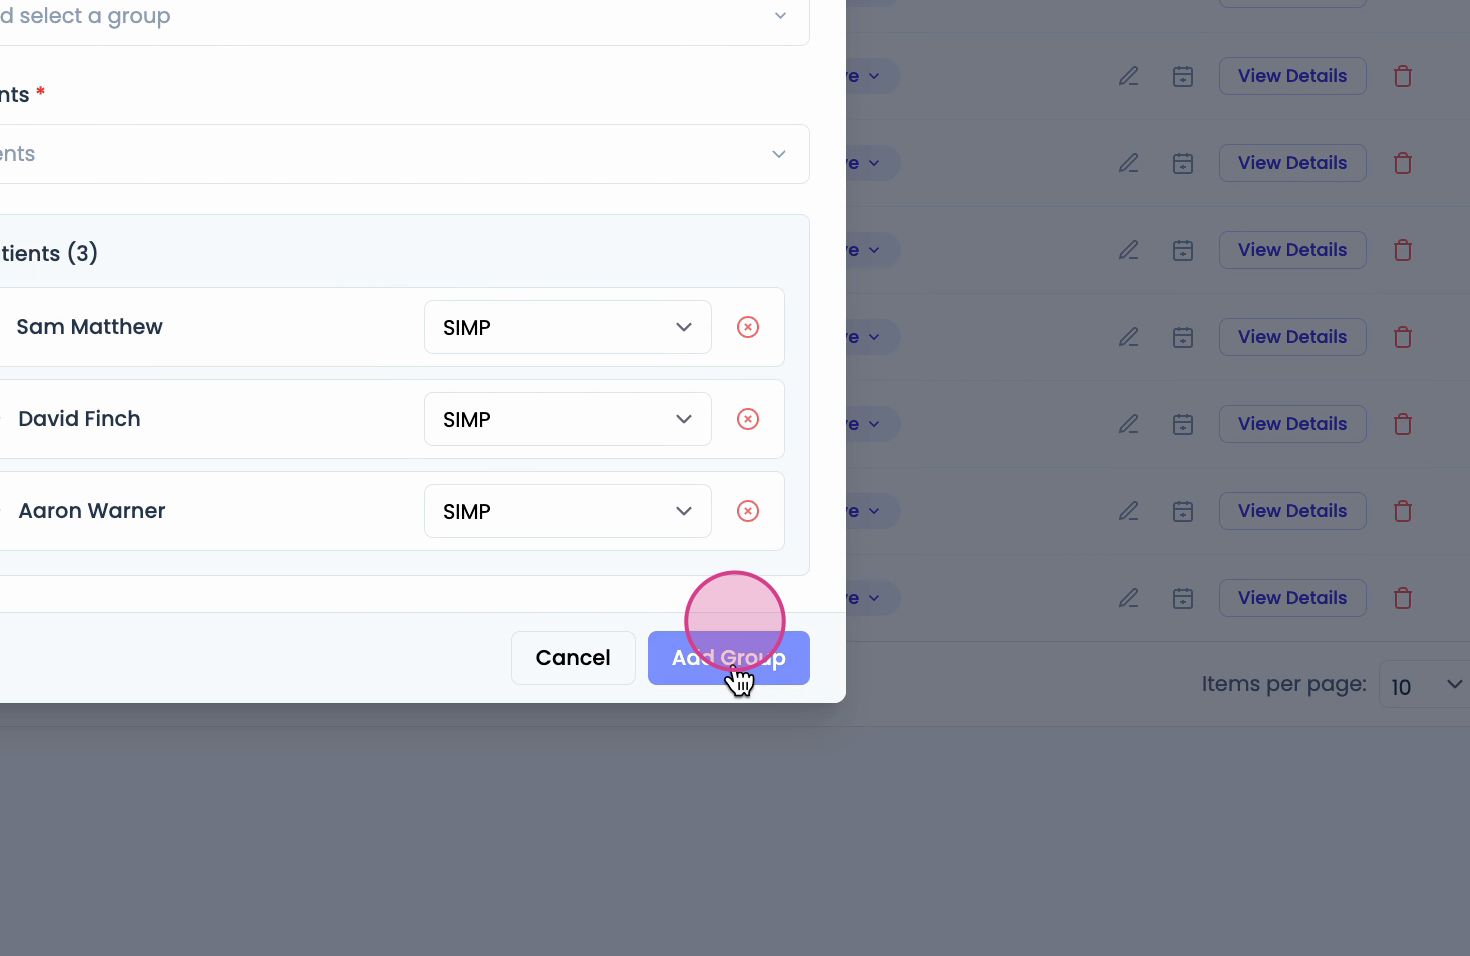
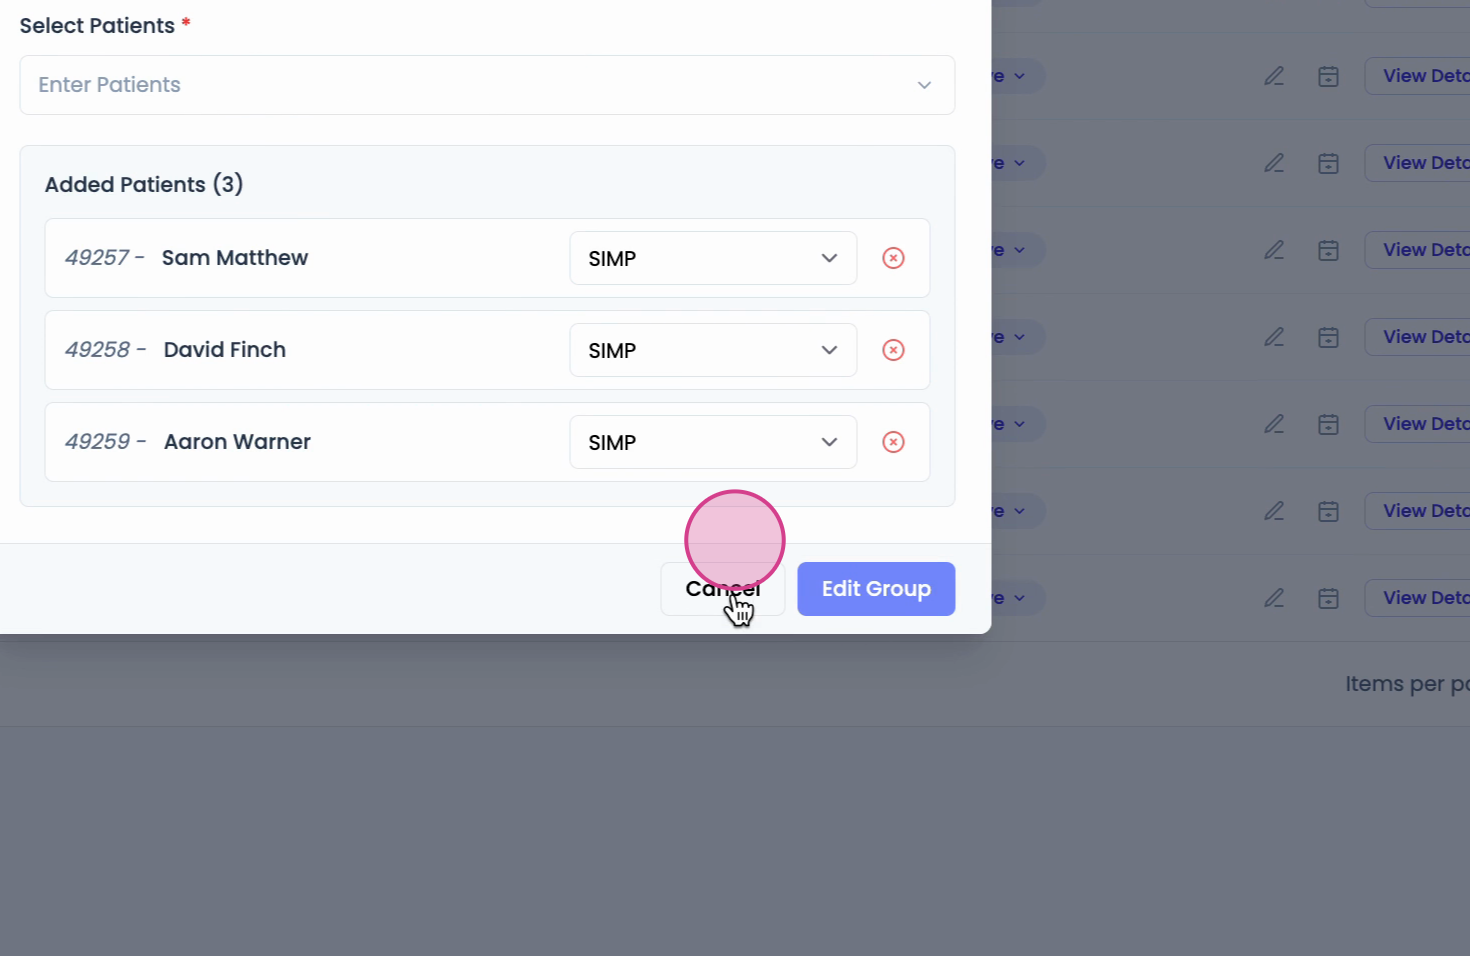
Step 7: If you want, duplicate patients from an existing group, or add new patients by selecting them manually.

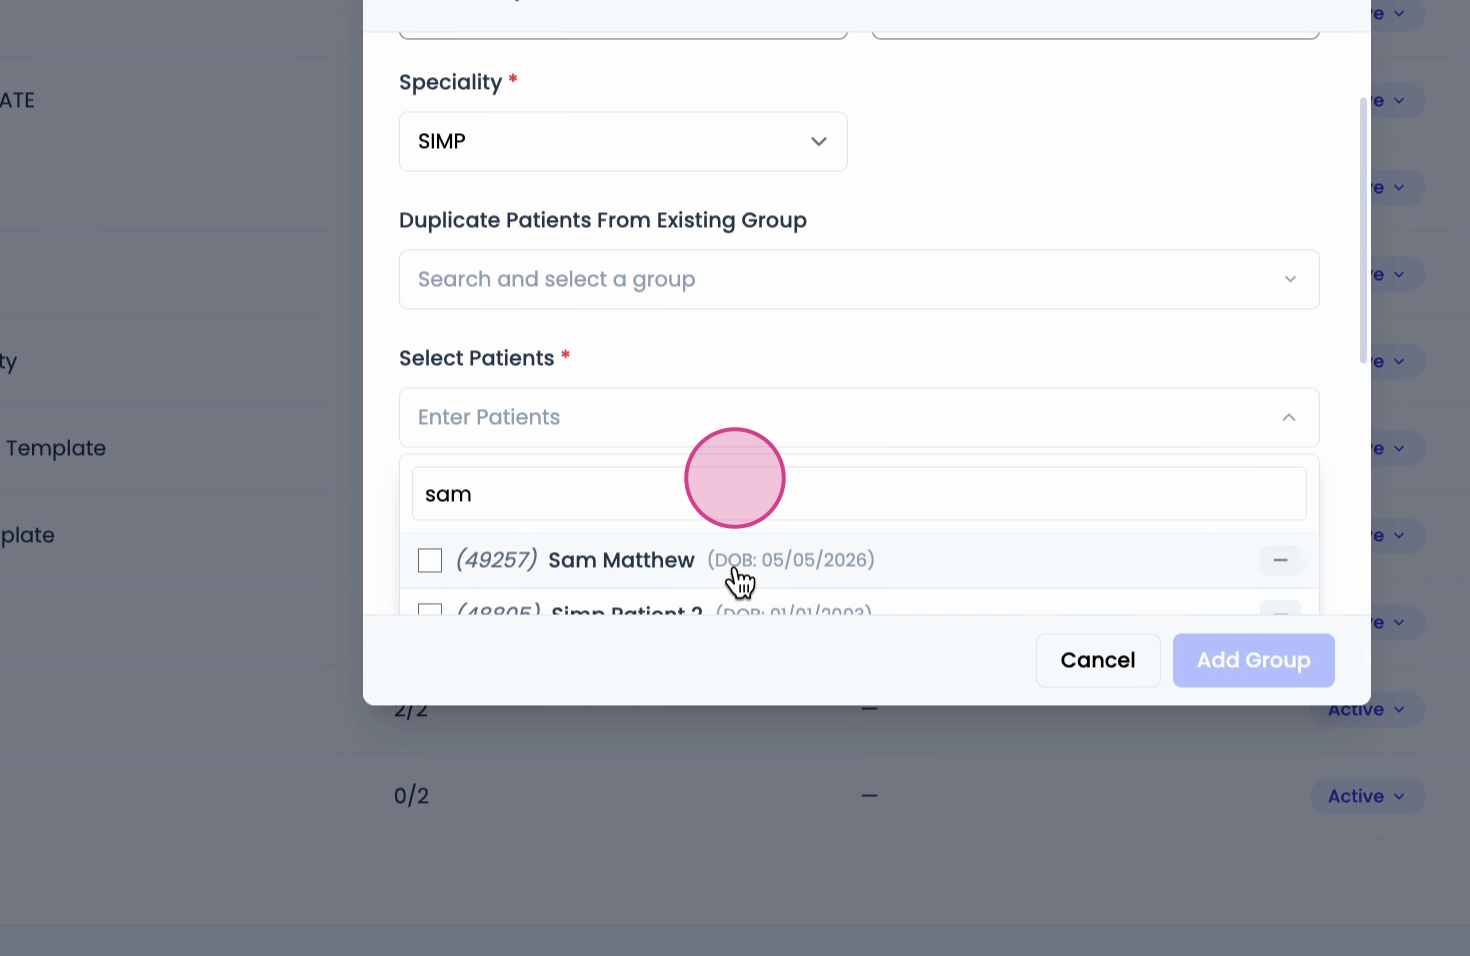
Step 8: Once you’ve added patients, their cases are auto-selected based on the chosen specialty. If a patient has multiple cases, pick the right one from the drop-down list.
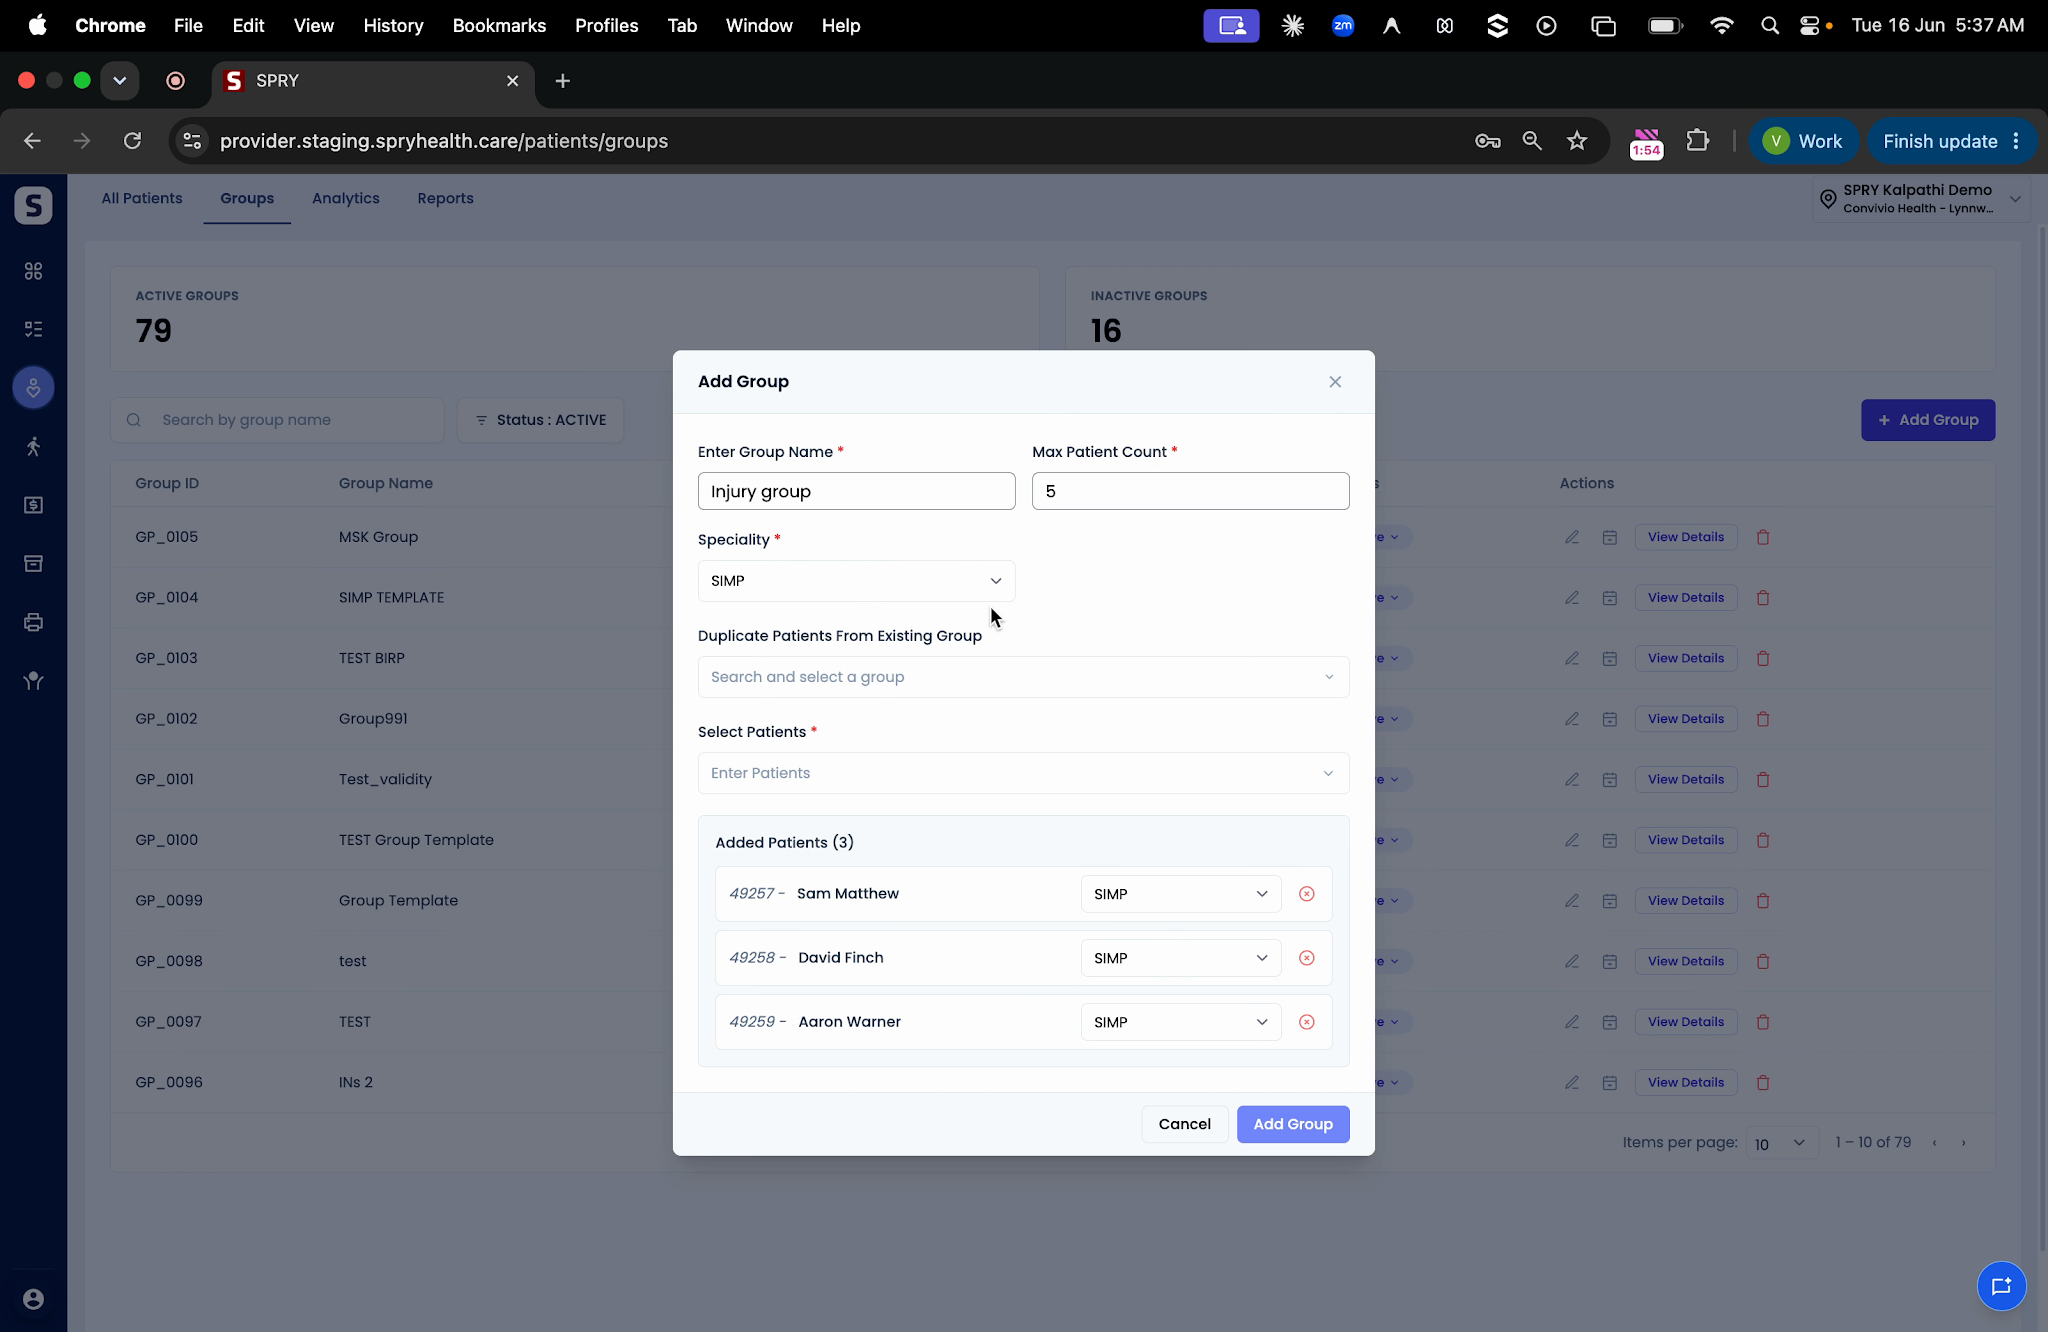
Step 9: Click Add Group to finalize group creation. The group will now show with participants and status. Use the available actions to edit the group or add more patients as needed.
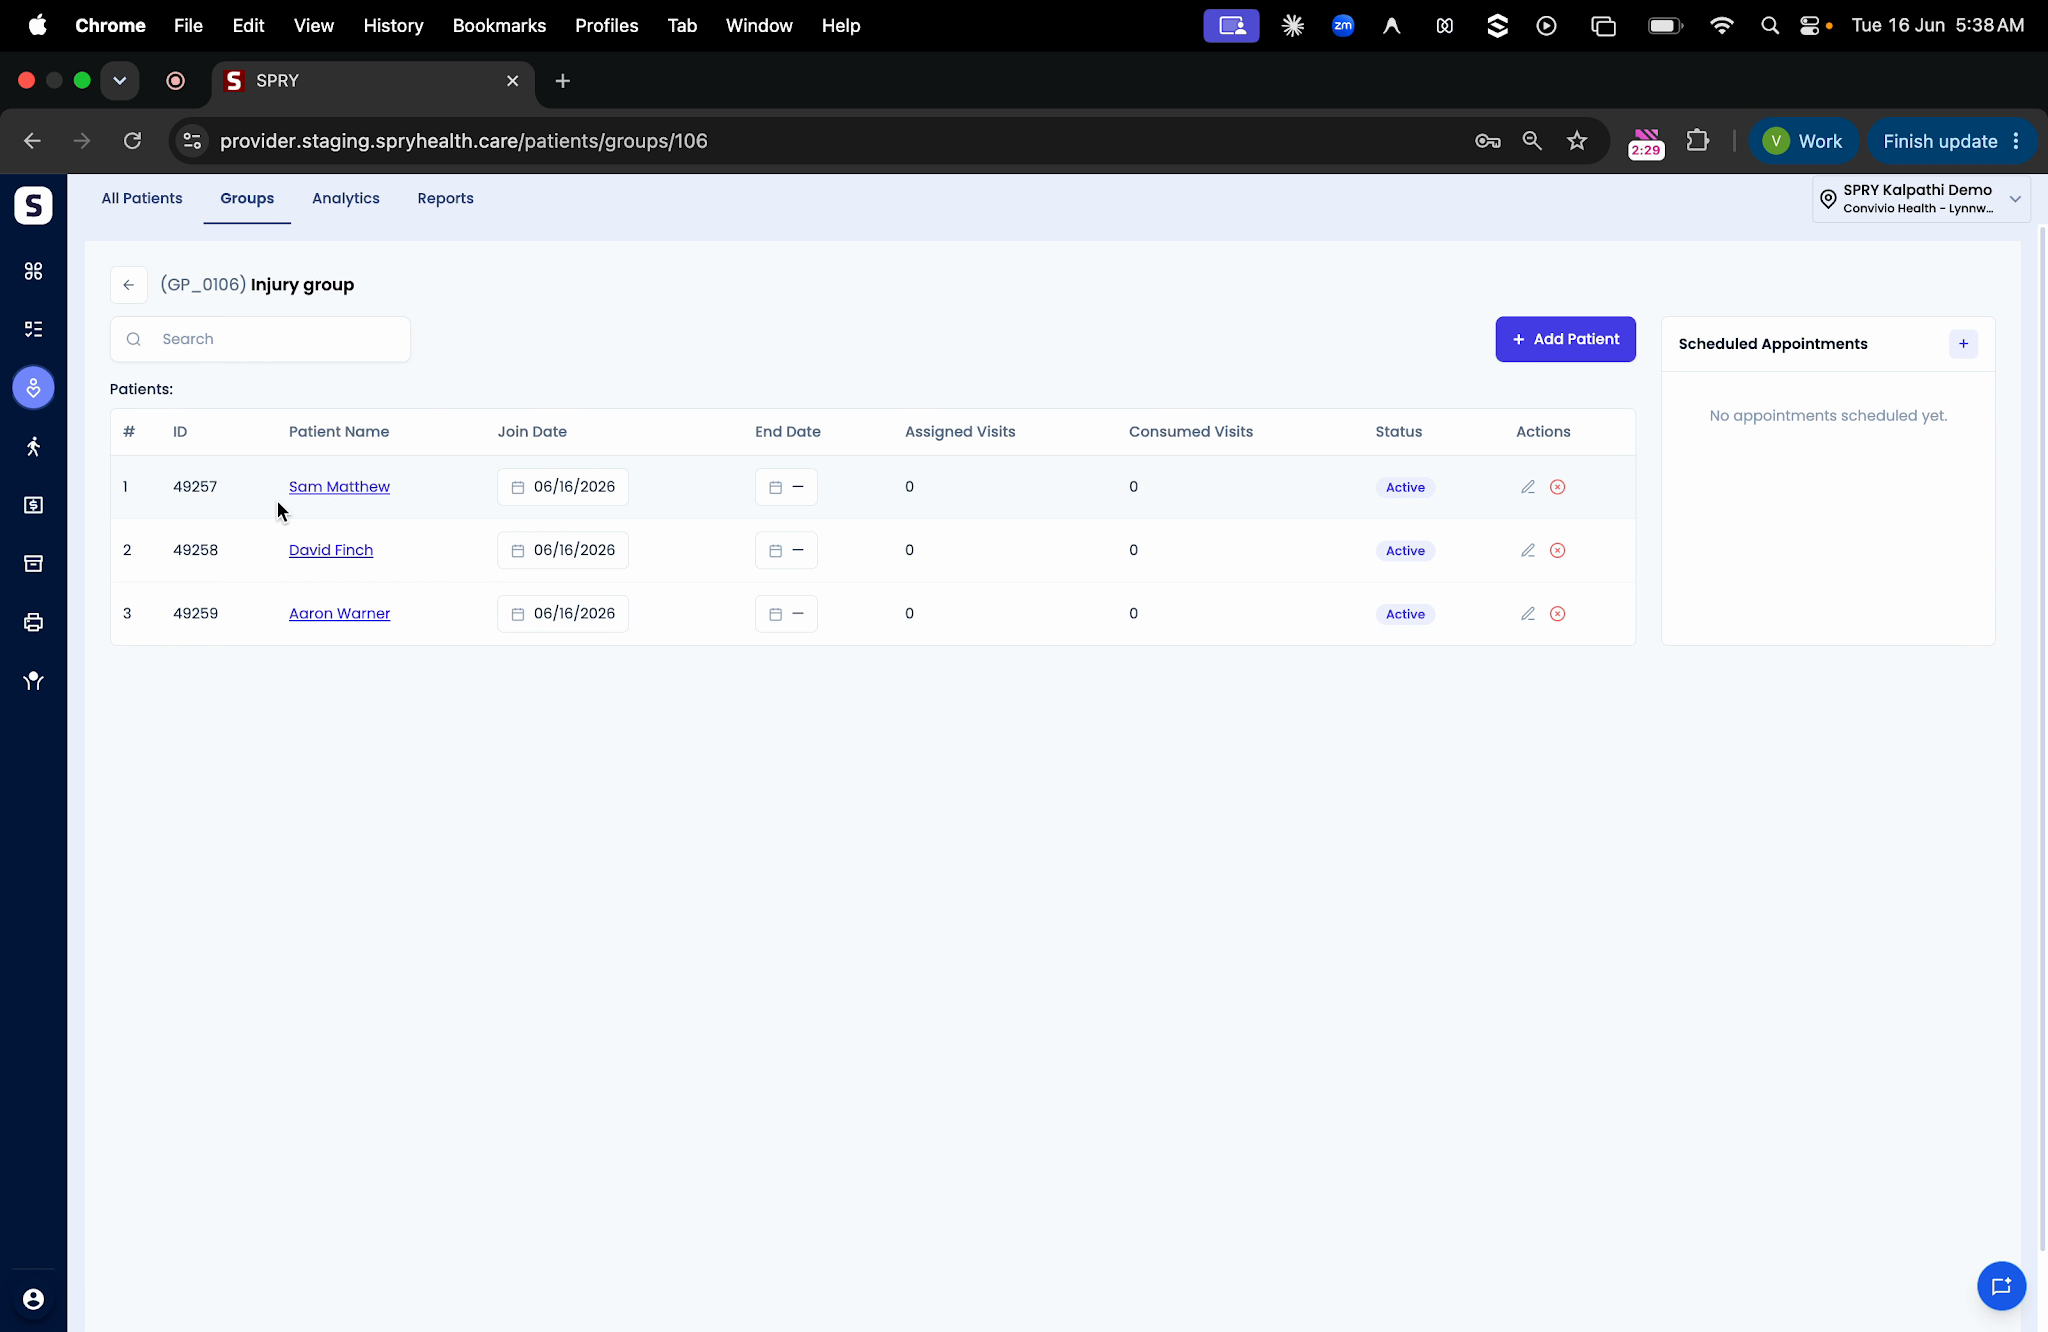
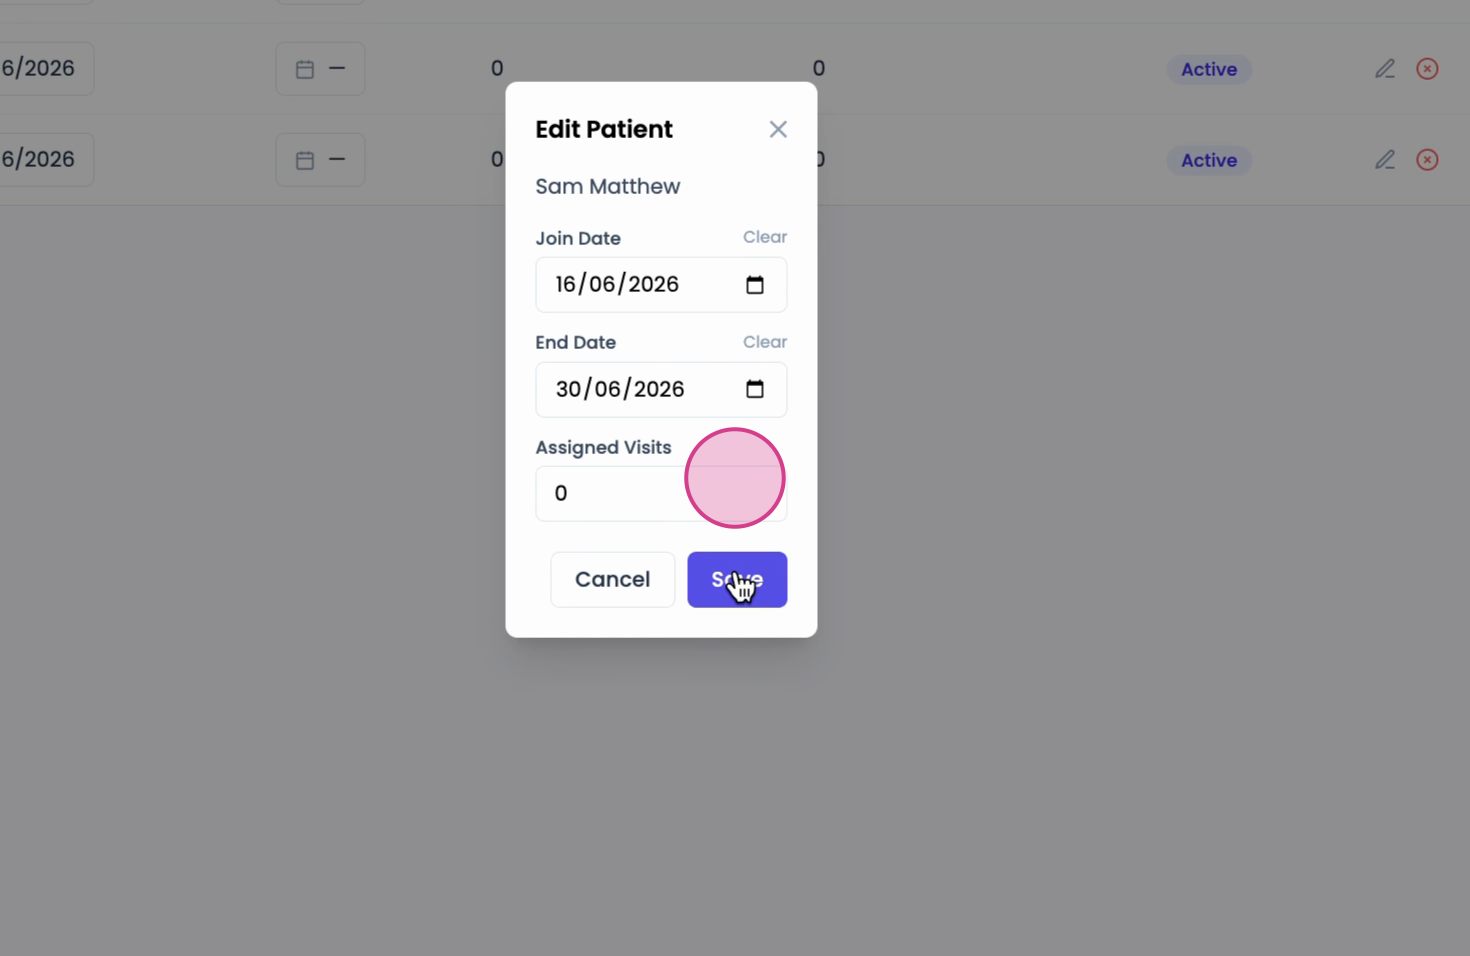
Step 10: Open View Details to see patient join dates and set end dates individually.
Scheduling Group Appointments
Bring your group together for appointments in just a few steps.
Step 1: Head to the Scheduler. Click a time slot for the group appointment.
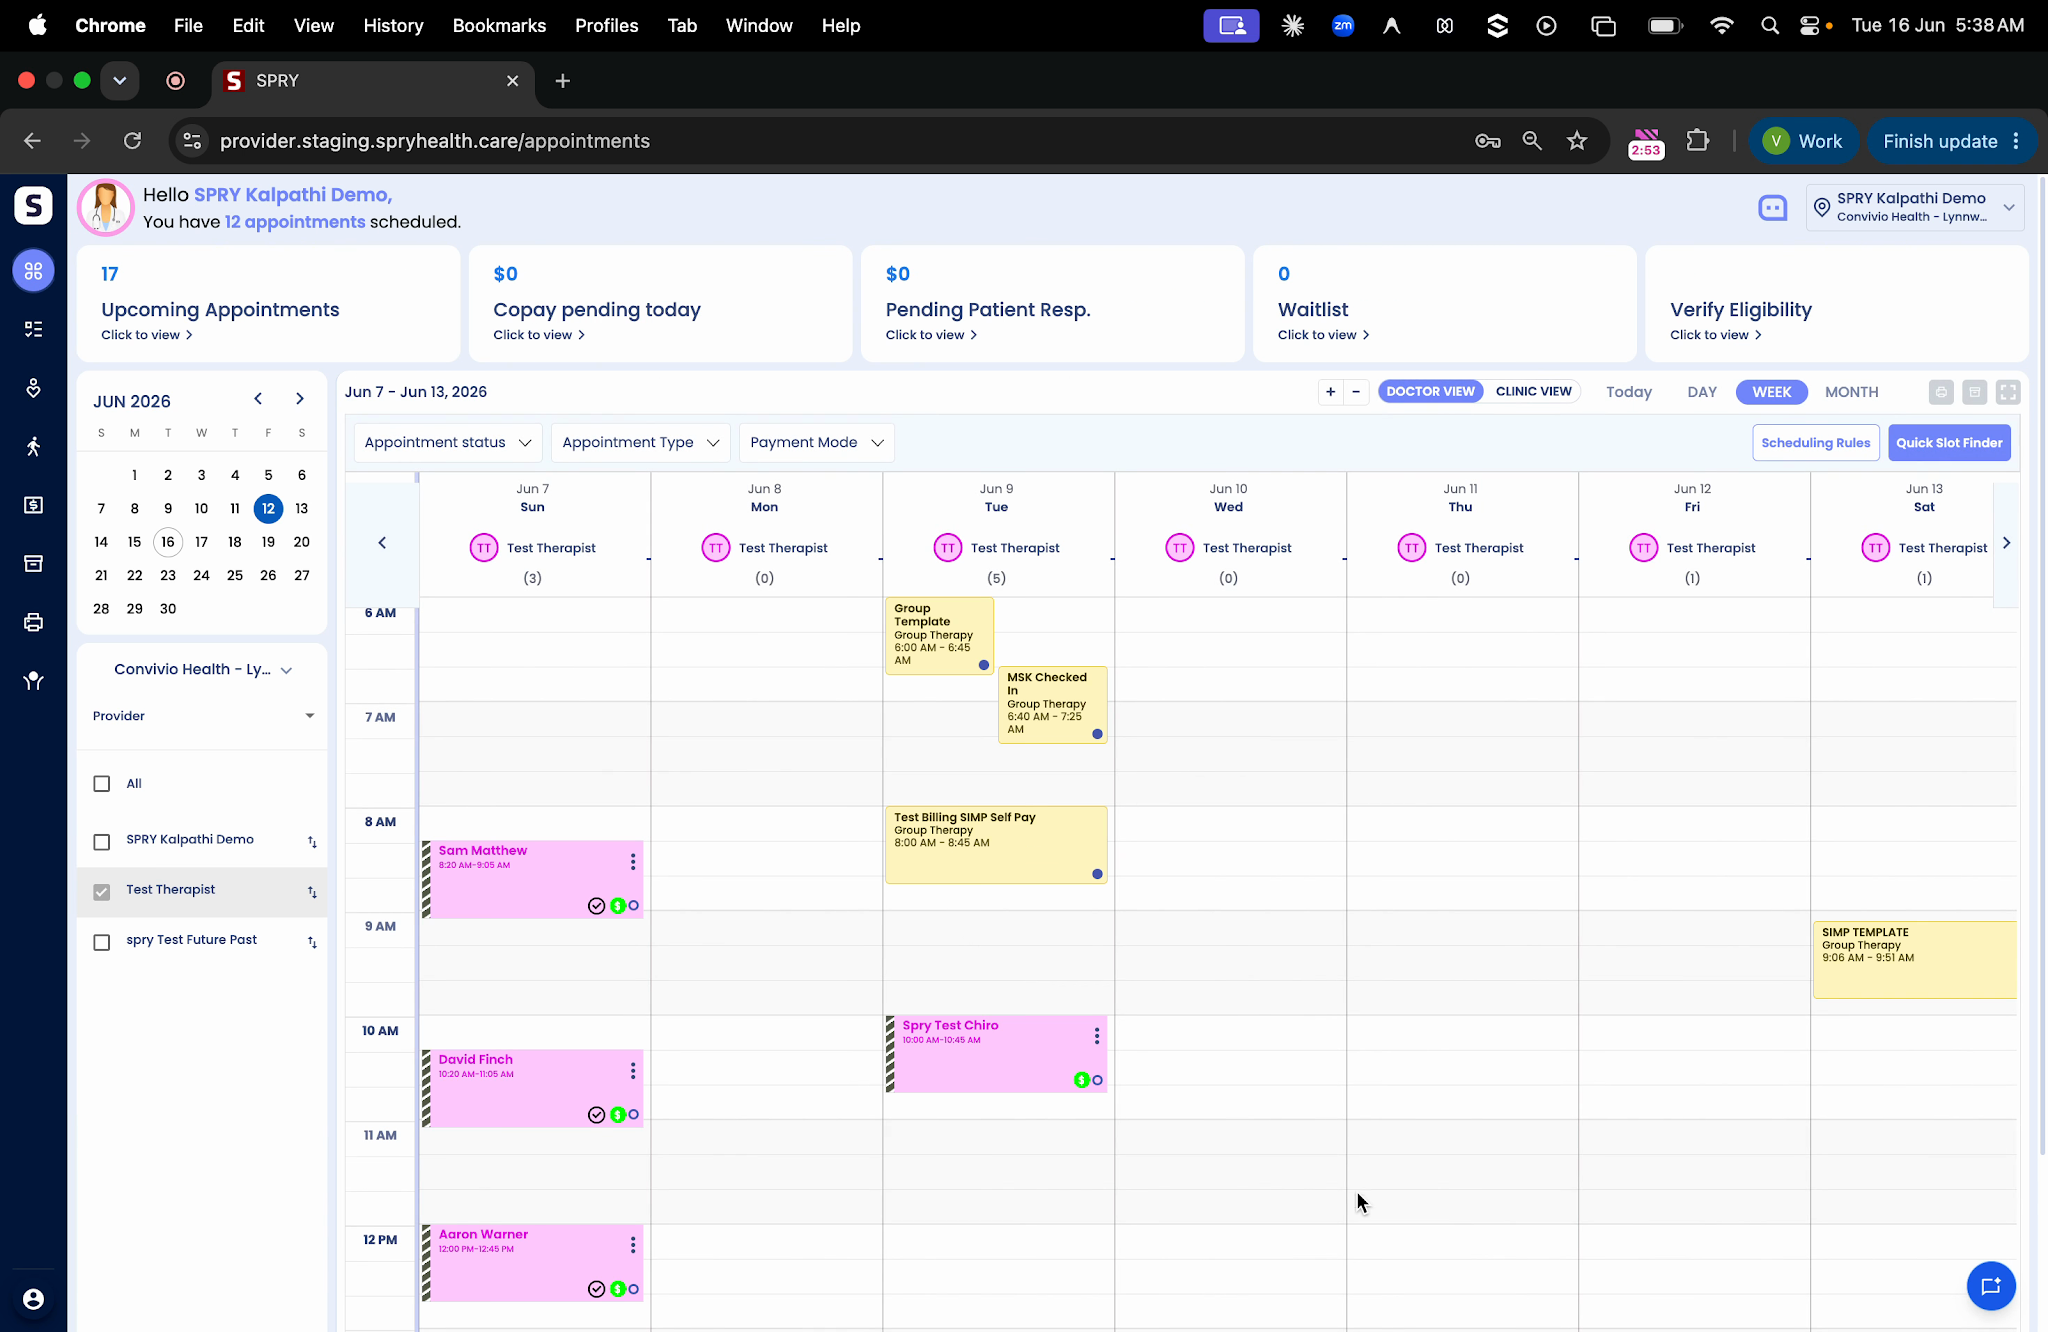
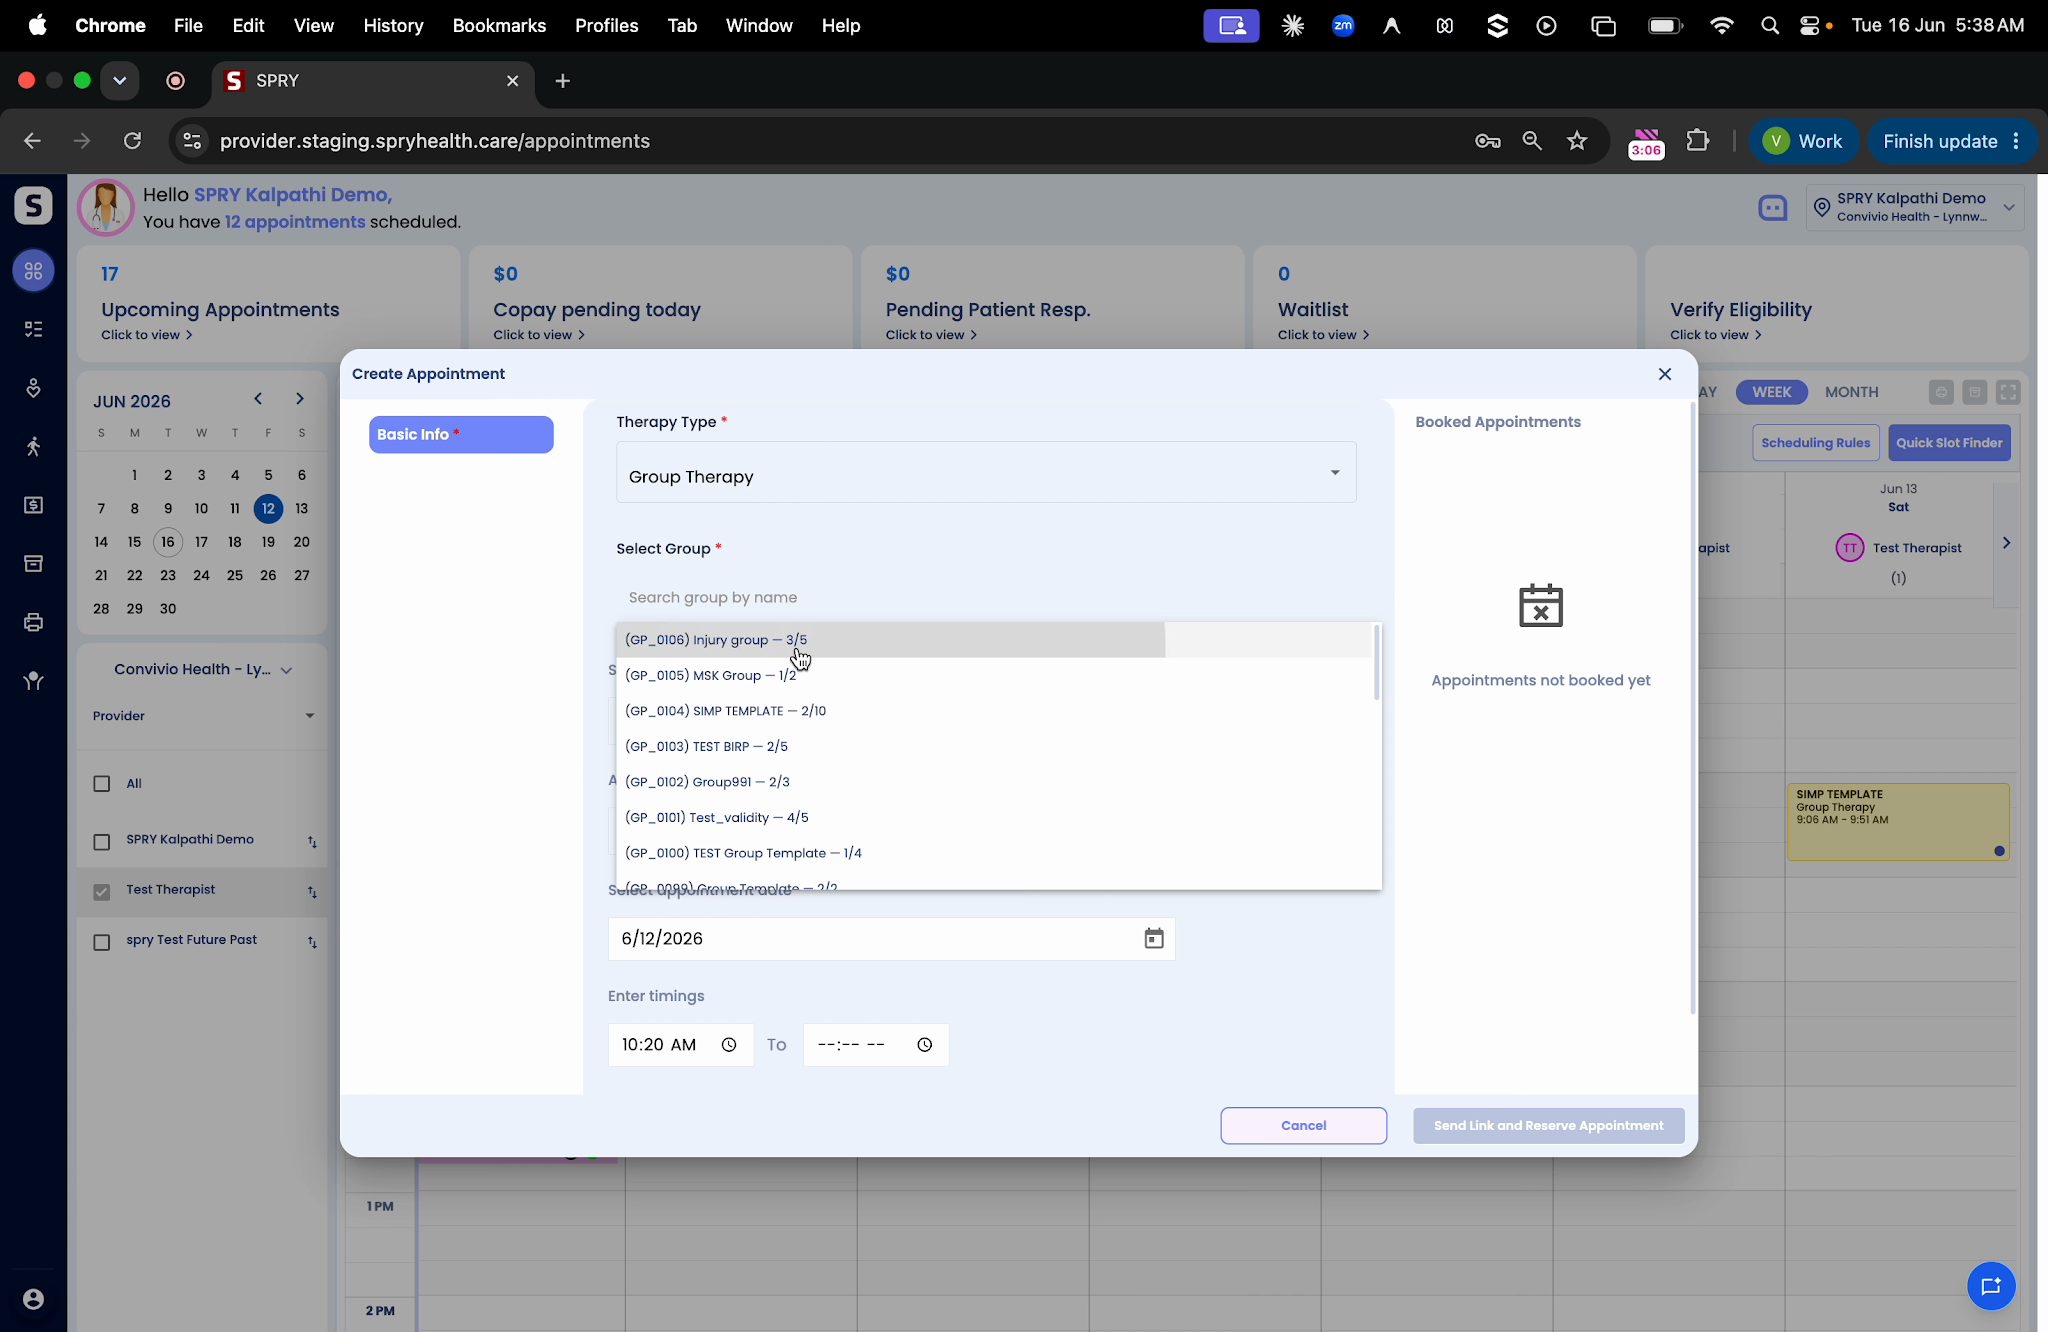
Step 2: At the top of the appointment card, select Group Therapy as the therapy type.

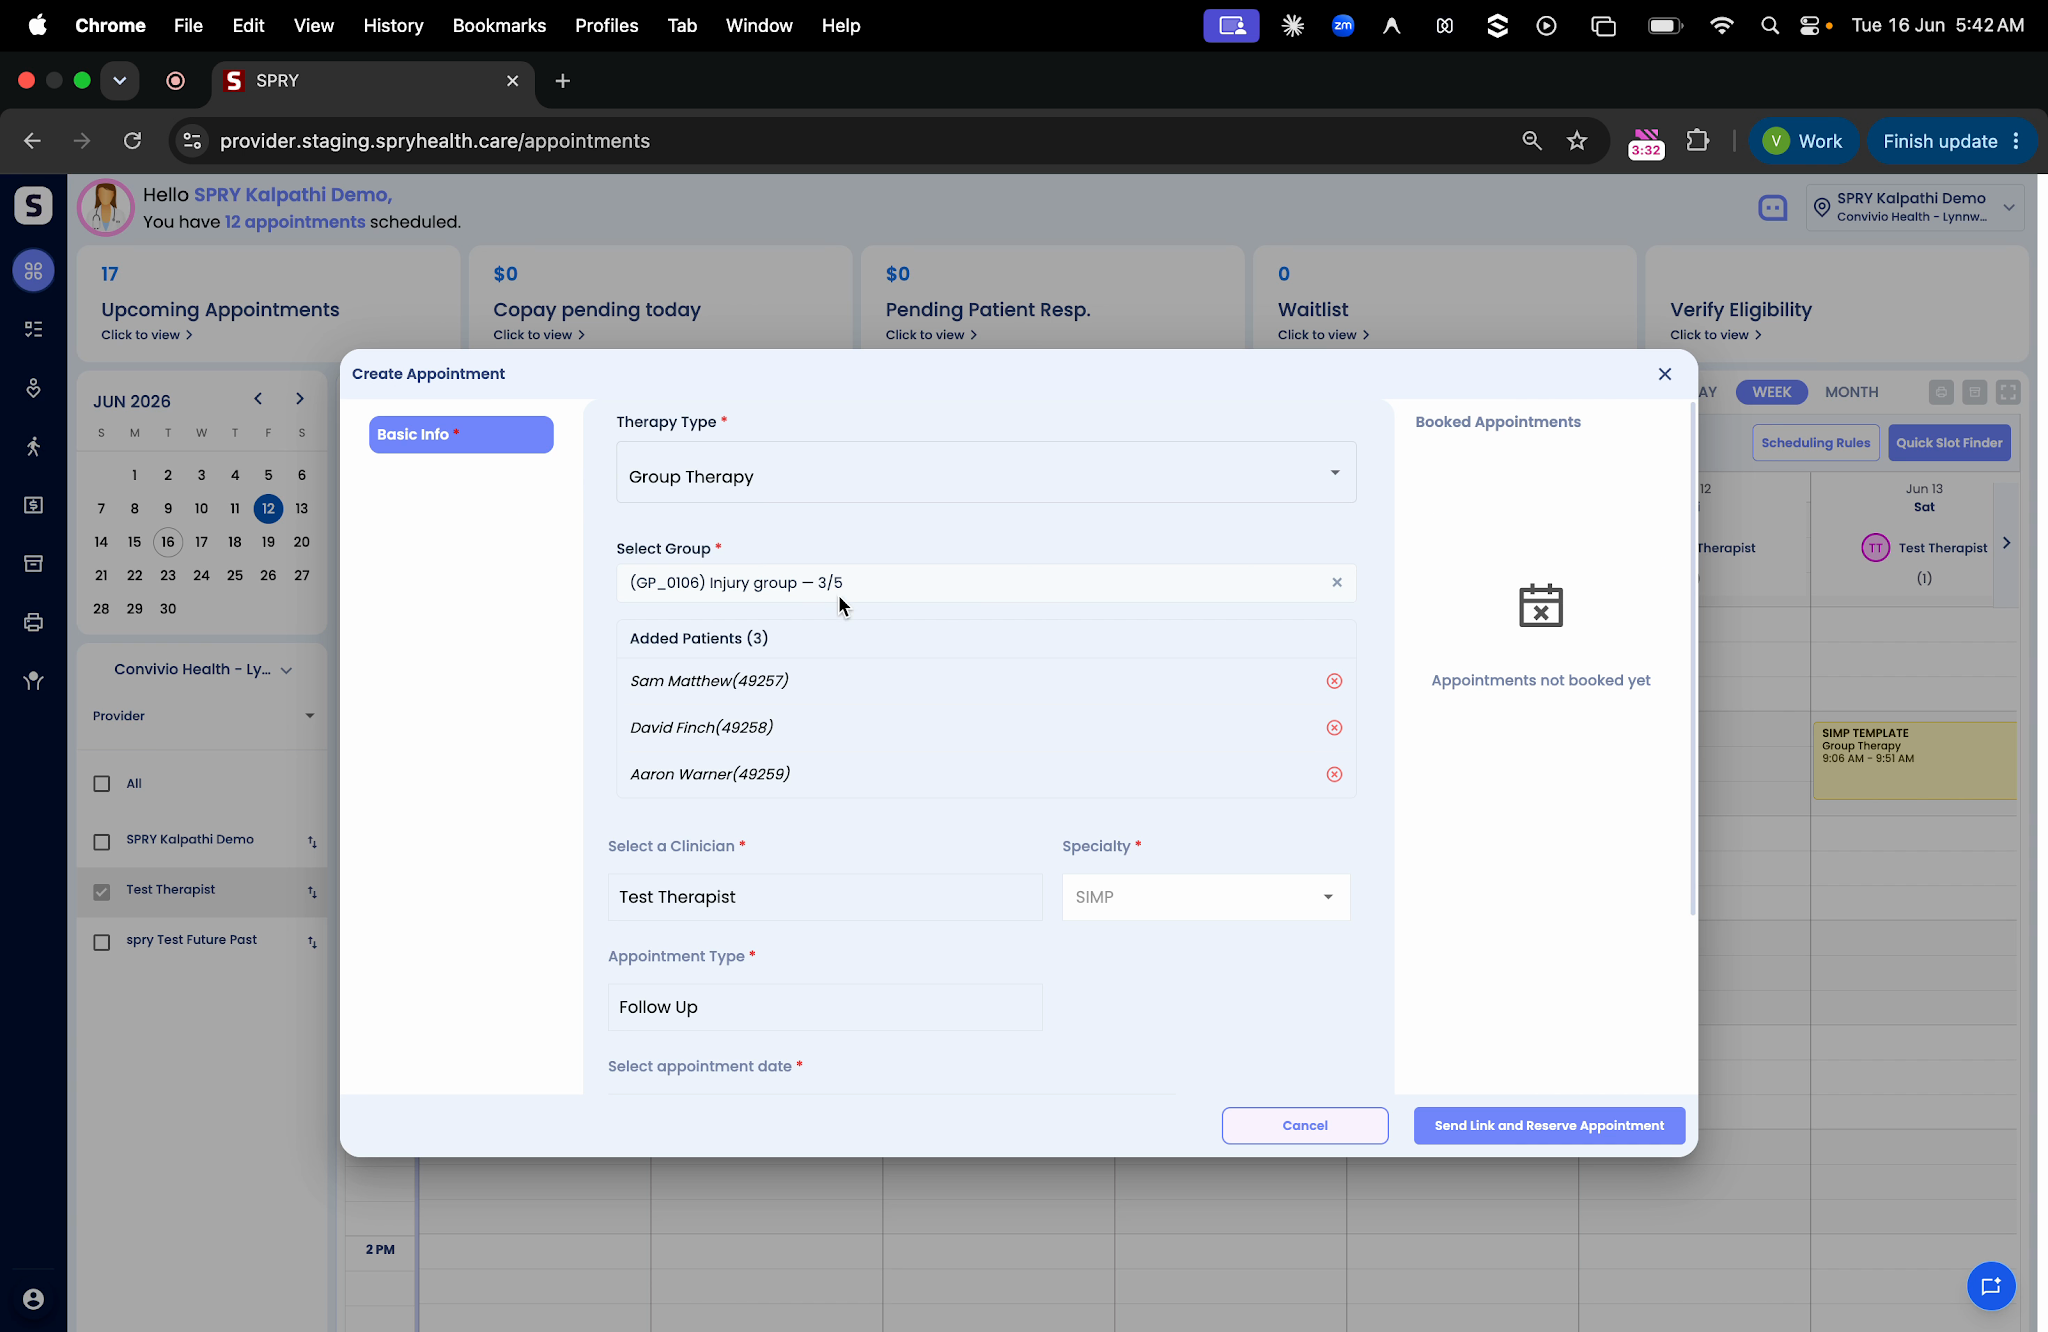
Step 3: Choose the group from the list; the specialty will fill in automatically.
Step 4: Pick the appointment type. All group patients appear on your screen.
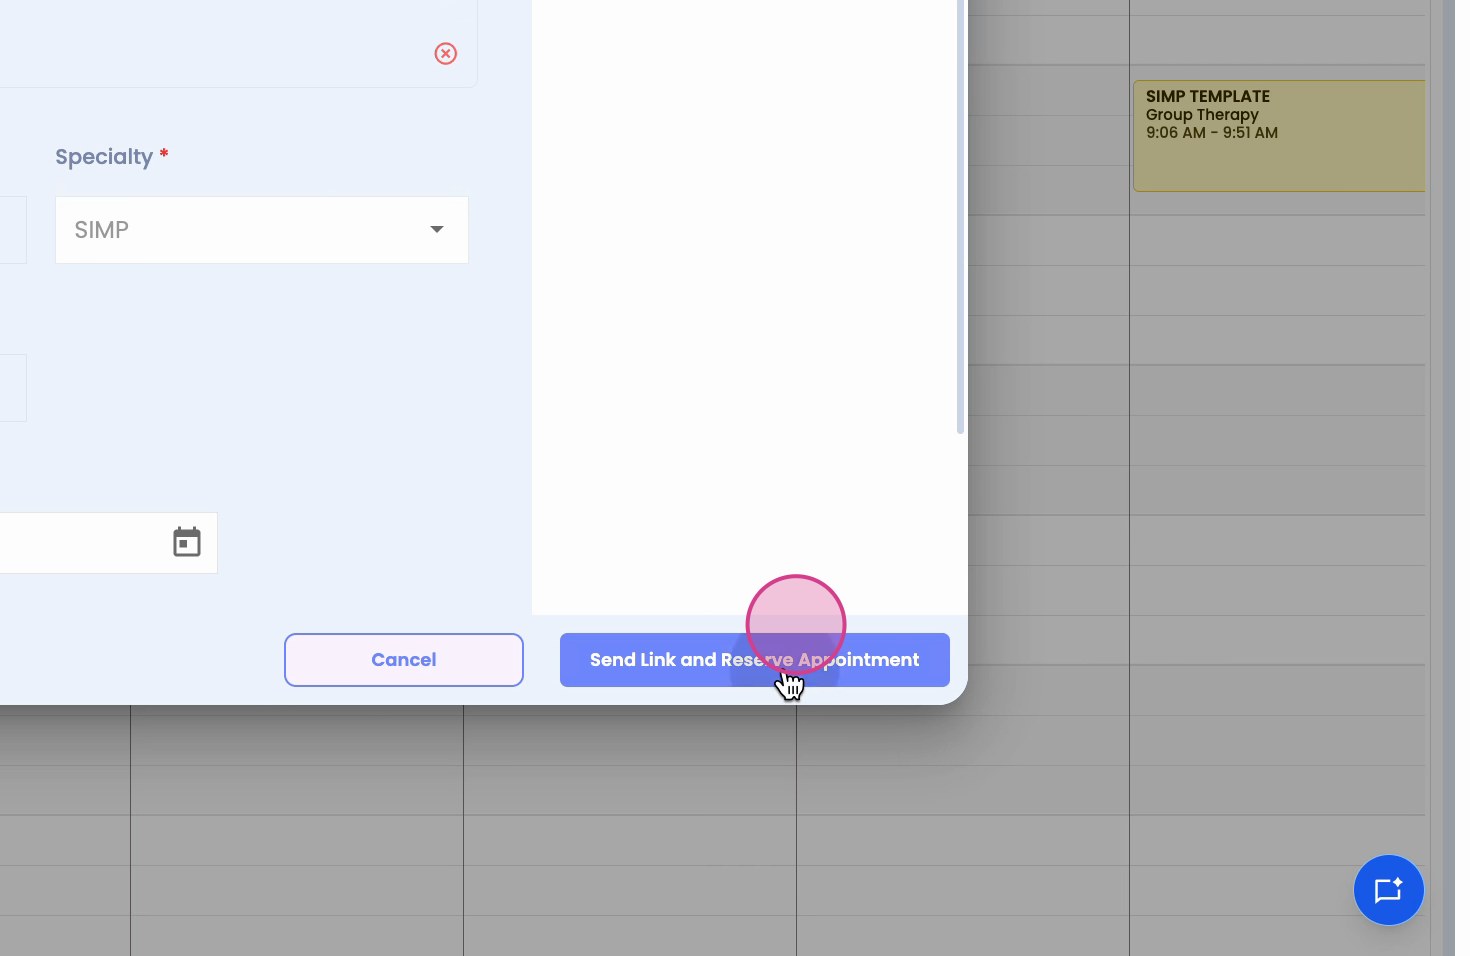
Step 5: Remove any patients from the appointment if needed. When you’re ready, click Send Link and Reserve Appointment.
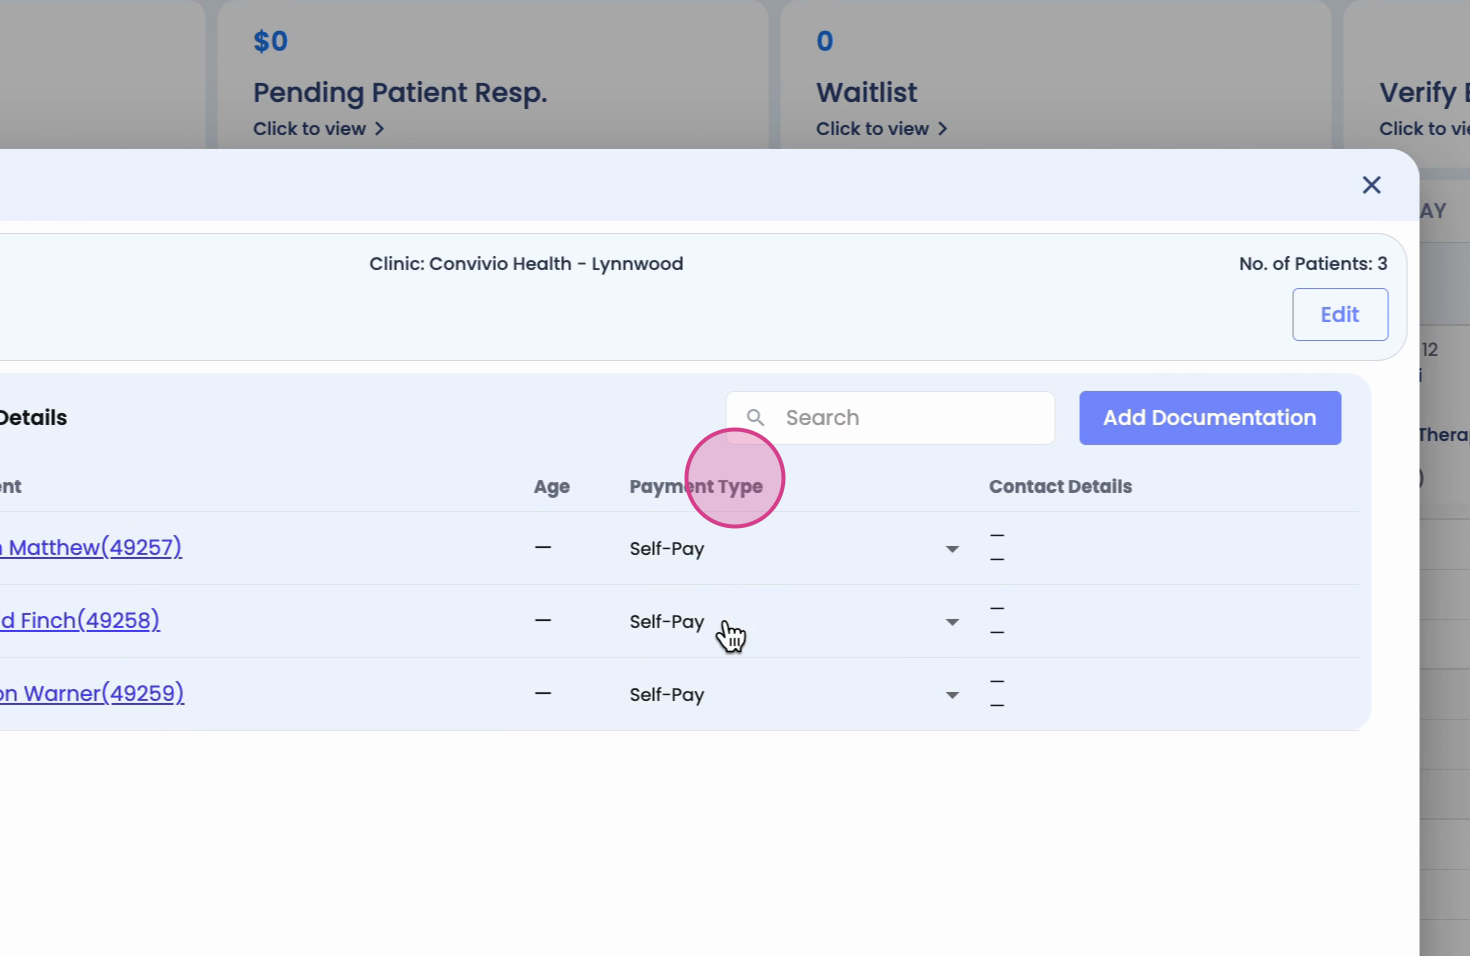
Step 6: The group appointment will appear in your scheduler, showing details like the group name and appointment time. Click on the appointment card to view included patients and change payment types if needed.

Documenting Group Sessions
Complete documentation for all group patients quickly, with options for both shared and patient-specific notes.
Step 1: Click Add Documentation on the group appointment to start group notes for all included patients.

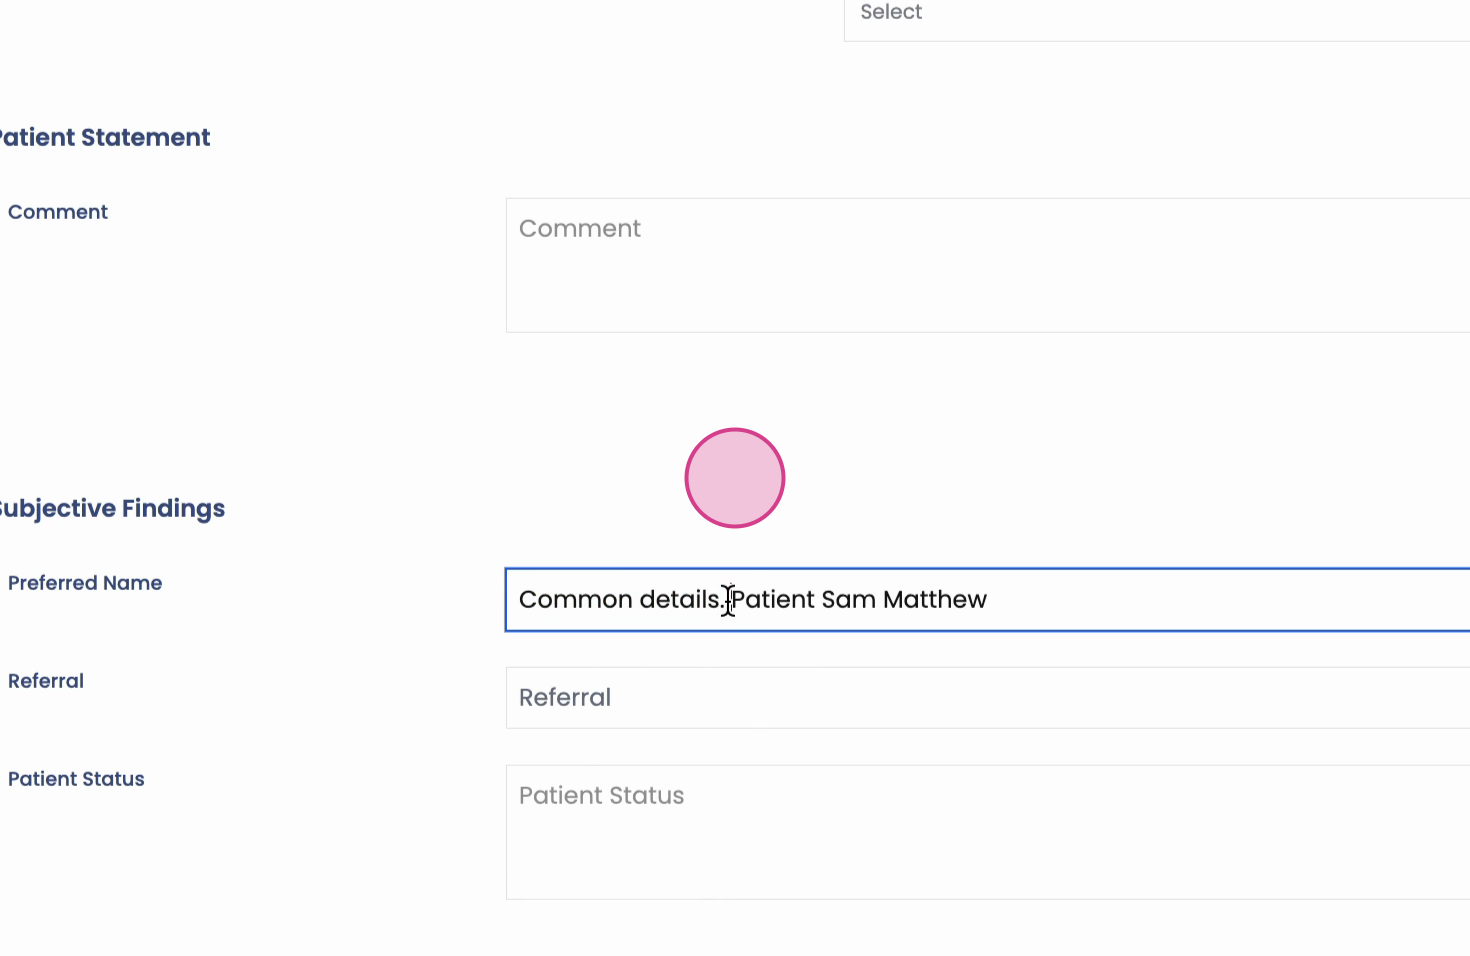
Step 2: Fill in the common details under sections like Subjective, Objective, Assessment, and Planning. Details entered here go into each patient’s SOAP note.
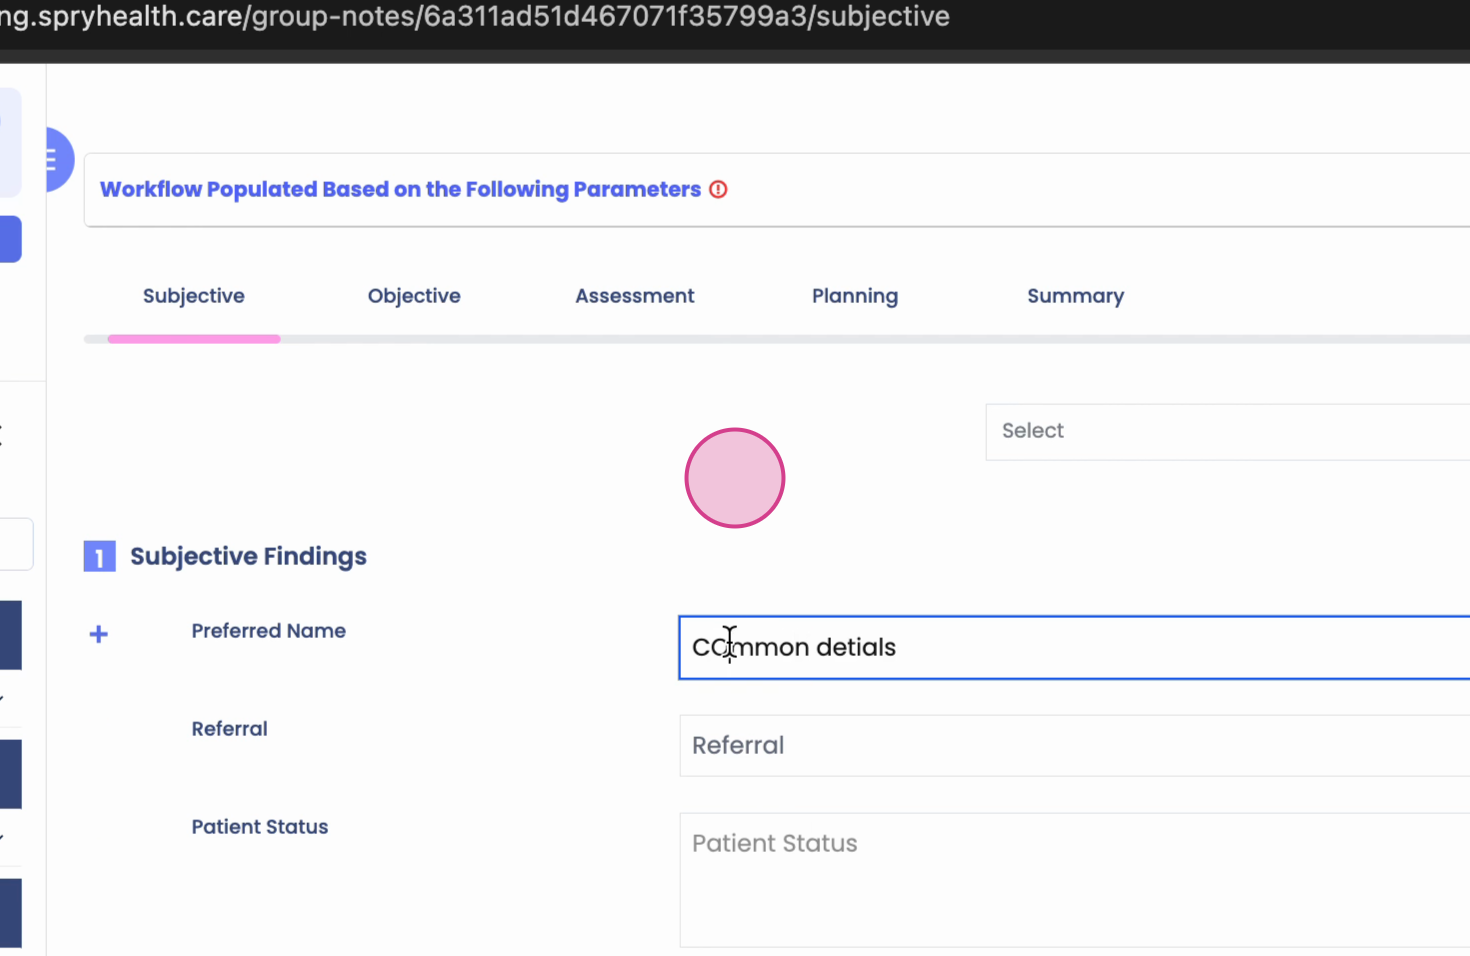
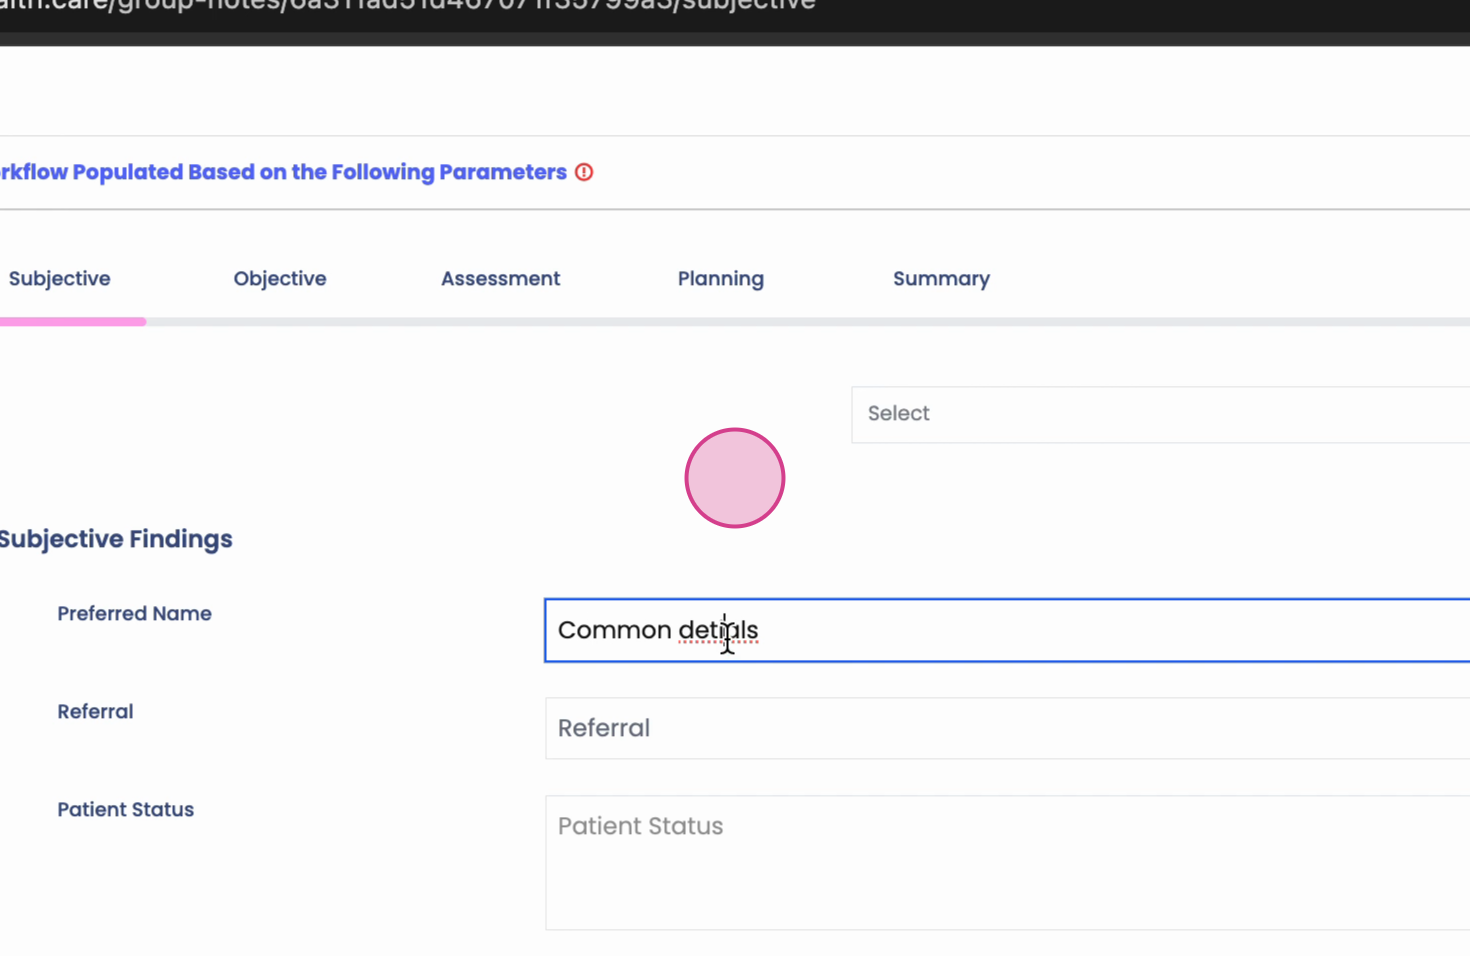
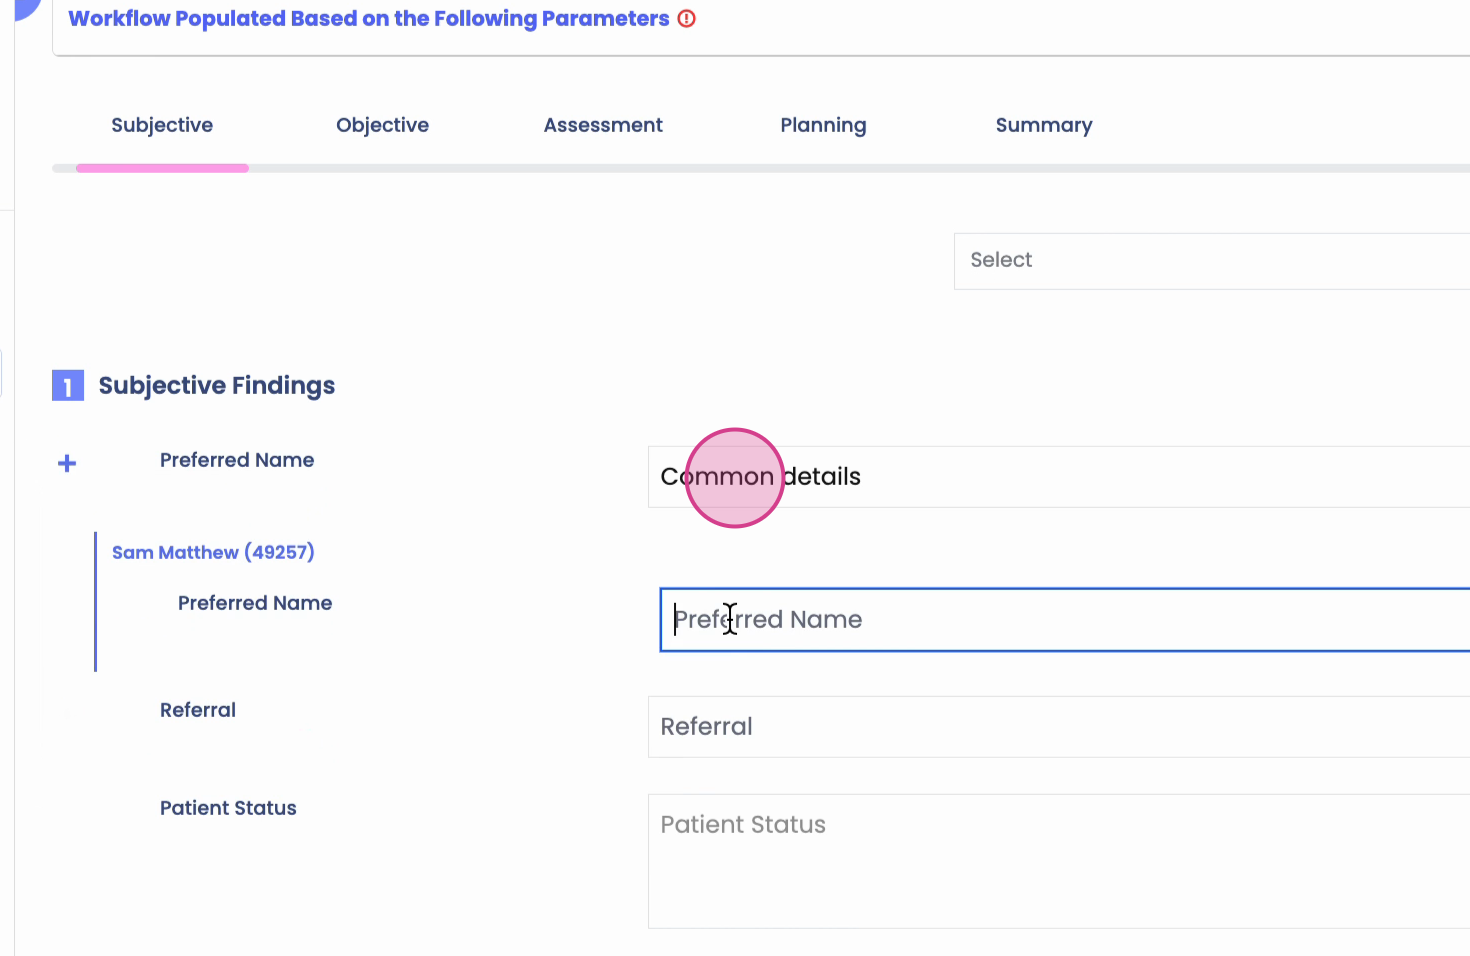
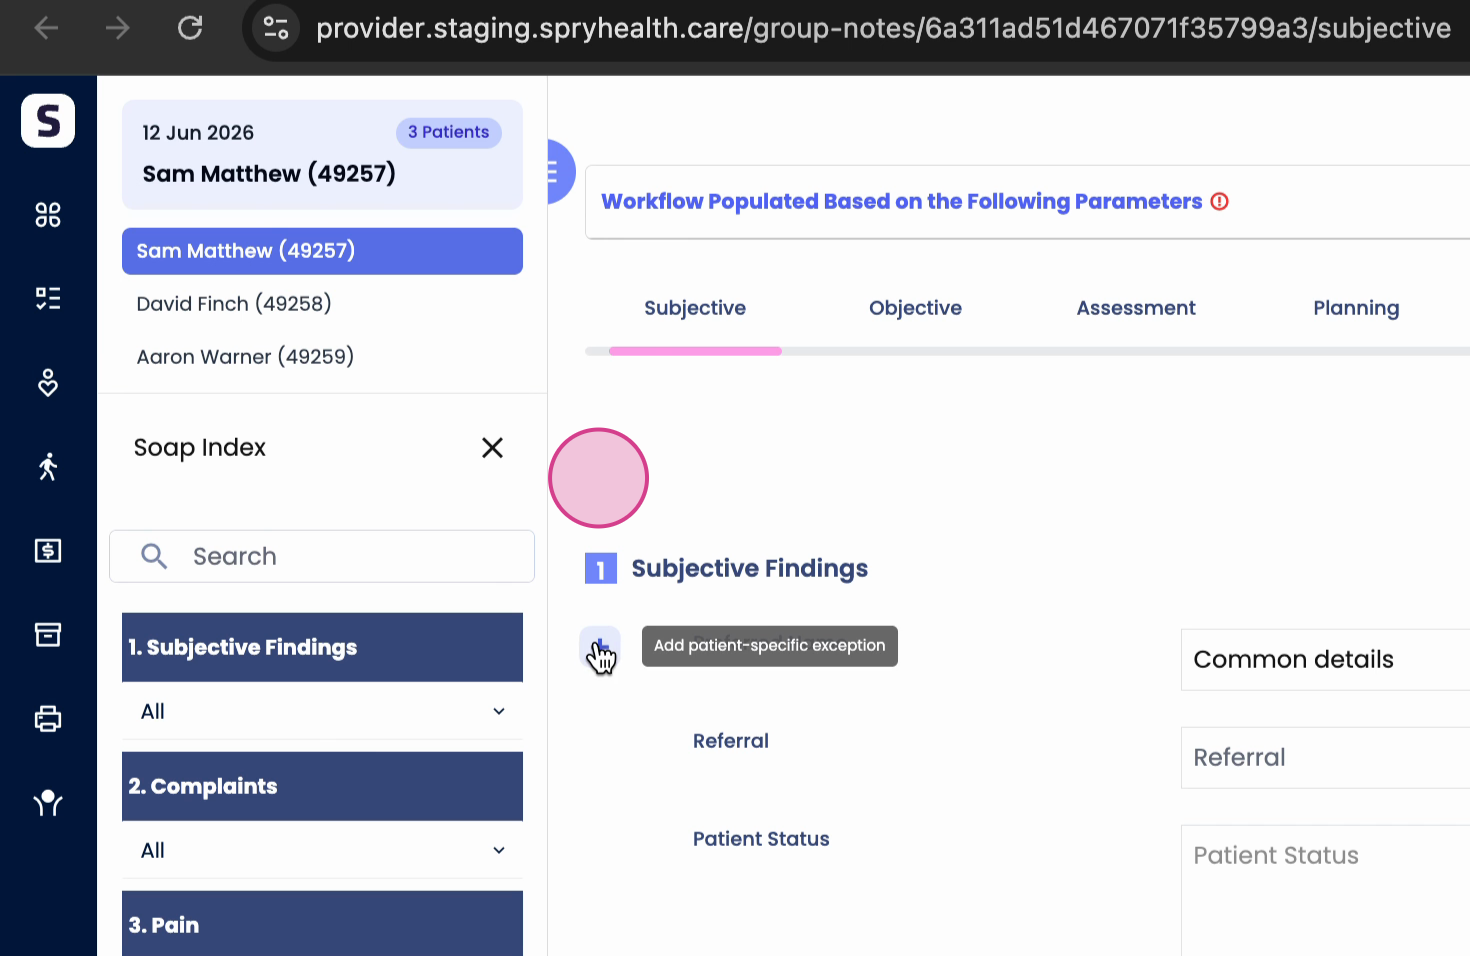
Step 3: Add patient-specific details by clicking the plus icon, picking the patient, and entering tailored information.

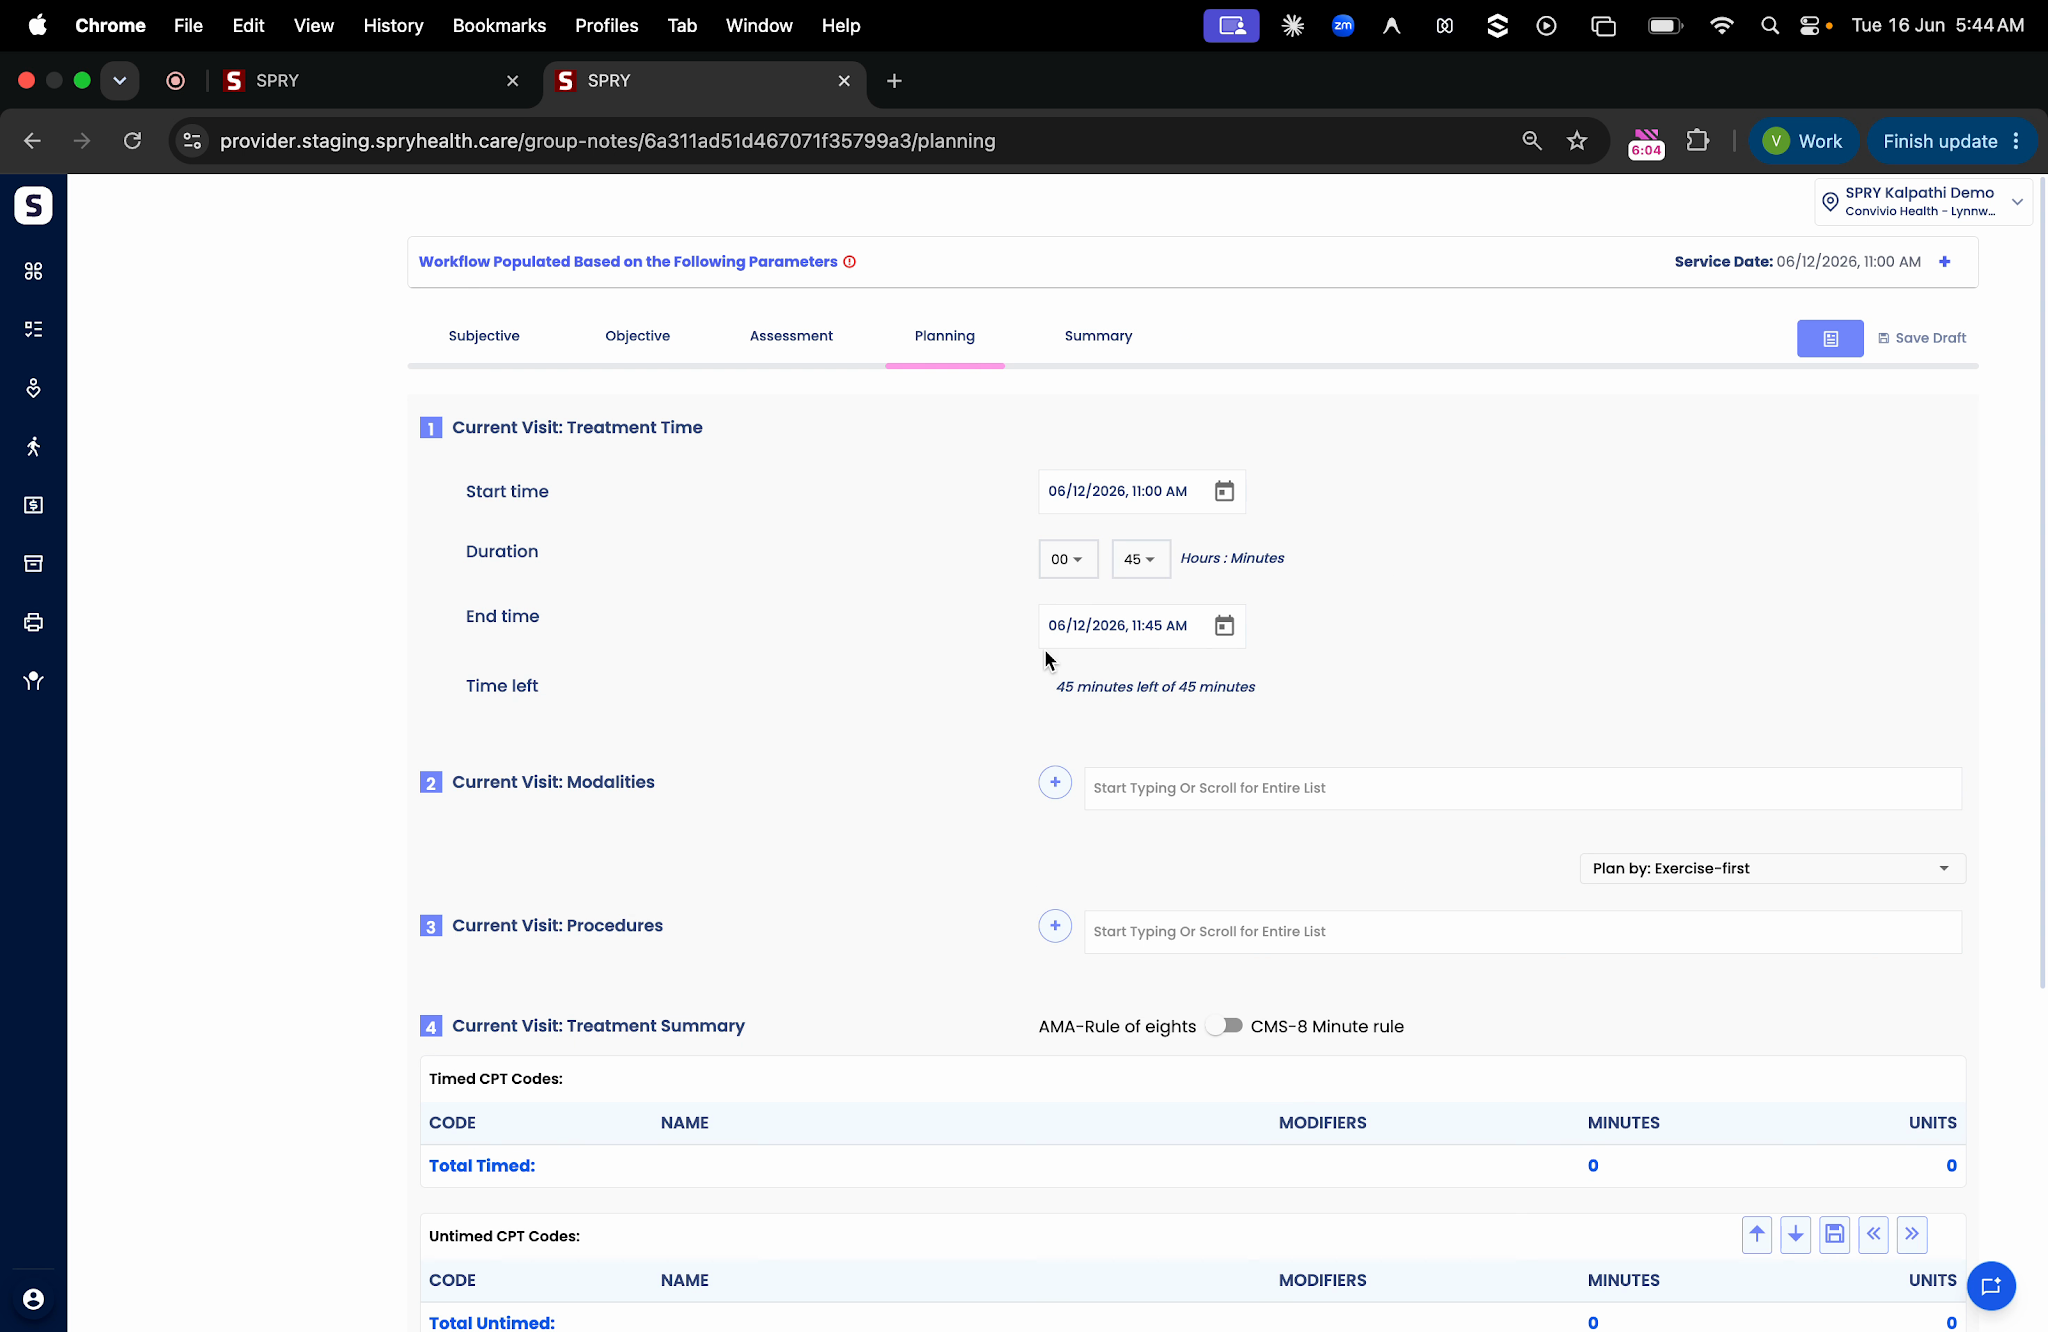
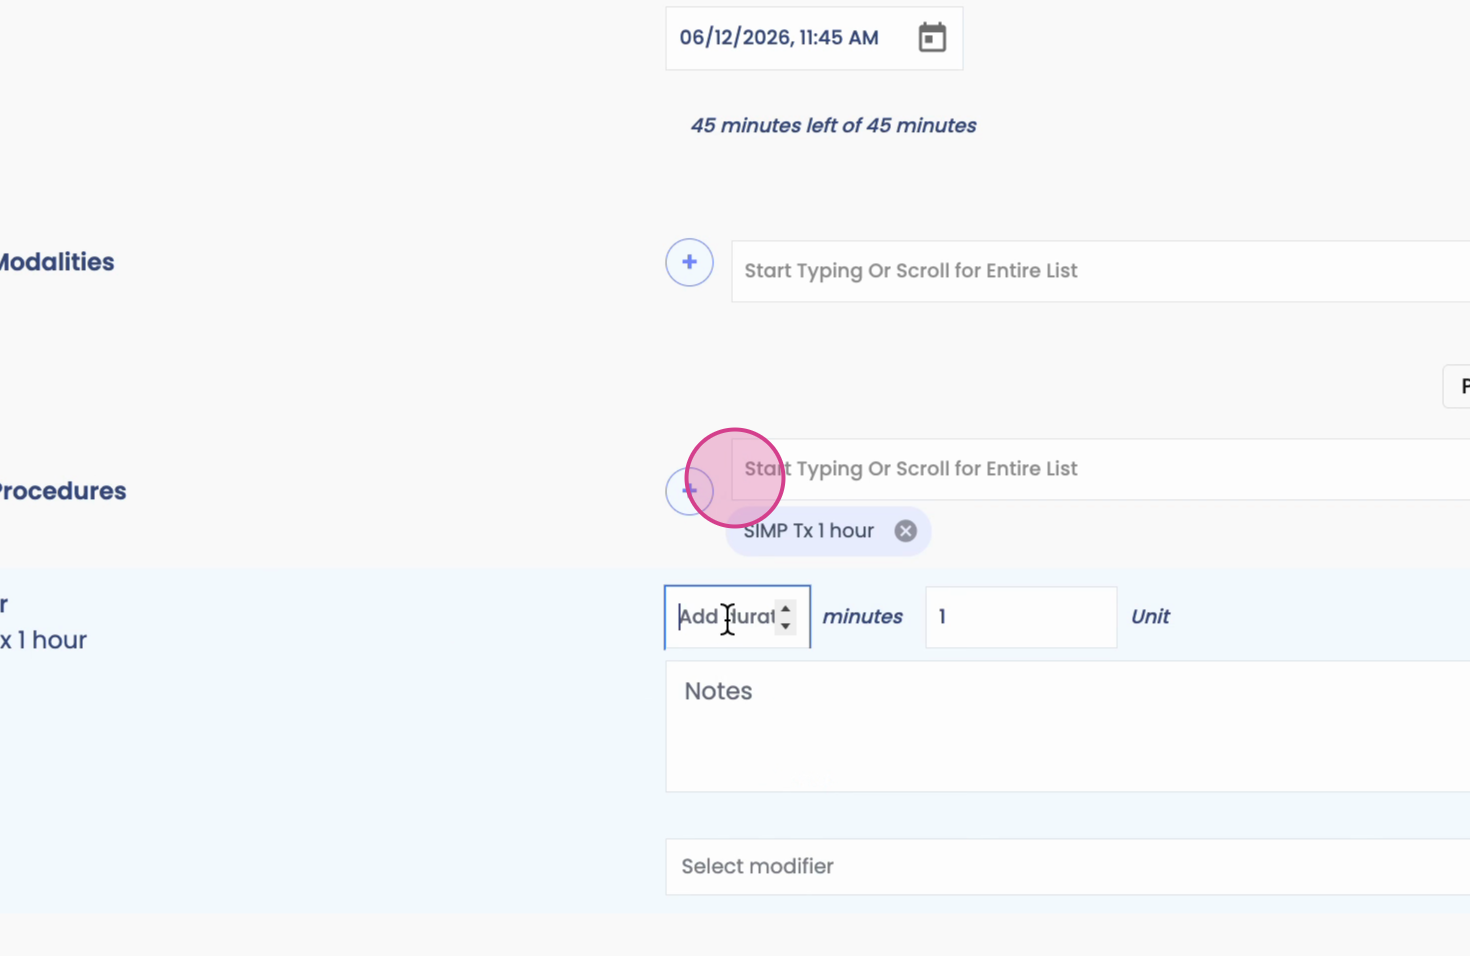
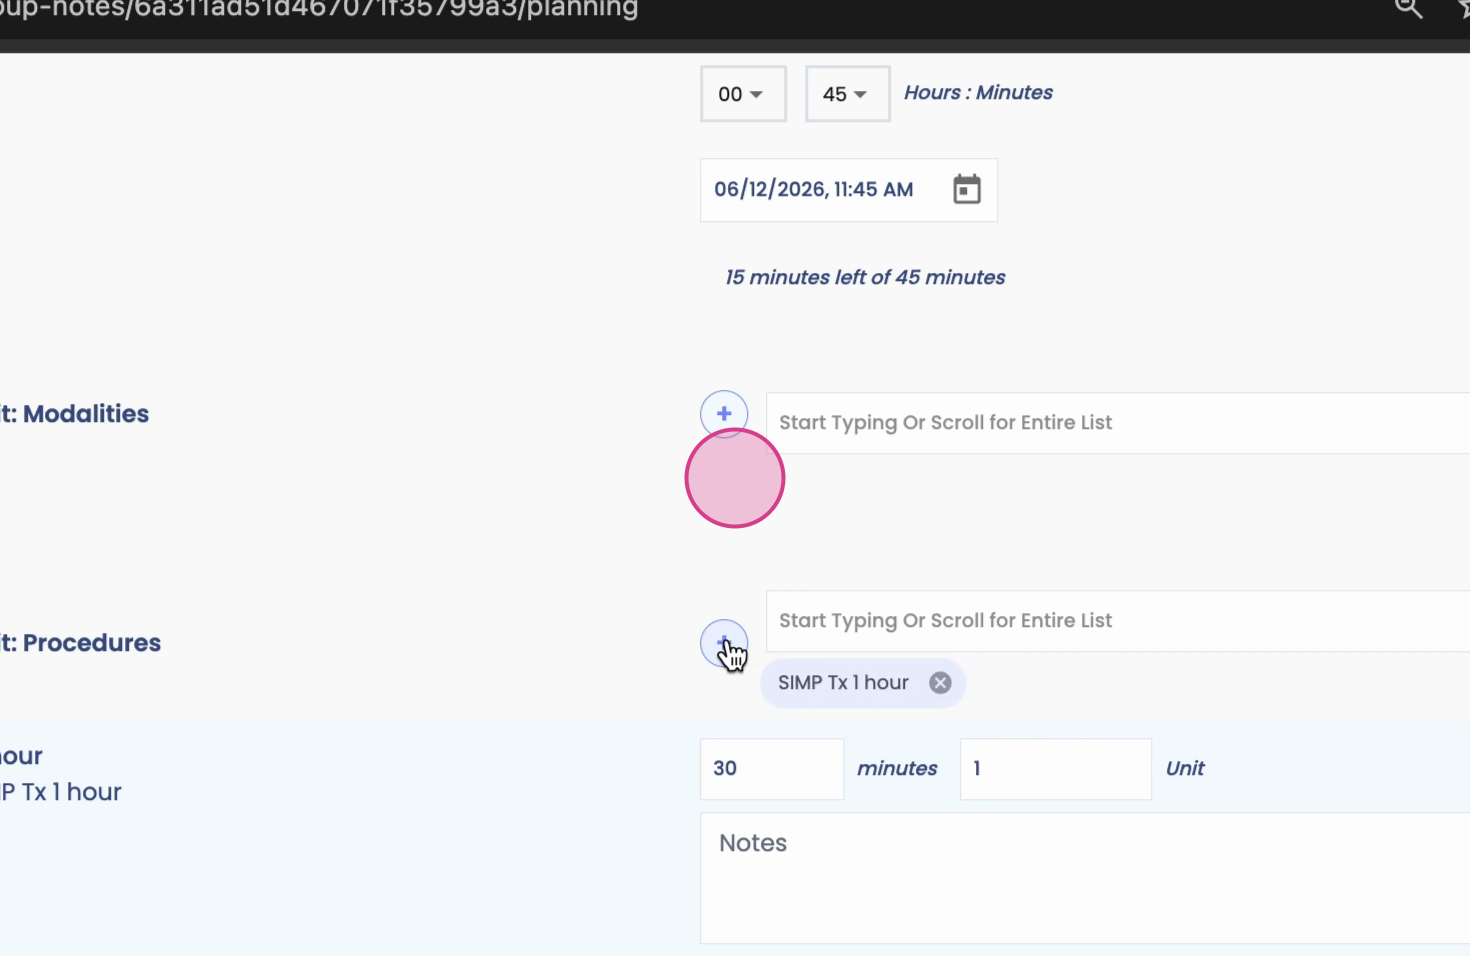
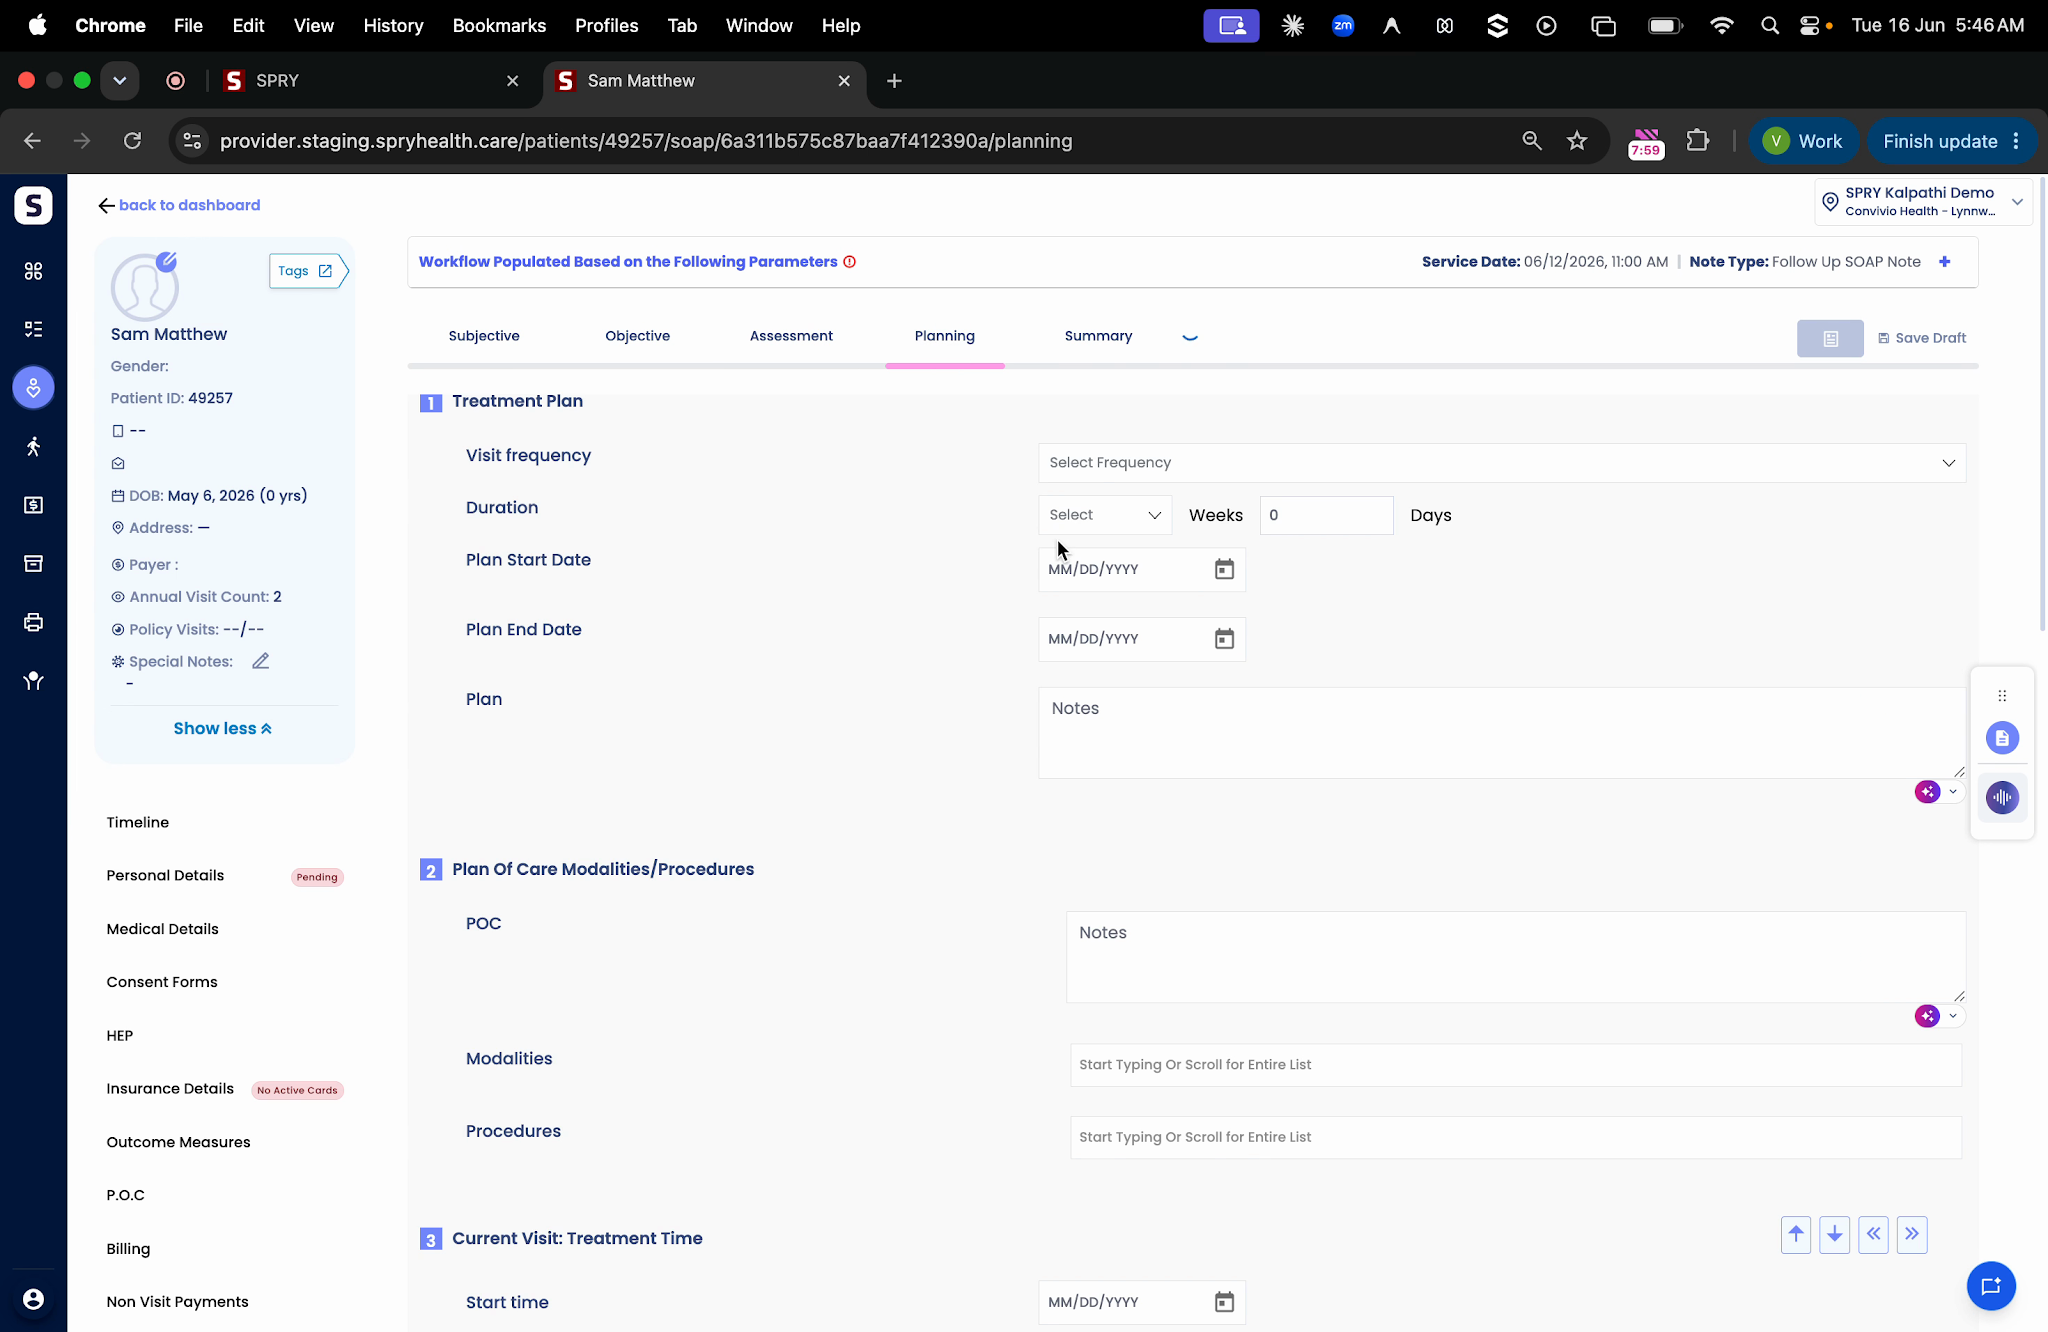
Step 4: Complete the Objective, Assessment, and Planning sections as needed. Select any necessary modalities or add CPT codes for specific patients.
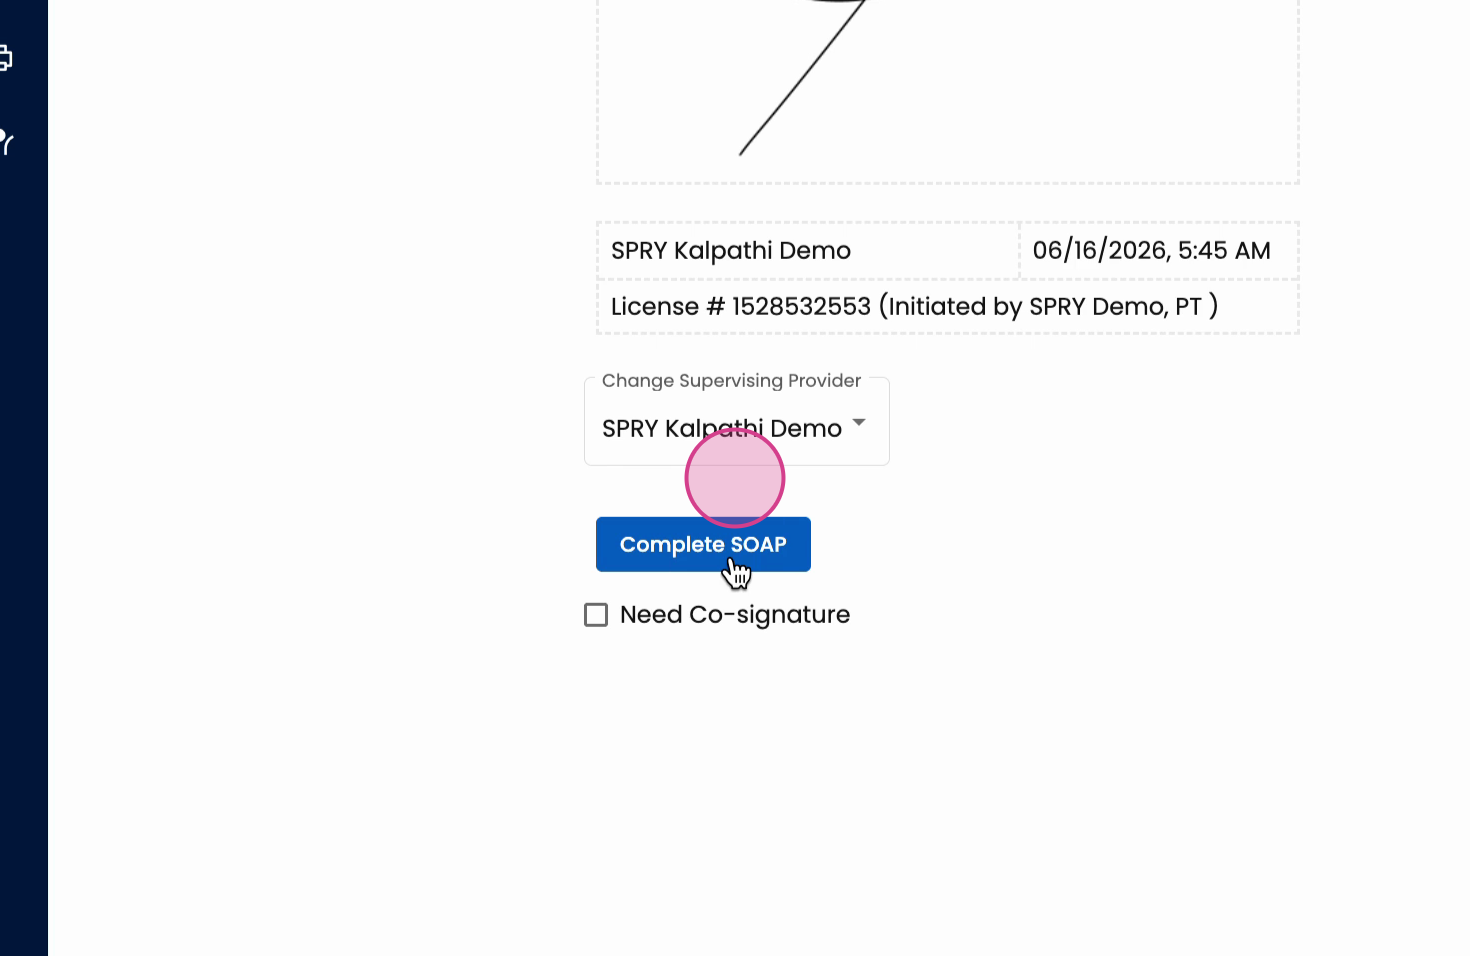
Step 5: Review the summary to see both common and patient-specific information, then click Complete SOAP to finalize documentation for all group members.

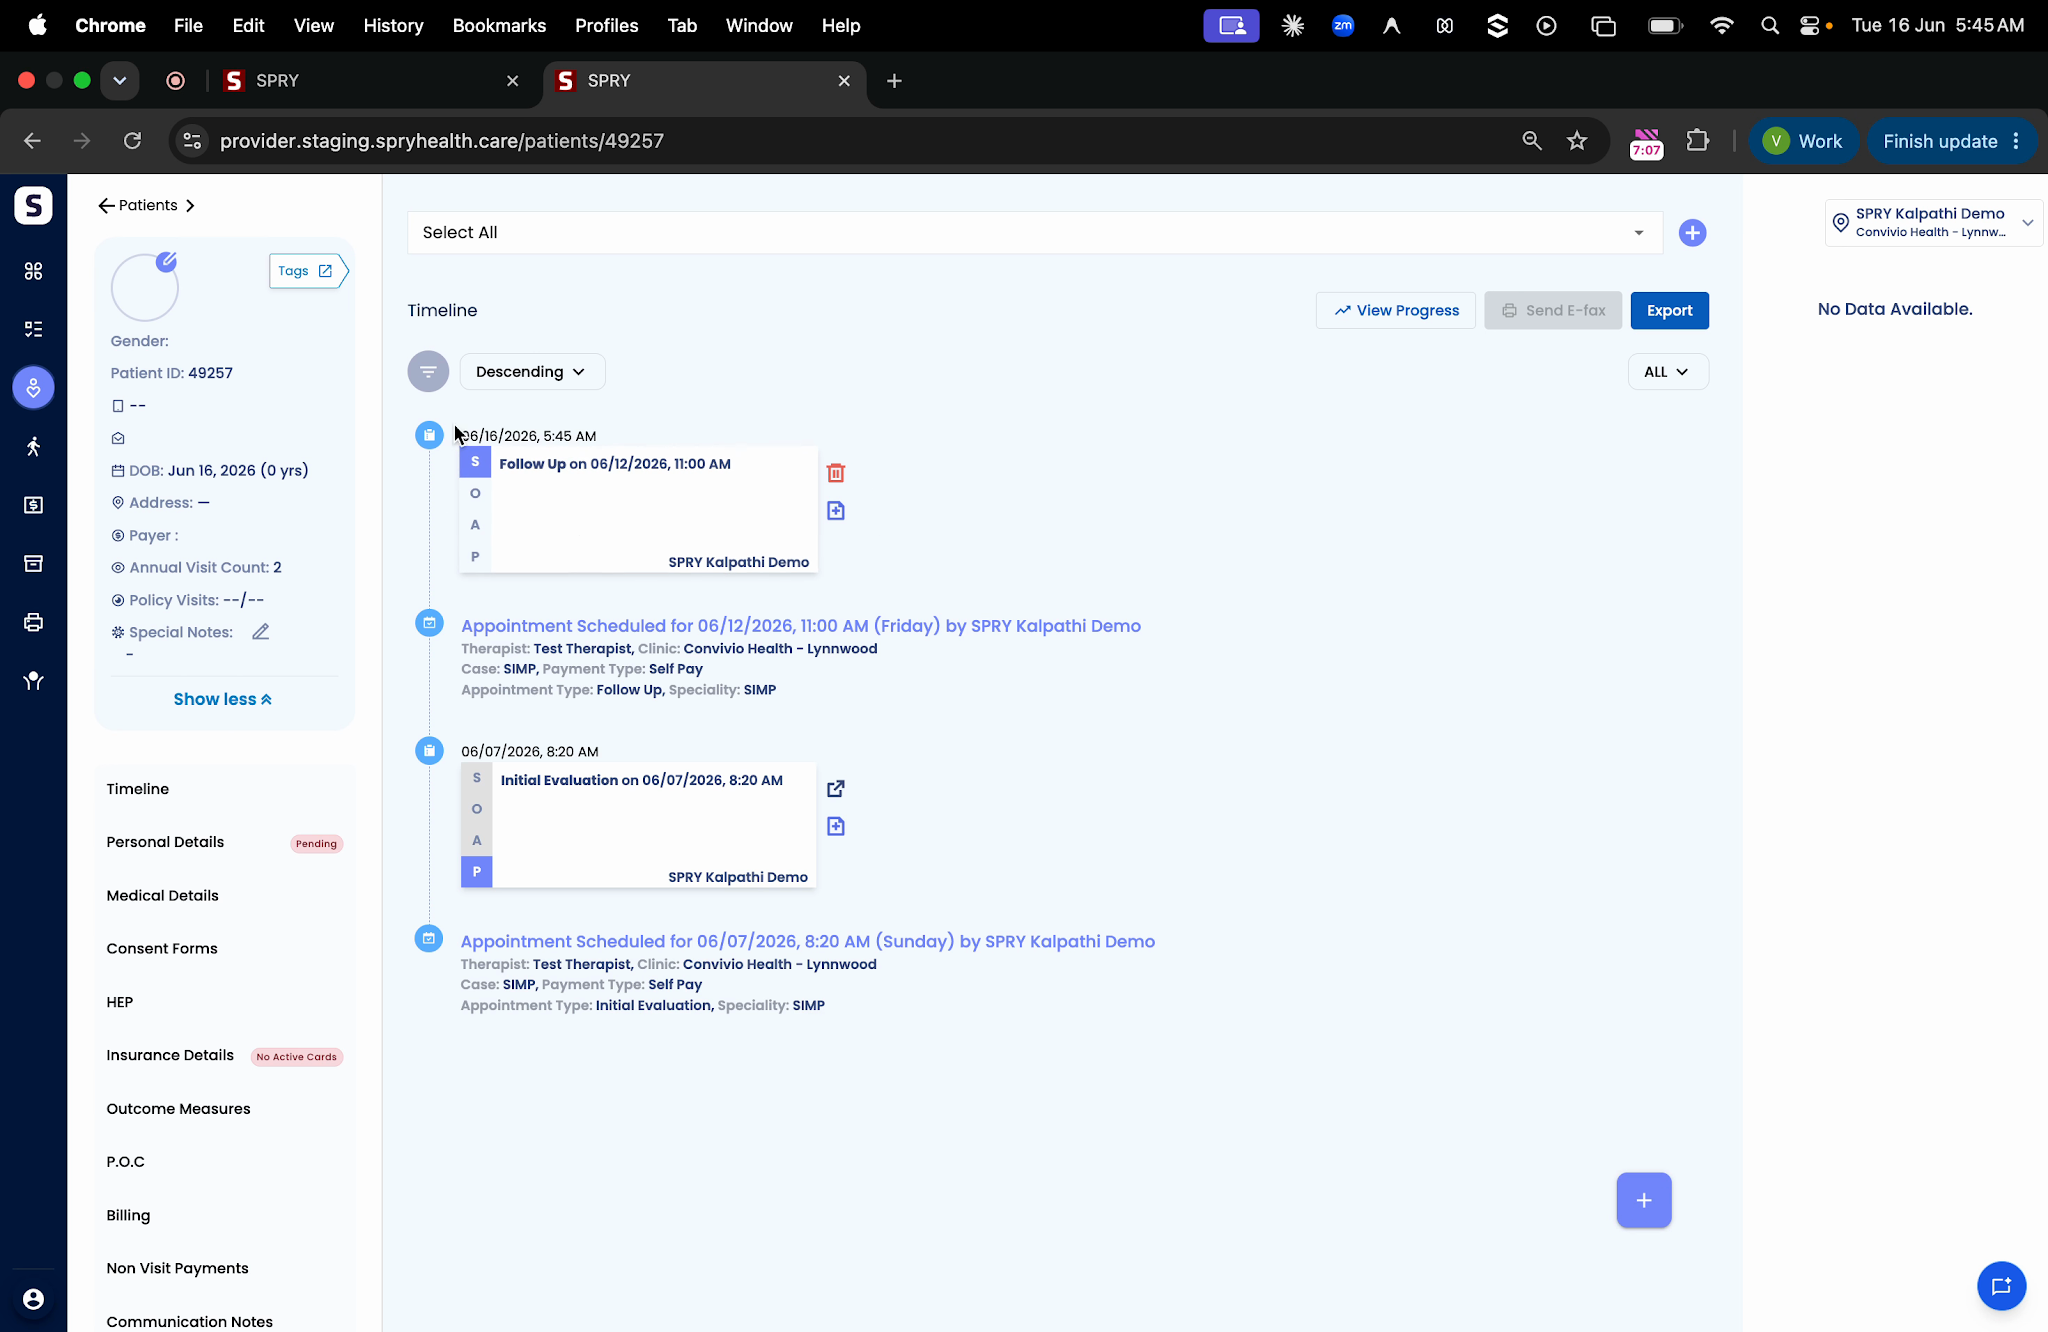
Step 6: The completed notes automatically appear in each patient’s chart. You can open individual notes to make additional edits or send for billing.
Group documentation helps you save time while maintaining thorough notes for every patient. Use the Groups feature to easily manage group sessions, streamline documentation, and ensure each patient’s record stays complete and up to date.